
This post may contain affiliate links. Please read our disclosure policy. As an Amazon Associate, I earn from qualifying purchases.
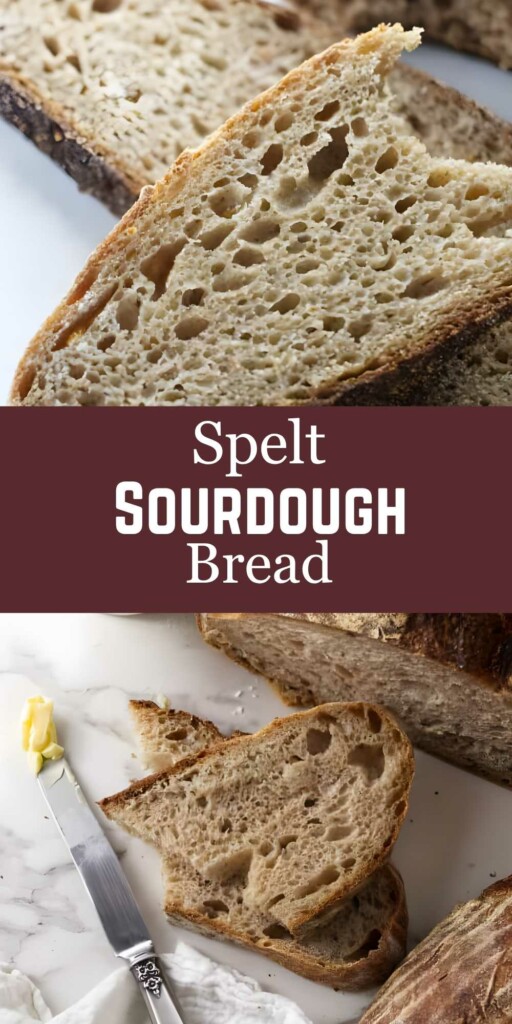
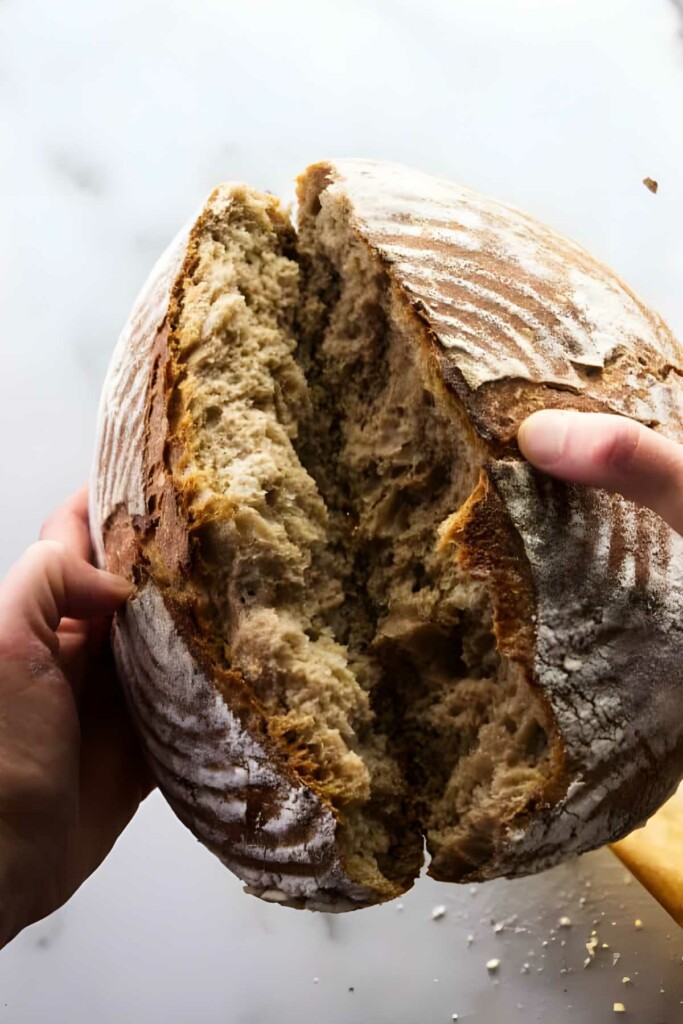
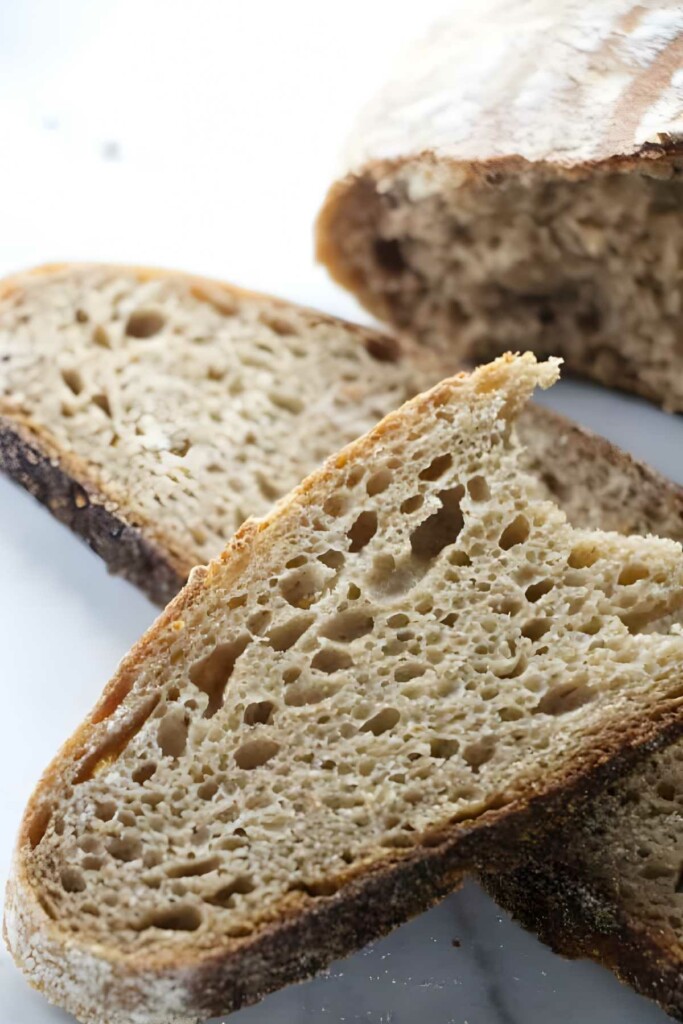
This 100% whole wheat spelt sourdough bread is the real deal. No white flour and no commercial yeast. Just four ingredients and that naturally tangy, chewy, artisan-style crumb. The whole grain spelt gives it a nutty flavor and rustic texture. If you’re after a hearty loaf with depth and character, this one earns a spot on repeat.
If you’re after something more classic, you can try my sourdough bread made with white flour.
Here is Why This Sourdough Spelt Bread Recipe Works
Uses a natural sourdough starter: No commercial yeast here. Just good old fermentation doing its thing for depth and complexity. If you need one, here’s how to make a sourdough starter with pineapple juice.
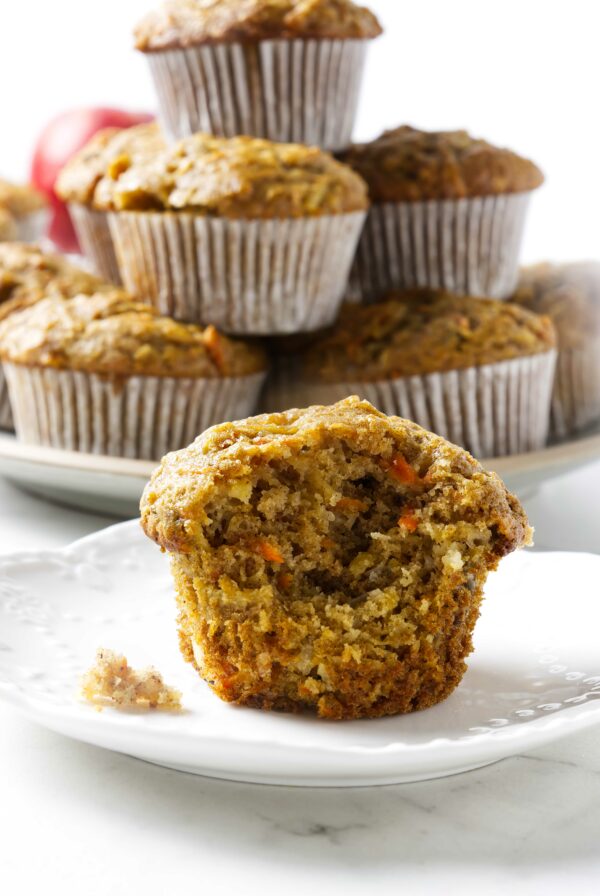
Spelt flour keeps things interesting: It’s nuttier, softer, and brings a rustic flavor that makes it a favorite for whole grain baking. Want more ways to use it? Try my spelt banana bread for a naturally sweet treat or this hearty spelt Irish soda bread.
Flexible proofing options: Whether you want it same day or tomorrow, this dough plays nice with room temp or cold fermentation.
No fancy equipment needed: Sure, a Dutch oven helps, but you can pull this off with a baking sheet if you need to.
Want to try something more relaxed with your starter? My sourdough focaccia is low-effort, no-knead, and perfect for sandwiches
Recipe Tips
Weigh your ingredients: Measuring by cups is fine in theory, but spelt is temperamental. A scale keeps things precise and saves you from guesswork.
Don’t add extra flour: Spelt gets dense fast if you add too much flour. Embrace the stickiness and keep your hands wet instead.
Don’t wait for a full double rise: Spelt doesn’t have the gluten muscle for dramatic lifts. Aim for 1½ to just under 2 times the original size. Any more, and it can collapse.
Flour your proofing basket: Use a mix of rice and all-purpose flour to keep the dough from welding itself to your towel or basket.
Be patient with the sticky stage: Yes, it’s messy. No, it doesn’t mean you did something wrong. That wet dough is exactly what gives you an open crumb and soft interior.
Working with ancient grains? Einkorn, like spelt, has a weaker gluten structure and benefits from gentle handling. If you’re curious, check out my einkorn sourdough bread recipe.
Storing Leftovers
Refrigerate: Store leftover slices in an airtight container at room temp for up to 2 days, or refrigerate for up to 5 days if your kitchen runs warm.
Freeze: Wrap slices or the whole loaf tightly in plastic, then foil, and freeze for up to 2 months. Thaw at room temp before reheating.
Reheat: Toast slices straight from the fridge or freezer. If you’re reviving a whole loaf, warm it in a 350°F oven for about 10–15 minutes.
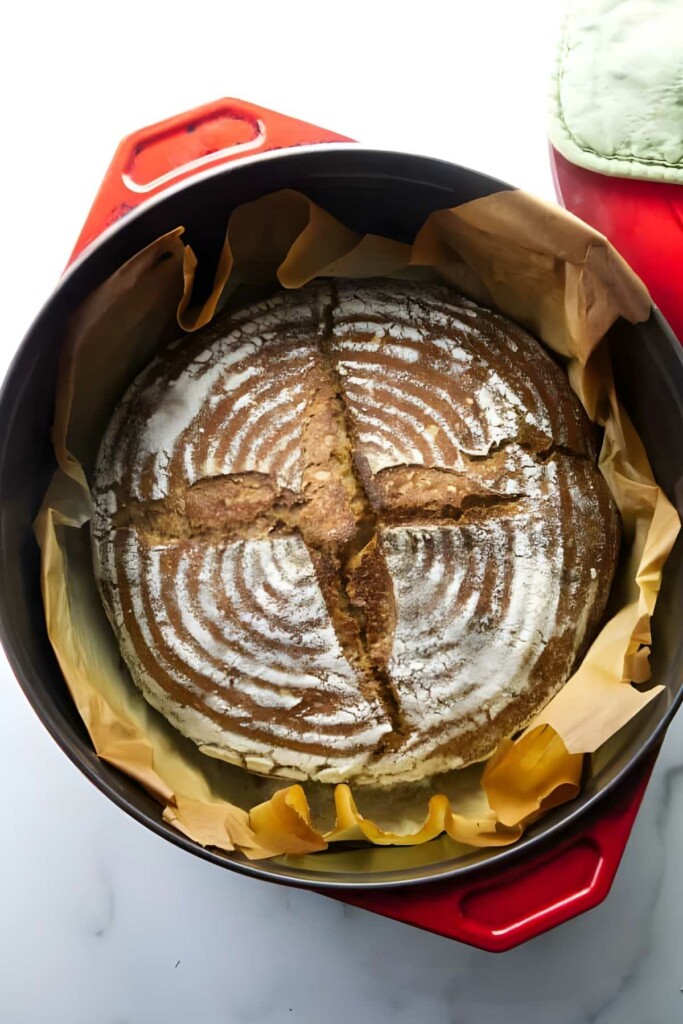
100% Whole Wheat Spelt Sourdough Bread
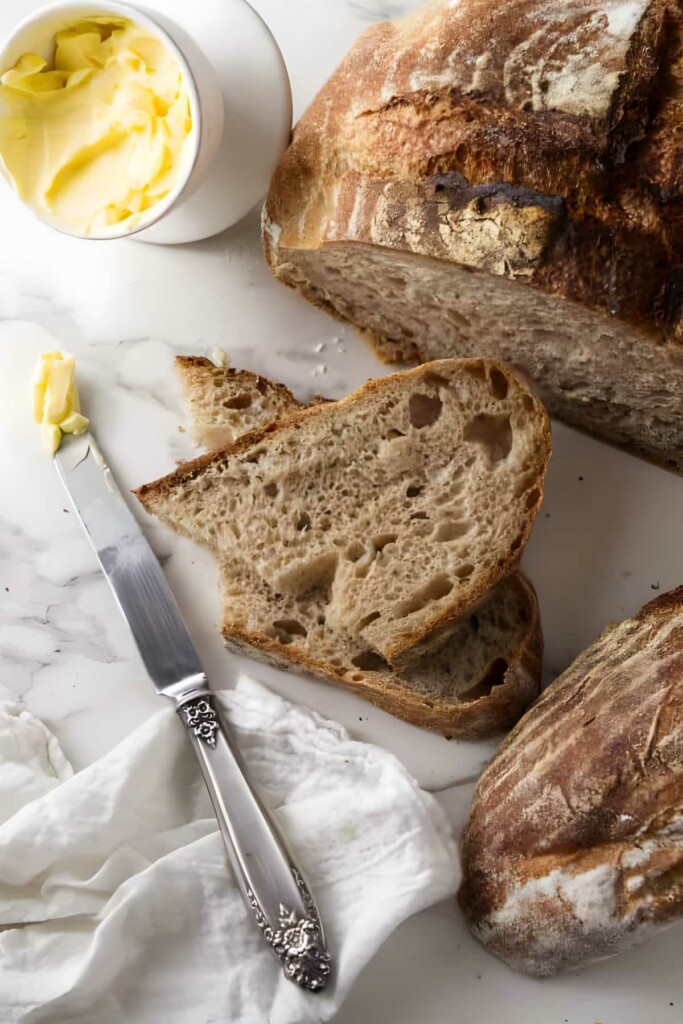
This 100% whole wheat spelt sourdough is simple, hearty, and full of character. It lets the spelt do what it does best; add a nutty flavor, a tender crumb, and a rustic feel that makes each slice feel homemade in the best way. Once you’ve made it a time or two, it settles into that reliable, keep-it-in-the-rotation kind of recipe.
Pin this now to find it later!
Pin It
100% Spelt Sourdough Bread
If you make this recipe, please leave a star rating and comment.
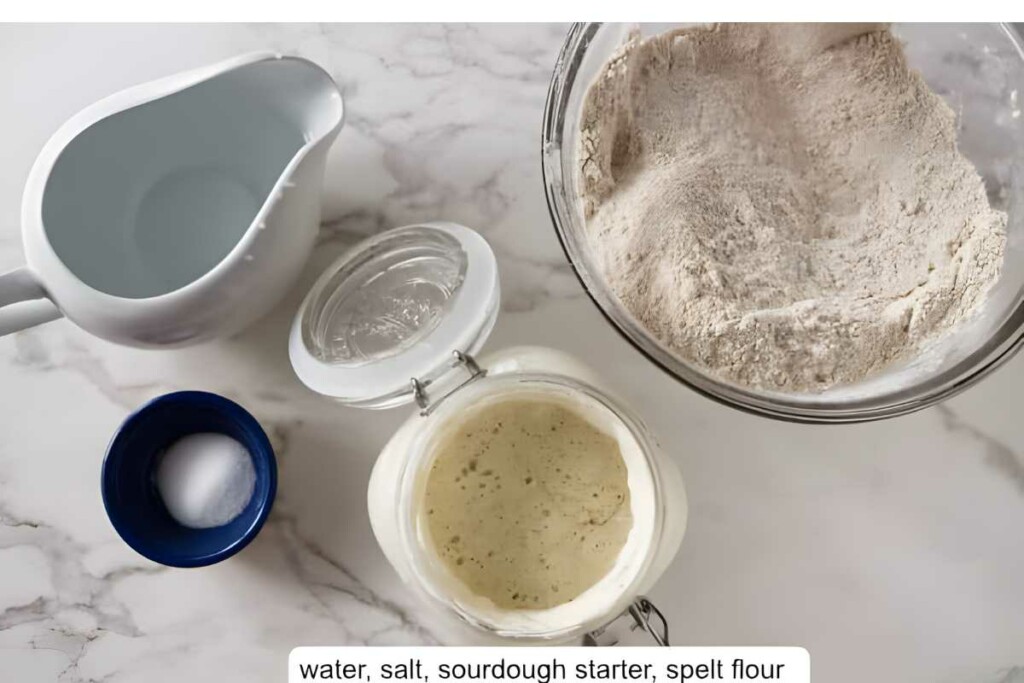
Ingredients
- 1 cup active sourdough starter, (240 grams)
- 1 ¾ cups warm water, (413 grams)
- 4 ¼ to 5 ¼ cups whole wheat spelt flour, (550 to 680 grams)
- 2 teaspoons salt, (12 grams)
Instructions
- Combine all the ingredients in the bowl and stir until it is well combined. The dough will have a rough, chunky look.
- Dump the dough onto a work surface and knead the dough with your hands until it is smooth. Approximately 10 to 12 minutes. (Essentially, you are massaging the dough by stretching and pushing. This will help develop the gluten.) At this stage, it will be wet and sticky. Try not to add more flour or your finished bread will be dense and heavy. The dough will stick to your hands and feel messy but if you get your hands wet it won't stick as easily.
- Place the dough into an oiled bowl and turn it so oil coats the top of the dough. Cover with plastic wrap and let it sit at room temperature for 3 to 6 hours (see notes) or in the refrigerator overnight. (A longer proof time in the fridge will give the bread a more complex, sourdough flavor.)
- Turn the dough out onto a work surface and form it into a round ball. (See notes)
- Place the ball of dough into a proofing basket or any container that is the shape that you want your bread to be shaped. (See notes)
- Let the dough rise again a second time for 3 to 6 hours** at room temperature until almost doubled in size. (Or you could let it rise in the fridge overnight for 12 to 15 hours)
- Preheat the oven to 450°F. Place the Dutch oven inside so it gets hot. It should take 20 to 30 minutes to preheat the Dutch oven.
- Place a piece of parchment on a board then lay it on top of the proofing basket. Flip the board and basket so the basket is on top then remove the basket.
- When the oven is hot, use the parchment paper to place the bread into the Dutch oven. Make a slash in the loaf with a sharp knife. For an extra burst of steam and a slightly higher rise, spray the dough with a bit of water.
- Bake for 20 minutes then remove the lid and finish baking for another to 30 to 35 minutes.
- Let the bread cool completely before slicing it.
Video
Notes
Nutrition
Nutrition information is automatically calculated, so should only be used as an approximation.
 Like this recipe? Rate & comment below!
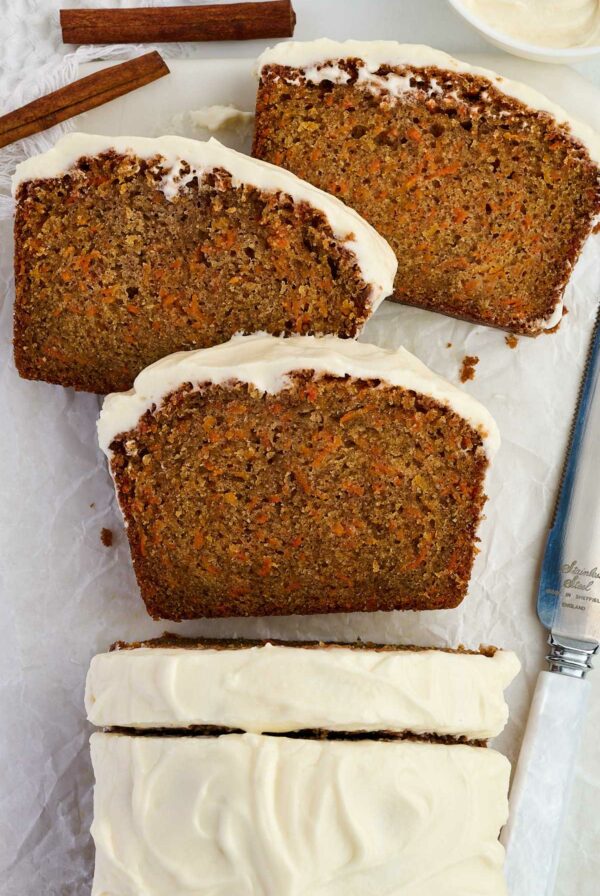


I made this loaf and it was fantastic! Do you have any similar easy recipes (with the measurements for just whole wheat and rye sourdough? and any seeded whole wheat sourdough loaves?
You can use whole wheat einkorn in our sourdough einkorn bread if you use a touch more liquid (whole wheat absorbs a bit more liquid). And I bet you will like using sprouted wheat if you like this recipe. You may want to give our sprouted wheat sandwich bread a try and our sprouted wheat rye bread.
Can you sub half the spelt flour with regular whole wheat and/ or rye?
You sure can, those flours absorb a slightly different amount of liquid but I would just start with a lower amount of liquid and gradually add more until the dough has a nice consistency.
Hi. Thanks for your recipe. I want to try it but my regular sourdough with stretch and fold technique I use 25g leaven for each bread. Your given an enormous amount… how many breads do I get from this ? And can I use
Less leaven how much??
I’m using 100% hydration starter in this recipe. That is why it calls for one cup of starter. It will certainly work with a smaller amount of starter but then you would have to adjust the flour and water in the other ingredients. This recipe makes 2 small loaves or 1 large loaf.
This is my last question. I am old and hace never baked breadbrforeand I am a little worried. Your answers have been very hekpful,
Why do you show a ranbfe in the amount of spelt flour? Is there some kind of assessment we are to make when we are actually making the loaf? Thanks again.
Thanks for the question, Dave. A lot of factors will affect how much liquid flour absorbs like how it was stored, the weather, and how freshly milled the flour is. On a very humid day, I need less liquid. Flour that has been sitting around for a long time in a dry area will need a bit more liquid.
There is also a range in the measurements because this recipe will work with a varying amount of hydration (how wet the dough gets). If you are new to bread baking I would recommend that you start with a dryer dough that is easier to handle. The wetter the dough is, the lighter and softer the final bread will be when you finish baking the loaf. However, dough that has a higher degree of hydration is much more difficult to work with, especially when you use spelt flour.
There is a lot more to bread baking than standard recipes. It is also a bit of an art and acquired skill that you need to do multiple times in order to refine your skills. Just jump in and have fun, it gets easier as you bake more. If you have big fails, it makes good croutons 😉
How do you know when your starter is at is peak?
The starter is at its peak just before it starts to fall or right when it starts to fall. The timing is different with every starter and individual kitchens. You will eventually get to know your own starter quite well after you bake with it several times.
@Dahn Boquist, Good answer,I think I understand it. Another questioin: For the second rise, do you do a second knead or, as you say, just form it into a ball. I have never done bread baking before and I am nervous. Thanks for your help David
If you see large pockets of air you can gently knead the dough, but as a general rule, for this recipe, you don’t do a second knead. Just shaping the dough will deflate some of the gasses and usually takes care of any large air pockets. The key with spelt flour is to not let the dough rise too much. Don’t let it double in size like traditional bread making.
@David, put a teaspoon of starter in a glass of water. If it floats, it should be ready.
I’m hoping to try this recipe this weekend but just wanted to clarify. I usually add 100 grams of starter. Your recipe calls for more than double. Is that correct and is there any room to play with amounts. Also I didn’t see any call for stretch and folds like the traditional sourdough recipes. Is it just straight knead and proof and bake? I would love your feedback. Thanks in advance
You can use less starter with this recipe and it will proof just fine but it will take a bit longer to proof. You can also skip the kneading process if you want to use the stretch and fold technique. Either way will work. Thanks for the question
Would it be possible to do the kneading bit in a stand mixer?
Yes, you absolutely can do the kneading in a stand mixer. Thanks for the question
My proof was rising perfectly. Then I put the second proof in the fridge overnight. It did not rise at all. It is now out of the fridge and has taken 3 hrs just to warm up a bit.
Will it eventually begin to rise now that it is at room temp?
Why did it fail to rise at all in the fridge?
If your fridge was really cold then it will take much longer to rise or you can let it sit on the counter and it should rise as it warms up a bit. As long as your starter is well-established that should do the trick. If your starter is weak then it just may not rise the second time.
@Dahn Boquist, Thank you so much!
If my starter is weak is there anything I can do to make it strong?
Sometimes a weak starter is because it is still young and sometimes it is because of the type of flour it is being fed. If your starter is well established and at least 6 months old then try feeding it some whole grain or rye flour for a few feedings. If it is less than 6 months old then you may just need to let it mature a bit longer.
@Dahn Boquist, Thank you again! My starter is a newborn. I fed it whole grain sprouted spelt flour while it was developing into a starter. For just over a week now I am feeding it Bob’s Red Mill stone ground whole wheat. With the recent attempt for bread I used mostly sprouted whole grain spelt flour mixed with some sprouted millet flour.
Are the sprouted flours good for baking with an infant starter?
Also, after the fridge had a killing effect on the poof, I am afraid to put the starter in the fridge to hibernate. How long do I need to keep the infant starter on the counter?
Oh, using sprouted wheat flour with a sourdough starter makes a big difference. There is already a lot of enzymatic activity in sprouted grain. You can easily skip the second proof if you use 100% sprouted flour in your recipe. You may also need to shorten your proof time. I haven’t tried feeding my starter with sprouted flour primarily because it is so expensive and there really isn’t any need to add “pre-digested” flour to a starter that will be doing some “pre-digesting” (that’s not really the right word I am looking for but it is the one I have in my head at the moment LOL).
Your starter will be fine in the fridge. The fridge does not kill the starter, it simply slows the activity down. You can keep the starter on the counter or in the fridge indefinitely. You will just need to feed it more often if it is on the counter.
@Dahn Boquist, Thank you so very very much. This helps me figure things out with more clarity!
At the moment I am proofing my 2nd attempt at your recipe. It has risen well. I am anxious to see how it turns out!!
Happy to help. I hope the second attempt is a success. It can take some trial and error with sprouted flour. I would love to hear how things go.
@Dahn Boquist, I am pleased with the second attempt at your recipe. The next time I will proof it only once and see if the rise is higher. On this one the crust was hard but softened after day one. I baked it in a covered glass casserole dish since I am totally new at this and don’t yet have a Dutch oven. Is this what caused the hard crust ?
I’m glad it turned out for you. Your covered glass casserole dish is an excellent way to improvise if you don’t have a Dutch oven. That crunchy crust is pretty classic for sourdough bread that is so low in fat like this recipe. If you don’t want a hard crunchy crust then you can coat the crust in olive oil or butter as soon as it comes out of the oven. The oil or butter will soak into the warm crust and make it soft. Another trick some people use is to wrap the bread in a towel so it kind of “sweats” while it cools.
@Dahn Boquist, Thank you again. I am trying to decide which Dutch Oven to order from Amazon. Do you recommend cast iron or enameled.
Also, I made your sourdough pizza crust but had to use mostly sprouted millet flour since I had no spelt flour. It tasted great and felt great in the digestive system, but was a little crumbly in places.
I am going to experiment with cassava flour. Will it rise with sourdough in a bread recipe?
I haven’t tried cassava flour with a sourdough starter but it should work. Since it is gluten-free, it will be much fussier to work with and you will probably find that it crumbles easier. I would not let it rise more than 50% when you do the final proof. Gluten-free flour does not have as much strength to hold its shape as well. I’m sure it will take a little trial and error, you may want to start with half a batch so you don’t waist too much flour if the first couple of batches don’t work out.
@Dahn Boquist, I am so hooked on this bread. I have been eating it everyday for lunch with almond butter. I now love the crust. I remember the San Francisco sourdough that I used to eat many years ago at Fisherman’s Wharf had the same crust. I am going to make this recipe every Friday until ……
I just ordered 20 lbs of sprouted spelt flour from Amazon. I still need to order a Dutch oven. Should I go for cast iron or enameled?
Thank you so much for this heavenly recipe! Thank you for your help!
I’m so glad you are enjoying the recipe. Most enameled Dutch ovens are also cast iron. You get the benefit of a cast-iron AND the benefit of the non-stick when you get an enameled Dutch oven. Just make sure you get a reputable brand. Some brands have a poor quality enamel coating that chips over time. Thanks for the comment
@Cheryl Mays, I have had the same problem using the fridge It had a good rise until then. It ruined it. Never again. A waste of my time and money.
Sometimes the fridge can slow the proof down significantly. If you don’t get a rise in the fridge, let it sit on the counter until it warms up and begins to rise. Sometimes that can take a few hours but the extra time will improve the sourdough flavor.
I’ve done my first proof in the fridge overnight. Should I let the dough come to room temperature before shaping, or go ahead and shape straight from the fridge? Thanks!
You can go ahead and shape it straight from the fridge.
Hi
Are you sure about the water content on this recipe?
I blindly followed this, using only 400g of water (72% hydration) and my sourdough ended up on the bottom of my oven!
Your basic sourdough only asks for 319g of water (less than 60% hydration)!
You video suggests that the dough is not 72%, as it holds its shape.
I see from the comments that people seem to be having some success with this recipe, but they must be making some changes to the mix to achieve those results – yes/no
Can you confirm which is correct.
Ken
Yes, the whole grain spelt absorbs much more water than refined flour used in my basic sourdough recipe which is actually 66% hydration. The video is using 392 grams of water and is 76% hydration. I just made a loaf with 80% hydration (420 grams of water) that turned out quite nicely. The higher hydration will make it a bit more difficult to work with, especially during the first phase of working with the dough. After the dough proofs and is ready to be shaped, it is a bit easier to work with. If you are struggling with the dough being too wet and sticky after the first proof, you can work in a bit more flour. I will adjust add a range of flour to work with in the recipe. By the way, my starter is 100% hydration, perhaps that is why my calculation is a bit different than yours.