
This post may contain affiliate links. Please read our disclosure policy. As an Amazon Associate, I earn from qualifying purchases.
Making a sourdough starter from scratch can feel intimidating, but the pineapple juice method takes away some of the uncertainty. By using pineapple juice for the first few days instead of water, you create a slightly acidic environment that helps the good yeast and bacteria thrive while discouraging the unwanted ones.
This step-by-step guide will walk you through the entire process, from mixing the very first jar on Day 1 to having a bubbly, active starter ready for bread baking. It’s not an overnight project. A strong starter takes time, daily attention, and a little patience, but the payoff is worth it.
Once your starter is established, you’ll have the foundation for homemade sourdough bread, sourdough pancakes, pizza dough, and more, all from a living culture you built yourself.
Once you understand the science behind it, the pineapple juice method makes a lot of sense. Here’s why it works so well for starting a healthy sourdough culture from day one.
Here is Why The Pineapple Juice Method Works
Beginner-friendly and predictable: With clear day-by-day instructions, you’ll know exactly when to switch from juice to water, when to start discarding, and what to look for at each stage.
Creates the right environment from the start: Pineapple juice lowers the pH in those crucial first days, making it harder for unwanted bacteria to take over while giving the good yeast a head start.
Encourages early yeast activity: Many bakers see bubbles and signs of life sooner with this method compared to starting with water alone. It doesn’t guarantee instant results, but it often shortens the waiting game.
Helps avoid unpleasant odors: New starters made with plain water can sometimes smell a little “off” in the early stages. The pineapple juice method helps prevent that sour, cheesy smell that can make you wonder if something’s gone wrong.
Tips for success
Be patient: Every kitchen is different. Some starters are ready in a week, while others take two or even three weeks to become strong and reliable.
Switch to water on Day 4: Pineapple juice is only for the first three days. After that, water is all your starter needs, extra acidity can harm the yeast once it’s established.
Use unbleached flour: Bleached flour is treated with chemicals that can slow yeast growth. Whole grain flour in the first couple of days can give your starter a boost, but white flour works too.
Watch the temperature: Try to keep the starter stored between 70–75°F. Too warm can encourage unwanted bacteria; too cool can slow yeast activity.
Choose non-chlorinated water: Chlorine can harm the wild yeast and bacteria in your starter, especially in the early days.
Don’t seal the jar tightly: Your starter gives off gas as it ferments. Keep the lid loose or use a breathable cover like a paper towel or coffee filter to let gases escape while keeping out dust and insects.
Feed at consistent times: Try to feed your starter around the same time each day so it develops a predictable rhythm.
Use a clear container: Seeing the sides of the jar makes it easier to track bubbles, rise, and fall, all signs of activity.
Mark the starting level: Use a rubber band or piece of tape on the jar to mark the height right after feeding. This makes it easy to see when it has doubled.
Expect some variation: Don’t panic if your starter smells different from one day to the next. Fresh, fruity, tangy, or even a bit yeasty are all normal during early fermentation.
Questions About Building a Sourdough Starter
If you didn’t remove some before feeding, your starter would grow exponentially. A 1:1:1 feeding means you’re doubling the total amount every time, so in just a few days, you’d have jars of starter taking over your kitchen and you’d be using huge amounts of flour to keep it going. Discarding keeps the quantity manageable
Your starter may look sluggish, but it’s rarely ruined. Just resume your regular schedule and it should bounce back.
New starters can have different smells during the first week. Sharp, tangy, fruity, or yeasty smells are normal. A strong rotten odor is a sign something’s wrong and you may want to start over.
That’s a sign your starter is hungry. You can stir the hooch back in or pour it off before feeding. I usually recommend pouring it off because mixing it in can make your starter more acidic, which can weaken it over time.
You can use your starter once it reliably doubles in size within 4–6 hours of feeding and shows lots of bubbles throughout. For some kitchens, that’s around Day 7; for others, it might take 1–2 more weeks.
Most recipes work best when your starter is at its peak, after it has doubled (or tripled) in size and is full of bubbles but before it starts to collapse. This is when the yeast is at its most active and ready to give your dough the best rise.
Take it out 1–3 days before you plan to bake and feed it twice a day until it’s bubbling and doubling reliably. Then use the amount your recipe calls for, and feed the remaining starter as usual before returning it to the fridge.
Building a Sourdough Starter From Scratch
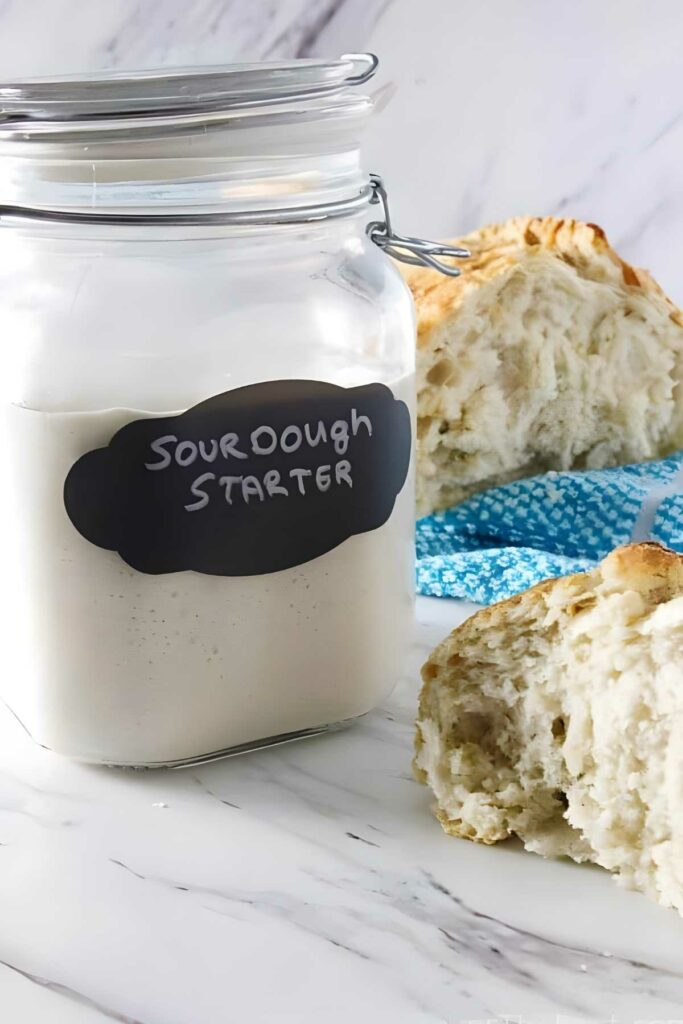
Starting a sourdough starter with pineapple juice is a simple way to give the culture the best possible beginning. Once it’s active and doubling reliably, you’ll have a living ingredient you can use for sourdough pizza dough, bread, pancakes, and more, all from a starter you built yourself.
If yours takes a little longer to mature, don’t be discouraged. Every kitchen is different, and a slower start doesn’t mean it won’t become strong and dependable. Keep feeding it, watch for those signs of growth, and before long, you’ll be baking with a starter that’s truly your own.
Pin this now to find it later!
Pin It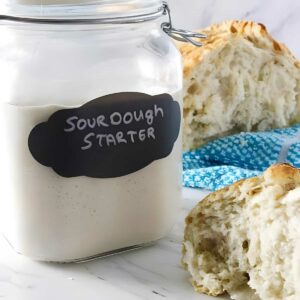
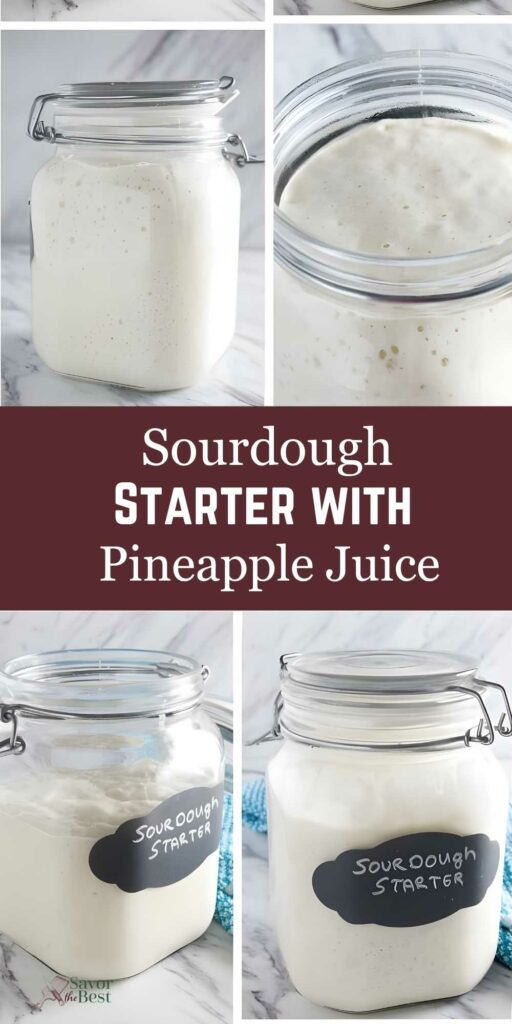
Making a Sourdough Starter with Pineapple Juice
If you make this recipe, please leave a star rating and comment.
Ingredients
- all-purpose flour, see notes
- Unsweetened Pineapple Juice
- Water, non-chlorinated
Instructions
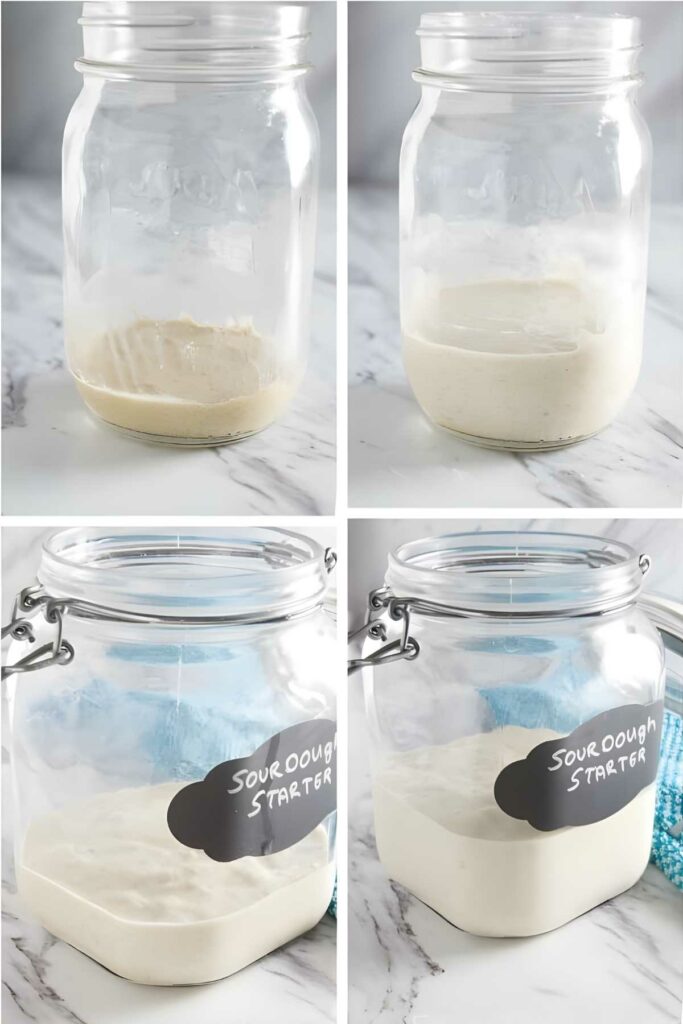
Day 1: Start Your Starter
- In a small jar or bowl, mix 2 tablespoons flour (15 grams) and 2 tablespoons unsweetened pineapple juice (30 grams). This is the beginning of your starter.
- Stir 2–3 times during the day to mix in air. Keep it loosely covered with a paper towel or coffee filter to allow airflow while keeping out dust and insects.
Day 2: First Feeding
- Add 2 tablespoons flour (15 grams) and 2 tablespoons unsweetened pineapple juice (30 grams) to the starter you made on Day 1.
- Stir well to combine, then stir 2–3 times during the day to keep it aerated. Cover loosely as before. You won’t see any activity yet, the yeast is still getting established.
Day 3: Second Feeding
- Add ¼ cup flour (30 grams) and ¼ cup unsweetened pineapple juice (60 grams) to the existing starter and stir well.
- You may start to notice bubbles. If not, don’t worry, some starters take longer. There’s no need to discard any starter yet, just feed it, stir it, and wait.
Day 4: Begin Discard and Regular Feeding
- Starting today, switch from pineapple juice to water. Keep only ¼ cup (about 60 grams) of your starter and discard the rest.
- Add ¼ cup water (60 grams) and ½ cup flour (60 grams) to the remaining starter and stir well. Transfer the starter to a quart-size jar or larger so it has plenty of room to rise without overflowing.
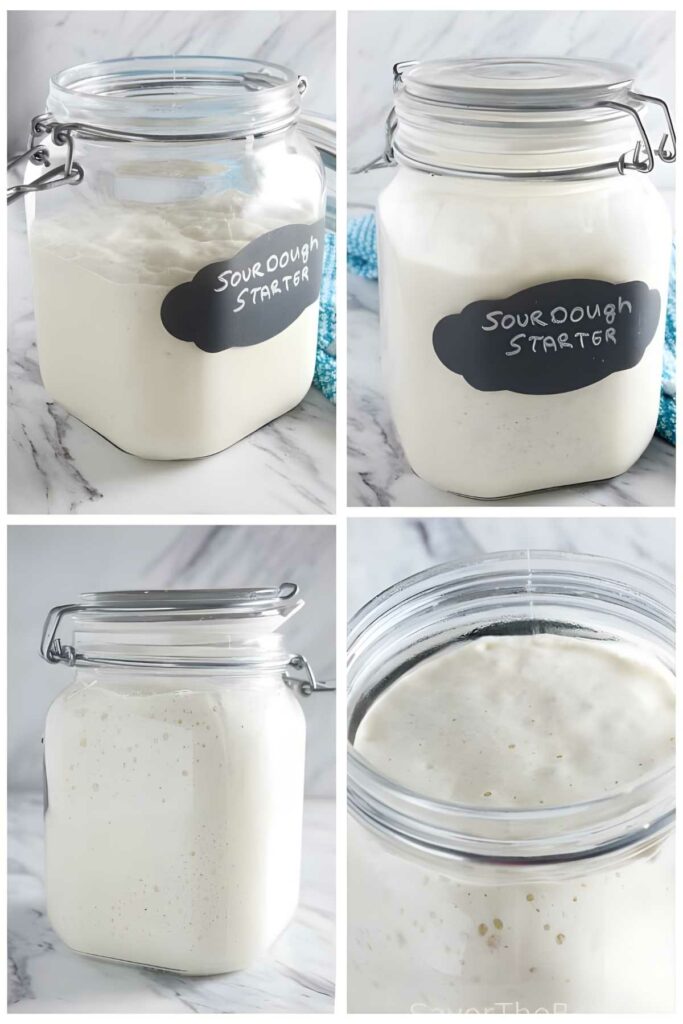
Day 5: Continue Feeding
- Repeat the same feeding process as Day 4. If your starter doubles in size in less than 12 hours, start feeding it twice per day. If it’s still slow, keep feeding once a day. Some starters just need more time to get going.
Day 6: Maintain the Schedule
- Continue discarding down to ¼ cup (60 grams) of starter before each feeding, then add ¼ cup water (60 grams) and ½ cup flour (60 grams).
- Feed once or twice a day depending on how active your starter is. Look for a consistent rise and fall between feedings.
Day 7: Ready to Use (or Keep Feeding if Needed)
- If your starter is reliably doubling in size between feedings, it’s ready to use in baking. Remove the amount needed for your recipe, then feed what remains at a 1:1:1 ratio by weight. For example, 20 grams starter, 20 grams water, 20 grams flour.
- If your starter still isn’t doubling, keep feeding daily until it’s strong and active, which can sometimes take another week or two.
Storing and using your sourdough starter:
- Room temperature maintenance: If you plan to bake often, you can keep your starter at room temperature. Feed it once or twice a day (following the Day 4 feeding amounts) depending on how quickly it rises and falls between feedings.
- If you won’t be baking for a while, store your starter in the refrigerator and feed it once a week using a 1:1:1 ratio by weight (equal parts starter, water, and flour). As an example, you might keep about ¼ cup starter (around 60 grams), then feed it with ¼ cup water (60 grams) and ½ cup flour (60 grams).
- The flour amount looks larger because flour is lighter than water; ½ cup flour weighs about the same as ¼ cup water. The exact amount isn’t critical. Just keep the ratio the same.
- When you’re ready to bake again, take the starter out of the fridge 1–3 days before you need it and feed it twice a day until it’s fully active. Keep the lid loose so gases can escape.
Notes
Nutrition
Nutrition information is automatically calculated, so should only be used as an approximation.
 Like this recipe? Rate & comment below!
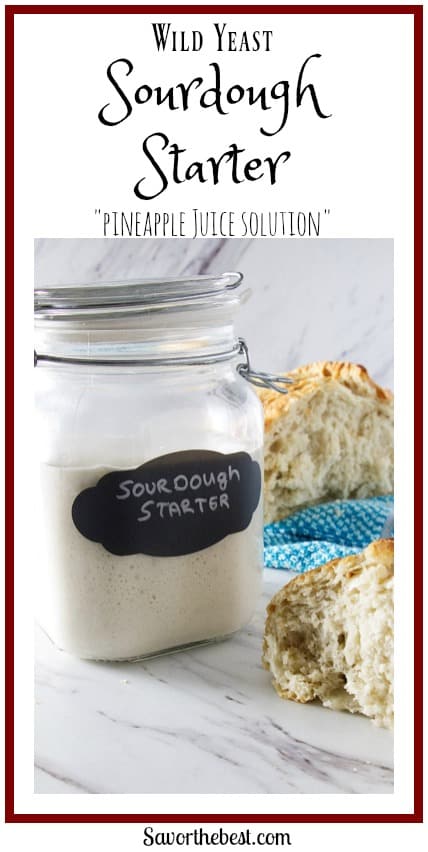


Hi! This is Day 3 of my starter and I just realized the first two days I only did 15 grams of pineapple juice instead of 30 🤦🏻♀️ It seems like the starter is okay though, do you think it’s fine to continue and do the right amount today or should I start over? Thank you!
Totally fine, don’t start over.
The pineapple juice is mainly there to nudge the acidity in the right direction at the beginning, and being a little short on it for the first couple of days isn’t going to ruin anything. If you’re seeing even a little bubbling or it smells like something is happening, you’re on track.
Just go ahead and feed it today using the correct amounts for Day 3.
And even if it’s not bubbly yet, that’s normal. Day 3 can still look pretty quiet for a lot of starters.
Thank you so much for the reply! I did go ahead and feed it the written amounts and at day 5 now and about to overflow out of a half pint jar! So excited, thank you for the recipe and notes, it’s been so helpful! Can’t wait to make sourdough everything soon!
Yay!! That’s a super happy starter. Day 5 and already trying to escape is a great sign. If it’s getting too full, move it to a bigger jar or discard a bit more at each feeding. Can’t wait to hear what you bake first!
I ended up switching out jars twice! I moved it to a 10oz jar and then was about to overflow that one yesterday so I moved it into a 4 cup mason jar and was double up to two cups this morning! I used my discard yesterday and made your buttermilk sourdough scones with chocolate chips and my husband and I both agreed they were delicious! I froze today’s discard and looking forward to making more recipes 🙂 Thanks again!
It sounds like your starter is thriving! And I’m so glad you loved the scones. Thanks for sharing!
What a wonderful article, thank you for sharing it! I had to go gf for years but recently discovered Italian flour doesn’t cause the same issues as American, so have been baking with that. I’m making my first starter using your method with einkorn flour and my starter is at day 3 and bubbling, which I am very excited about. Your instructions say to discard at day 4, which seems painfully wasteful. I know you say there are uses for discard but are there uses for 4 days old discard? I’m inclined to keep feeding it until it’s a monster that I will have to bake with to get under control.
Thanks so much. I’m thrilled to hear your starter is bubbling already! That’s always an exciting milestone.
You’re not alone in feeling like the discard process is a bit wasteful. The good news is that there are plenty of ways to put it to use, even at this early stage. I have several discard recipes on the site that work well with older discard, even stuff that’s been sitting in the fridge for a couple of weeks. I’ll often use it for things like pancakes, waffles, crackers, or cake, basically any recipe where the rise comes from baking powder or baking soda instead of the sourdough itself.
You can also freeze your discard if you’re not ready to bake right away. It holds up well and works just fine in those types of recipes once thawed.
And if you’re looking to reduce waste going forward, you might try keeping a smaller starter….something like 5 or 10 grams. That way you’re only feeding it with small amounts of flour and water, which feels a lot less wasteful. When you’re ready to bake, you can just give it a larger feeding to build it up to the amount you need for your recipe.
Dahn, you are simply amazing. I read through the comments and it was like going to school. You answered every comment, and you explained patiently and sweetly. Thank you so kindly for taking the time to educate and enlighten us.
You are a blessing and I bless you for your your dedication.
Please say hello to your beautiful and stylish mum.
Cheers.
Thank you so much for your kind words and blessings. Cheers to you as well!
Question: I am going to use Whole Einkorn Flour from my mill. Do I adjust the grams of flour? For example, instead of 1/4 cup flour (30 grams) +1/4 cup pineapple juice (60 grams) on day 3 would I use 24 grams of whole Einkorn flour, since the weight of a cup is 96 grams? I believe I would keep the liquid amount the same.
No need to make those adjustments, especially if you are weighing in grams which will give you a more accurate measurement. 60 grams juice and 30 grams flour of any kind for a ratio of 2:1. It is so much easier to do this with a scale and it takes all the guess work out of it because it is easier to calculate the ratios of 2:1 or 1:1.
Hi
Beyond day 4 it doesn’t say to mix it a few times a day… should I still mix it? (It’s getting bubbly and smelling yeasty- don’t think it’s doubling yet)
It sounds like it is getting some nice activity. You don’t need to keep mixing it. Just keep it fed on a regular basis. The longer you maintain it, the stronger it will get.
Hello! Thanks for sharing this recipe 🙂
I had some bubbling activity at both the top and bottom of the starter on day 3 however I’m on day 5 now, yesterday was obviously my day 4 and since I didn’t see any activity (bubbling) I didn’t discard and or feed it, I just let it sit.
Would you recommend for me to discard and feed as per your instructions even though I don’t see any activity?
It’s the consistency of pancake batter, smells like pineapple juice & a tad of alcohol my temperature sticker that’s on the jar I keep it in says it’s 75-72, should I move it somewhere warmer?
I’ve been using Jovial 100% organic einkorn all-purpose flour along with Lakewood organic pure pineapple juice-not from concentrate.
I also keep jovial’s organic Whole wheat einkorn flour on hand would you recommend I start feeding it that instead of the all-purpose einkorn? I was just hoping to not make whole wheat sourdough.
It sounds like it is ready to be fed. The temperature is fine, it wouldn’t hurt to go a little warmer. Anywhere between 70°F and 80°F is a good environment. Since whole wheat flour has more nutrients, it can give a ‘boost’ to the fermentation process. If you don’t want a whole wheat starter then you can just feed it the whole wheat once or twice to give it a boost, then switch back to all-purpose. After you switch back to all-purpose and feed it a few times, the starter will eventually become all-purpose again.
I will feed my starter with whole wheat or rye flour several times throughout the year to give it a boost, especially if I neglect it a little too long.
Thank you for this! Day 7 and I’m trying my hand at baking my first loaf. To store, do I use the lid for the pint jar or keep the breathable top on? I feel like it will dry out in the fridge without a proper lid.
You can keep a hard lid on the jar as long as it does not have an airtight seal. If you put an airtight seal on the container it can explode because the starter releases gases.