This post may contain affiliate links. Please read our disclosure policy. As an Amazon Associate, I earn from qualifying purchases.
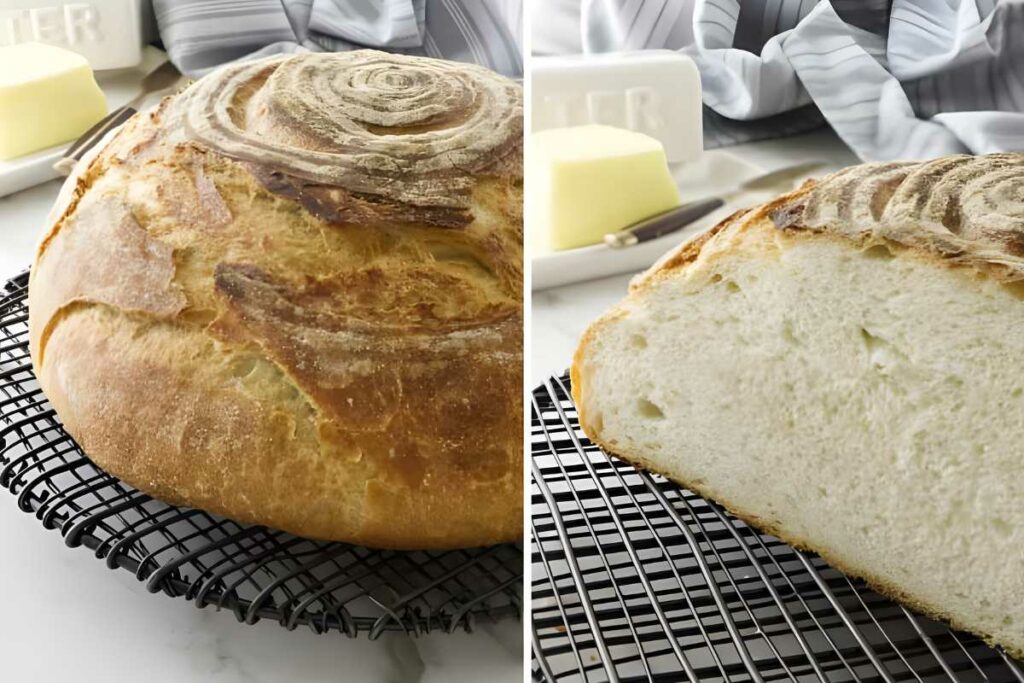
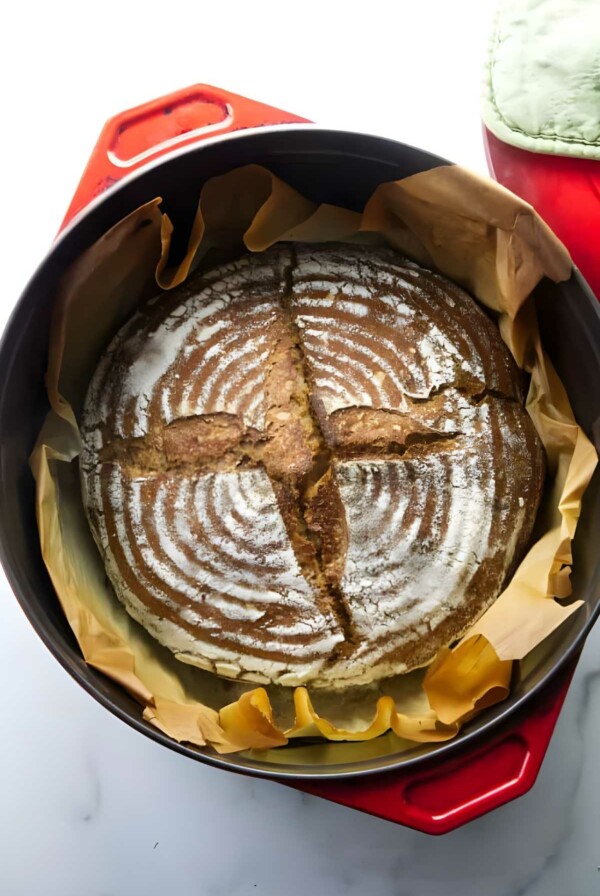
This rustic sourdough bread bakes up with a crisp, blistered crust and a chewy, open crumb. No fancy techniques required. A long, slow fermentation builds complex, well-developed flavor, while the Dutch oven traps steam for that golden artisan finish. With just four ingredients and a little planning, you’ll get a loaf that looks and tastes like it came from a bakery
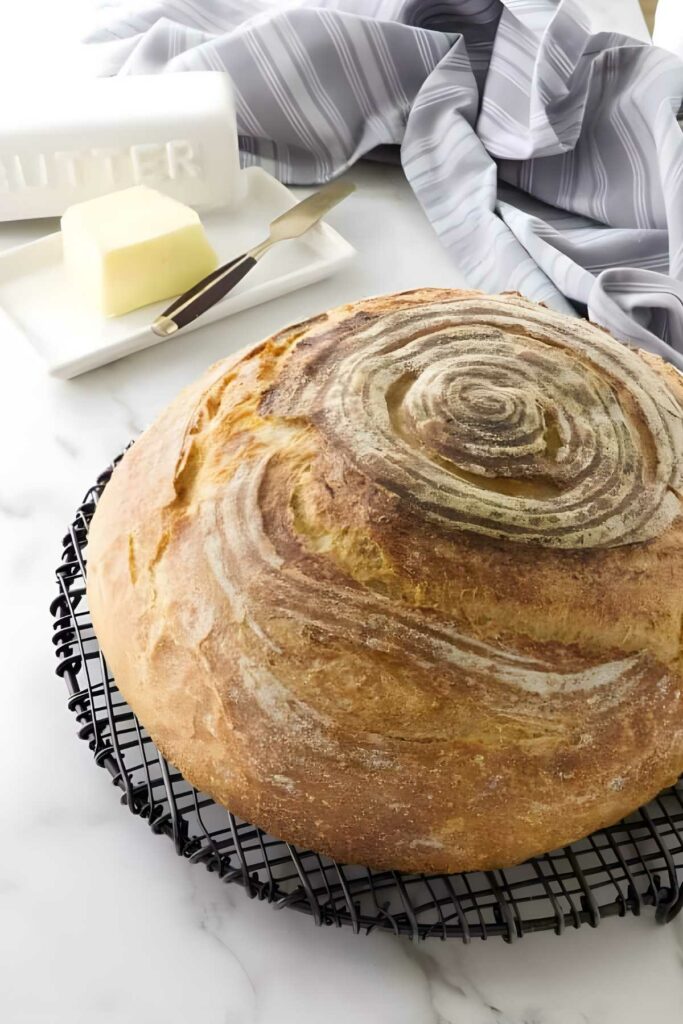
Looking for a version made with ancient grains? Try our Einkorn Sourdough Bread for a nutty, flavorful twist.
Here’s Why This Sourdough Bread Recipe Works
A Dutch oven creates its own steam chamber, helping the loaf rise fully and develop a crisp, crackling crust.
Long fermentation builds better flavor. A slow rise (especially overnight) develops complexity without pushing the dough into sharp sourness.
Sticky dough makes great bread. This high-hydration dough can be a little messy, but it’s worth it. The extra moisture helps create an open, chewy crumb.
Stretch and fold, or knead if you prefer. A few quick folds during the first rise are all it takes to build structure. But if you’re more comfortable with traditional kneading, we’ve included notes for that method too.
For a sweeter way to use your sourdough starter, these Sourdough Raised Donuts are soft, pillowy, and downright irresistible.
Recipe Tips
Weigh your ingredients. Measuring flour by volume can swing wildly. Using a scale keeps your hydration consistent and your dough predictable.
Handle sticky dough with wet hands. This dough is higher in hydration and a bit sticky. A quick splash of water on your hands makes shaping easier.
Dust proofing baskets with a rice flour blend. All-purpose flour tends to stick. A 50/50 mix of rice and AP flour creates a drier surface that helps the dough release cleanly.
Preheat your Dutch oven. You can bake in a cold pot, but a fully preheated Dutch oven gives you better oven spring and a more dramatic rise.
Watch the dough, not the clock. Rising times vary with temperature and starter strength. Instead of timing it strictly, look for dough that’s puffy and slightly jiggly before baking.
Use leftovers to make my sourdough French toast that uses discard as well as sourdough bread.
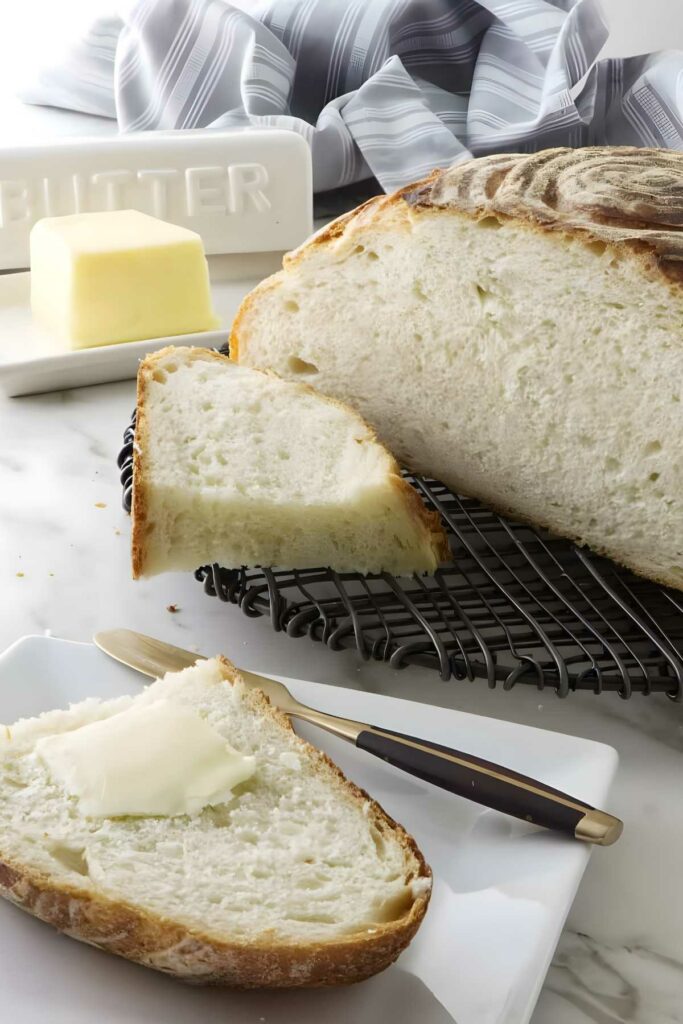
Rustic Sourdough Bread
This is the kind of bread that reminds you why baking from scratch is worth it.
The crust sings, the crumb is open and chewy, and the flavor runs deep. You don’t need fancy tools or a complicated routine, just patience, good ingredients, and a Dutch oven.
Pin this now to find it later!
Pin It
Easy Sourdough Bread Recipe
If you make this recipe, please leave a star rating and comment.
Ingredients
- ⅔ cup active sourdough starter, (160 grams)
- 1⅓ cups warm water, (314 grams)
- 4¼ cups all-purpose flour, (510 grams)
- 2 teaspoons salt, (12 grams)
Instructions
Mix the dough
- In a large bowl, combine the sourdough starter, warm water, flour, and salt. Stir with a spatula or your hands until no dry spots remain. The dough will be sticky and shaggy. Cover the bowl with a damp towel or plastic wrap and let it rest for 30–45 minutes.
Stretch and fold and Bulk Rise
- After the rest, perform the first stretch and fold: with wet hands, grab one side of the dough, stretch it upward, and fold it over the center. Rotate the bowl and repeat 3 more times for a total of 4 folds.
- Repeat this process 2 more times, spaced 30 minutes apart, for a total of 3 rounds. After the final fold, cover the bowl and let the dough rise at room temperature until puffy and nearly doubled in size, about 4 to 6 hours, depending on the temperature.
Shape and proof
- Turn the dough out onto a lightly floured surface. Gently shape it into a round by folding the edges toward the center and flipping it over. Use your hands or a bench scraper to tighten the shape slightly.
- Place the dough seam-side up in a floured proofing basket or towel-lined bowl. Cover and refrigerate for 8 to 12 hours for a cold fermentation that develops more flavor and makes scoring easier.Short on time? You can skip the fridge and let the shaped dough rise at room temperature for 1 to 3 hours, or until it looks slightly puffy and airy. See the note below about signs that the bread is ready to bake.
Score and bake
- Place a Dutch oven with the lid on into the oven and preheat to 475°F. Let it heat for at least 30 minutes to ensure the pot is thoroughly hot.
- Remove the dough from the fridge and invert it onto a sheet of parchment paper. Score the top with a sharp knife or lame.
- Carefully transfer the dough (on the parchment) into the hot Dutch oven. Cover and return it to the oven. Lightly spritz the surface of the dough with water. This encourages extra steam in the pot and helps create a crisp, blistered crust.
- Bake covered for 20 minutes, then uncover and bake for another 20–25 minutes, or until the crust is deep golden and crisp. Transfer to a wire rack and let the loaf cool completely before slicing.
Notes
Nutrition
Nutrition information is automatically calculated, so should only be used as an approximation.
 Like this recipe? Rate & comment below!
For a reminder of the true Bread of Life, read John 6:35. If you’re hungry for more than bread, this verse is worth a pause.





Dear Dahn, I like to drop a note to thank you for sharing so liberally and cleverly.
I found good success through your recipe. I had tired many others but not really helpful.
Though I failed many times at the start, but what you had written encouraged greatly. I learnt extensively also from FB sourdough experts (paying tribute to while tribute due), it is true, “the more you bake bread, the more proficient you will get….. Bread making is an addicting hobby.” quoting you!
Yours is the best recipe for a beginner. LIKE!
And your recipe has become my foundation, it has becomes my base while I make modification to my bake.
Recently, I had extra starter, so I boldly adjusted it by using 300g starter and 560 g of all purpose flour. I also used about 1 table spoon of olive oil. I was so delighted that though the dough was a little slimy, but it wasn’t sticky and I managed to do the S&F easily.
I had wanted to write to you to thank you quite some time, and finally found the time to do so.
You are a STAR!
Thank you Baca I am delighted to hear that this has been such a success for you. I really appreciate your kind words and love to hear how your bread turns out 🙂
My first try turned out well. I didn’t leave it in for the full 45 mins. In fact, next try 30 to 35 minutes. Left the first rise in the fridge. Second rise was in my proof setting of my oven, I used a baking sheet. I did use my steam bake feature on the oven. It is a very hot recipe. Most breads are more like 400°. With a couple small tweaks, this will be my go to recipe.
Happy to hear it turned out well Ann-Marie. Yes it is a very hot recipe. That high temperature helps give the bread a nice crusty shell. You are so lucky to have a steam feature on your oven, that will really help the texture as well 🙂
I mill my own wheat…would I follow the recipe as stated by weight? Since the bran/wheat germ would be part of the flour I am assuming I’d either need to adjust the amount of flour or expect it to be heavier. I plan on using Hard White Wheat since it is a bit lighter than red, but if I wanted to vary the wheats how do I adjust for it?
Thanks!
yes use the same weight measurements but increase the liquid ever so slightly. Whole wheat absorbs more liquid so it will require a higher percentage of liquid in the recipe. Since you mill your own wheat it is difficult to say how much liquid you will need. The finer you grind the wheat the more liquid you will need. I would start with just a couple of tablespoons at a time. Aside from that, it makes great whole wheat bread but it will be a bit denser and will not rise quite as high as all-purpose flour. Enjoy! I do love this bread with whole wheat flour.
I made my first loaf today very successfully !!! I was thrilled with the result – followed the recipe exactly. My starter was only 2 weeks old – failed the water test but I made it anyway – I couldn’t be happier ???
Excellent!! Thanks for the comment. I’m thrilled to hear it turned out with a young starter. You’re really going to love the bread when your starter is more mature.
This recipe did NOT work for me. My starter was definitely ready. I’ve been feeding it 2x per day for 12 hours for two weeks and it doubles in volume consistently and is frothy and bubbly throughout. I think there is something off with either the instructions on knead time or the first rise in the refrigerator. Either way, my dough barely rose at all in the refrigerator even after 12 hours. The second rise I did at room temp and the loaf rose a little bit but it was obvious something was not right. I ended up with a dense, inedible loaf. Really discouraging first attempt at making sourdough bread at home.
Marguerite, there are so many variables in bread baking that it is difficult to know exactly what went wrong this time. If this was your first attempt don’t be discouraged. Bread making, and especially sourdough bread, is more than simple science, it is also an art and skill. Over time you even develop an intuition. It definitely takes some practice. It sounds like you may have needed to let the bread rise longer. You will find that bread rises much faster in the summer and slower in the winter. Rainy days will even affect how bread rises. Another possible factor could be how you measure your ingredients. If you weigh your ingredients you will have much more success. Often times, if you use a measuring cup it is easy to almost double the amount of flour that the recipe calls for which would mean that there is not enough starter for the amount of flour and that would prevent the bread from rising enough. It is hard to know what did not work for you without being in the kitchen with you but I hope you keep trying.
I had the same issue. Had a great starter, pasts the float test, but my dough wasn’t sticky at all like described in the description. I wonder if the recipe or I got the water to flour ratio off.
Peter, how old is your starter? Is it an established starter that has been around for several months or is it fairly new and only a week or two old? A float test is not always a good indicator that your starter is ready to use. It just means that there is gas in the starter. The gas could be coming from friendly yeast but it also may be from friendly bacteria. If your starter is new, it may still have a lot of bacteria and not enough yeast. That can be deceiving and give you a false positive float test.
Sometimes a starter needs a little longer to establish itself and build up more friendly yeasts.
Should the dutch oven be preheated in the oven? Another recipe I saw, asked for the dutch oven to be scalding hot when the dough was put in.
John, you will definitely get a higher rising bread and a crustier crust if you pre-heat the dutch oven but it is an optional step. The bread bakes very nicely if you do not have a Dutch oven or if you do not pre-heat it. It can be a little daunting for some people to lower the bread dough into a hot Dutch oven so this recipe shows that you can get a lovely loaf of bread without pre-heating the Dutch oven. When I pre-heat my Dutch oven, the bread rises about 1/2 inch higher. If you want your bread to rise to its highest potential and don’t mind dealing with a hot Dutch oven then pre-heat the D.O. for 30 minutes before lowering the risen dough into it.
Question, when you bake the loaf in the Dutch Oven are you supposed to put a lid on the dutch oven or not .. can you give me more instruction on baking with the DO
yes David, stick the lid on if you have a dutch oven, it will hold the steam in. Thanks for asking
How much rise should I expect from the first rise? AKA – How will I know if it’s time to shape it?
Hey Stephanie, the dough will rise about 1-1/2 to 2 times its original size. If you let it rise overnight in the fridge it may not even rise that much but it will be good to shape and let rise again for the loaf.
Wonder if this would work using sprouted flour? I love the refrigerator rise idea.
Yes, Kathy it absolutely does work with sprouted flour and makes wonderful bread! Enjoy!!
Really good bread baking primer. We aren’t eating as much bread as we used to, so haven’t baked any for quite some time. Probably time to start again, though — nothing like the flavor of your own bread, is there? Terrific post — thanks so much.
Thanks, John, your so right. Home-baked bread just cannot be beat!