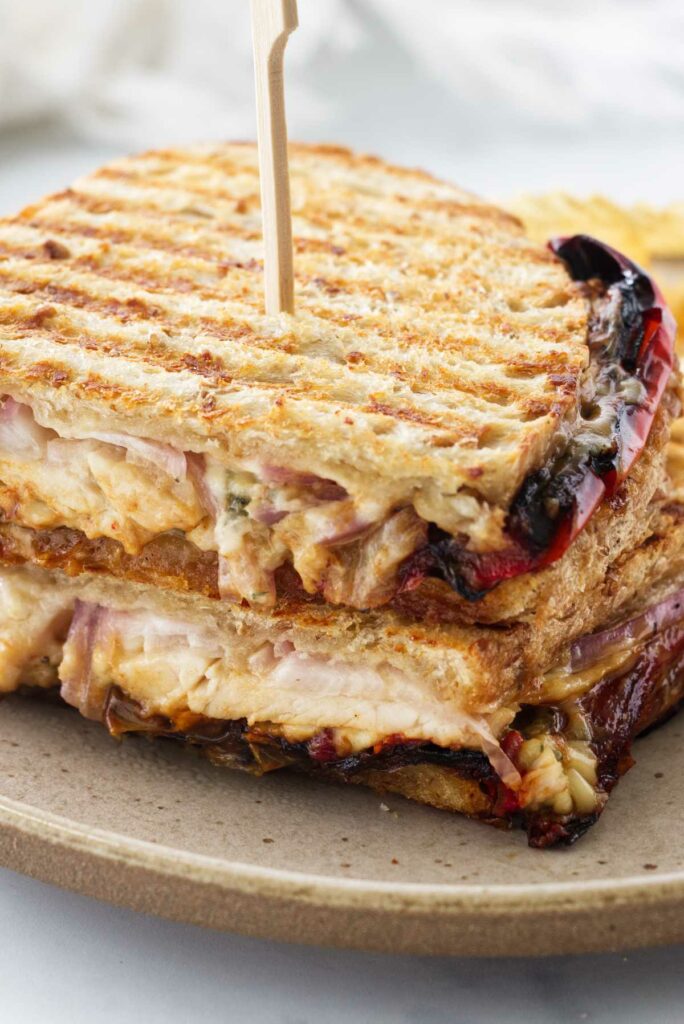
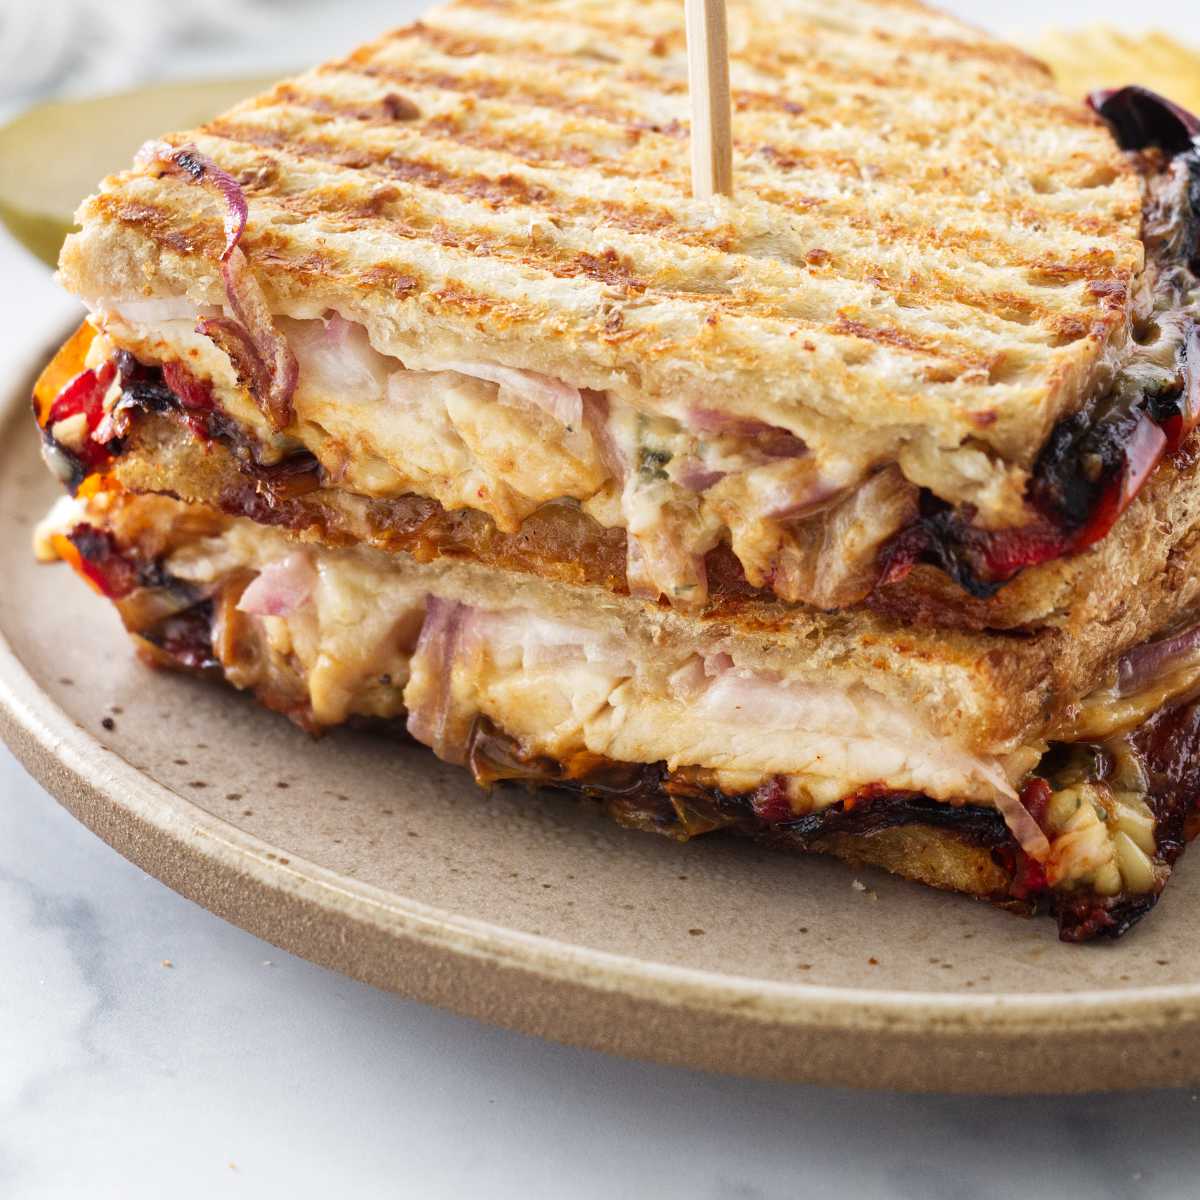
This Chicken and Blue Cheese Panini recipe hits all the right notes with toasty bread, tender chicken, sweet, smokey roasted peppers, and gooey melted cheese. Plus, it’s easy to make and comes together in under 20 minutes. It’s also a fantastic way to repurpose leftover chicken, so you’re being budget-friendly and minimizing waste.
- Here is Why This Sandwich Recipe Works
- The Ingredients for Chicken and Cheese Panini Sandwich
- Substitutions
- How to Make A Crispy Chicken and Cheese Panini
- Variations
- Tips for Success
- Serving Suggestions
- Storage and Reheating
- More Sandwich Recipes
- Frequently Asked Questions
- Helpful Tools
- More Recipes You Will Love
Whether you’re new to the panini game or a seasoned grill master, this Chicken and Blue Cheese Panini has a little something for everyone.
Here is Why This Sandwich Recipe Works
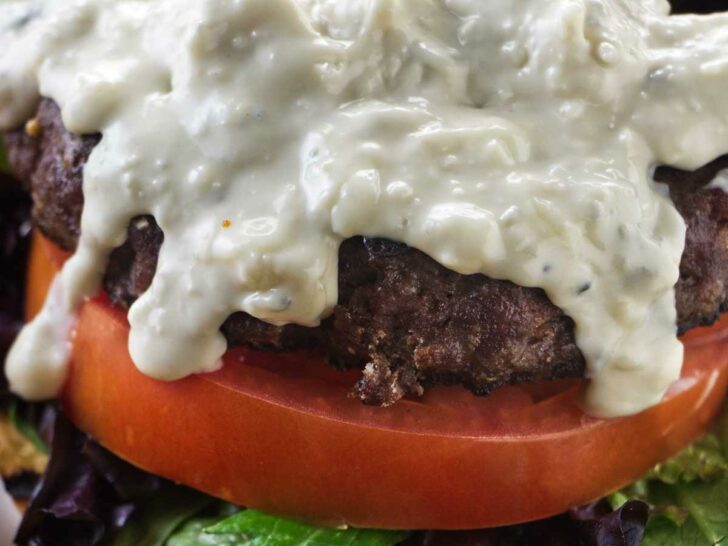
- The mayonnaise-dijon blend offers a tangy kick, balanced perfectly by the boldness of blue cheese.
- The red onion and grilled peppers bring a subtle sweetness, while the melted blue cheese provides a savory, indulgent creaminess.
- The panini press gives the bread an unbeatable crunch, and of course, it helps melt all of that cheese that melds the flavors.
- Finally, this dish is super flexible. Swap out chicken for turkey or beef, experiment with different types of cheeses or condiments, and add any grilled veggies you’d like. The combinations are endless!
The Ingredients for Chicken and Cheese Panini Sandwich
Here is a list of the ingredients you will need for this recipe. Scroll down to the printable recipe card for all the details.
- Pantry: Mayonnaise, Dijon mustard, sourdough bread, preserved roasted peppers.
- Produce: Lemon juice, red onion.
- Meat: Chicken breasts, cooked
- Fridge: Blue cheese,
Substitutions
- Swap out the sourdough for whole-grain or gluten-free bread.
- If blue cheese isn’t your cup of tea (or slice of cheese), try gouda, mozzarella, or even a smoked cheddar.
- Instead of the mayo-mustard blend, try pesto or a spicy sriracha mayo

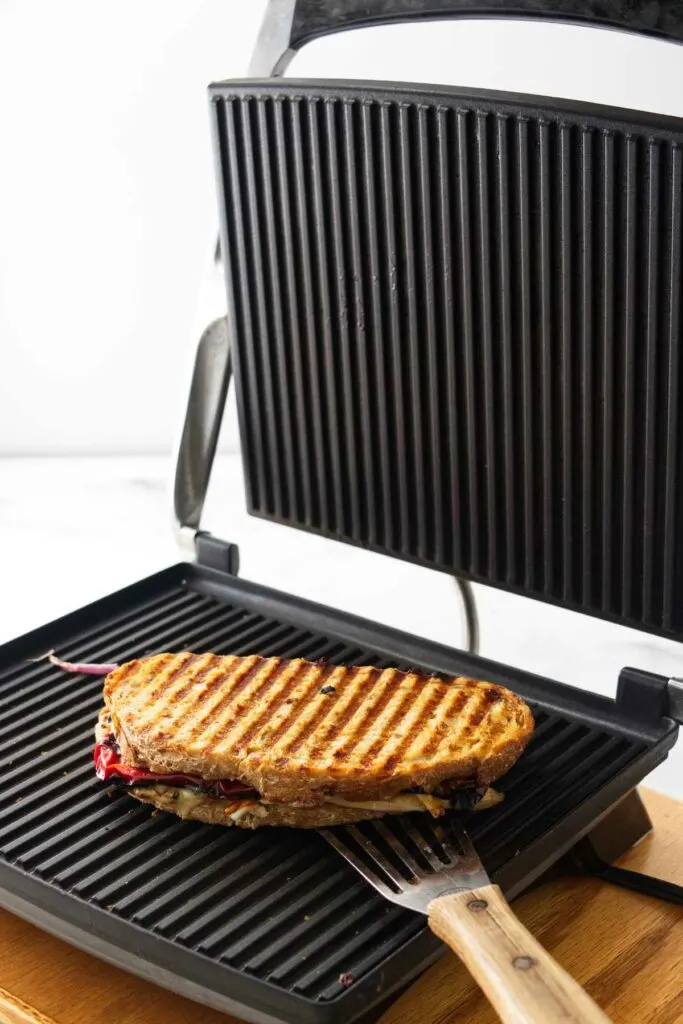
How to Make A Crispy Chicken and Cheese Panini
Here is a brief overview to get an idea of what to expect with the recipe. Scroll down to the printable recipe card for all the details.
- Prep: Heat panini press to 350°. Mix the mayo/Dijon spread. Slice the chicken, cheese, and red onion. Pat the jarred peppers dry.
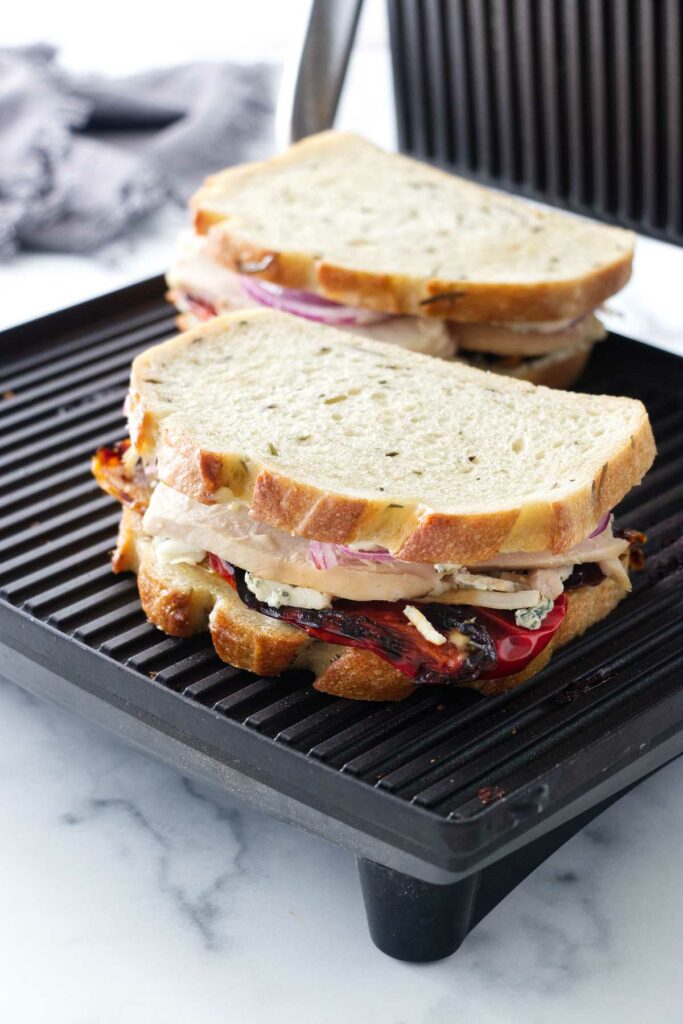
- Assemble: Spread Dijon mayo on the sourdough. Layer with chicken, cheese, onion, and peppers. Top with the remaining bread slices.
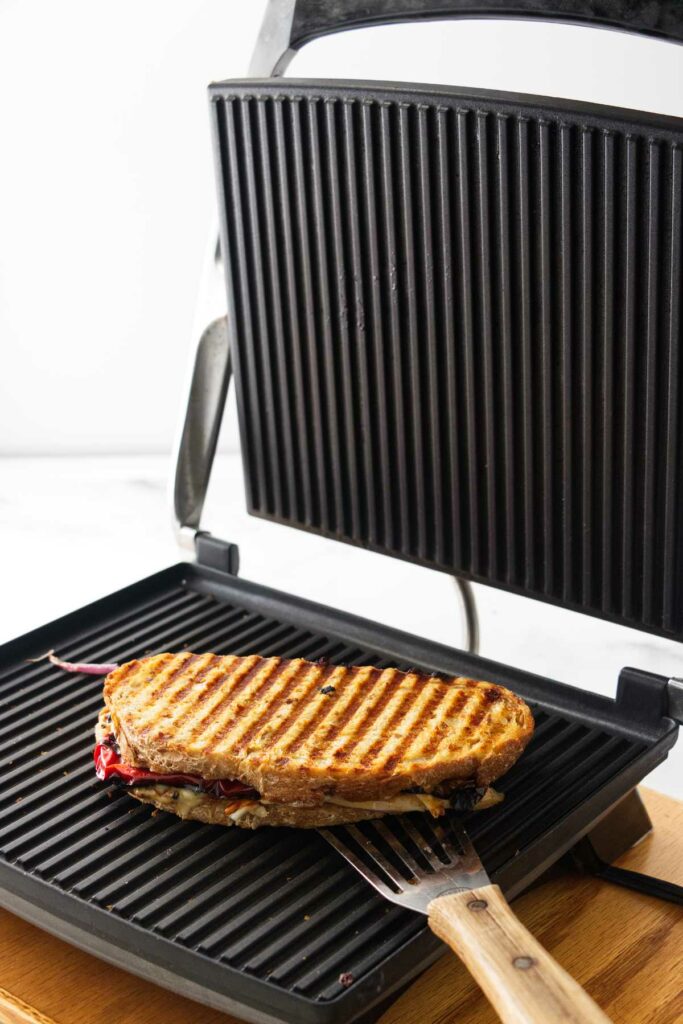
- Cook: Place sandwiches in the panini press until the cheese melts and the bread gets golden brown and crisp.
Variations
BBQ Chicken & Cheddar Panini
Swap blue cheese for sharp cheddar. Replace the dijon spread with BBQ sauce.
Turkey and Cranberry Panini
Use turkey slices instead of chicken. Swap the mayo for cranberry sauce and replace the roasted peppers with a few slices of fresh apple for tartness.
Mediterranean Veggie Loaded Panini
Add sliced, grilled zucchini and eggplant, and switch blue cheese to feta.
Spicy Buffalo Chicken Panini
Use a Buffalo sauce mixed with a touch of ranch instead of the dijon mayo. Add some sliced jalapeños for extra heat.
Tips for Success
- Use some oil. Brush or spray a bit of olive oil over the outside of the panini before cooking.
- Make thin slices. Slice the cheese and onion thin so they cook evenly and quickly.
- Don’t Overstuff the sandwich. It’s tempting to load up, but too many fillings can make your panini fall apart. Plus, it might not cook evenly.
- Pre-Heat the Panini Press. Always allow your panini press to fully heat up before adding the sandwich. It ensures crispy, golden bread.
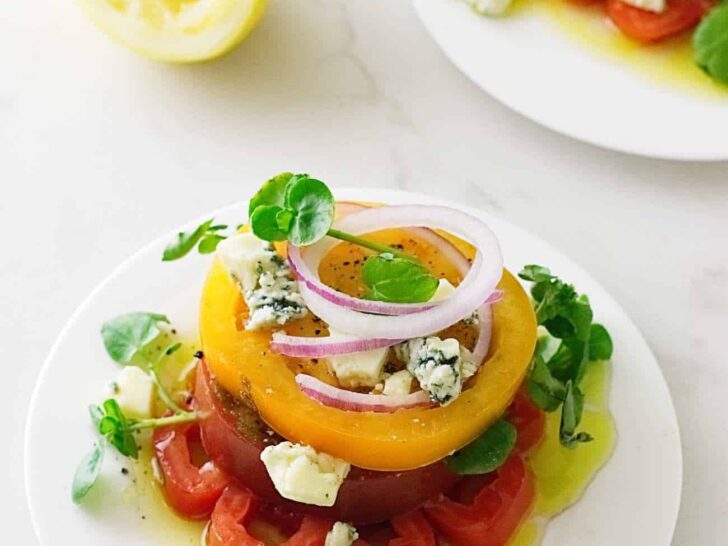
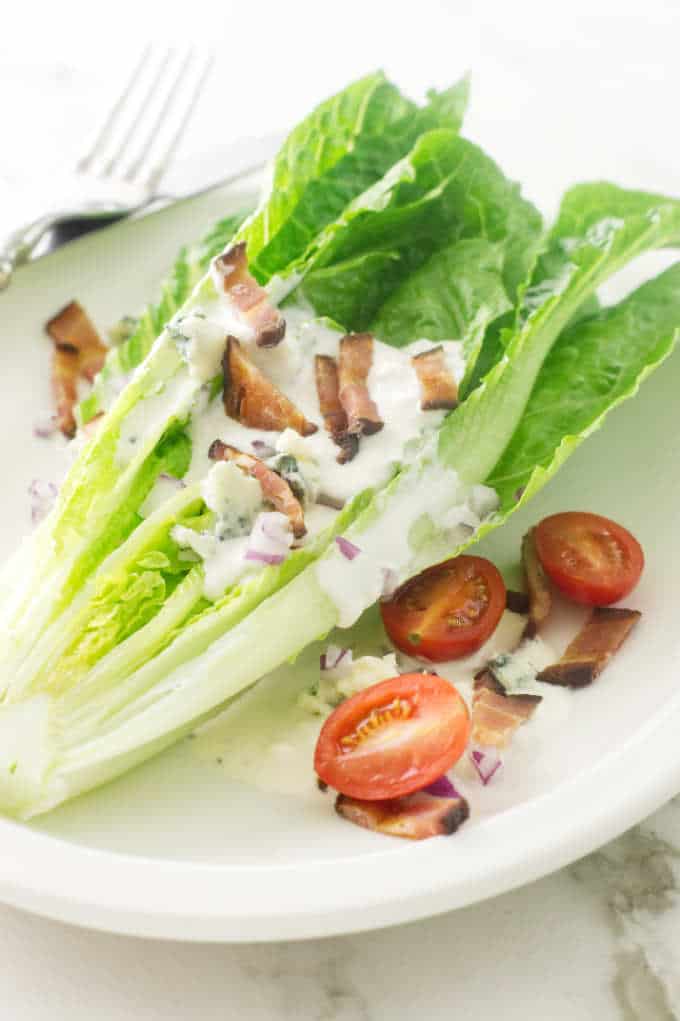
Serving Suggestions
Pair this panini with your favorite side salad, chips, and a glass of hibiscus lemonade for the perfect lunch! Here are some more suggestions to serve with the sandwich.
- Roasted red pepper soup
- Creamy butternut squash soup
- Instant Pot 15 bean soup
- Green mango salad
- Blackberry feta salad
- Blueberry and kale salad
Storage and Reheating
In the fridge: Place the panini in an airtight container and store it in the fridge for up to 4 days.
In the freezer: Keep the sandwich in a freezer-proof bag. Label it and freeze it for up to 3 months.
Reheating: Wrap the cold sandwich in foil (to prevent it from drying out) and heat in a pre-heated 350°F oven or air fryer until warmed through.
More Sandwich Recipes
- Italian press sandwich
- Chicken Banh Mi
- Chicken Caesar sandwich
- Hot Reuban sandwich
- Rosemary chicken salad sandwich
- Bacon Ranch chicken sandwich
- Grilled Lamb Kabob Sandwiches

Frequently Asked Questions
Both grilled and roasted chicken work well. You can even use rotisserie chicken if you’re short on time.
Hearty, rustic breads like sourdough, ciabatta, or focaccia work great because they’re sturdy and crisp up nicely.
Definitely! You can use a skillet and press down the sandwich with another heavy pan or even a brick wrapped in foil.
This chicken and blue cheese panini is a delicious twist on the classic Italian sandwich. It’s easy to make, versatile enough for any occasion, and you can customize it with your favorite ingredients! Plus, it reheats nicely, so you can enjoy it at any time!
Helpful Tools
Some of the following are affiliate links. We may receive a small commission if you click on these links and purchase something. You don’t pay any extra, but it will help us keep the lights on.
More Recipes You Will Love:
- Slow cooker chicken paprika
- Garlic butter chicken pasta
- Buffalo chicken pizza
- Crockpot beer cheese dip
- Naan Bread
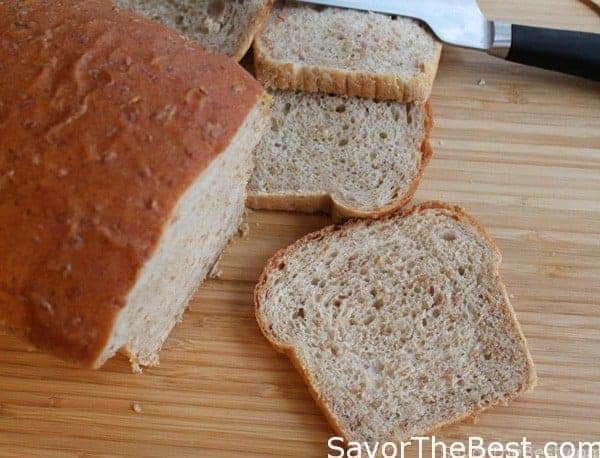
- Easy Sourdough Bread

Chicken And Blue Cheese Panini
Ingredients
- 1/4 cup mayonnaise
- 1/4 cup dijon mustard
- 1 teaspoon lemon juice
- 12 ounces chicken breasts cooked
- 8 slices of sourdough bread
- 4 ounces blue cheese sliced or crumbled
- 4 slices red onion
- 4 large roasted preserved peppers from a jar
Instructions
- Preheat the panini press to 350° or medium-high, depending on the type of grill you have.
- In a small dish, mix the mayonnaise, mustard, and lemon juice together and set aside.
- Slice the chicken breasts as thin as possible, slice the cheese and onion. Place the peppers on a small plate lined with paper towels and pat the liquid off of them.
- Spread each slice of bread with the mayo mixture and arrange the chicken, cheese, onion, and peppers on four of the slices of bread. Add the second bread slice on top and place in the heated panini press.
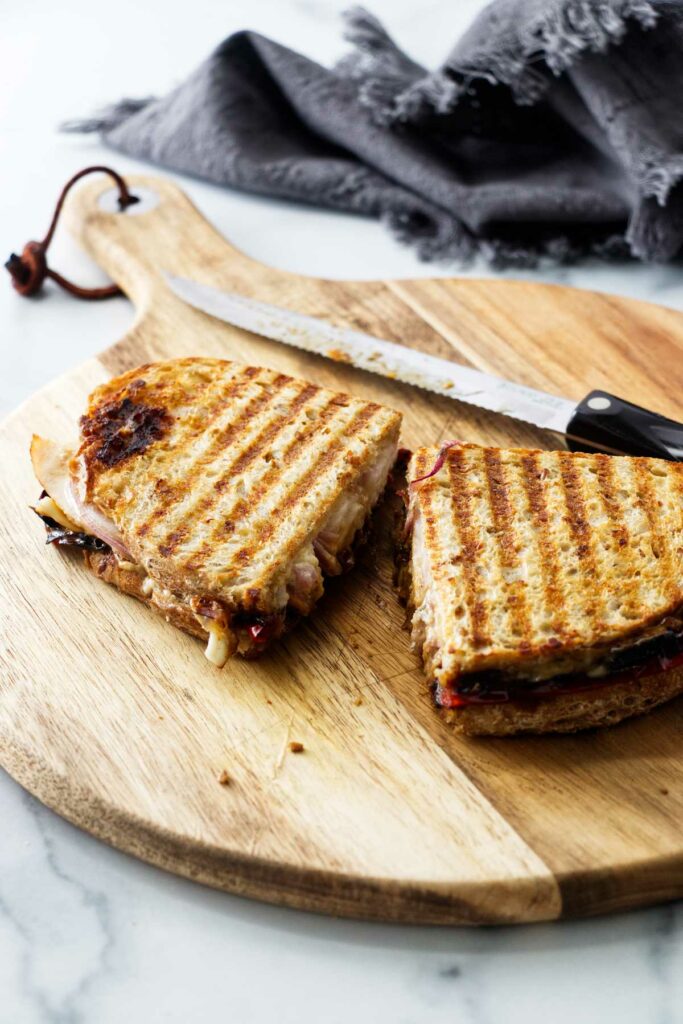
- Cook for 5 minutes or until the cheese melts and the bread is golden and crisp. Transfer to a cutting board, cut in half, and serve.


Jackie Bolen
Monday 29th of February 2016
Nice! That looks like a really solid panini for sure. I'll have to try out the recipe.
Pat
Monday 29th of February 2016
Welcome to our site and thanks for the comments. Hope you try the recipe :)