
This post may contain affiliate links. Please read our disclosure policy. As an Amazon Associate, I earn from qualifying purchases.
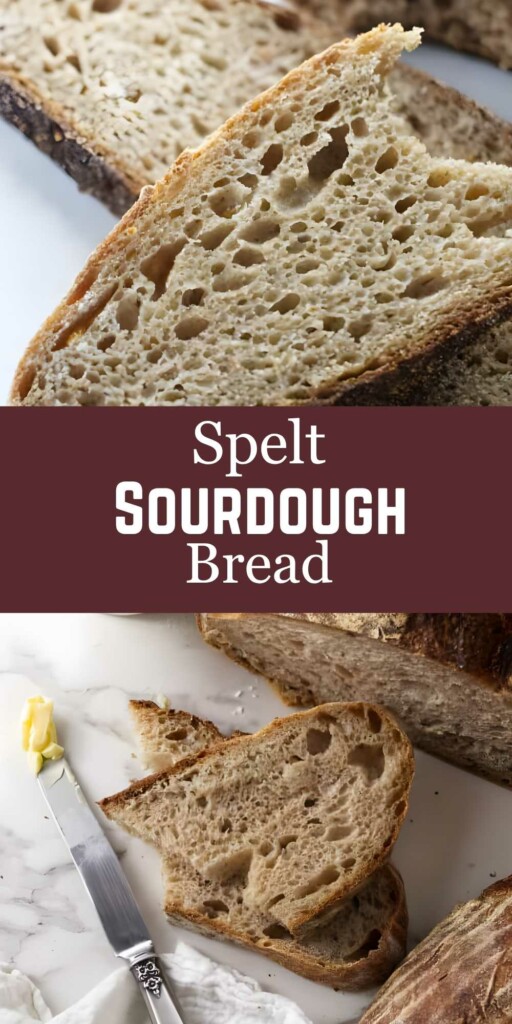
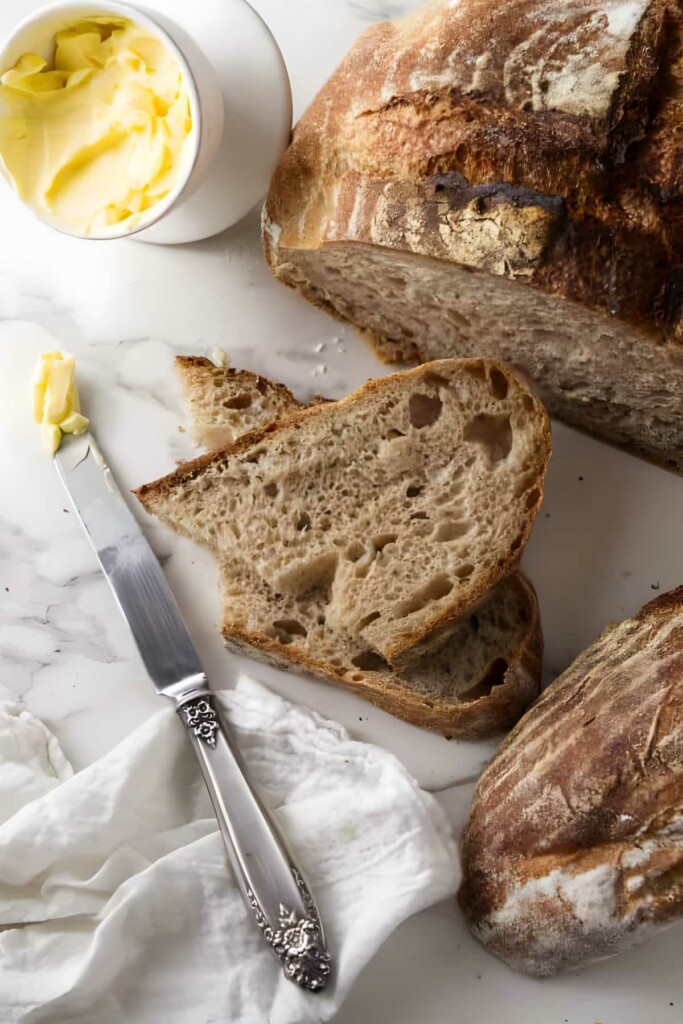
This 100% whole wheat spelt sourdough bread is the real deal. No white flour and no commercial yeast. Just four ingredients and that naturally tangy, chewy, artisan-style crumb. The whole grain spelt gives it a nutty flavor and rustic texture. If you’re after a hearty loaf with depth and character, this one earns a spot on repeat.
If you’re after something more classic, you can try my sourdough bread made with white flour.
Here is Why This Sourdough Spelt Bread Recipe Works
Uses a natural sourdough starter: No commercial yeast here. Just good old fermentation doing its thing for depth and complexity. If you need one, here’s how to make a sourdough starter with pineapple juice.
Spelt flour keeps things interesting: It’s nuttier, softer, and brings a rustic flavor that makes it a favorite for whole grain baking. Want more ways to use it? Try my spelt banana bread for a naturally sweet treat or this hearty spelt Irish soda bread.
Flexible proofing options: Whether you want it same day or tomorrow, this dough plays nice with room temp or cold fermentation.
No fancy equipment needed: Sure, a Dutch oven helps, but you can pull this off with a baking sheet if you need to.
Want to try something more relaxed with your starter? My sourdough focaccia is low-effort, no-knead, and perfect for sandwiches
Recipe Tips
Weigh your ingredients: Measuring by cups is fine in theory, but spelt is temperamental. A scale keeps things precise and saves you from guesswork.
Don’t add extra flour: Spelt gets dense fast if you add too much flour. Embrace the stickiness and keep your hands wet instead.
Don’t wait for a full double rise: Spelt doesn’t have the gluten muscle for dramatic lifts. Aim for 1½ to just under 2 times the original size. Any more, and it can collapse.
Flour your proofing basket: Use a mix of rice and all-purpose flour to keep the dough from welding itself to your towel or basket.
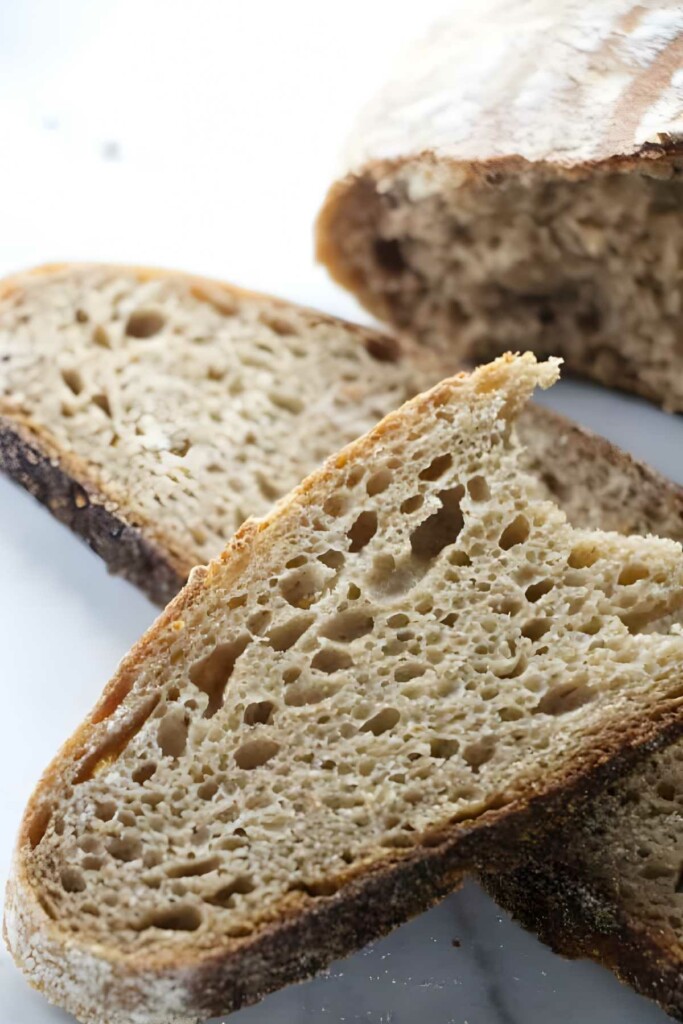
Be patient with the sticky stage: Yes, it’s messy. No, it doesn’t mean you did something wrong. That wet dough is exactly what gives you an open crumb and soft interior.
Working with ancient grains? Einkorn, like spelt, has a weaker gluten structure and benefits from gentle handling. If you’re curious, check out my einkorn sourdough bread recipe.
Storing Leftovers
Refrigerate: Store leftover slices in an airtight container at room temp for up to 2 days, or refrigerate for up to 5 days if your kitchen runs warm.
Freeze: Wrap slices or the whole loaf tightly in plastic, then foil, and freeze for up to 2 months. Thaw at room temp before reheating.
Reheat: Toast slices straight from the fridge or freezer. If you’re reviving a whole loaf, warm it in a 350°F oven for about 10–15 minutes.
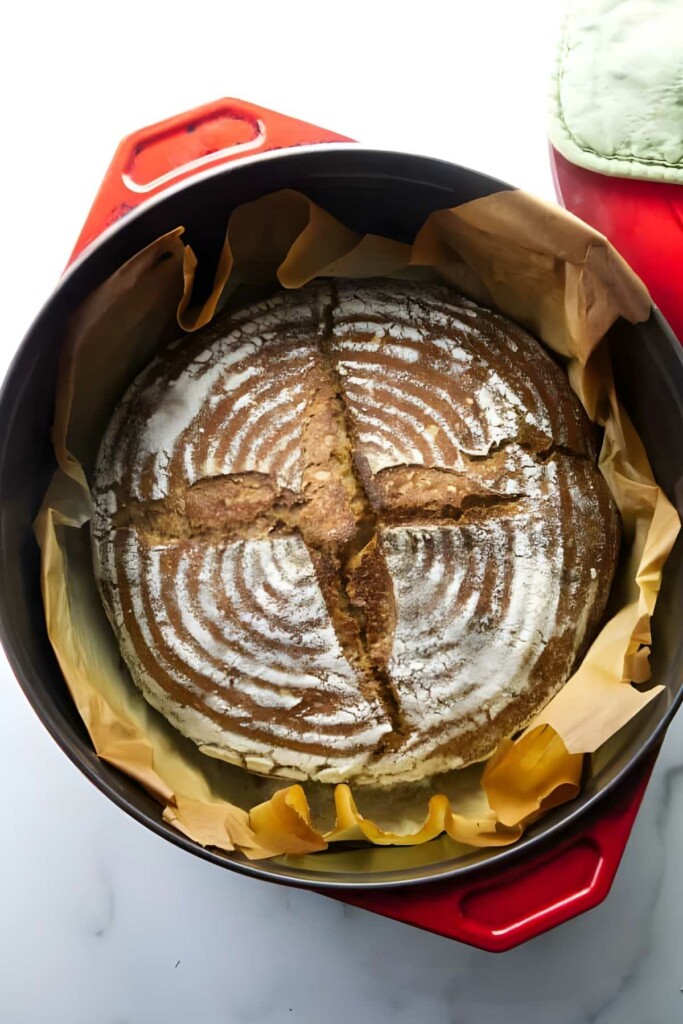
100% Whole Wheat Spelt Sourdough Bread
This 100% whole wheat spelt sourdough is simple, hearty, and full of character. It lets the spelt do what it does best; add a nutty flavor, a tender crumb, and a rustic feel that makes each slice feel homemade in the best way. Once you’ve made it a time or two, it settles into that reliable, keep-it-in-the-rotation kind of recipe.
Pin this now to find it later!
Pin It
100% Spelt Sourdough Bread
If you make this recipe, please leave a star rating and comment.
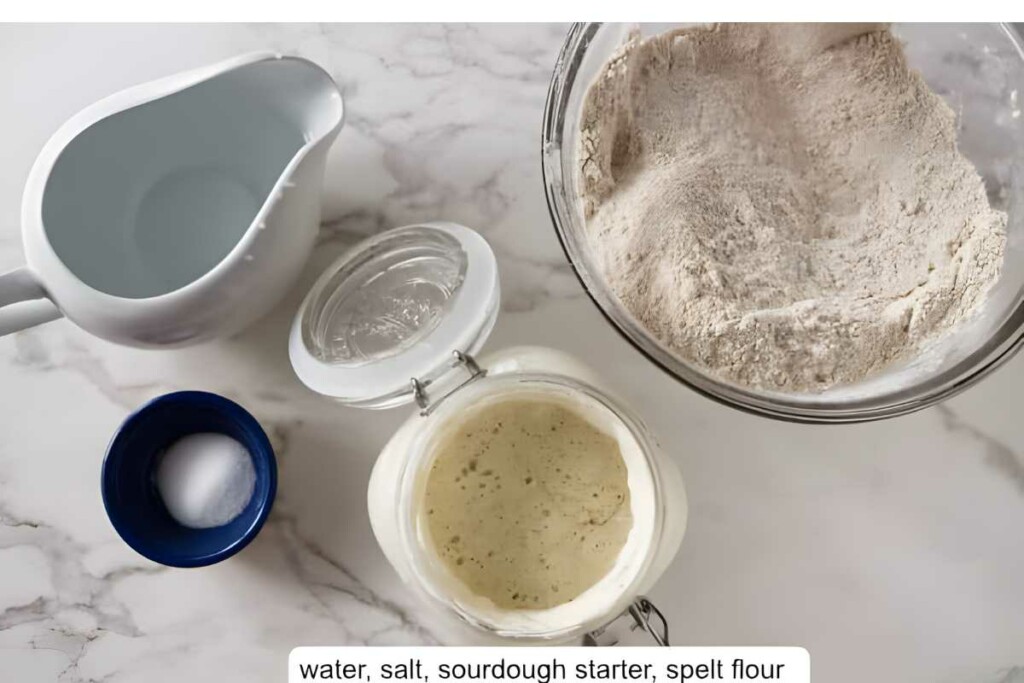
Ingredients
- 1 cup active sourdough starter, (240 grams)
- 1 ¾ cups warm water, (413 grams)
- 4 ¼ to 5 ¼ cups whole wheat spelt flour, (550 to 680 grams)
- 2 teaspoons salt, (12 grams)
Instructions
- Combine all the ingredients in the bowl and stir until it is well combined. The dough will have a rough, chunky look.
- Dump the dough onto a work surface and knead the dough with your hands until it is smooth. Approximately 10 to 12 minutes. (Essentially, you are massaging the dough by stretching and pushing. This will help develop the gluten.) At this stage, it will be wet and sticky. Try not to add more flour or your finished bread will be dense and heavy. The dough will stick to your hands and feel messy but if you get your hands wet it won't stick as easily.
- Place the dough into an oiled bowl and turn it so oil coats the top of the dough. Cover with plastic wrap and let it sit at room temperature for 3 to 6 hours (see notes) or in the refrigerator overnight. (A longer proof time in the fridge will give the bread a more complex, sourdough flavor.)
- Turn the dough out onto a work surface and form it into a round ball. (See notes)
- Place the ball of dough into a proofing basket or any container that is the shape that you want your bread to be shaped. (See notes)
- Let the dough rise again a second time for 3 to 6 hours** at room temperature until almost doubled in size. (Or you could let it rise in the fridge overnight for 12 to 15 hours)
- Preheat the oven to 450°F. Place the Dutch oven inside so it gets hot. It should take 20 to 30 minutes to preheat the Dutch oven.
- Place a piece of parchment on a board then lay it on top of the proofing basket. Flip the board and basket so the basket is on top then remove the basket.
- When the oven is hot, use the parchment paper to place the bread into the Dutch oven. Make a slash in the loaf with a sharp knife. For an extra burst of steam and a slightly higher rise, spray the dough with a bit of water.
- Bake for 20 minutes then remove the lid and finish baking for another to 30 to 35 minutes.
- Let the bread cool completely before slicing it.
Video
Notes
Nutrition
Nutrition information is automatically calculated, so should only be used as an approximation.
 Like this recipe? Rate & comment below!
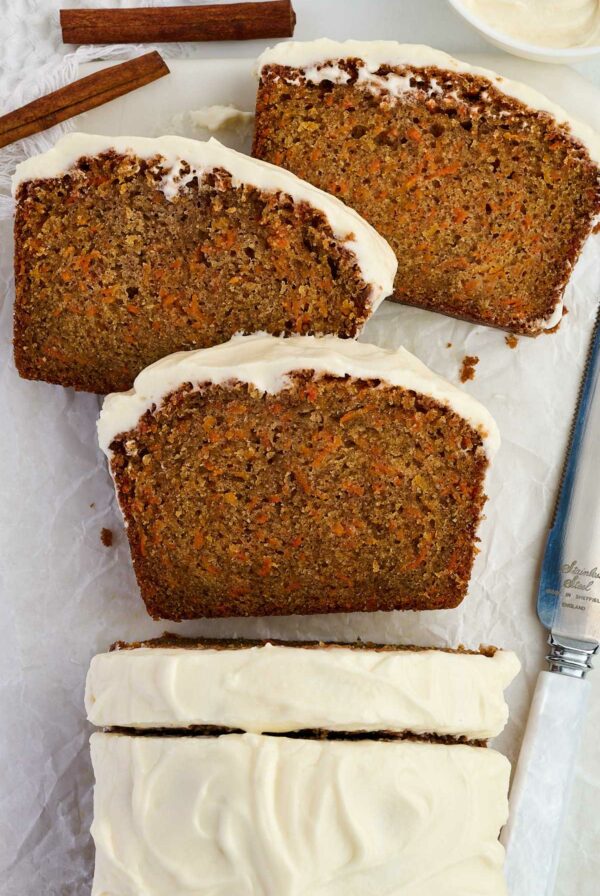


Hi, if I make my own flour from spelt do I have to take less or more water? My breads seem to all be rather flat. They taste great, but I would love to get similar results to yours. Also the skin of the bread is never smooth. The flour I use is not sifted bc I take everything that comes out of the mill. I started baking for health reasons and didn’t want to discard the fiber that sits in the shell of the corn. Any thoughts?
Grinding your own flour will add an extra challenge to baking bread. Most home flour mills do not grind the flour as finely as a commercial mill. If the bran and germ layers are not pulverized finely enough then it will make your bread much denser and more course. Even flour that looks like it has been ground very finely at home does not compare to store ground flour when it is placed under a microscope.
Also, since your flour is incredibly fresh since you grind it yourself then that will change how the flour behaves. I would recommend experimenting with the liquid and kneading time. It may be difficult to get the texture you want with home-ground flour but the flavor and nutrition can’t be beaten.
If I choose to do the second rise in the fridge overnight, do I put it right in the oven strait from the fridge? Or do I let it sit at room temperature.
Thank you!
Great question, you can put the bread straight into the hot oven. But if you store it in the fridge while it is in a Dutch oven then you may want to let the Dutch oven come to room temperature. If you stick a cold Dutch oven straight into a hot oven then the Dutch oven may crack. So it really depends on how you store it in the fridge. The dough itself does not need to come to room temperature before you bake it. Thanks for your question.
Hi! I am really keen to try this recipe. I just have two questions.
1. My sourdough starter is a gluten free one, made from brown rice flour and water. Will this be ok to use for this recipe?
2. Will the recipe work with organic white spelt flour rather than whole wheat?
Thank you so much!
Anna
Yes, the gluten-free starter will work. The dough structure will not be quite as ‘strong’ so I would recommend slightly under-proofing the bread so it doesn’t collapse. The organic white spelt flour will work great. Adjust the liquid a bit. Start by using 1/2 cup less water then slowly add the additional water until the consistency of the dough looks good.
@Dahn Boquist,
Brilliant, thank you so much for you reply! I will let you know how I go 🙂
Excellent, hope to hear back from you
Hi Dahn 🙂
We are eating beautiful spelt sourdough for breakfast today! I love your recipe, and thank you for all your help so far.
I got a good rise from my loaf and made sure not to let it go too high.
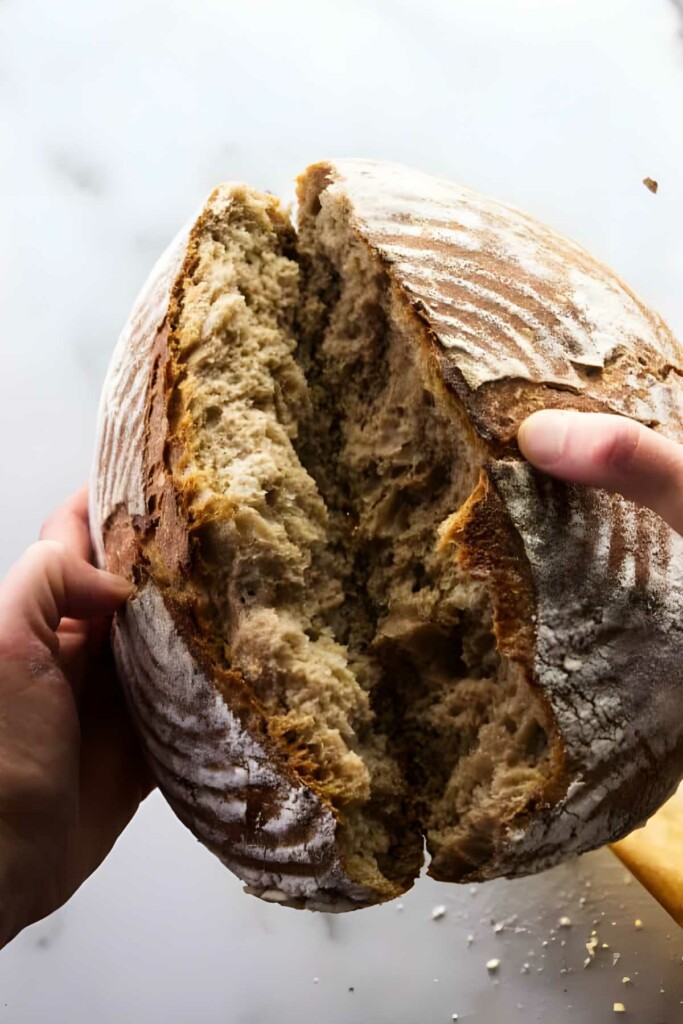
The finished bread tastes delicious but is quite dense – it doesn’t have that open structure that I often see in sourdough. Is this normal do you think? Or should I try something different next time?
Thanks again!
Anna
Yes, for 100% spelt sourdough, the bread will be denser. Spelt is lower in gluten so you will not get a really high rise and open crumb like you see in white sourdough bread. If you want a more open, lighter crumb, you will want to replace half of the spelt with white bread flour which will increase the gluten and overall strength of the dough. Another option would be to add 2 tablespoons of vital wheat gluten to the dough. If you make these changes, you will want to adjust the liquid a bit, especially if you use bread flour.
@Dahn Boquist, brilliant, thank you for all your help and information!
You’re welcome 😉
How much water are you actually supposed to use? How wet should the dough be when kneading?
It really is a range depending on several factors. I use a different amount of water depending on the weather, temperature, humidity…. Start with the lower amount of water and add more if the dough is too dry. Don’t worry if you over-shoot the water a bit either, you can always add a bit more flour if the dough is too wet. If you’re new to bread baking, it can be a little intimidating but there really is room for adjustments. I made a video so you can see the texture of the dough. Mostly, think of the recipe as a flexible guide. That’s just how bread baking is, especially with sourdough. The more you make bread, the easier it is to tell when the dough is ‘just right’.
Thank you for this easy and delicious recipe! It used the maximum amount of water and the dough was VERY wet, so I couldn’t really form it into a ball for the first rise. But after shaping it with quite a lot of flour it was workable and the end result is just so moist and yummy! Thanks!
Thanks for the comment Yasmine, I’m happy it turned out for you
I was not sure about the amount of water so went for 450mls which is half way between your measurements but when I mixed everything together it was just slop and impossible to knead. What went wrong.
It’s hard to know without seeing everything you did but I imagine something was miss-measured. Did you grind your own flour or purchase it from a store? Are you weighing your ingredients? It will be much more accurate if you use a scale. No worries though, it is easy to recover from. I would just roll with what you have and add more flour until you have the right consistency.
My family and I LOvE the taste and texture of this bread – I haven’t had success with its shape. After the second rise, when I transfer it to the Dutch oven, it deflates and stays low rather than a beautiful shape. I’ve used the minimum amount of water but it seems like the dough might still be too sticky. Do you have any recommendations on how I can get a fuller loaf? Thanks so much for this awesome recipe!
It sounds like you might be over-proofing it. Spelt flour does not have a strong gluten structure to hold a high rise. It should rise slightly less than double it’s size. Even 1-1/2 times its size is a good height to aim for. I hope that helps. Thanks for the question, I updated the notes in the recipe card.
@Dahn Boquist, thanks! I’ll watch it more closely 🙂
Good luck. Hope to hear how the next try goes 😉
Newbie question, should the starter be at peak when combined with everything? Sounds easy and delicious! I’m excited to try this!
Also, around how long should I knead when first combining the starter and all ingredients?
When you first combine the ingredients just stir them up until you have a chunky, rough dough then turn it out onto a counter and knead the dough until it smooths out. That usually takes about 10 to 12 minutes. You can also use a stand mixer to do the job. 😉
Yes, the starter should be at its peak. Thanks for the question
Could you also provide weight measurements for the ingredients? Currently there are only cup measurements!
Absolutely! Thanks for the question. I have the weight measurements entered now 😉
What a glorious artisan bread! It looks even better than many bakeries here. Well done, Dahn!
Thanks Angie!