This post may contain affiliate links. Please read our disclosure policy. As an Amazon Associate, I earn from qualifying purchases.
These delightful cherry tarts are the perfect treat to brighten up any gathering. You can make these mini tarts with fresh or frozen cherries. The buttery crust is easy to make, or you can take a shortcut and grab some pie dough at the store. The star of the show is the homemade cherry filling made with juicy cherries that burst with flavor.
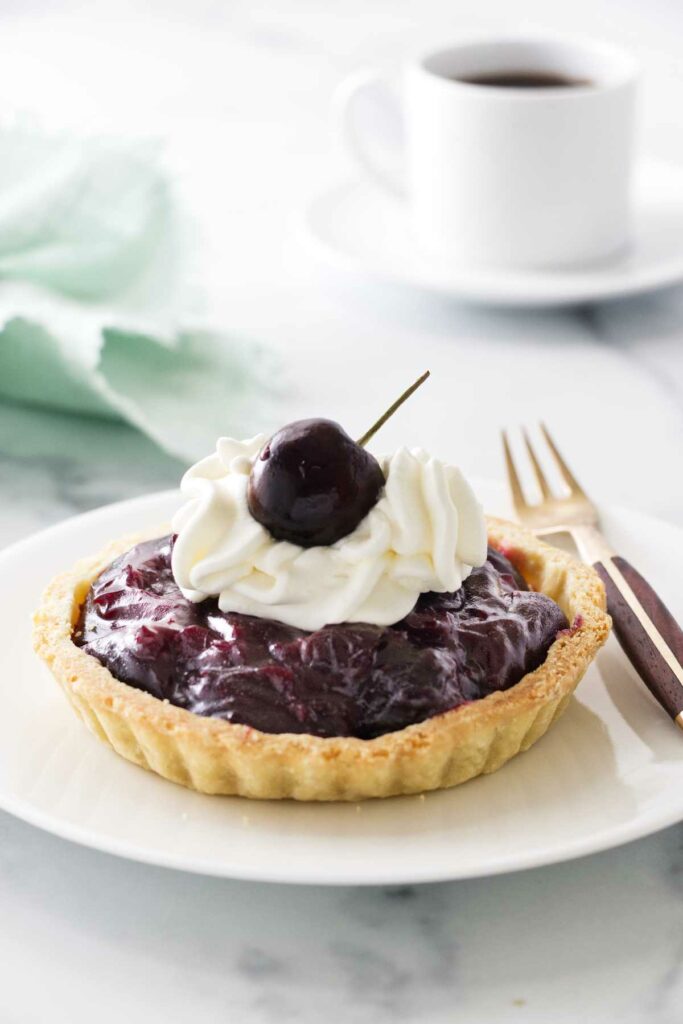
These easy cherry tarts make a stunning dessert any time of the year, especially during cherry season. But we keep dark sweet cherries in the freezer all year long so we can enjoy these sweet treats whenever a craving strikes.
Here is Why This Recipe Works
- Crowd-Pleasing Appeal: Cherry tarts are a classic dessert that brings a touch of elegance and nostalgia to any table. They make great dessert for dinner parties, holiday celebrations, or just a cozy night in with family.
- You can use fresh or frozen cherries in this recipe, giving you the flexibility to make these tarts year-round.
- Amazing flavor: The homemade cherry filling is what truly sets these tarts apart. The filling has a balance of sweetness and tartness that tastes amazing when paired with the buttery, flaky crust.
- Secret ingredient: Almond extract is added to the filling, giving it a subtle flavor that complements the cherries perfectly and enhances their flavor.
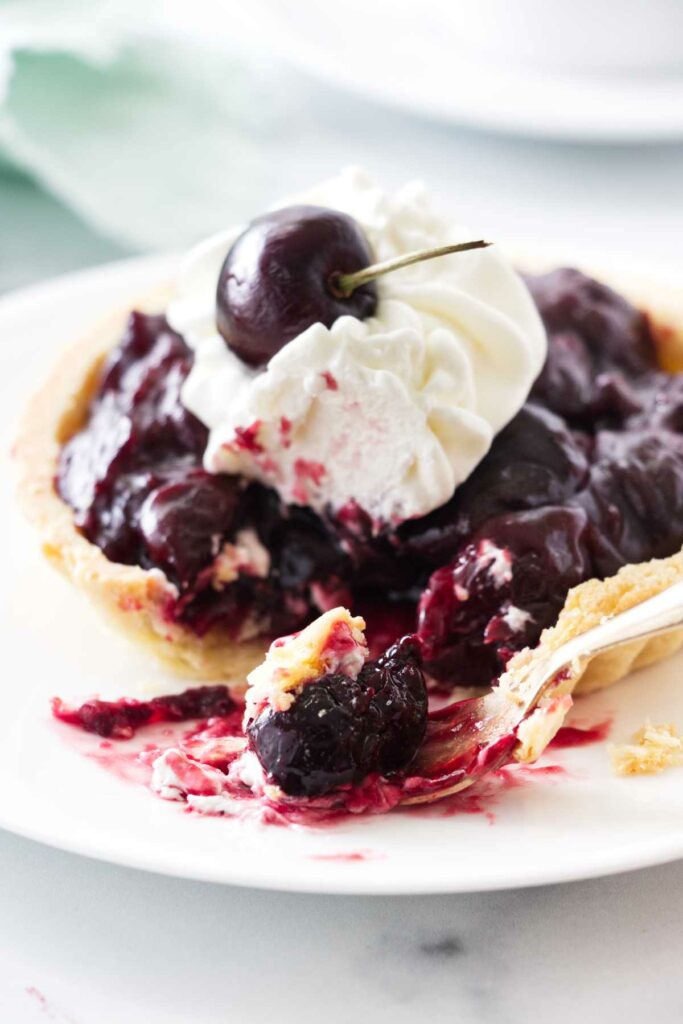
The Ingredients
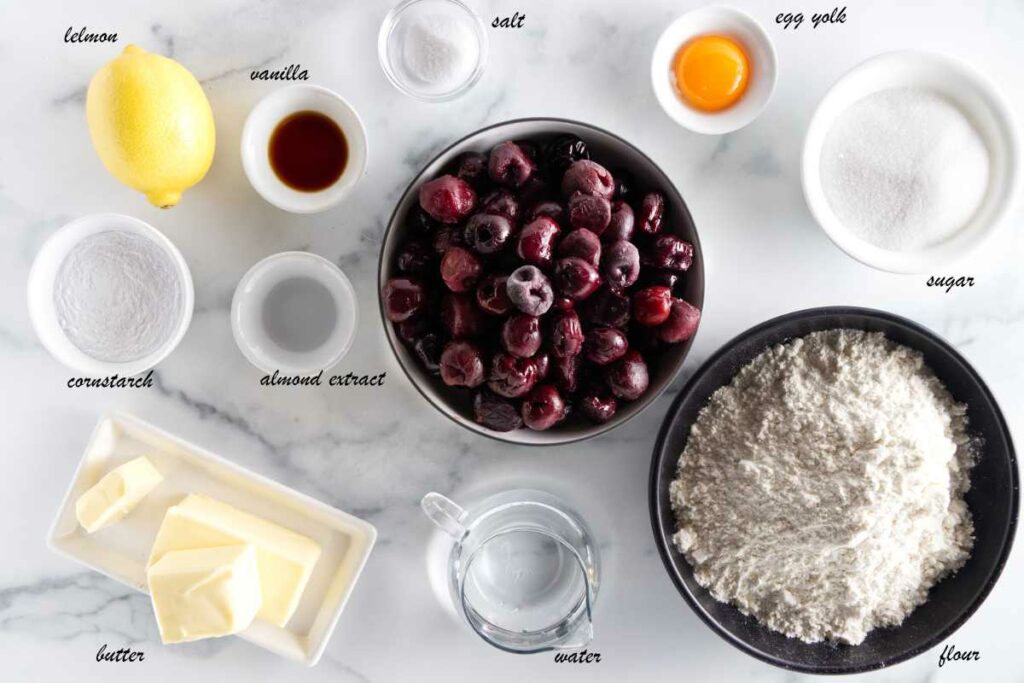
Here is a list of the ingredients you will need for these mini cherry tarts. Scroll down to the printable recipe card for all the details.
- Pastry crust. The homemade crust is easy to make.
- Cherries. You can use fresh cherries or frozen cherries. If you have dried cherries, check out our pear and dried cherry tarts.
- Sugar. Regular granulated sugar.
- Cornstarch. Use cornstarch to thicken the filling.
- Lemon juice. Fresh lemon juice will enhance the flavor of the cherries. You can substitute fresh juice with bottled lemon juice, but it isn’t as vibrant.
- Vanilla extract and almond extract. A small amount of vanilla and almond enhance the cherry flavor.
- Butter
- Whipped cream
Ingredient Substitutions
Substitute for the cornstarch: You can use equal amounts of instant Clearjel or use 6 tablespoons of flour or ⅓ cup of instant tapioca. If you plan to freeze the cherry tarts, I recommend using Instant Clearjel.
Substitute for the pastry crust: You can use a store-bought crust in the freezer section. Our chocolate shortbread crust would also be delicious with the cherry pie filling.
Gluten-Free Crust: For those who need a gluten-free option, check out our gluten free pie crust.
This cherry tarts recipe works well with a graham cracker crust, or swap the graham crackers for vanilla wafers.
How to Make It
Here is a brief overview to get an idea of what to expect with the recipe.
Scroll down to the printable recipe card for all the details.
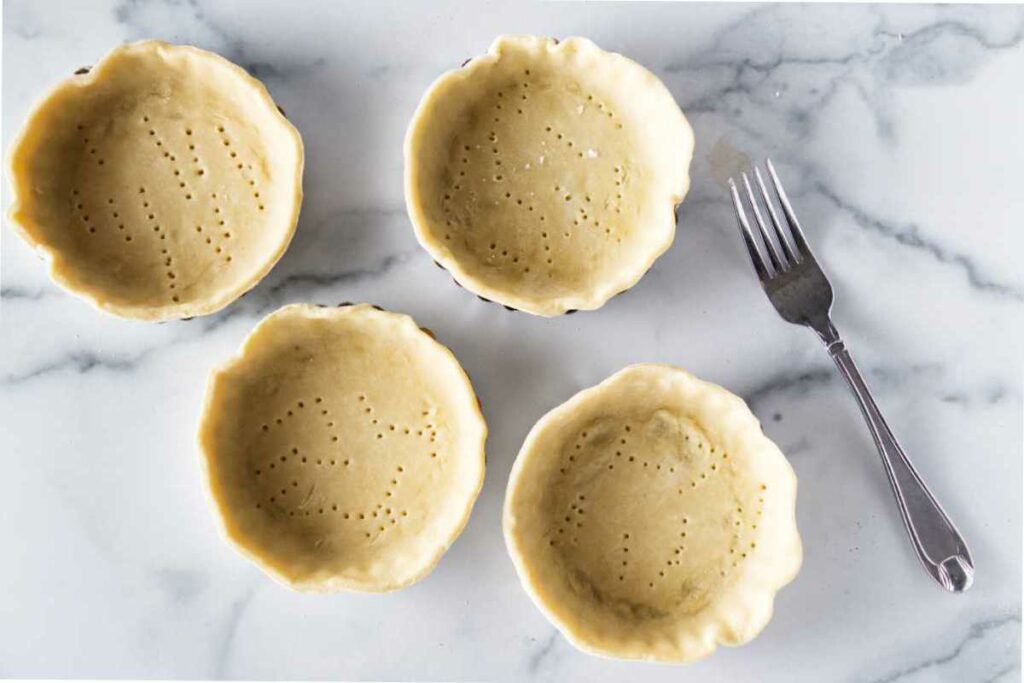
- Make the dough and press it inside the tart pans. Place them on a baking sheet and bake them until golden brown. Cool on a wire rack.
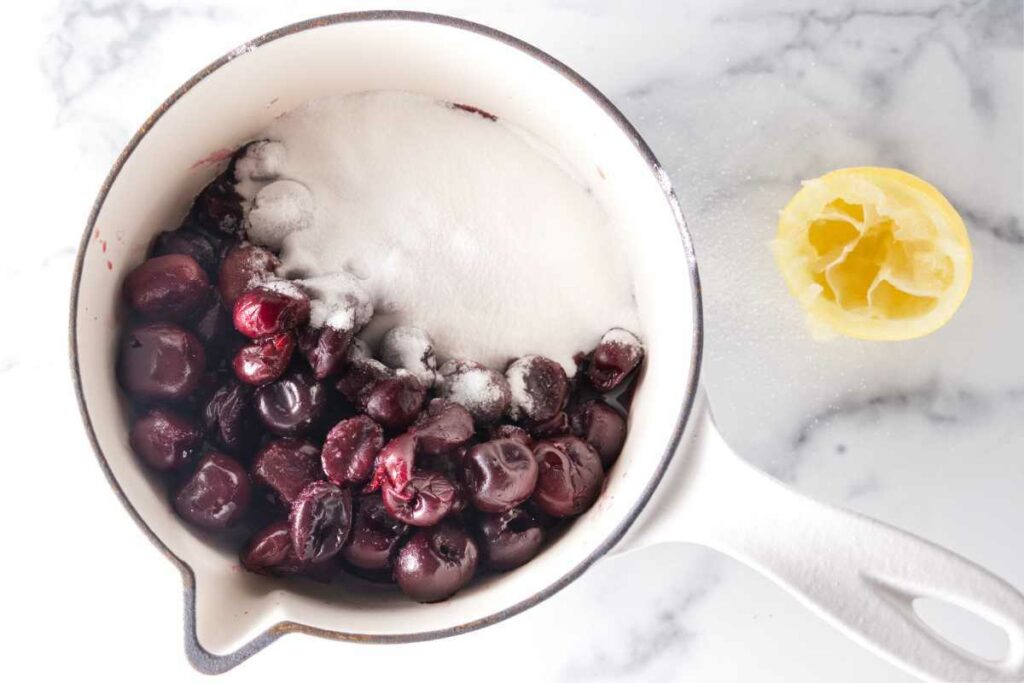
- Add the cherries and the juice to a medium saucepan. Bring to a boil and cook over medium heat for 5 minutes.
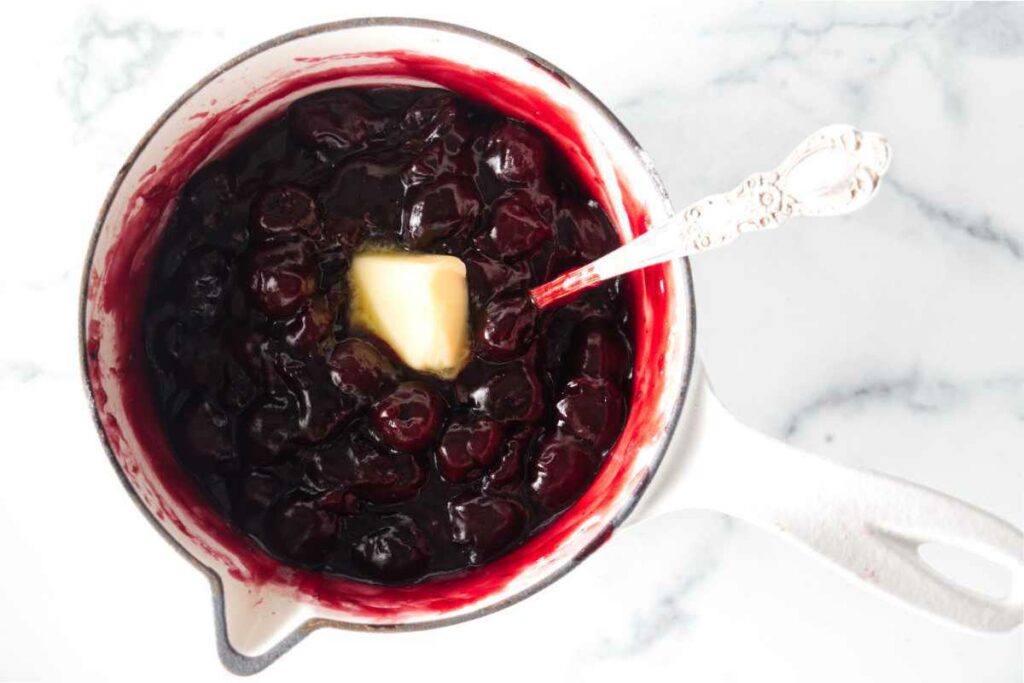
- Combine the sugar with the cornstarch and stir into the hot cherry mixture. Cook until the sugar dissolves and the mixture thickens. Add the butter and the extracts.
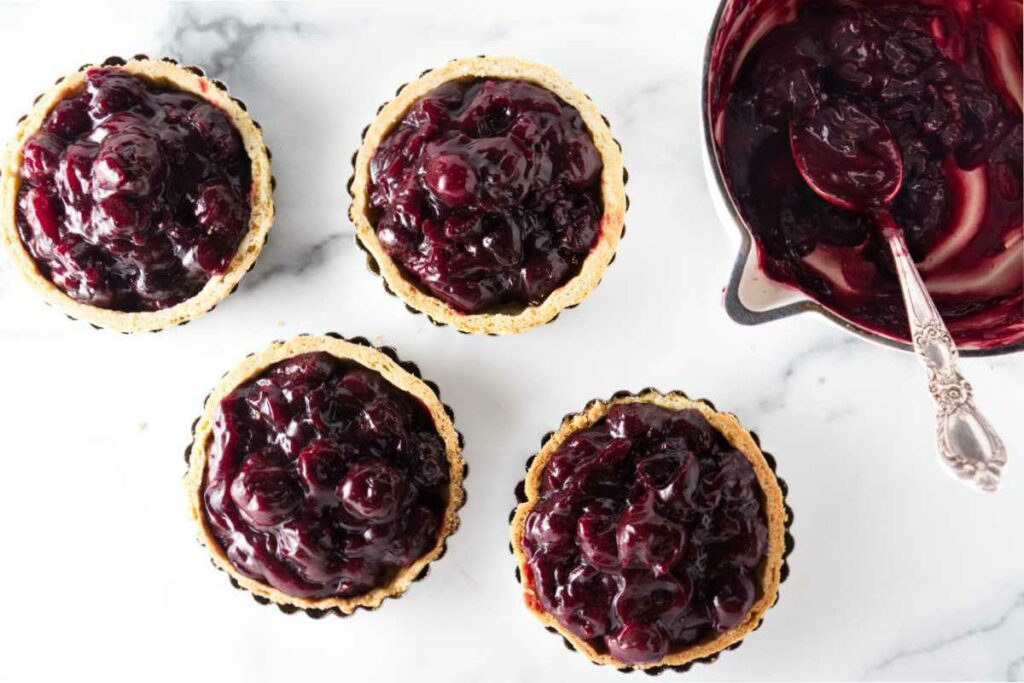
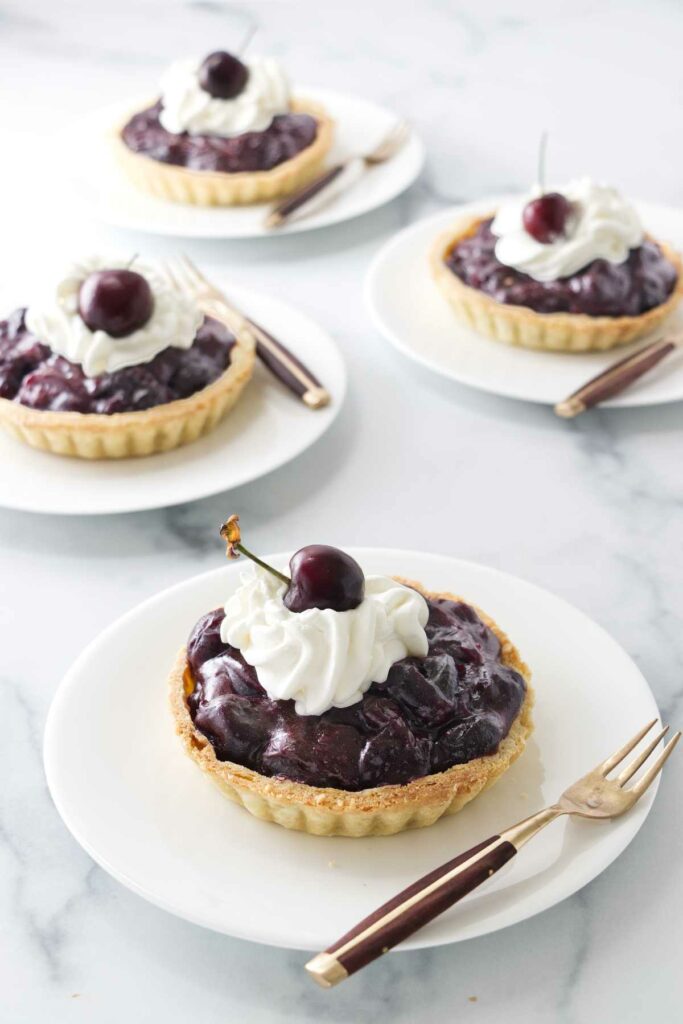
- Spoon the cherry pie filling into the cooled tart crust and refrigerate. Top with a dollop of fresh whipped cream.
If you like this recipe, try our sweet cherry compote.
Tips for Success
- You can make the pastry crust in advance and keep it in the fridge for up to 3 days or freeze for up to 3 months. You can also pre-bake the crusts in the tart pans several days in advance.
- Make sure your pie dough is cold before rolling out. Otherwise, it can become too soft and sticky.
- The cherry filling should be cooked until thickened but still juicy. Be careful not to overcook the cherries, as they will become mushy.
- You can make the cherry filling in advance. When it cools, cover it with plastic wrap and refrigerate for up to 3 days.
- If you don’t have little tart pans with a removable bottom, you can bake these mini cherry pies in muffin tins as we did with our mini blueberry tarts. Just prebake the crust in the muffin cup.
Variations
If you’re looking to change things up or accommodate dietary restrictions, there are several substitutions and variations you can try with this cherry tart recipe.
Add a Topping: For an added layer of flavor and texture, you can sprinkle a strawberry crumb topping over the cherry filling.
Flavorings: You can add different flavorings to the cherry pie filling, such as cinnamon, nutmeg, or rum extract. You can also add a splash of brandy or Grand Marnier.
Make a large cherry tart: If you want to make a larger tart instead of several mini tarts, the filling will fit in one large tart pan.
⏲ Storage
In the fridge: Place the mini cherry tarts in an airtight container and refrigerate for up to 4 days.
In the freezer: If you plan to freeze these mini cherry tarts, we recommend replacing the cornstarch with Instant Clearjel because cornstarch loses its thickening power when frozen.
Store the tarts in the freezer for up to 3 months. To serve, thaw the tarts in the fridge for several hours or overnight, then bring them to room temperature for the best texture and flavor.
More Tart and Pie Recipes
Nothing makes you feel more accomplished than a recipe for homemade tarts or pies. From classic fruit fillings to decadent custards, here are a few tried-and-true favorites that will inspire you to create memorable desserts for any occasion.
- pear frangipane tart
- cherry clafoutis
- chocolate caramel tart
- mini lemon tarts
- lemon meringue pie
- peaches and cream tart
- pine nut tart
More Recipes You Will Love:
This fresh cherry cake is a perfect summertime dessert. It is a delicious way to use fresh cherries and it’s so easy to make.
Our pistachio cherry cookies are a perfect combination of sweet and salty. These soft and chewy cookies are made with a combination of pistachios and dried cherries. They disappear quickly!
This black forest cherry cake is a chocolate lover’s dream. It features layers of moist chocolate cake, tart cherries, and rich whipped cream.
Pin this now to find it later!
Pin It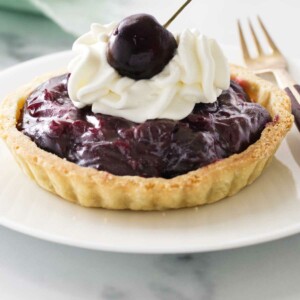
Cherry Tarts
If you make this recipe, please leave a star rating and comment.
Ingredients
Pastry Crust: (or use store-bought)
- 1 ½ cups all-purpose flour
- 10 tablespoons butter, cold; cut into bits
- ½ teaspoon salt
- 1 egg yolk
- 4-6 tablespoons cold water
Cherry Filling:
- 5 cups frozen cherries (or fresh), thawed; pitted
- 1 cup granulated sugar
- ¼ cup cornstarch
- 2 tablespoons fresh lemon juice
- 1 teaspoon vanilla extract
- 1 teaspoon almond extract
- 2 tablespoons butter
- homemade whipped cream, for garnish
Instructions
For the Pastry:
- In a food processor, add the flour, salt and butter. Pulse the mixture until small pebble-size pieces of butter are visible. Whisk the egg yolk and the cold water together and pulse quickly until the mixture just begins to come together in a ball.
- Transfer the mixture to a lightly floured surface and press into a ball with your hands. Do not knead the pastry dough. Flatten the ball into a smooth disk about 1-1/2 inches thick and wrap it in plastic wrap. Refrigerate for 20-30 minutes
Roll the Dough:
- Return the chilled disk to the flour-dusted work surface and roll lightly with a rolling pin. If necessary, lift the edges of the dough as you roll using a pastry scraper and re-dust with flour. Roll the dough into a large circle about 1/4-inch thick.
- Using a 6-inch ring mold or saucer, cut 6 pastry rounds and fit inside six, 4-inch mini tart pans (we only made four in the photos and piled the filling extra high). Dock the pastry shells with a fork, set the tarts on a baking sheet, and place them in the freezer for 15 minutes.
Heat the oven to 400°F.
- Remove the tarts from the freezer and line them with parchment paper then fill with pie weights or beans/rice. Transfer to the oven and bake the tart shells for 20 minutes, transfer from the oven and carefully remove the parchment paper and pie weights.
- Return the tart shells to the oven and bake an additional 12-15 minutes until golden brown. Transfer to a wire rack and allow to cool before filling.
For the Cherry Filling:
- Strain the juice from the thawed cherries through a mesh sieve set over a bowl. Measure the juice and add enough water to equal 1 cup.
- Tip the cherries, and the juice/water mixture into a medium saucepan set over medium heat and bring to a boil stirring occasionally and cook for 5 minutes.
- Combine the sugar with the cornstarch and stir into the hot cherry mixture. Cook, stirring frequently until the sugar dissolves and the mixture thickens. Remove from the heat and add the vanilla, almond extract and the butter. Stir to combine and the mixture becomes glossy.
- Once the tart crusts are completely cool, spoon the cherry filling equally, into the crusts and place on a wire rack to cool then transfer to the refrigerator.
- When ready to serve, top with a dollop of whipped cream and a fresh cherry if available.
Notes
- Option: Use your favorite single crust pastry recipe.
- For a faster version of the pastry crust use a pre-made, refrigerator roll-out crust.
- The pastry crusts can be made in advance and stored in an airtight container then filled the next day.
- Our 4 tarts have been generously filled with the cherry mixture. The cherry filling will fill six 4-inch tart pans to the top of the crust.
Nutrition
Nutrition information is automatically calculated, so should only be used as an approximation.
 Like this recipe? Rate & comment below!


How far ahead can I make the cherry filling? I will fill the shells the day of the event but was hoping to make the filling ahead of time.
Thank you
The filling will last for up to 4 days in the fridge. Thanks for the question. Enjoy the tarts 😉