
This post may contain affiliate links. Please read our disclosure policy. As an Amazon Associate, I earn from qualifying purchases.
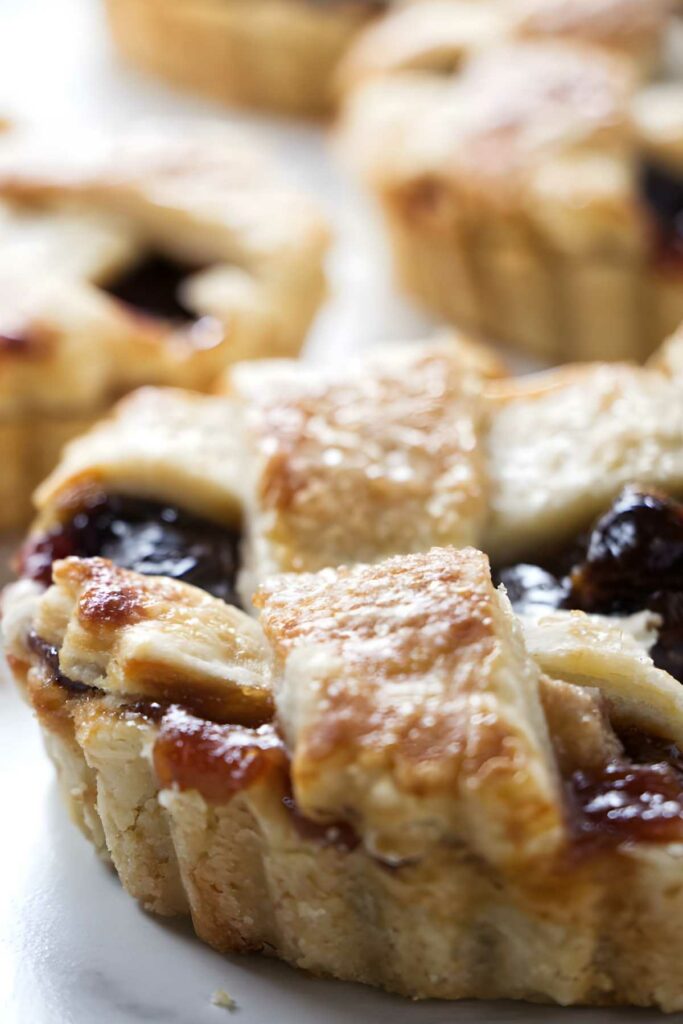
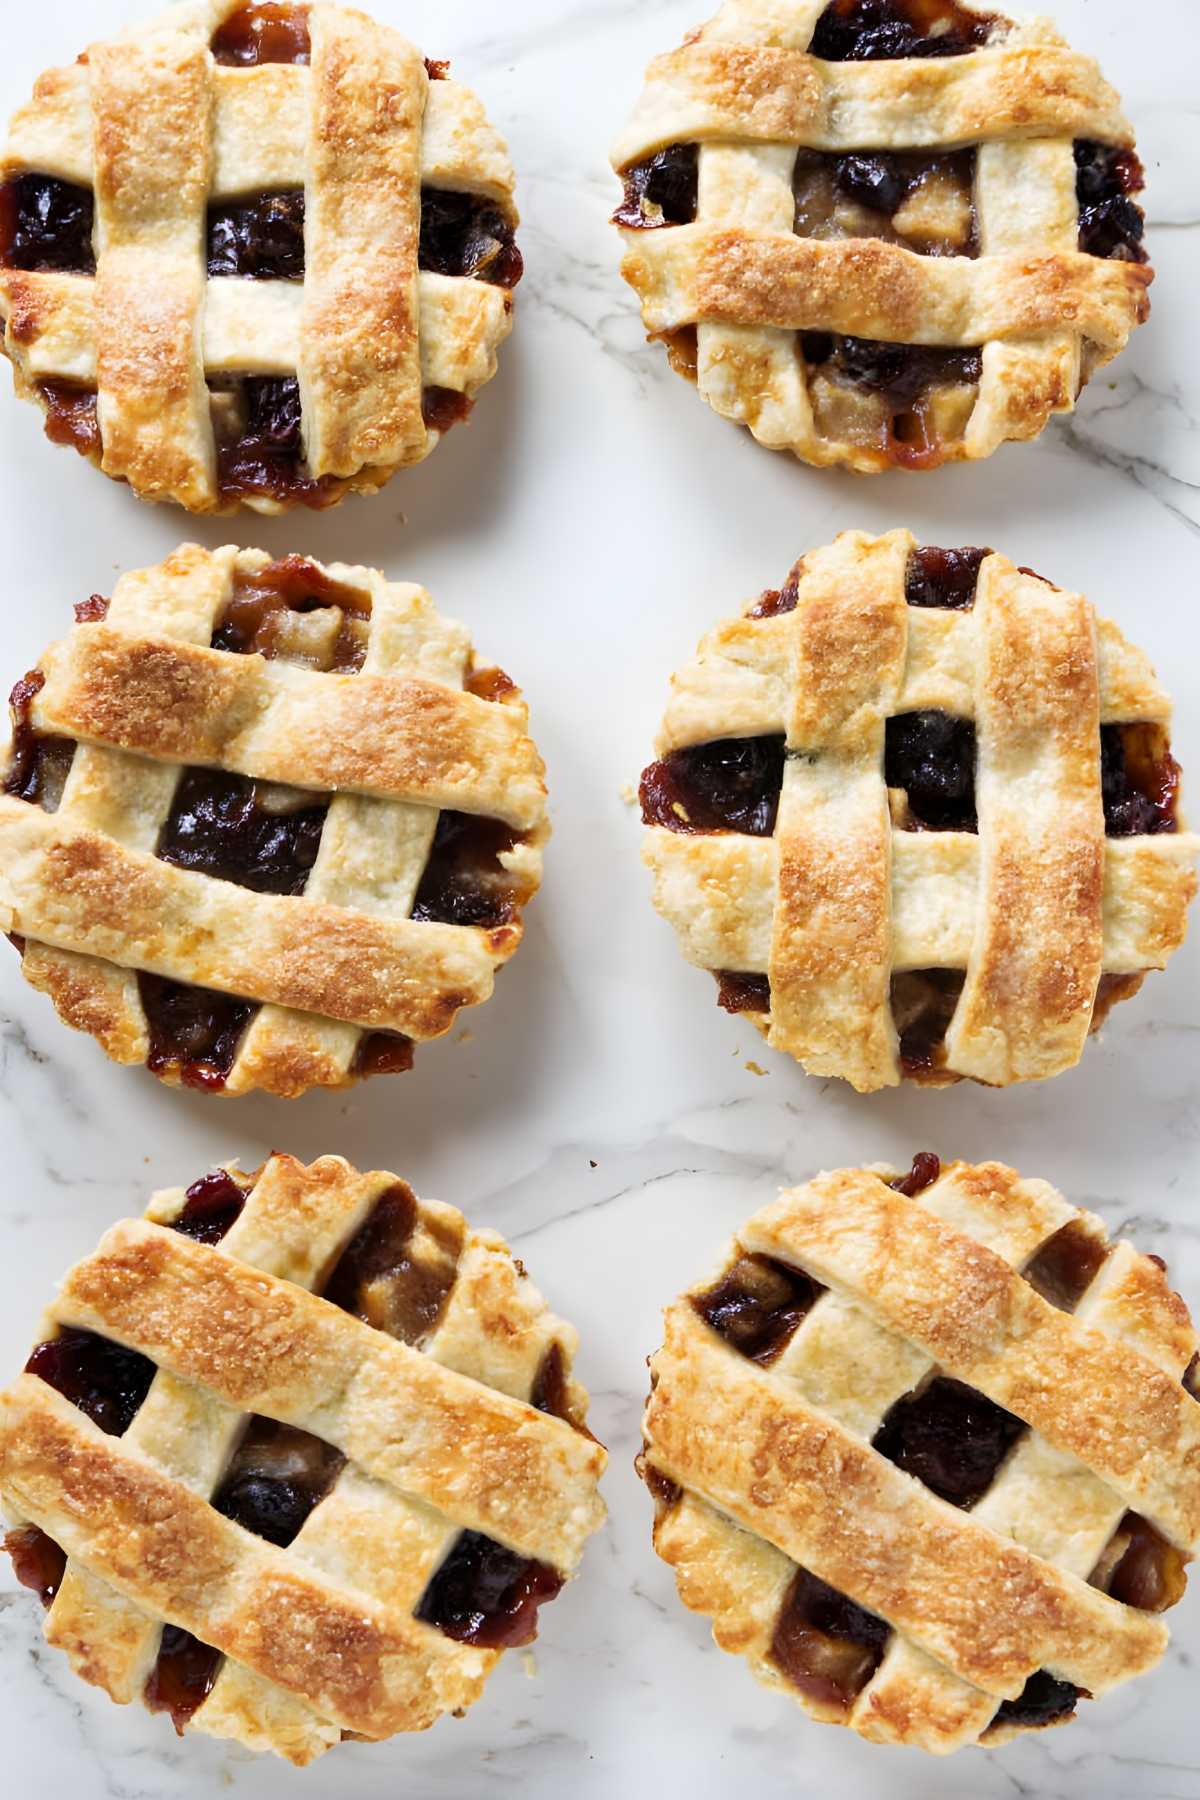
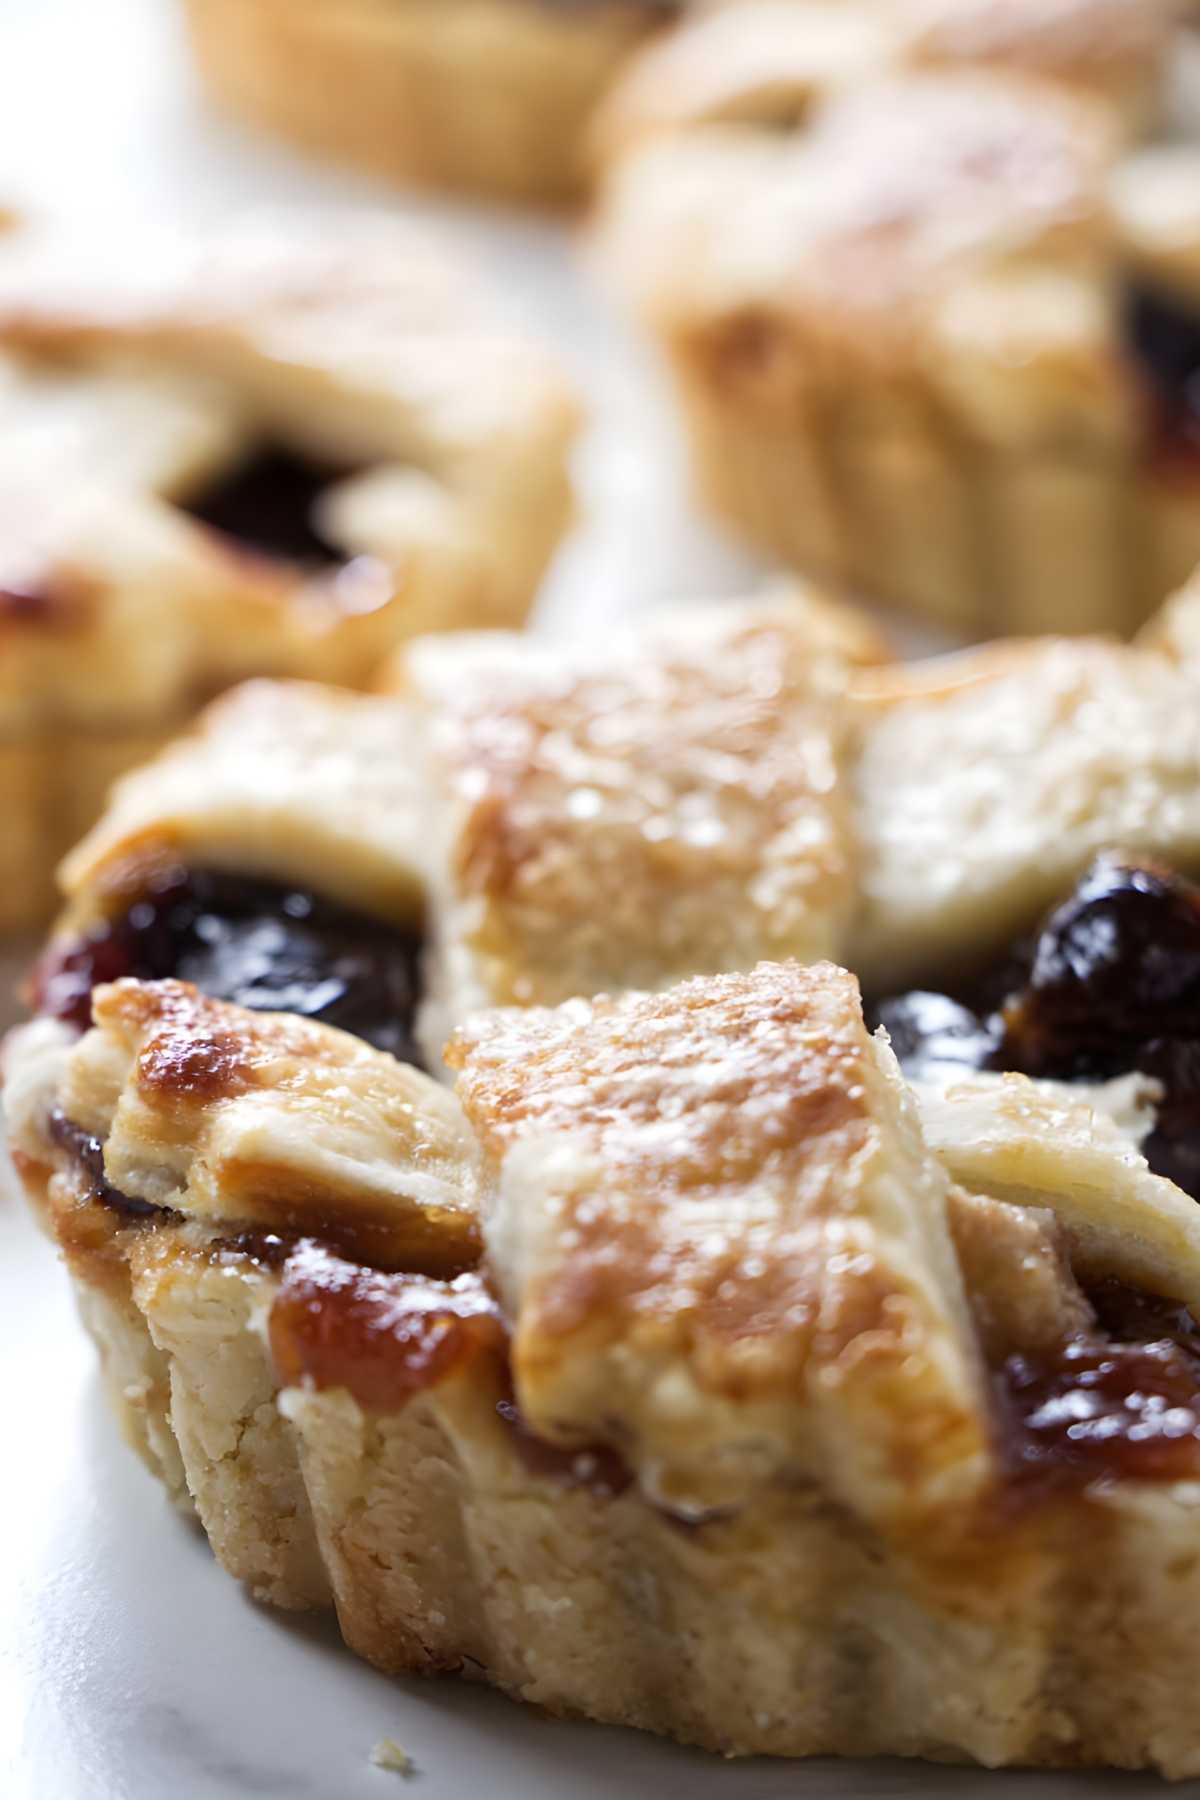
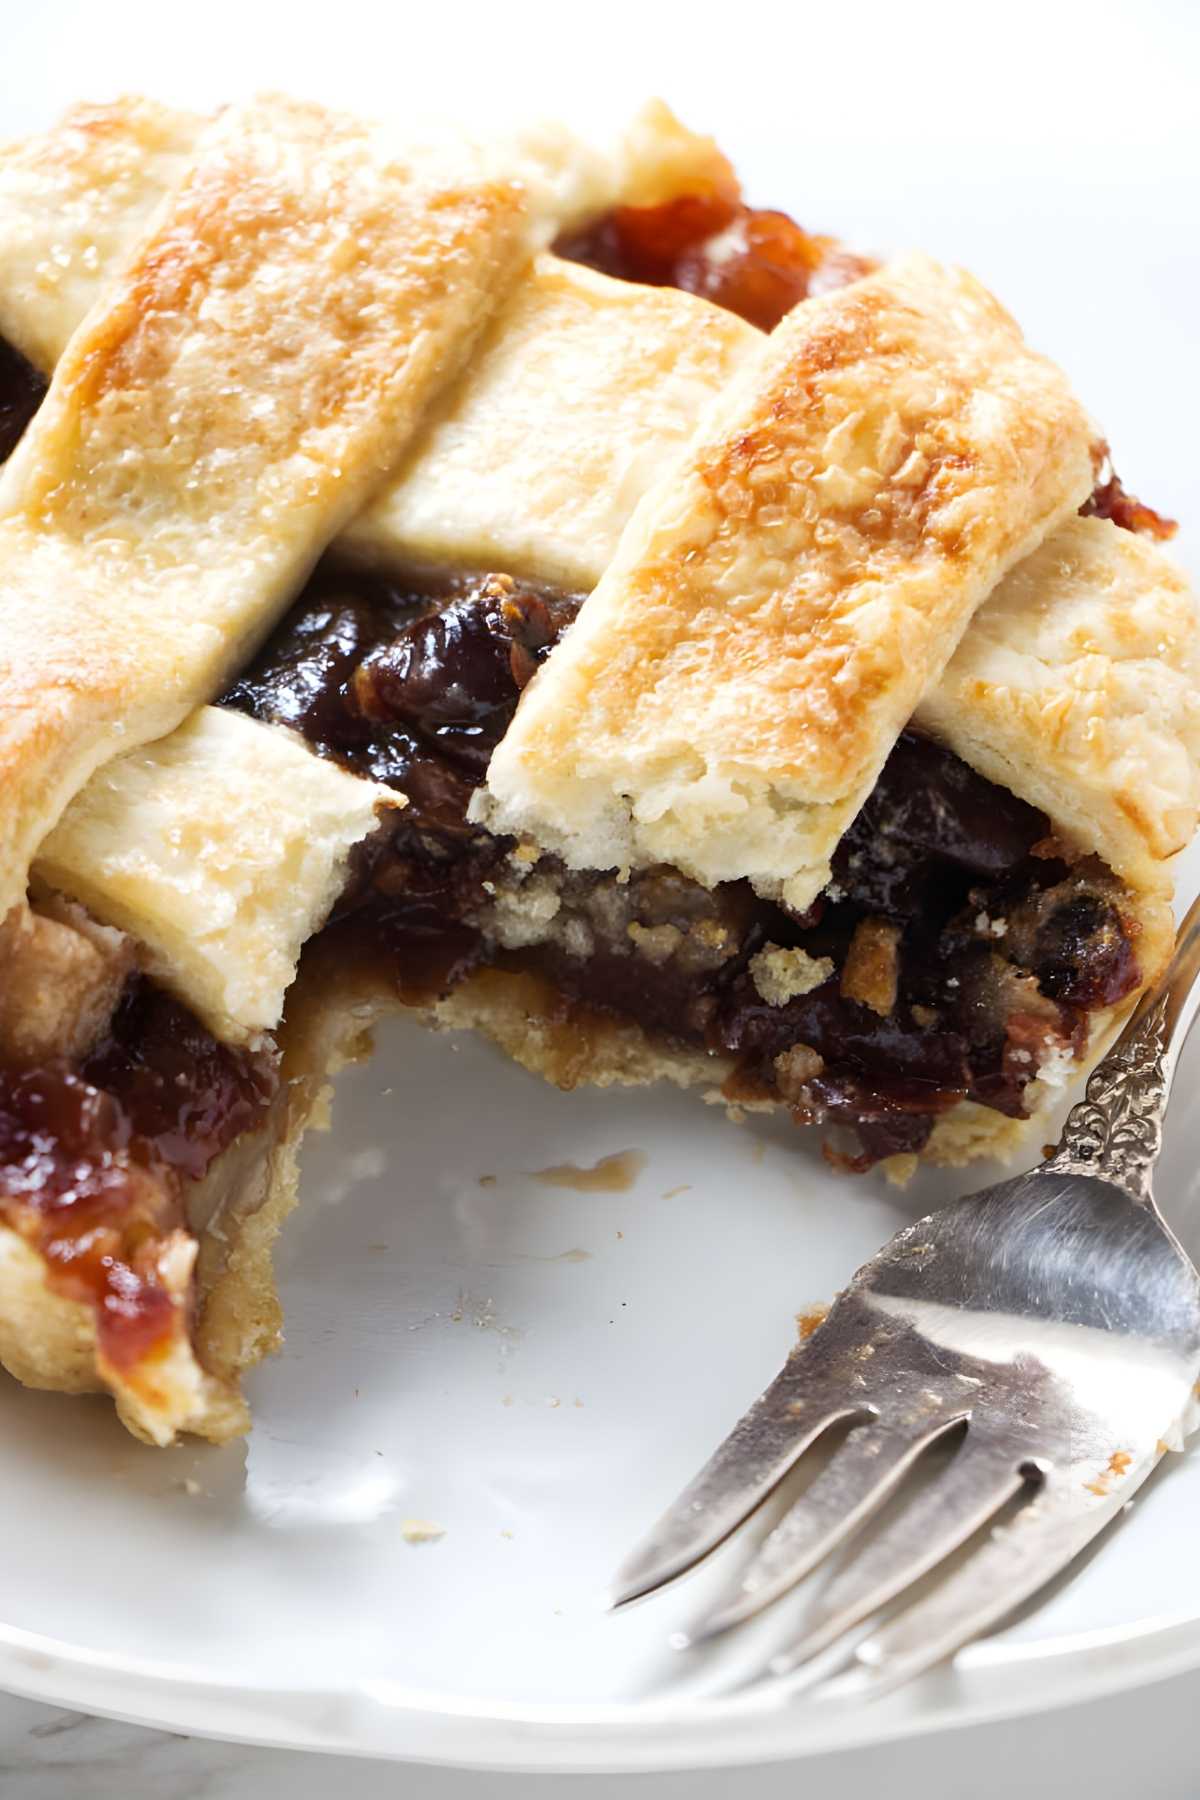
These pear and dried cherry tarts bake up with flaky pastry and rich fruit filling. The sour cherries simmer down with brandy into a rich, jammy filling, and the pears soften just enough to add sweetness and texture without turning mushy. Tucked into buttery pastry and topped with a simple lattice crust, these little tartlets bake up with crisp edges and a filling that hits that sweet-tart balance.
Why This Dried Cherry Tart Recipe Works
Dried cherries add a bold flavor: They have a deeper, more concentrated tartness than fresh cherries, and the brandy helps soften them while adding richness to the filling.
Pears balance the filling: Their mellow sweetness and soft texture round out the tart cherries without competing with them.
Cornstarch keeps the filling in check: It thickens the juices so the filling sets up properly instead of running all over when you cut into the tart.
Tartlet pans give you more crisp edges: The individual size helps the crust bake up golden with a better crust-to-filling ratio.
If you want more tartlet-style desserts, try these mini cherry tarts or mini blueberry tarts.
Recipe Tips
Re-chill the dough before baking: After shaping, 20 minutes in the fridge helps the lattice hold its shape in the oven.
Pick the right pears: Ripe but still firm. If they’re too soft, they’ll break down into the filling.
Keep the lattice even: About ½-inch strips bake through evenly without sagging.
Bake on a sheet pan: It keeps the tartlets stable, helps with even browning, and catches any bubbling over.
Cool before unmolding: Let them sit 15–20 minutes so the filling sets and releases cleanly.
Don’t trust oven color alone: If the filling isn’t bubbling, it’s not ready, no matter how golden the crust looks.
If you want another dessert that uses pears, this pear frangipane tart is a good one to try.
Key Ingredients
Pears: Use pears that are ripe but still firm. If they’re too soft, they’ll break down too much during baking and blend into the filling instead of holding their shape. Bosc or Anjou pears work well here.
Dried sour cherries: These are the backbone of the filling. They have a deeper, more concentrated flavor than fresh cherries and hold their texture after simmering.
Brandy: The brandy adds depth and helps round out the tartness of the cherries. Most of the alcohol cooks off. You can swap it with apple juice if you prefer.
Cornstarch: This is what thickens the filling. Make sure the mixture comes to a full simmer on the stove so the cornstarch activates properly.
Pie dough: Use a double crust pie dough so you have enough for both the base and the lattice. I used my all butter pie crust, but a store-bought crust works as well.
For another cherry recipe with a different spin, try this cherry compote.
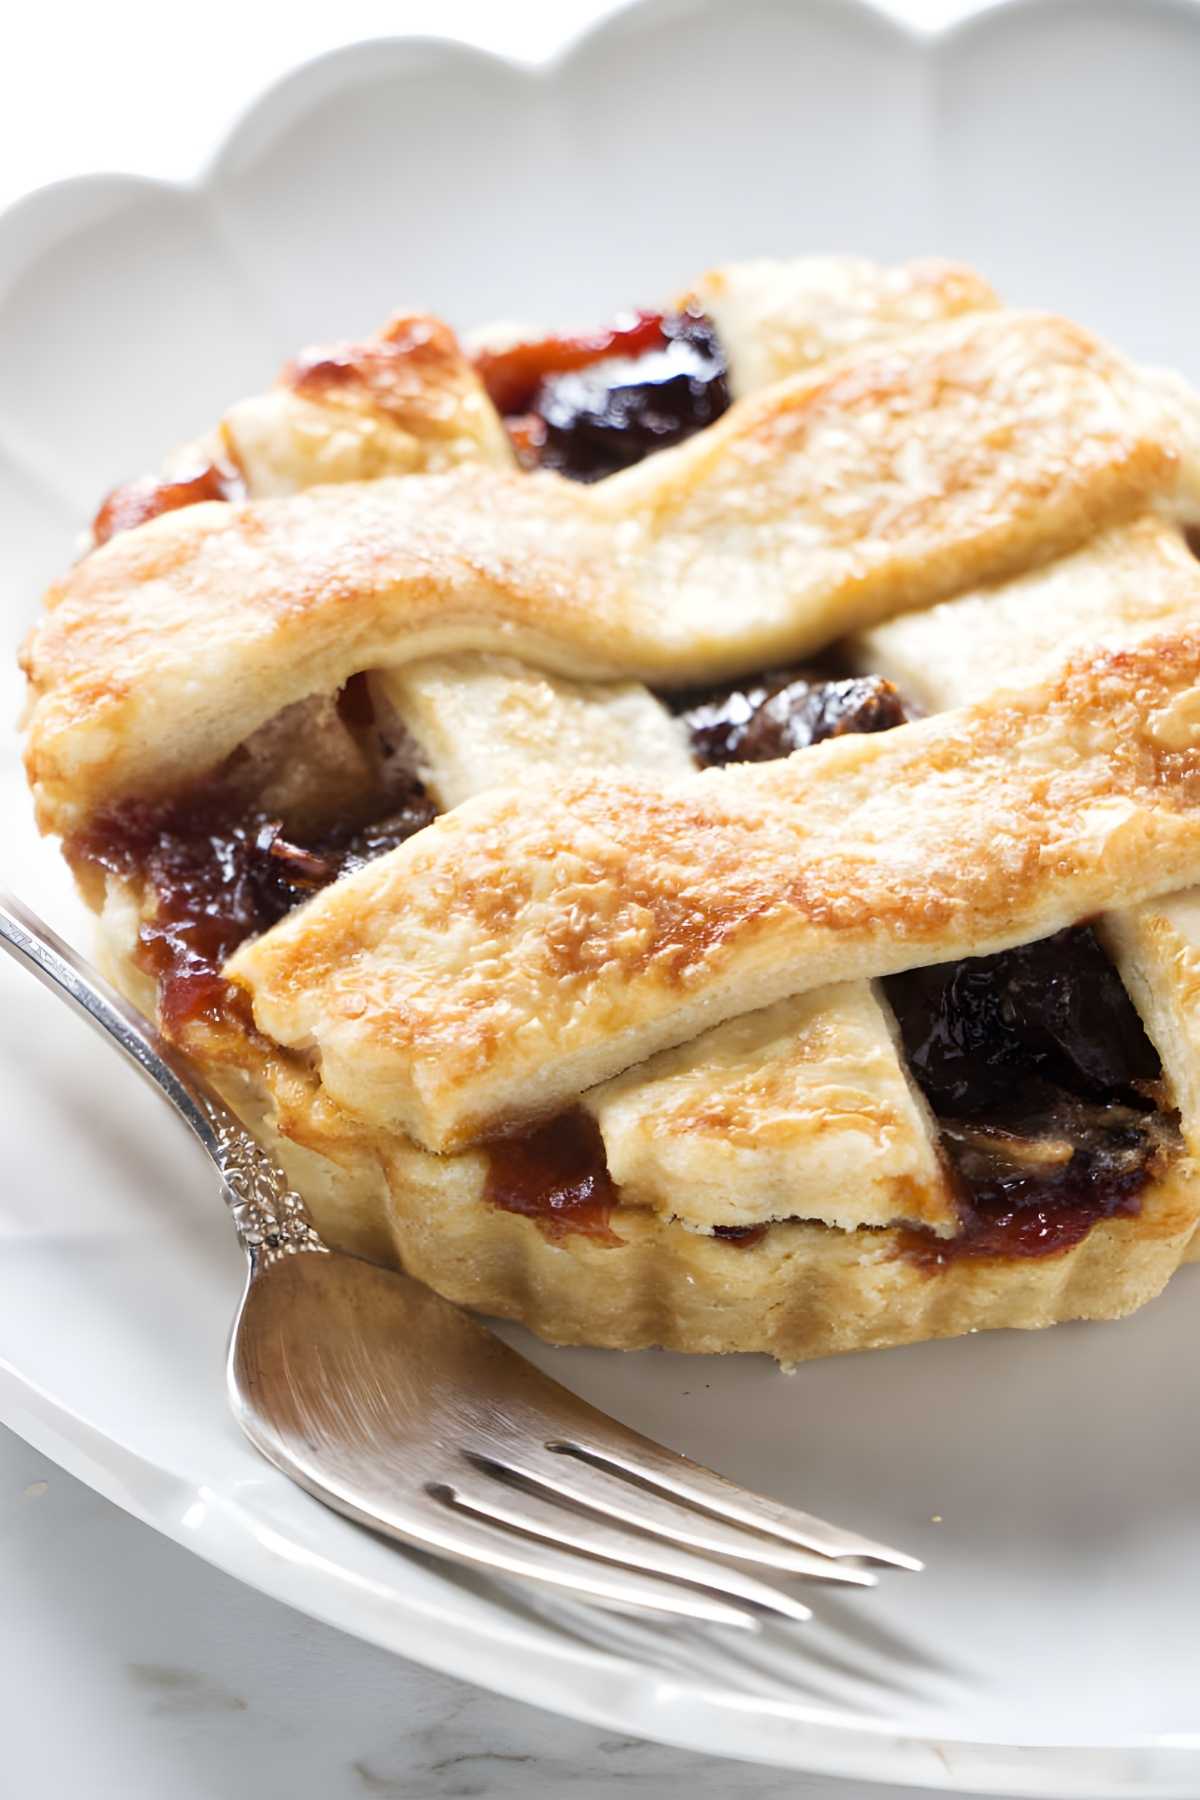
Dried Cherry Tartlets with Pears
These pear and dried cherry tartlets come together with flaky pastry, a rich fruit filling, and just the right balance of sweet and tart. The individual size makes them easy to portion and serve without slicing.
Pin this now to find it later!
Pin It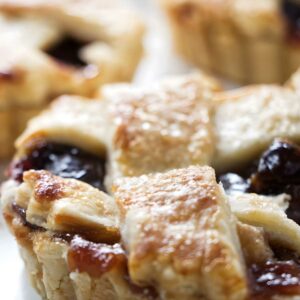
Pear and Dried Cherry Tarts
If you make this recipe, please leave a star rating and comment.
Equipment
Ingredients
For the Pastry Dough
- 1 recipe double crust pie crust
For the Filling
- 4 to 5 pears
- 2 cups dried sour cherries, 10 ounces/ 284 grams
- ½ cup brandy
- ½ cup water
- ¼ cup granulated sugar
- 2 tablespoons cornstarch
Instructions
- Make the pie dough and let it chill in the fridge while you make the filling.
For the Filling
- Place the dried cherries, brandy, water, sugar, and cornstarch in a large saucepan. Heat over medium-high heat, stirring frequently until thickened, about 8 to 10 minutes. Remove from heat.
- Peel, halve and core the pears then cut them into ¼ to ½ inch chunks. Add them to the cherry mixture and toss well. Set the mixture aside while you prepare the tartlet pans.
Make the Tartlets
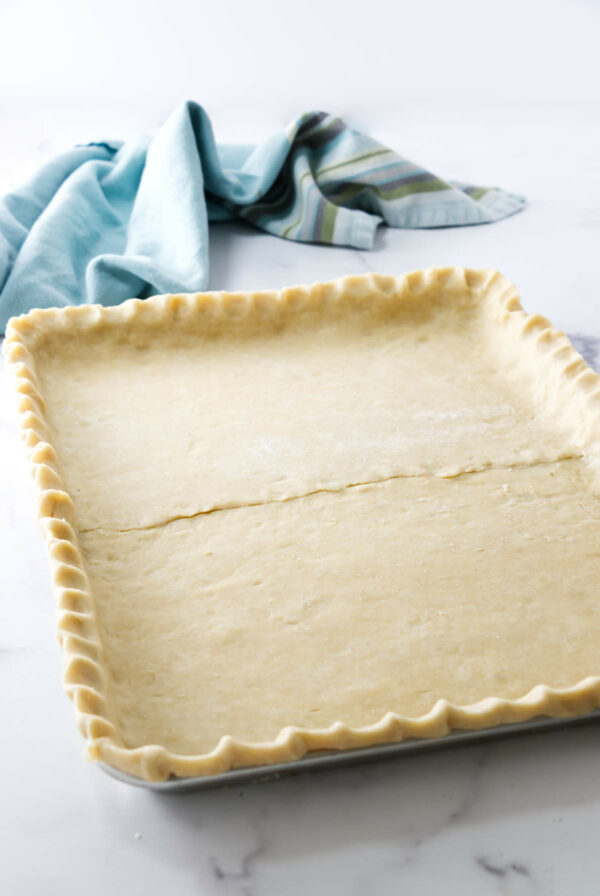
- Roll the dough out to about ⅙ to ⅛ inch thickness, if it is too firm from the cold refrigerator, let it sit on the counter for 10 to 15 minutes until it is easier to roll. Cut out 6 circles of dough about 6 inches in diameter and lay into the tartlet pans, push the dough down into the pans and cut the edges away.
- Fill each tartlet with a heaping ½ cup of filling.
- Slice the remaining dough into strips about ½ inch thick and lay the strips over the filling in a lattice pattern.
- Place the tartlets on a baking sheet and place in the refrigerator for 20 minutes to firm up the pastry dough. Preheat the oven to 375°.
- Place the tartlets in the center of the oven and bake for 45-55 minutes until the filling is bubbly and the lattice tops are golden brown. If necessary, cover with foil to prevent over-browning.
- Allow to cool for 15 to 20 minutes before removing from the tartlet pans.
Notes
Nutrition
Nutrition information is automatically calculated, so should only be used as an approximation.
 Like this recipe? Rate & comment below!


These tarlets are so pretty! And I love the pear + cherry combination. Flaky crust is the best, so I can only imagine how delicious these tarlets are!
Thanks Ashley, it is a good combination and so perfect for a winter theme dinner.
ok, that does it, I’m going to go and buy some of those little pans so I can make these beautiful pastries.
Oh yes definitely do it Lea Ann, these pans are so fun and make the cutest individual servings.