
This post may contain affiliate links. Please read our disclosure policy. As an Amazon Associate, I earn from qualifying purchases.
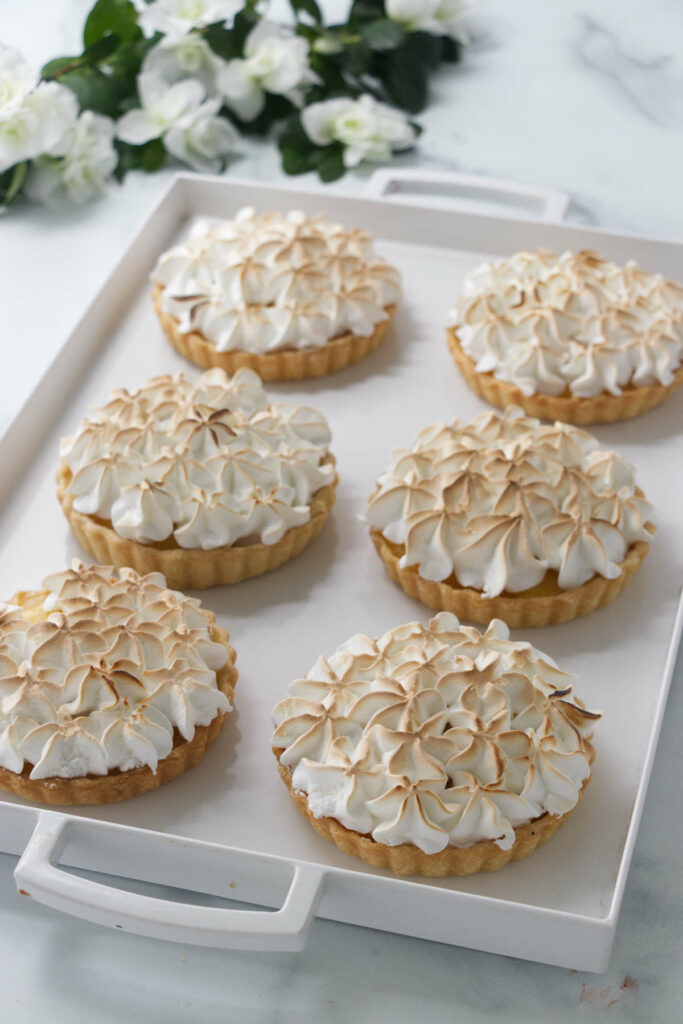
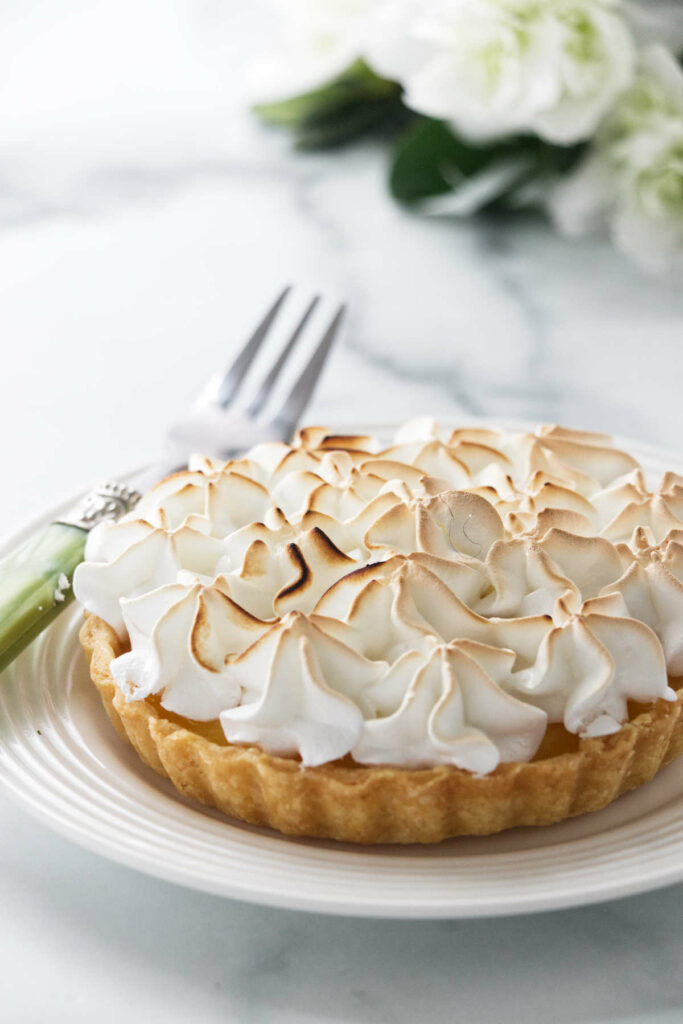
Mini lemon meringue tarts are sweet, vibrant, lemon-y treats that will remind you of little lemon curd tartlets from your favorite bakery! A flaky shortcrust pastry, a tangy lemon filling and a fluffy, sweet meringue topping creates a bright and delicious dessert that will impress your guests.
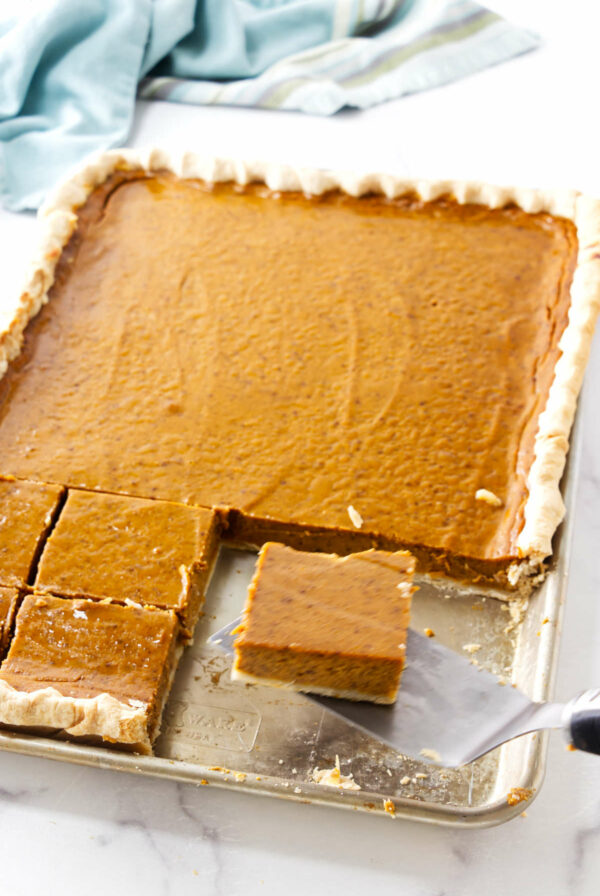
Homemade lemon curd and fluffy meringue bring all the flavor of our classic Foolproof Lemon Meringue Pie but in personal-sized treats.
Mini lemon meringue tartlets make the ideal dessert for any spring or summer occasion, including Easter, Mother’s Day, baby showers, and birthdays.
If you want more ideas for lemony desserts, try our lemon cheesecake tart.
Why This Recipe Works
This is a simple lemon meringue tart recipe that makes six, personal-sized mini tart desserts. Each bite is a lemon lover’s dream!
Whether you’re new to making tarts or you’re a seasoned pro, this recipe is easy to follow. While mini tarts do take a little bit longer than a standard sized tart, we promise every ounce of effort is worth the end result.
Here’s why you’ll love our individual lemon meringue tarts:
- Elegant and sophisticated. There’s something about a personal sized pie that is just special. They’re timeless and sophisticated and when you turn them into minis, they’re even more elevated (and cute, too!).
- The tarts are bursting with lemon flavor. The vibrant lemon takes center-stage in this recipe. It’s rich and sweet and tangy, and not overpowered by the light meringue and the crisp pastry. Every bite is balanced in taste and texture.
- A dessert for any occasion. Sunny lemon feels natural during the spring and summer months, yet these mini tarts are just as fitting during peak citrus season in the winter. No matter the season- or occasion- this delightful dessert is a win.
Ingredients Needed
Here’s a look at the main ingredients you will need to make these mini lemon meringues. You’ll notice that many of the same ingredients are called for at least twice in the process.
Check out the printable recipe card at the bottom of the page for the full list and ingredient amounts.
- Flour. All-purpose flour is the base of the pastry dough and creates a flaky, tender bottom with a buttery flavor.
- Butter. To create a pastry shell with the perfect taste and texture! You’ll also need cold butter for the lemon filling, which resembles lemon curd.
- Sugar. Granulated sugar sweetens the thick lemon filling as well as the meringue.
- Cornstarch. This thickens the filling and gives you a set consistency for the meringue.
- Fresh lemon juice and zest. Fresh zest and freshly-squeezed lemon juice puts the “lemon” in these lemon meringue tartlets.
- Water. Ice water for the pastry along with extra water for when you make the filling.
- Egg yolks and egg whites. You will need six large egg yolks for the filling. Save three of the egg whites to make the fluffy meringue.
Mini Lemon Meringue Tarts Recipe
There are a few steps to the process but nothing is complicated. In fact, this mini lemon meringue tart recipe is simple to follow, but you will need to give yourself time and take into account the cool time and chill time for both the tart shells, lemon filling and the final chill time after the meringue has toasted.
Here’s a look at the process (scroll to the bottom of the page to view the recipe card).
Prepare the pastry crust
Measure the flour, salt and baking powder into a large bowl, then use a pastry blender or fork to cut in half of the butter into the flour until it looks like cornmeal. Add the rest and blend until combined.
Drizzle ice water into the mixture, adding one tablespoon at a time. Stir and continue adding water and mixing until the mixture holds together when squeezed in your hand.
Tip it out onto a work surface, form the dough into a ball, then wrap it in plastic wrap and let it chill in the refrigerator for 30 minutes.
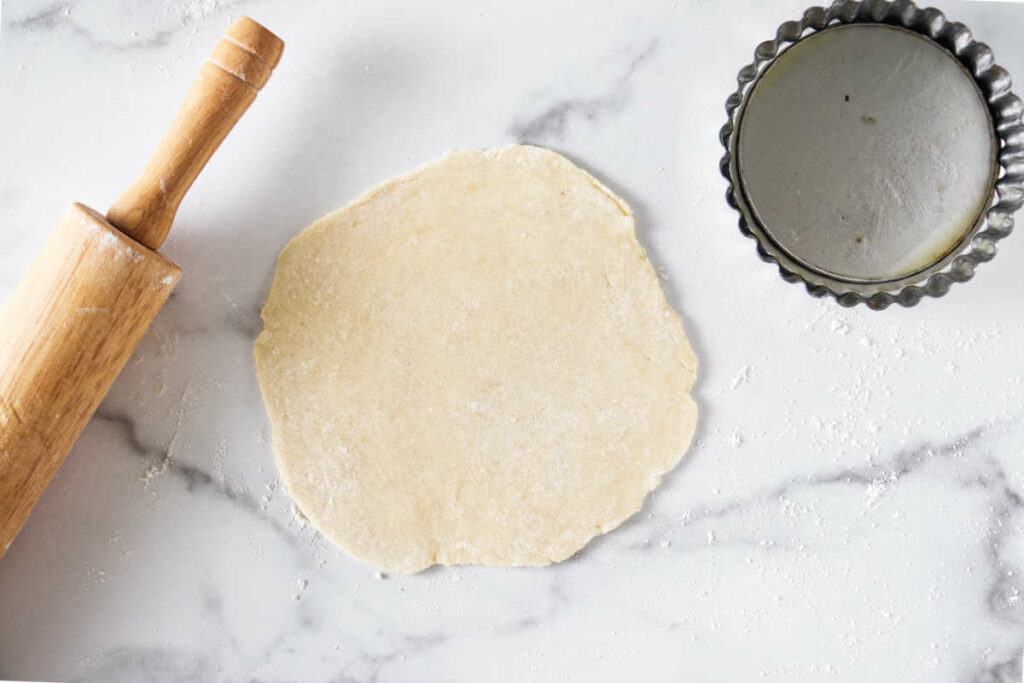
Place the dough on a lightly floured surface. Cut it into six equal portions, then shape each into a ball. Flatten each dough ball and roll it into a six-inch circle.
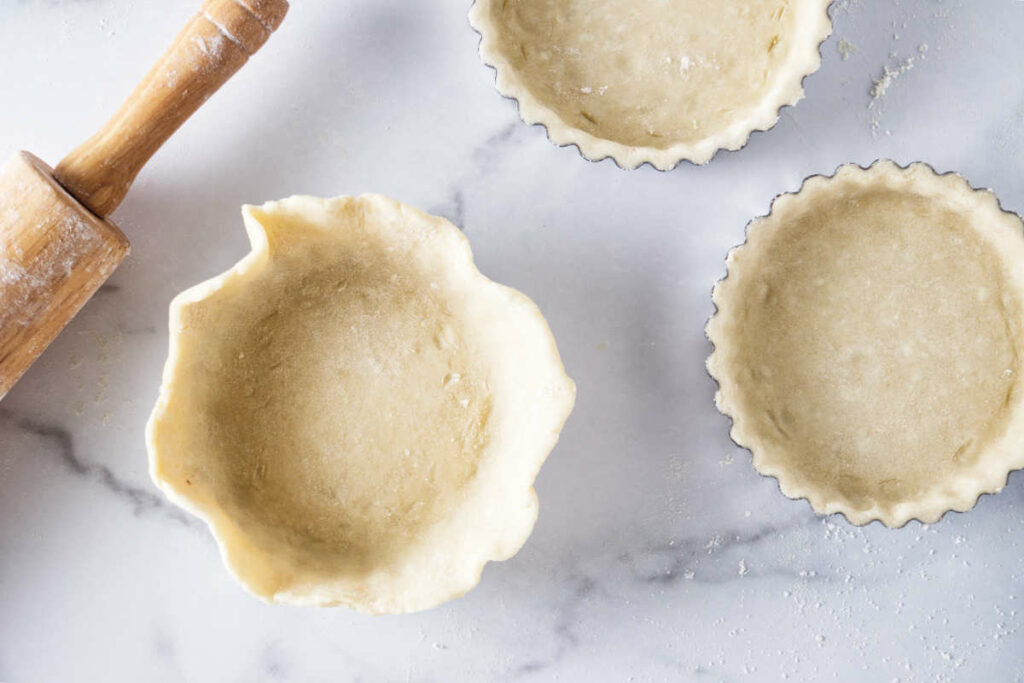
Place it into the prepared tart pan and trim any excess dough from the sides. Prick each tart on the bottom with a fork. Place the tarts on a baking sheet or tray and freeze for 30 minutes or until firm.
Line each tart with foil, then fill them with pie weights (or rice/beans). Place them on a sheet pan and partially bake, then remove the weights and continue baking until they are a very light golden brown.
Make the Tart Lemon Filling
In a medium saucepan, combine the sugar, cornstarch and salt. Add the lemon zest, rubbing it into the sugar to release zest oils. Add the water to the sugar mixture and whisk in the egg yolks and lemon juice.
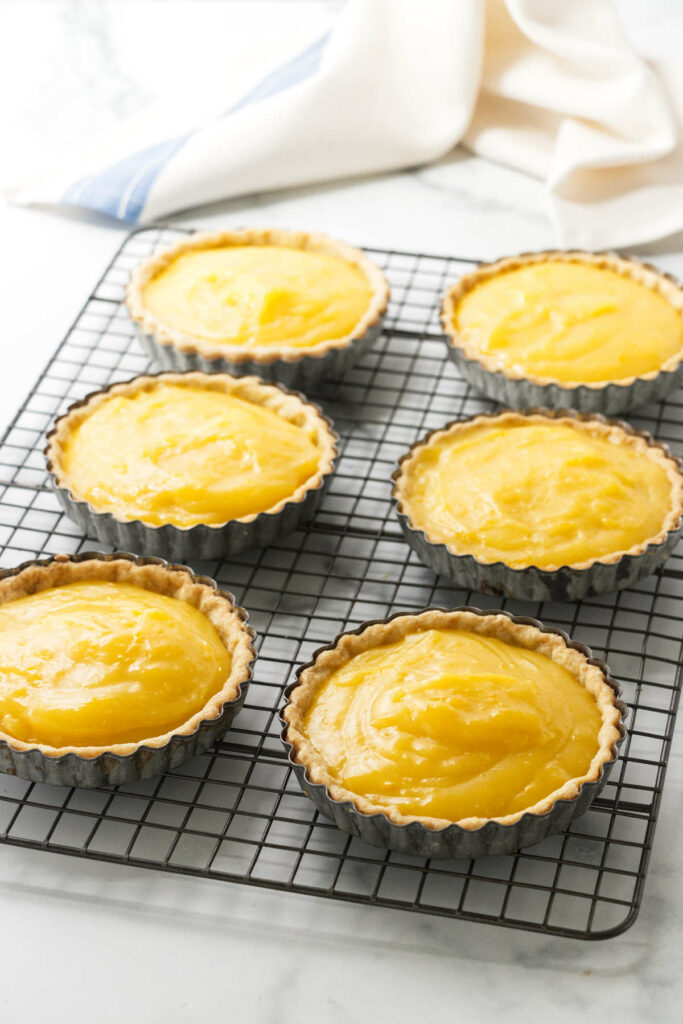
Cook over medium heat, stirring continuously until the mixture bubbles and thickens. Reduce to low heat and simmer. Keep stirring.
Remove the saucepan from the heat and stir in the butter. Spoon the hot mixture into each cooled pie crust. Place the tarts on a wire rack to finish cooling.
Make the Meringue for the Mini Tarts
Place the sugar and cornstarch in a small bowl and whisk well.
Add the egg whites and salt to a large mixing bowl (use an electric mixer or use a stand mixer). Beat on high speed until foamy. Add the sugar mixture, 1 tablespoon at a time, while continuing to whip on high speed until the whites reach stiff peaks.
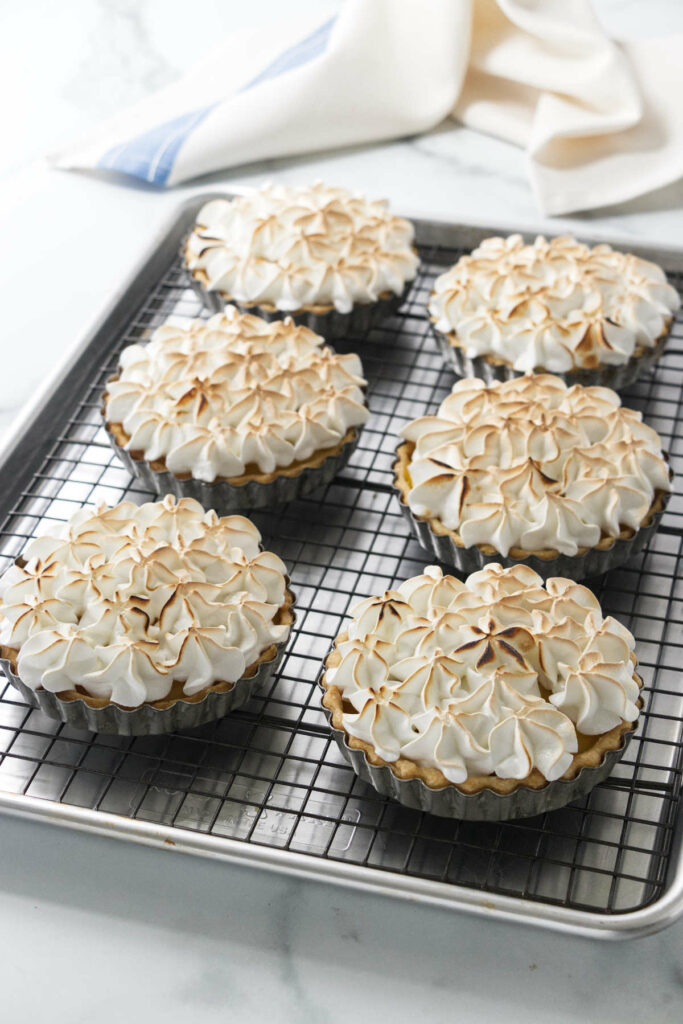
Spoon the meringue into a piping bag. Pipe meringue dollops onto the lemon filling. Place them on a sheet pan and broil the tops for 1-2 minutes to lightly toast the meringue.
Tips for the Best Lemon Curd Tartlets
- If you’d like to make the pastry dough in the food processor, you can, but only pulse to mix and be careful not to overmix.
- The baking powder in the pastry helps give the dough an extra flaky texture.
- When adding water to the pastry mixture, only add enough to where the dough creates a firm lump in your hand when it is squeezed. Too much water in the flour mixture will make the crust tough.
- You can make the pastry dough 2 to 3 days in advance and then wrap it and store it in an airtight container in the refrigerator. It will also keep well in the freezer for up to three months.
- Each of the tart shells will hold about a 1/2 cup of the filling.
- If you don’t want to mess with piping the meringue onto the tops of the tarts, you can spoon it on instead, and swirl it decoratively.
- If you have a kitchen torch, you can toast the meringue that way, too. Be sure to not get the flame too close or the meringue will burn.
- If you want to make these little bites of sunshine in advance, you can make the pastry shell and filling a few days ahead. When it is time to top them, whip up some Italian meringue and spread over the lemon filling.
Pin this now to find it later!
Pin It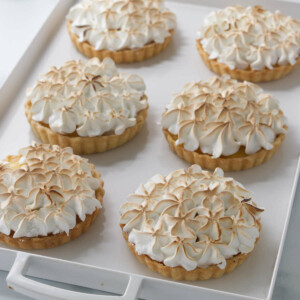
Mini Lemon Meringue Tarts
If you make this recipe, please leave a star rating and comment.
Ingredients
For the Pastry Crust:
- 1 ½ cups all-purpose flour, 180 grams
- ½ teaspoon salt
- ½ teaspoon baking powder
- 10 tablespoons butter, cold; cut into bits
- 5-6 tablespoons water, ice cold
For the Lemon Filling:
- 1 ¼ cups granulated sugar, 250 grams
- 5 tablespoons cornstarch, 40 grams
- ¼ teaspoon salt
- 2 to 3 tablespoons lemon zest, from 2 lemons
- 1 ¼ cups water
- 6 egg yolks, save 3 egg whites for the meringue
- 1 cup fresh lemon juice
- 3 tablespoons butter, cold
For the Meringue:
- ½ cup granulated sugar, 100 grams
- 1 teaspoon cornstarch
- 3 egg whites
- ⅛ teaspoon salt
Instructions
For the Pastry Crust:
- Measure the flour, salt and baking powder into a large mixing bowl. Add half of the butter bits and toss with the flour mixture. Using a pastry blender or a fork, cut the butter into the flour until it looks like cornmeal. Add the remaining butter and continue blending until the mixture looks like coarse cornmeal with pea-size lumps.
- Drizzle the ice water into the mixture, one tablespoon at a time. Stir after each spoonful of water. Test the consistency by squeezing a small portion in your hand. If it doesn’t hold together in a lump, continue adding and mixing ice water. When the mixture holds together after you squeeze it, stop adding water. You may think the pastry dough looks too loose and dry but as long as the squeeze test holds together in a lump it is exactly right. The less water you add, the more tender and flaky the crust will be.
- Tip the dough onto a work surface and push it together into a ball. Wrap the ball in plastic wrap and let it chill in the refrigerator for at least 30 minutes.
To Roll the Pastry Dough:
- Remove the dough from the fridge and let it rest on the counter about 30 minutes.
- While the dough is resting, coat six, 4-inch, removable bottom tart pans with non-stick oil spray and reserve.
- Remove the plastic wrap from the dough and place it on a lightly floured work surface. With a sharp knife or bench scraper, cut the dough into 6 equal portions. Shape each portion into a ball.
- Working with one portion at a time, flatten the ball and roll it into a 6-inch circle, lifting and turning the dough as you roll, dusting with additional flour as needed.
- Lift the dough and place it into a prepared tart pan. Ease the dough next to the pan with your fingers without stretching it. Trim the excess by placing the rolling pin on top of the pan, pressing lightly.
- Continue the process with the remaining dough balls until all the pans are lined and trimmed. Prick each tart on the bottom and sides with a fork. Place the tarts on a baking sheet or tray and place in the freezer for 30 minutes until firm.
- Preheat the oven to 400°F.
- Line each tart with a piece of foil, pressing tightly to the frozen pastry. Fill with pie weights, rice or beans and place the tarts on a sheet pan. Transfer to the oven and bake for 20 minutes. Remove from the oven and remove the foil/weights. Return the sheet pan to the oven and continue baking for an additional 10 to 15 minutes until the crusts are lightly golden.
- Remove the sheet pan from the oven and let the tarts cool before filling.
To Make the Lemon Filling:
- Whisk the sugar, cornstarch and salt into a medium saucepan until combined. Add the lemon zest and, using your fingers, rub the zest into the sugar mixture. This will release the oils in the zest and enhance the lemon flavor.
- Add the water to the sugar mixture and whisk until well blended. Whisk in the egg yolks and the lemon juice.
- Set the pan over medium heat, and stir continuously until the mixture begins to bubble and thicken. Be patient, this will take about 8 to 10 minutes. Reduce the heat to low and simmer an additional 3 minutes, stirring continuously.
- Remove the saucepan from the heat and stir in the butter until completely melted.
- Spoon the hot mixture into each cooled tart shell and smooth the top. Place the tarts on a wire rack to finish cooling.
For the Meringue:
- Place the sugar and cornstarch in a small bowl and whisk to combine. Reserve.
- Add the egg whites and salt to a large mixing bowl. Using the whisk attachment, beat on high speed until foamy. Slowly, begin adding the sugar mixture 1 tablespoon at a time while continuing to whip on high speed until they reach stiff peaks.
- Spoon the meringue into a pastry decorating bag with a decorative tip and pipe dollops onto the lemon filling.
- Set the oven to “Broil” and allow to heat for 5 minutes with the oven rack at the upper third position, about 8 inches from the element.
- Place the tarts on a sheet pan and broil for 1-2 minutes, turning the pan occasionally to toast the tarts evenly.
- Remove the sheet pan when the tarts are toasted to your liking and place on a wire rack to cool, then transfer to the refrigerator to finish cooling.
Notes
- The pastry can also be made in a food processor using the pulse speed. Do not over mix.
- The baking powder in the pastry helps to aerate the dough for a flakier texture.
- Adding too much water to the flour mixture will make a tough pastry crust. As long as the squeeze test forms a firm lump in your hand the pastry is ready.
- The pastry dough can be made, wrapped and stored in the refrigerator 2 to 3 days in advance or even stored in the freezer for up to 3 months.
- Each tart will hold approximately ½ cup of the filling.
- Alternative to piping dollops of meringue with a pastry bag you can spoon the meringue onto the filling and swirl it decoratively.
- A kitchen torch can be used to toast the meringue, be sure to not get the flame too close or it will burn.
Nutrition
Nutrition information is automatically calculated, so should only be used as an approximation.
 Like this recipe? Rate & comment below!


wow how pretty are these mini treats!
Thank you, Angie…