
This post may contain affiliate links. Please read our disclosure policy. As an Amazon Associate, I earn from qualifying purchases.
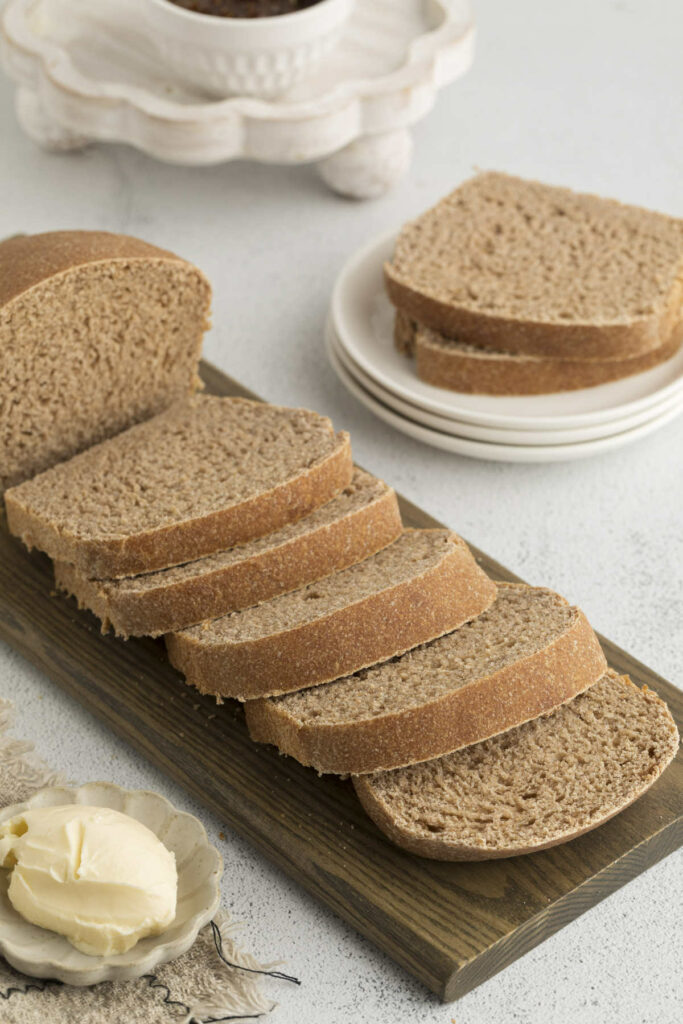
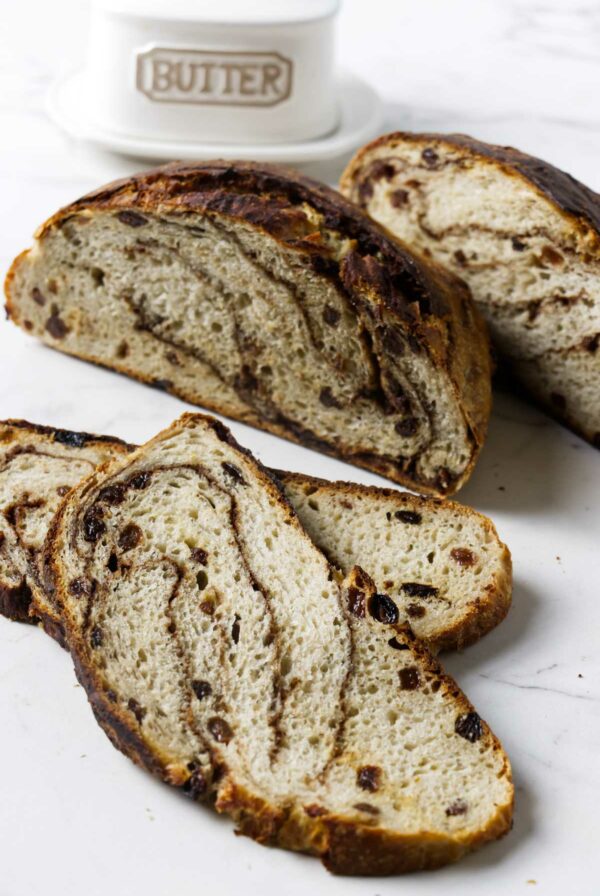
Sprouted wheat bread is the ultimate homemade comfort food, and this recipe creates an ultra-soft, tender loaf that’s perfect for sandwiches, toast, or simply enjoying on its own.
Using sprouted wheat flour gives you all the benefits of whole grains, with a light, fluffy texture and a subtle, natural sweetness brought out by the sprouting process. The flavor is mild yet rich, without the bitterness you might expect from whole wheat.
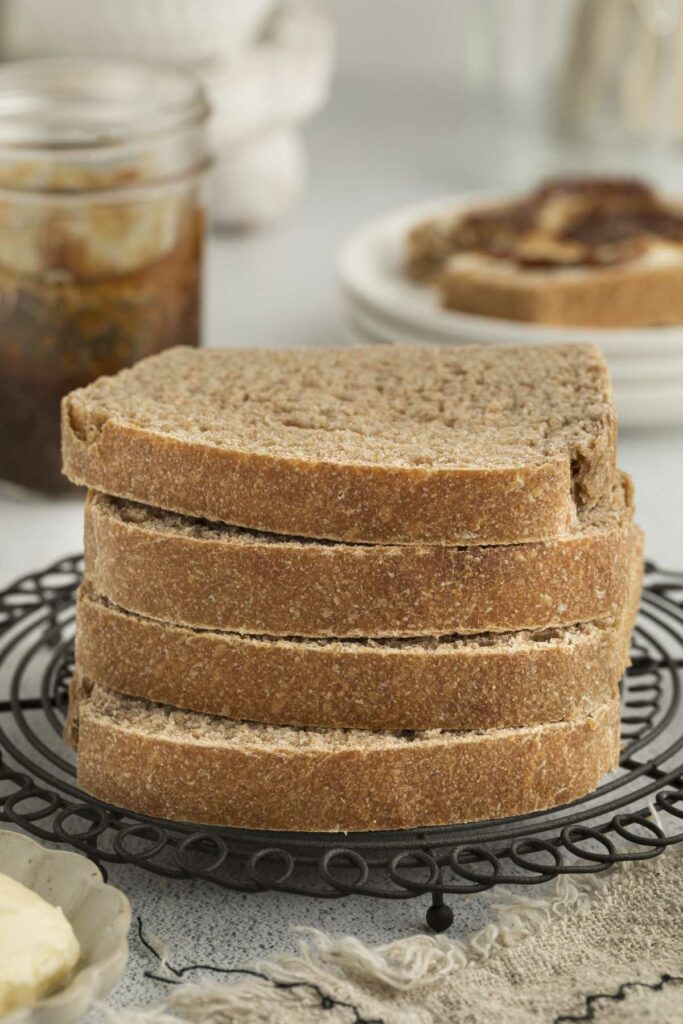
There’s nothing quite like homemade bread, especially with the nutty, earthy flavor of sprouted wheat. Store-bought bread doesn’t stand a chance. And bonus: your house will smell incredible while it bakes.
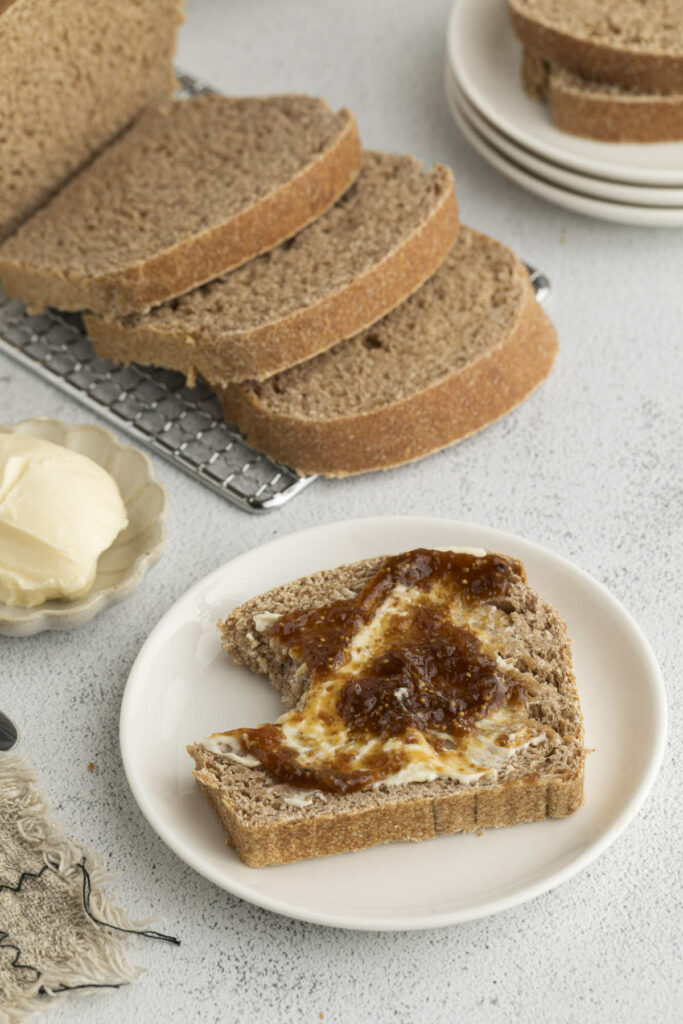
Try it with a dab of butter or a dip of garlic butter sauce or herbed olive oil.
Here is Why This Recipe Works
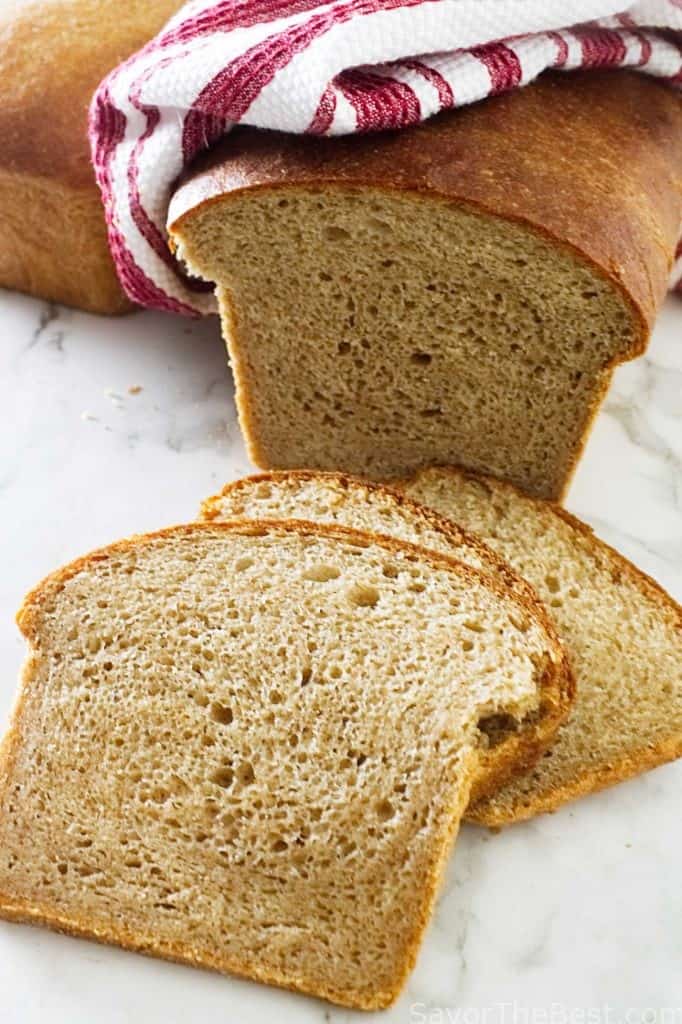
Ultra-soft texture: Thanks to the sprouted grain flour, this bread is unbelievably soft and tender. No dense, heavy loaves here!
Naturally sweet: The sprouting process brings out a subtle sweetness, so you won’t get that bitter whole wheat taste that some breads have.
Foolproof method: No fancy equipment or techniques required. Just a few simple steps, and you’re on your way to homemade bread heaven.
Perfect for any meal: From toast in the morning to sandwiches for lunch, this recipe will have you baking it on repeat.
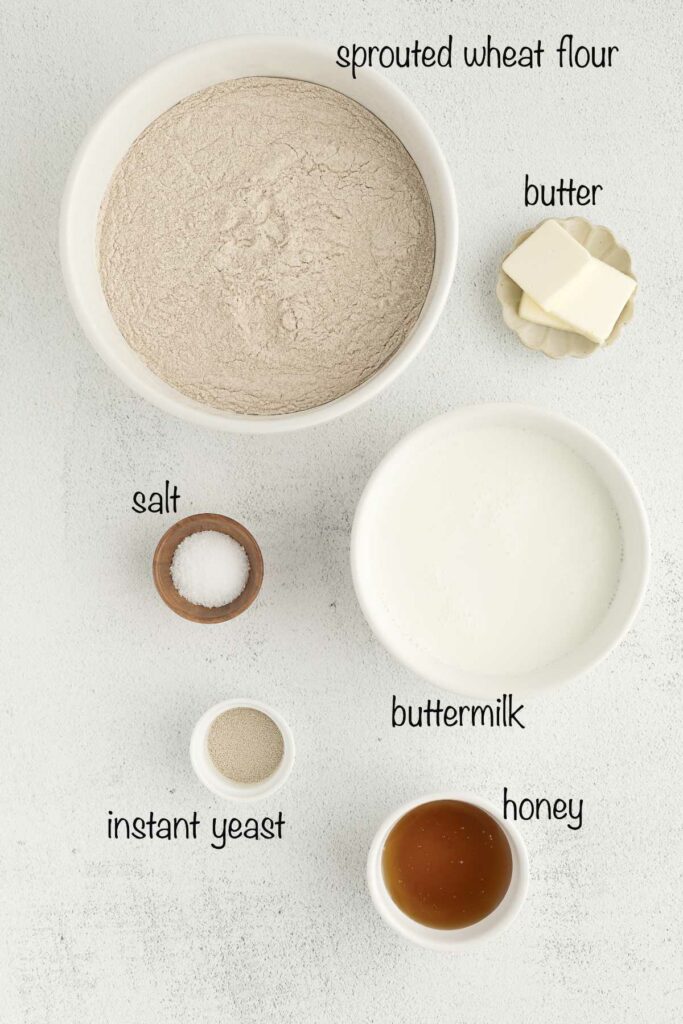
The Ingredients
- Pantry: Sprouted wheat flour, instant yeast, honey, salt, olive oil
- Dairy: Butter, buttermilk
Make sure you use sprouted whole wheat flour in this recipe, and not just sprouted grains.
What’s the Difference Between Sprouted Wheat Flour and Sprouted Grains?
Sprouted grains are whole grains like wheat berries that have been allowed to germinate or sprout. They are often used whole in recipes, offering a hearty, chewy texture and slightly sweet flavor.
Sprouted wheat flour, on the other hand, is made by milling those sprouted grains into flour.
Although it looks like regular whole wheat flour, sprouted wheat flour is quite unique. It’s finely ground after the wheat has been sprouted and dried. This process gives the flour a milder taste and softer texture, perfect for making tender, ultra-fluffy bread.

Variations
Honey Oat Sprouted Whole Grain Bread: Stir in ½ cup of rolled oats and drizzle an additional tablespoon of honey into the dough. Sprinkle extra oats on top before baking.
Sunflower and Flax Bread: Mix in ¼ cup of sunflower seeds and 2 tablespoons of ground flax seeds into the dough. Top the loaf with more sunflower seeds for a rustic look.
Herb and Garlic Bread: Add 1 tablespoon of minced fresh garlic and 2 tablespoons of chopped fresh rosemary or thyme to the dough just before you shape it into loaves. Ingredients like fresh herbs and garlic can inhibit the yeast so it is best to add them toward the end of the process.
Tips for Success
Here are a few tips that I have learned along the way.
- Keep the dough wet. This dough is meant to be sticky! Resist the urge to add more flour. Wet hands and tools will help manage the stickiness.
- Use lukewarm liquids: Make sure the buttermilk mixture is no warmer than 95°F to avoid killing the yeast.
- The dough may take longer to rise depending on your kitchen’s temperature; give it the time it needs to double in size.
- Use commercially ground sprouted wheat flour. While sprouting grains at home and grinding them in a home mill works, commercially ground flour will produce a lighter, fluffier loaf and more consistent results.
- Don’t overproof. Be careful not to let the dough rise too much in the pans. Aim for 1 to 1-½ inches above the rim to avoid deflating.
- Use the stretch and fold technique. This method builds gluten while handling the dough less. Simply stretch and fold the dough a few times, wait for a bit, and repeat. After three or four rounds, the gluten will develop just as if you kneaded the dough for 15 minutes.
- Let the bread cool completely before slicing; though I can never resist pinching off a piece while it’s still warm from the oven! Hopefully, you have better self-control than I do.
Storage
On the counter: To store leftover sprouted wheat bread, let it cool completely before wrapping it tightly in plastic wrap. Store it at room temperature for up to 3 days.
Freezing: Slice the bread before freezing for easier portions. Wrap individual slices or the whole loaf tightly in plastic wrap, then place it in a freezer-safe bag or container. The bread will keep for up to 3 months in the freezer.
Note: When I slice the bread before freezing, I like to add a square of parchment paper between the slices to keep them from sticking together.
Here Are Some Other Recipes You Might Like:
- Sprouted Wheat Cranberry Bars
- Easy Sourdough Bread Recipe
- Sprouted Rye Bread
- Einkorn Sandwich Bread
- Sprouted Spelt Walnut Bread
- Cracked Wheat Bread
Pin this now to find it later!
Pin It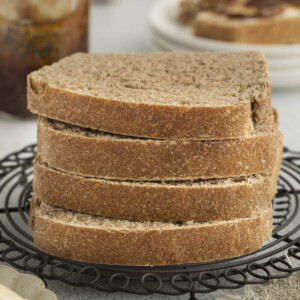
Sprouted Wheat Sandwich Bread
If you make this recipe, please leave a star rating and comment.
Ingredients
- 6 ⅔ cups sprouted wheat flour, 800 grams
- 2 ¼ teaspoons instant dry yeast, 7 grams
- 2 teaspoons salt, 14 grams
- 4 tablespoons butter, 56 grams
- 3 cups buttermilk, ( 735 grams)
- 5 tablespoons honey, 100 grams
Instructions
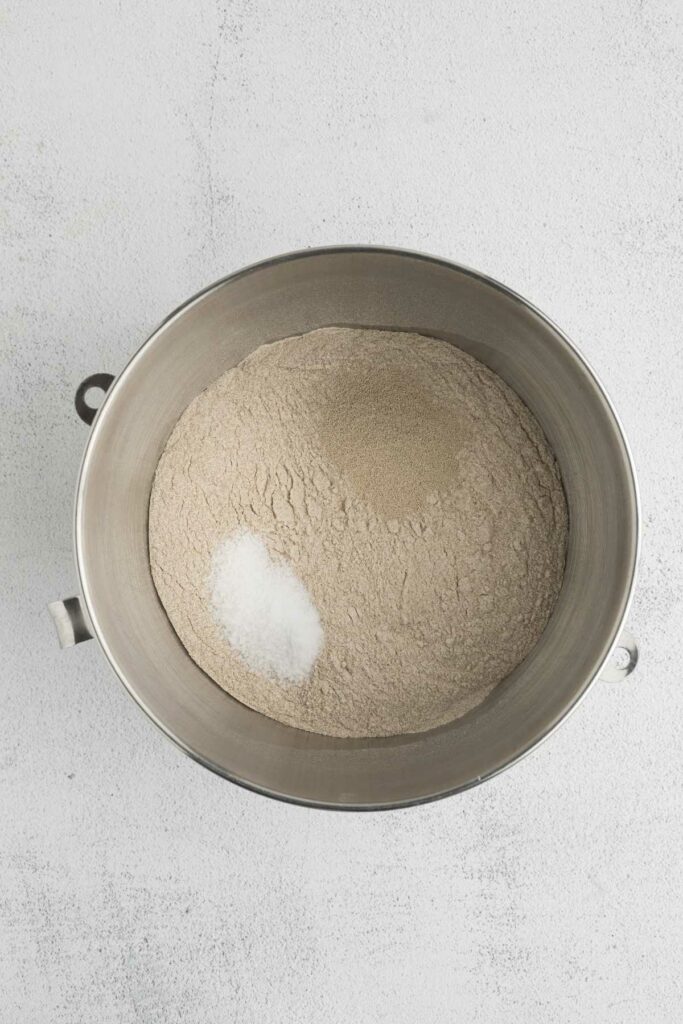
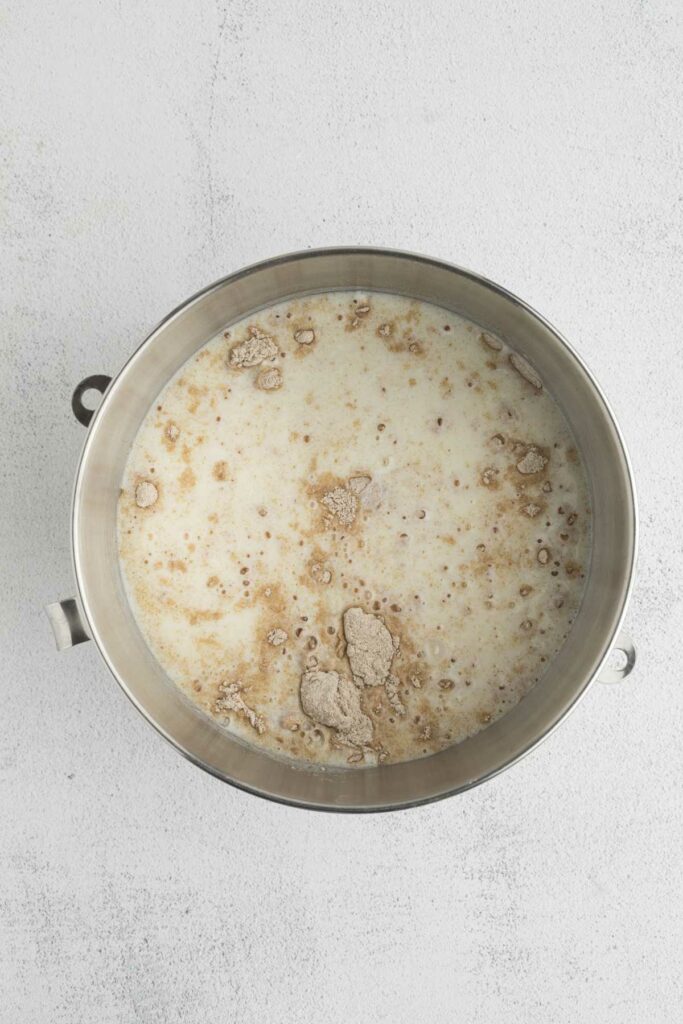
- In a large bowl, stir together the flour, yeast, and salt.
- Melt the butter in a small saucepan and then add the buttermilk and honey. Gently warm over medium heat until it is just lukewarm. If it gets too warm, let it sit and cool down to about 95°F because if the liquid is too hot, it will kill the yeast.
- Add the buttermilk mixture to the flour mixture and stir until all the flour is incorporated. The dough will be very wet and sticky. Let it rest for 5 minutes to give the flour time to fully hydrate then stir the dough for 1 minute.
- Spread some olive oil on a work surface and scrape the dough onto the oiled work surface. Using wet hands (to prevent the dough from sticking to your hands) stretch the dough up and fold it over itself four times. Then cover it with a bowl and set it aside for 5 to 10 minutes (don’t worry if you get distracted and 20 or 30 minutes go by, just be sure to give the dough at least 5 minutes to rest). Repeat this same stretch and fold process three more times. You will notice the dough firm up each time you repeat the process.
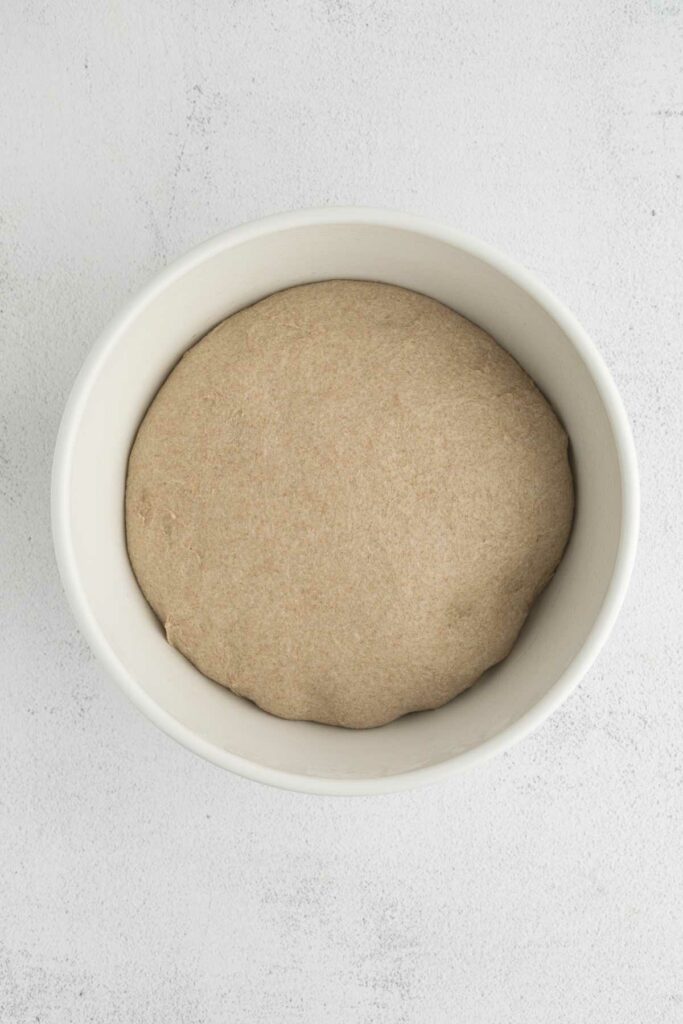
- Put the dough into a well-oiled bowl then coat the top of the dough with oil and cover the bowl with plastic wrap. Let the dough rise for 1 to 2 hours until doubled in size (the time it takes to double in size will depend on the temperature and humidity of your environment).
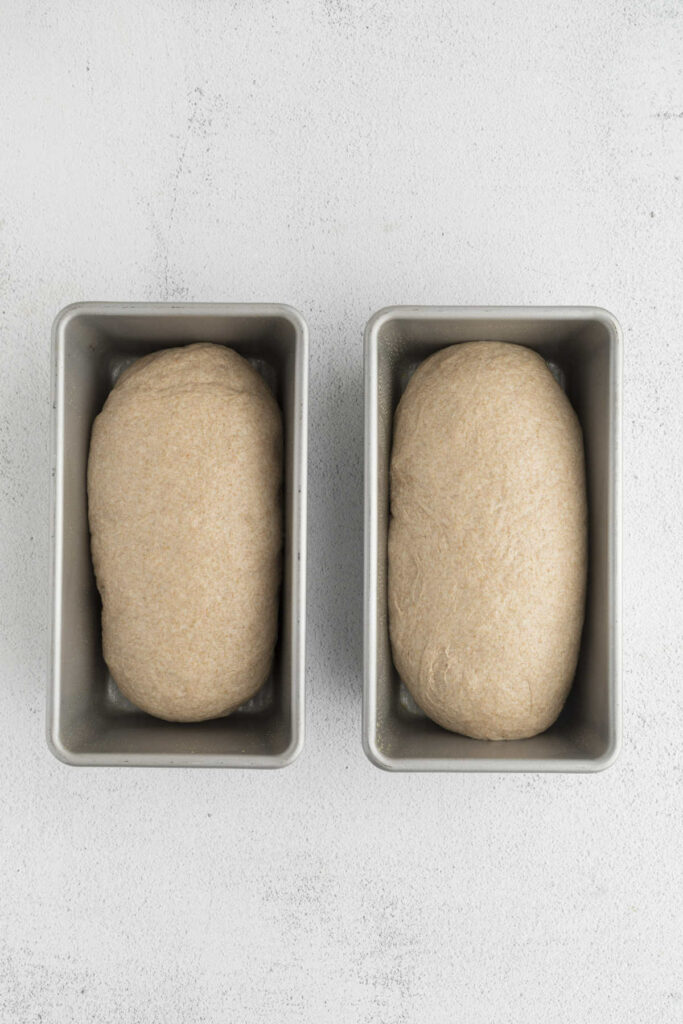
- While the dough is rising, grease two 4-½ by 8-inch loaf pans with vegetable oil.
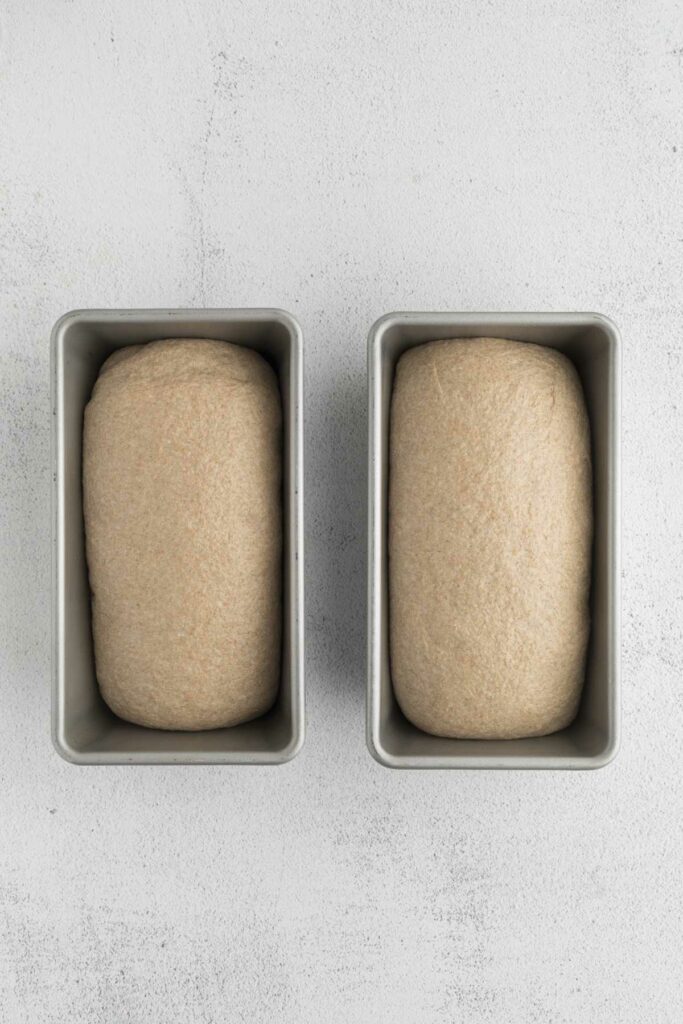
- After the dough has had time to double in size, transfer it onto a greased counter. Divide the dough in half and shape each piece into a loaf and place into the loaf pans. Oil the tops of the bread loaves. Cover the loaves loosely with plastic wrap and let them rise until they have risen about 1-½ times their original size, but not quite doubled. If you are using a 4-½ by 8-inch pan the loaves should be about 1 to 1-½ inches above the top of the pan.
- While the dough is rising, preheat the oven to 350° F.
- Place the risen bread loaves in the center of the oven and bake for 20 minutes then rotate the pans and bake for another 25 to 30 minutes until the tops are a golden brown color and they sound hollow when you thump them.
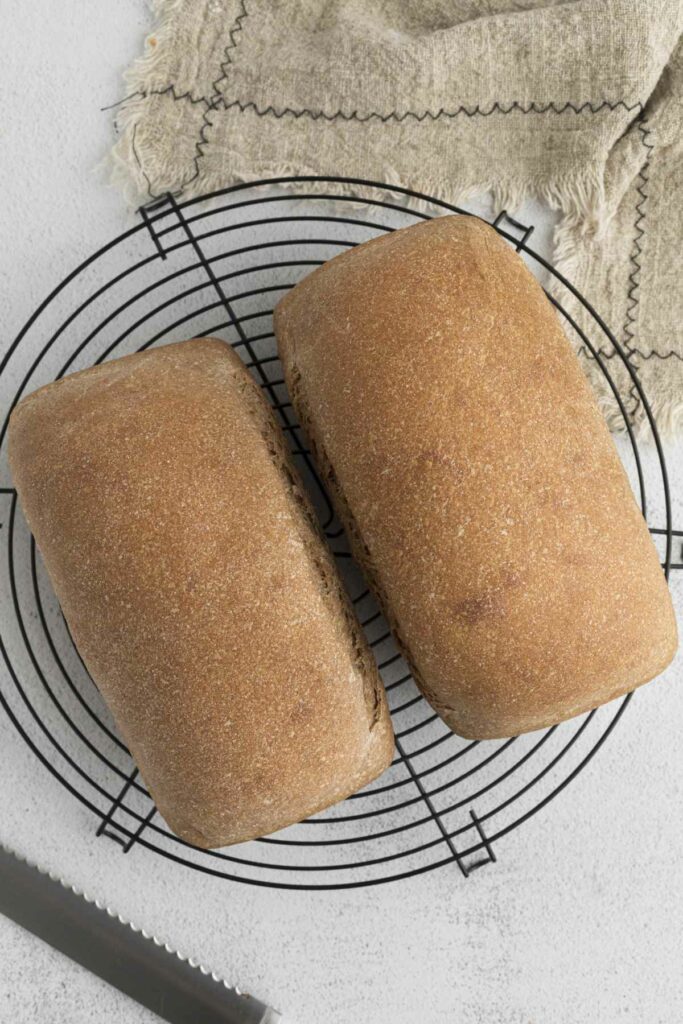
- Remove the bread from the pans and place them on a wire rack to cool.
Video
Notes
- The dough will be wet and sticky. If you keep your hands and tools wet or well oiled then the dough will not stick to your hands. I keep a small bowl of water close by to dip my hands and bowl scraper into.
- After the dough is shaped into a loaf make sure you don’t over-proof the dough. If you let the dough rise too far then it will deflate very easily and leave you with a collapsed loaf of bread. The dough should rise to 1 to 1-1/2 inches above the top of the pan. It is better to ere on the smaller size than to over-proof the dough.v
- Sprouted wheat flour tends to absorb moisture differently based on your local humidity. If the dough feels excessively sticky or too dry, try adjusting slightly by adding more flour or liquid, a little at a time until it feels right.
- One tester found that using a stand mixer helped develop the dough more evenly.
- Warmer kitchens can speed up the rise time, while cooler environments may slow it down. If your kitchen is on the cooler side, try placing the dough in a slightly warm spot to help it rise. A laundry room warmed by a running dryer works well.
- Nutrition info is based on 22 slices per loaf of bread
Nutrition
Nutrition information is automatically calculated, so should only be used as an approximation.
 Like this recipe? Rate & comment below!


Wowww! That is an amazzzing recipe. I was especially intrigued with stretching/folding/resting the dough instead of kneeding. Takes a bit of practice but it worked out perfect. I just had to convert the recipe into a Vegan version: replaced butter with 4Tbs olive oil and 3cups buttermilk with 2cups Silk cultured coconut (unsweetened) yogurt + 1cup home made almond milk. Followed the procedure exactly and it turned out outa-this-world! I used Anita’s Organic Sprouted Whole wheat flour. The video was also very well done and was very helpful ?
Thank you for all good notes and hints, too !!!
Thank you for your comment, Olga. I’m glad to hear it converts well to a vegan version. Enjoy your bread! 🙂
I made the Sprouted wheat buttermilk bread using King Arthur sprouted wheat flour and it turned out great with one exception It did not have a lot of flavor. Is there anything I can add to this recipe to increase the flavor without altering the texture and still assure that it will stay as moist and rise as well?
Absolutely! You can add some garlic and herbs or cinnamon and raisins. As long as you don’t add extra liquid then you won’t have to change the ratio of flour. If you add extra butter then you will want to watch how it changes the dough because you may need to add extra flour.
Hi, I have tried this recipe several times and at 30 minutes the top is really brown and the bottom is still not fully baked. I am not sure what is going on. The pan would be in the middle of the oven. Any suggestions? Thanks
Your oven might be running a bit hot. Try turning the oven down by 25 degrees. Also if you see the top browning too fast then spray a piece of aluminum foil with oil and loosely cover the top. That will prevent excess browning while the bread finishes baking.
We made it for the first time today. We tried REALLY hard to follow the directions exactly. We used sprouted wheat flour that we ground fresh today. The bread stuck to our loaf pans (I did grease them) AND they fell (they were fine until we rotated them). We took them out and they are gooey inside. The cooked part tastes really good but they flopped for sure. I’m pretty sad since we spent SO much time on these. What did we do wrong?
There will be some huge variables if you are grinding your own flour. Home ground flour will not be as fine as flour ground in a commercial mill and it will not absorb as much liquid. That would make a gooey texture and collapse the loaf. This is a pretty challenging recipe to get right with home ground flour. Did you also sprout your own wheat? I would recommend using commercially sprouted and ground flour for this particular recipe. Sorry it didn’t work out for you.
Yes, we sprouted the wheat ourselves. Our mill is a good one and ground it finely. Do we dare try it again or should we not unless we buy the flour?
I would say it will be hit-and-miss unless you purchase the flour. I get pretty inconsistent results when I sprout my own wheat but the recipe has never failed me with purchased flour. I will say, however, that it can be done. With multiple trials, you will get a feel for all the nuances of your home sprouted/ground flour. It will also vary a bit from batch to batch depending on how long you sprout your grains. For the best flour, you really don’t want the grains to grow a tail, just sprout them long enough for the sprout to crack the grain open. The longer you let the sprout grow, the more ‘gummy’ your bread will be. It would probably be a good idea to purchase sprouted flour at least once so you can get a ‘feel’ for how it works in recipes then you can use that experience to guide you with your home-sprouted and ground flour.
Hi.. would love to try your recipe. I use sprouted wheat flour quite frequently. Is the buttermilk a mixture of milk + vinegar or real buttermilk? Thanks in advance
I used real buttermilk in this recipe but it would work fine if you made a mixture of milk and vinegar as a substitute
Thanks a lot for the response. I would prefer using real buttermilk like you did. 🙂
Yes, the real stuff is better 😉
I don’t know if I am doing something horribly wrong, I have tried this twice and my dough is super crumbly and the bread comes out dense and doesn’t raise at all. I measured very carefully to make sure it wasn’t that. Are you supposed to mix it other than on the counter? I have heard that mixing it forms the gluten stretchiness of dough,and up until now I’ve been using extra gluten in my bread, but I’m trying to find a recipe that doesn’t require extra gluten.
Hi Melissa, are you using sprouted wheat flour? It behaves much differently than regular whole wheat flour. Next time you make it, start with half the amount of flour in the recipe and then continue to add flour a 1/2 cup at a time until you get the right consistency. Watch the video to see what the dough should look like. It should be a pretty wet and sticky dough. You don’t need to add gluten to this recipe, you just need to get used to working with wetter dough than traditional bread dough. If you make this and the dough is crumbly don’t bake it yet. You can still fix it by adding liquid as long as you don’t bake it first.
can this bread be bought at the store?
Not to my knowledge. I have seen sprouted wheat bread in the store but the ones I see have a combination of sprouted wheat flour and regular flour. I can’t find bread that is made with 100% sprouted wheat.
Can you substitute buttermilk for almond milk?
I haven’t tried it but it should work fine for this recipe.
I have made this a couple of times and it by far is the best sprouted bread recipe I have found. Thanks so much for posting! I am halving this recipe today and so far all is well.
That is so great to hear! Thanks for the comment!! 🙂
So I made the bread and it came out crumbly, what did I do wrong?
Christine, the biggest reason for dry crumbly bread is that the dough had too much flour. If you measure the ingredients with a kitchen scale you will be more accurate with the quantities. If you scoop the flour with a measuring cup, you are likely to get almost twice as much flour as the recipe calls for. When you mix the dough it should be pretty wet and sticky, if it isn’t then you should add more liquid. The hardest part about making this bread is getting used to a wet, sticky dough. Don’t add flour to it when you stretch and fold.
Can you make this bread in a kitchenaid mixer? Can you make the dough in a bread machine?