
This post may contain affiliate links. Please read our disclosure policy. As an Amazon Associate, I earn from qualifying purchases.

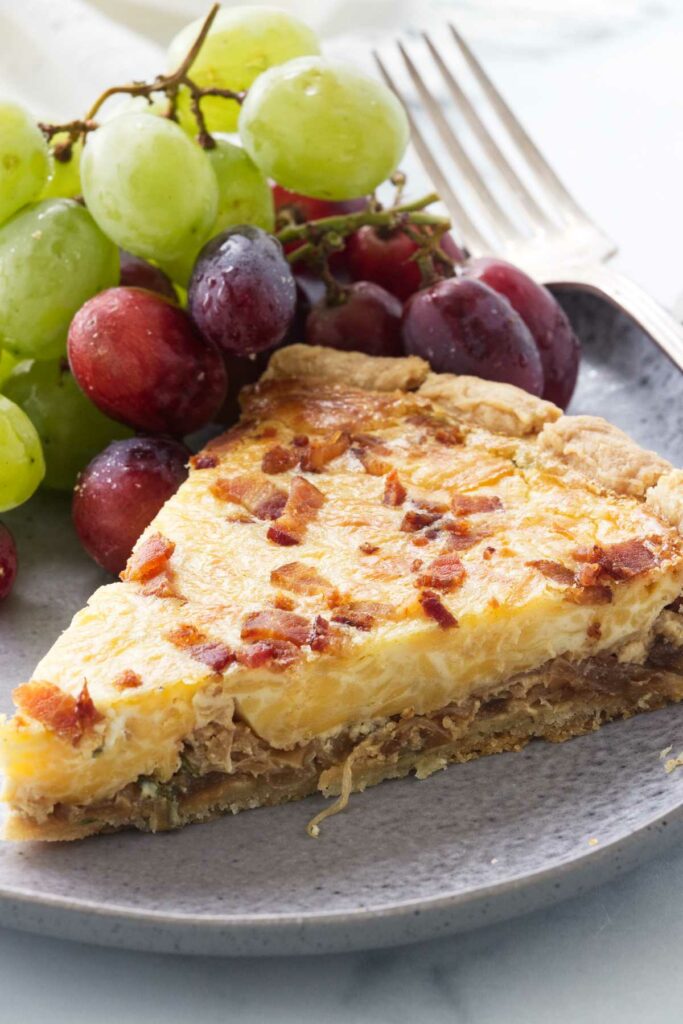
This caramelized onion and bacon quiche is comfort food wrapped in a flaky, buttery crust. Sweet, slow-cooked onions, smoky bacon, and plenty of melty cheese come together in a creamy custard. It bakes up golden, savory, and rich enough to feel special, but simple enough for a weekend breakfast or brunch.
Our caramelized onion quiche is like a cross between a quiche Lorraine and a French onion quiche.
Here’s Why This Onion and Bacon Quiche Recipe Work
Flaky, buttery crust: Cold butter plus a touch of vinegar gives you a crisp base that stays sturdy. No soggy bottoms.
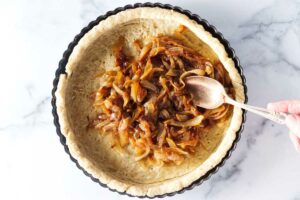
Caramelized onions for depth: A slow 30-minute cook transforms onions into sweet, jammy flavor boosters.
Balanced custard: Just the right mix of cream and eggs for a silky texture that still slices clean.
Cheese that stays put: Tossing it with a little flour keeps it evenly layered through the custard instead of sinking.
If you love quiche, my tomato onion quiche is a lighter, garden-fresh recipe with plenty of flavor in a flaky crust.
Recipe Tips
Keep the dough cold: Rested, chilled dough bakes up flakier and holds its shape.
Blind-bake properly: Foil and pie weights stop the crust from puffing and keep the bottom crisp.
Deglaze the onions: A splash of wine or broth lifts the browned bits and adds rich flavor.
Cool before slicing: Give the quiche 5 minutes to set so you get neat wedges instead of runny custard.
Pick a flavorful cheese: Gruyère, smoked Gouda, or sharp cheddar all melt beautifully and add character.
Don’t skimp on caramelizing: Rushing the onions leaves them sharp instead of sweet. Low and slow is worth it.
Spread the fillings evenly: Distribute bacon, onions, and cheese before pouring in the custard so every slice has a balanced bite.
Place on a baking sheet: Quiches can bubble over. Set the pie dish on a sheet pan to save your oven.
Check for doneness: The center should still have a slight wobble; it will finish setting as it cools.
Reheat gently: Warm slices in a 325°F oven for 10–15 minutes to keep the crust crisp (skip the microwave if you want to avoid a soggy crust).
Freezer-friendly: Bake, cool completely, then wrap tightly. Reheat in the oven straight from frozen.
The quiche crust is similar to our All Butter Pie Crust recipe and boasts a rich, buttery taste that’s delicious all on its own. If you prefer to use a store-bought crust rather than making your own crust, you certainly can!
For another savory breakfast idea, my ham and cheese breakfast bake is hearty, cheesy, and perfect for feeding a crowd.
Bacon and Onion Quiche
This caramelized onion and bacon quiche is the kind of recipe that works just as well for a laid-back weekend breakfast as it does for a holiday brunch spread. With a buttery crust, sweet onions, smoky bacon, and a silky custard, it’s a recipe that feels a little special without being fussy.
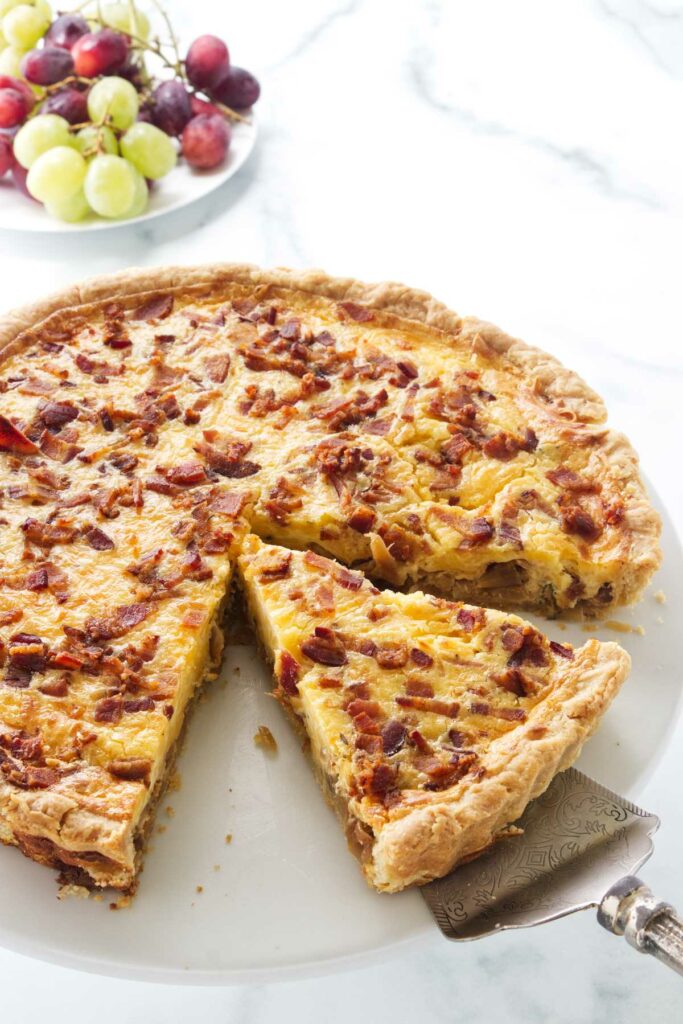
Serve the quiche warm with a green salad or our Waldorf salad. Or enjoy a cold slice straight from the fridge, because honestly, it’s just that good.
Pin this now to find it later!
Pin It
Bacon and Caramelized Onion Quiche
If you make this recipe, please leave a star rating and comment.
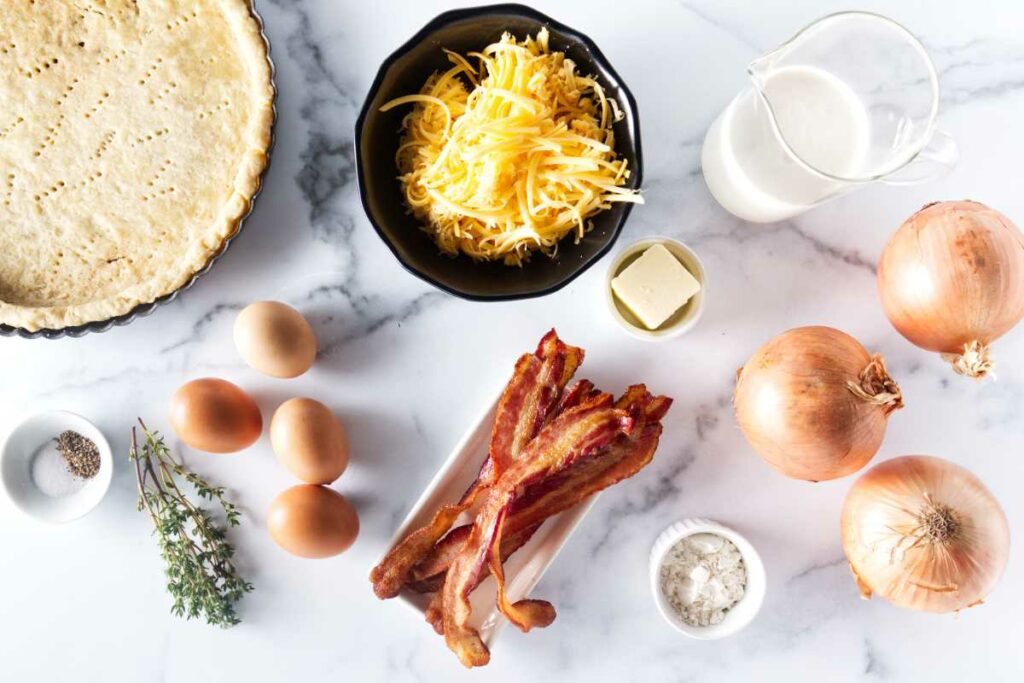
Ingredients
For the Pastry Crust:
- 2 cups all-purpose flour, plus more for dusting
- ¾ teaspoon salt
- 12 tablespoons butter, cold, cut into cubes
- 5 tablespoons water, cold
- 1 teaspoon cider vinegar
For the Filling:
- 2 tablespoons butter
- 3 onions, sliced ½ inch thick
- 2 tablespoons Fresh thyme
- 1 ½ cup shredded cheese
- 1 tablespoon all-purpose flour
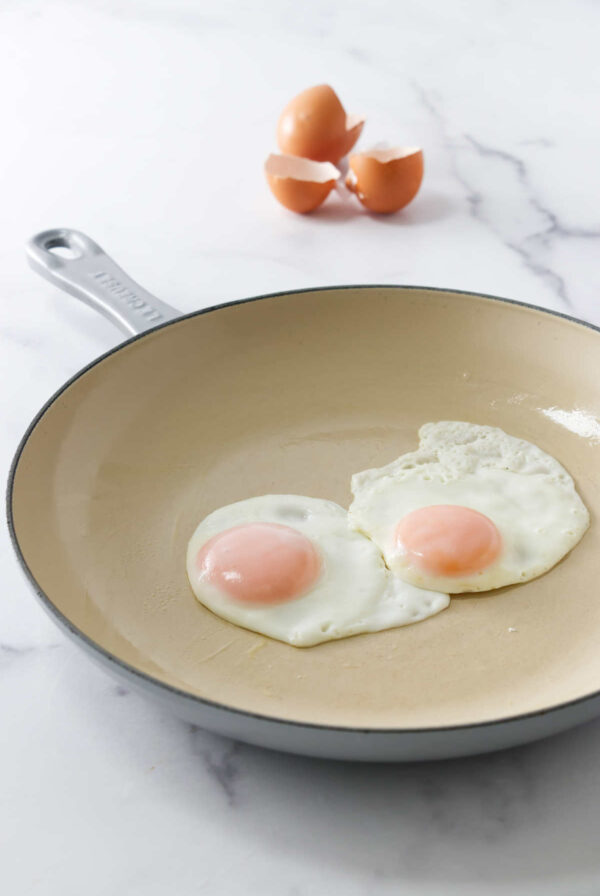
- 4 large eggs
- ½ teaspoon salt
- ¼ teaspoon fresh ground pepper
- 1 ½ cup heavy cream
- 6 slices thick-cut bacon, cooked and crumbled
Instructions
For the pastry crust:
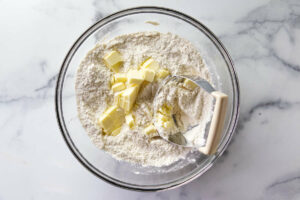
- Blend flour and salt together in a large bowl. Cut in the butter using a pastry blender (or pulse in a food processor) just until most of mixture resembles coarse meal. Mix the vinegar and 5 tablespoons of ice water together and drizzle evenly over the flour mixture and gently stir with a fork. You may need a little more water but just enough so the mix holds together when a handful is squeezed.
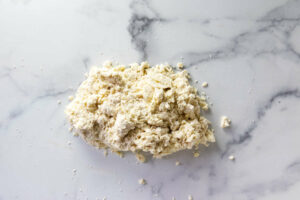
- Pour the mixture onto a lightly floured surface, it will look crumbly but it will all come together. Using a pastry scraper, scrape the dough together and press it into a ball, and then flatten into a disk. Chill dough, wrapped in plastic wrap, until firm, at least 30 minutes.
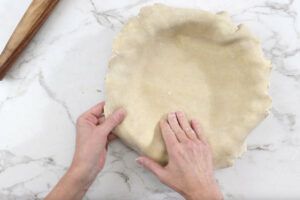
- Roll the dough on a floured surface into a 15-inch circle. Fit it into an 11-inch tart pan, pressing gently against the sides. Trim the excess and crimp if desired. Prick the bottom with a fork, then chill for 30 minutes in the fridge. (If using a tart pan with a removable bottom, place it on a baking sheet before baking.)
- Preheat oven to 375°F. Line the pastry shell with a large piece of foil sprayed with nonstick oil, pressing it firmly into place. Fill with pie weights and bake for 15–20 minutes. Remove the foil and weights, then bake another 10–15 minutes until golden. Cool on a wire rack.
For the filling:
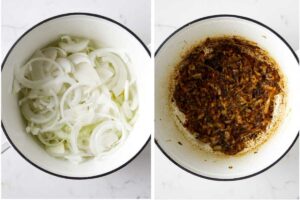
- Melt the butter in a large skillet over medium heat. Add the onions and cook, stirring often, until soft and golden, 25–30 minutes. If the pan starts to look dry, add a splash of water to loosen the browned bits and keep the onions from burning.
- Distribute the onions evenly over the bottom of the cooked, cooled crust then sprinkle them with the thyme leaves.
- In a bowl, add the shredded cheese and toss with the flour. Sprinkle the mixture evenly over the onions and thyme.In a separate bowl, beat the eggs and cream together with the salt and pepper. Pour the mixture over the quiche and top with the crumbled crisp bacon.

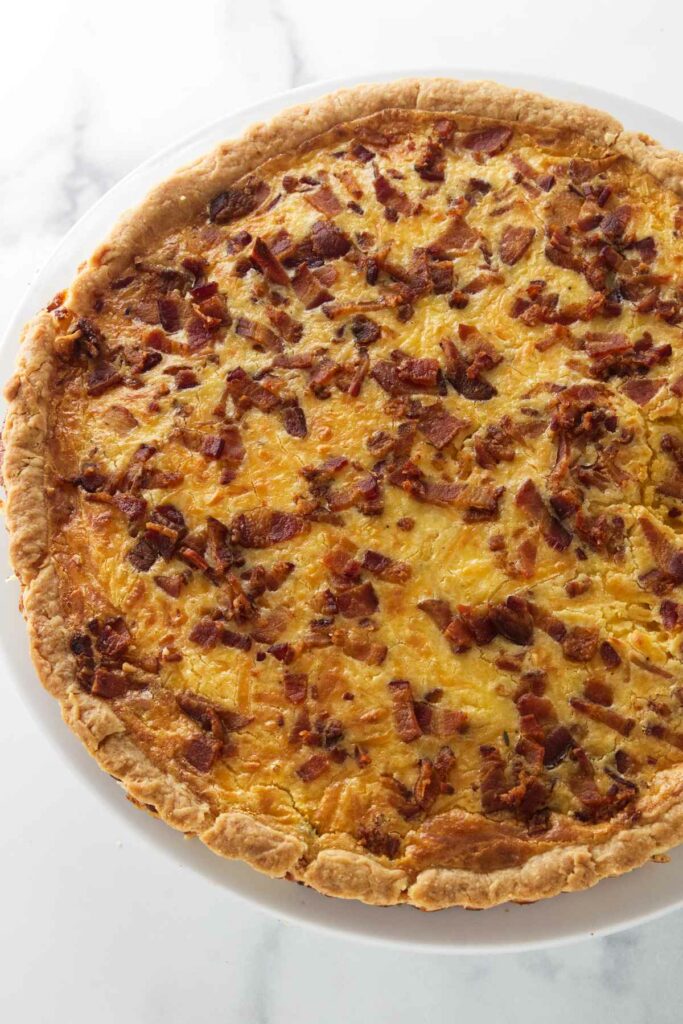
- Place the dish on a baking sheet and bake in the center of a 400°F oven for 15 minutes. Reduce heat to 325°F and bake 25–30 minutes more, until the top is lightly browned and a knife inserted in the center comes out clean.Remove from the oven and allow to cool for five (5) minutes before serving.

Notes
Nutrition
Nutrition information is automatically calculated, so should only be used as an approximation.
 Like this recipe? Rate & comment below!
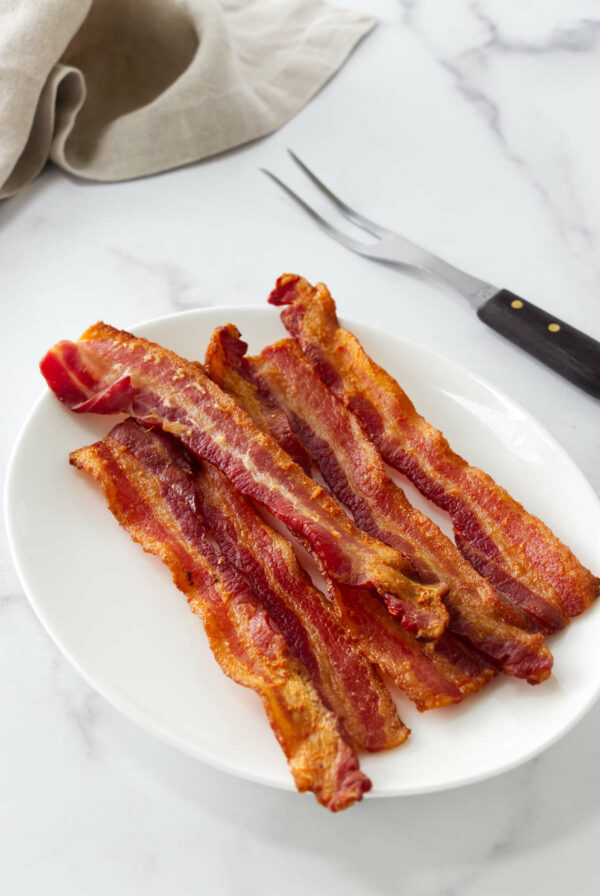


Looks good!
It was delicious, Sabrina 🙂
Mav really is a little charmer! As is this dish — love a good quiche, and they seem to have fallen somewhat out of favor. I know I haven’t made one for quite some time — need to do so again, starting with this! Thanks so much.
Thanks, John…hope you enjoy this recipe. 🙂