

This post may contain affiliate links. Please read our disclosure policy. As an Amazon Associate, I earn from qualifying purchases.

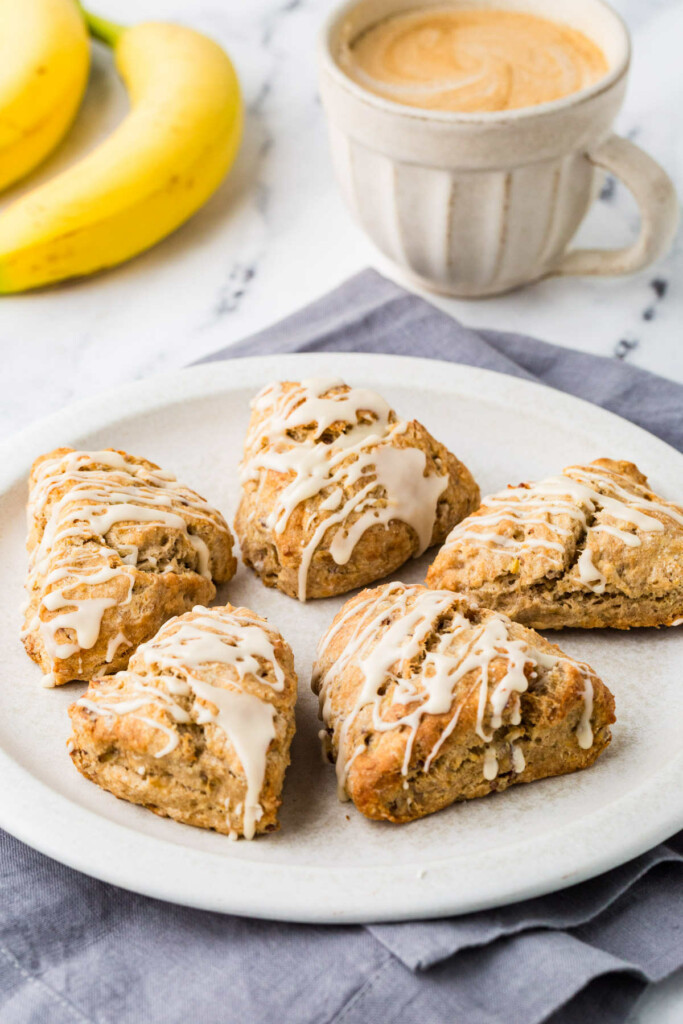
These sourdough discard banana scones are the answer to “What should I do with this ripe banana and leftover starter?”—and no, the answer is not sourdough banana bread (again). These bake up tender, lightly sweet, and just the right amount of nutty.
The sourdough discard adds a subtle tang and helps keep the scones soft without making them gummy. If you’ve been burned by dry, bland scones before, trust me—this recipe gets it right.
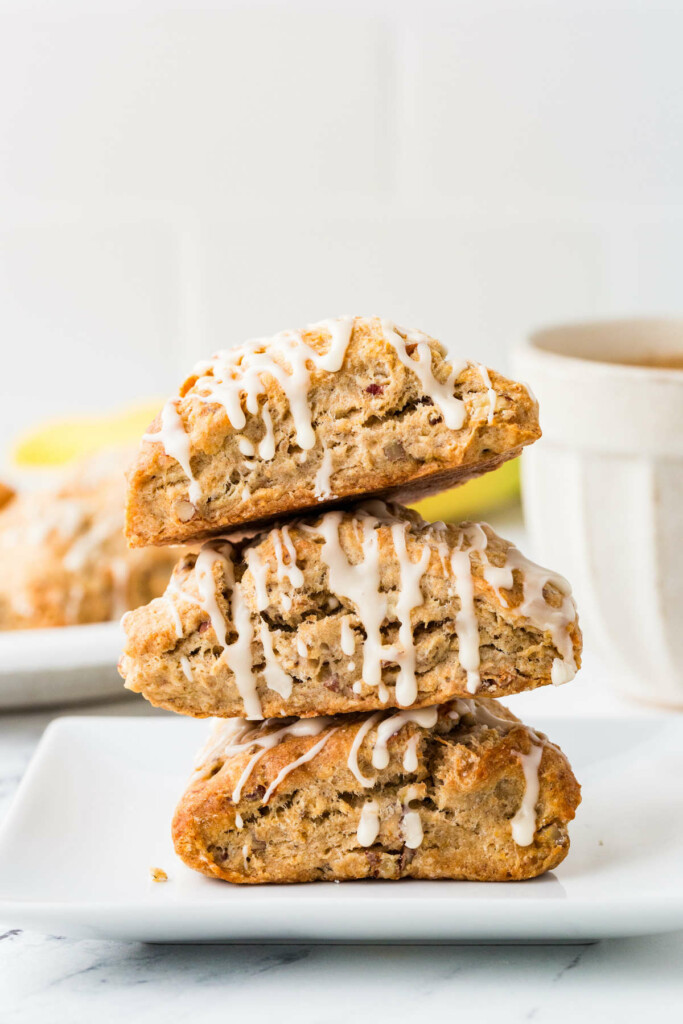
Here is Why This Recipe Works
Uses up sourdough discard: No guilt, no waste, and no weird flavor. Just a subtle tang that plays nice with banana and maple.
Flaky, not cakey: Thanks to a few strategic folds, you get layers without overworking the dough.
Not your average banana baked good: This isn’t banana bread in disguise. It’s buttery, lightly sweet, and actually feels like a treat.
Optional sweet crunch: Toasted or candied pecans add texture and a little extra flair. Go with candied if you’re feeling fancy. No explanation needed.

Already using up that sourdough discard? Good. Now go make these chocolate sourdough shortcakes.
Recipe Tips
Keep the butter cold. Cold butter = flaky layers. Cut it in straight from the fridge.
Use a super ripe banana. The darker and spottier, the better. It adds moisture and natural sweetness.
Don’t overdo the liquid. The dough should look a little dry and shaggy at first. It’ll come together as you fold.
Stack, don’t stir. That cut-and-stack method isn’t just for fun. It builds layers without turning the dough tough.
Freeze before baking. A quick chill keeps the scones from spreading and helps them rise higher in the oven.
Weigh your ingredients. Especially the flour. Too much and you’ll end up with dense scones. A kitchen scale keeps things accurate.
Use parchment or a silicone mat. It prevents sticking and makes cleanup easier (which is always a win).
Chop the nuts small. Big chunks can make it harder to shape the dough and cut clean wedges.
Make ahead and freeze. These freeze like champs. Just reheat and pretend you baked them fresh that morning.
If you have more bananas, make my sourdough banana cake. And if you want more scones, try my sourdough discard blueberry scones.
Storing Leftovers
- Room temperature: Store in an airtight container for up to 2 days.
- Refrigerator: They’ll keep for about 4 to 5 days in the fridge. Just let them come to room temp or warm them up before serving.
- To freeze: Once cooled, place the scones in a single layer and freeze until solid. Transfer to an airtight container and freeze for up to 2 months.
- To reheat: For best results, warm a scone in the oven or toaster oven at 300°F for about 10 minutes. The microwave works in a pinch, but the texture won’t be crisp.
Sourdough Banana Scones
These sourdough banana scones check all the boxes: they’re easy to make, loaded with flavor, and give that leftover starter a delicious purpose. You get tender layers, a hint of tang, and just enough sweetness to feel like a treat, not a sugar bomb. Take them up a notch and use candied pecans.
Pin this now to find it later!
Pin It
Sourdough Discard Banana Scones
If you make this recipe, please leave a star rating and comment.
Ingredients
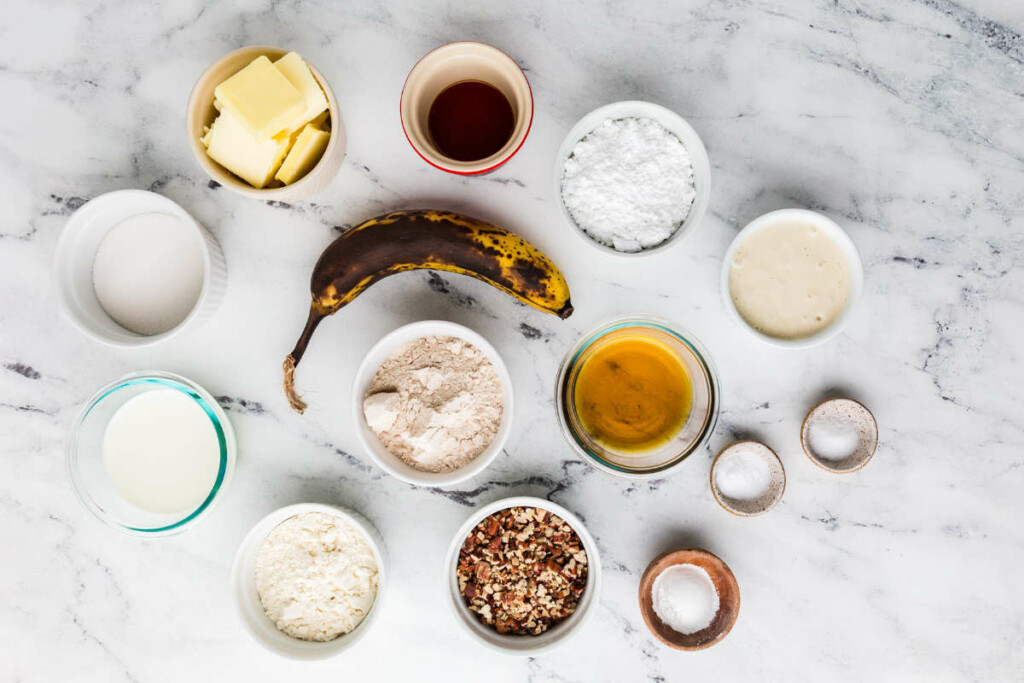
- 1½ cups All-Purpose Flour, 180 grams
- ¾ cup whole Wheat Flour, 85 grams
- 1 tablespoon baking powder
- ½ teaspoon baking soda
- ¾ teaspoon salt
- ¼ cup granulated sugar, 50 grams
- 8 tablespoons butter, cold, cut in pats, 113 grams
- ¾ cup toasted pecans, or candied nuts; chopped
- 1 banana, very ripe; 113 grams
- 2 teaspoons vanilla extract
- ⅓ cup milk, 75 grams
- ¾ cup sourdough discard, 170 grams
For the Maple Glaze
- ¾ cup powdered sugar, 85 grams
- 2 tablespoons maple syrup
- 1 to 2 teaspoons milk
- ⅛ teaspoon salt
Instructions
- Preheat the oven to 425°F and line a baking sheet with parchment paper or a silicone mat.
- Whisk the flours, baking powder, baking soda, salt, and sugar together in a large bowl.
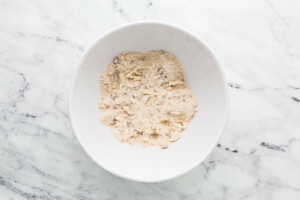
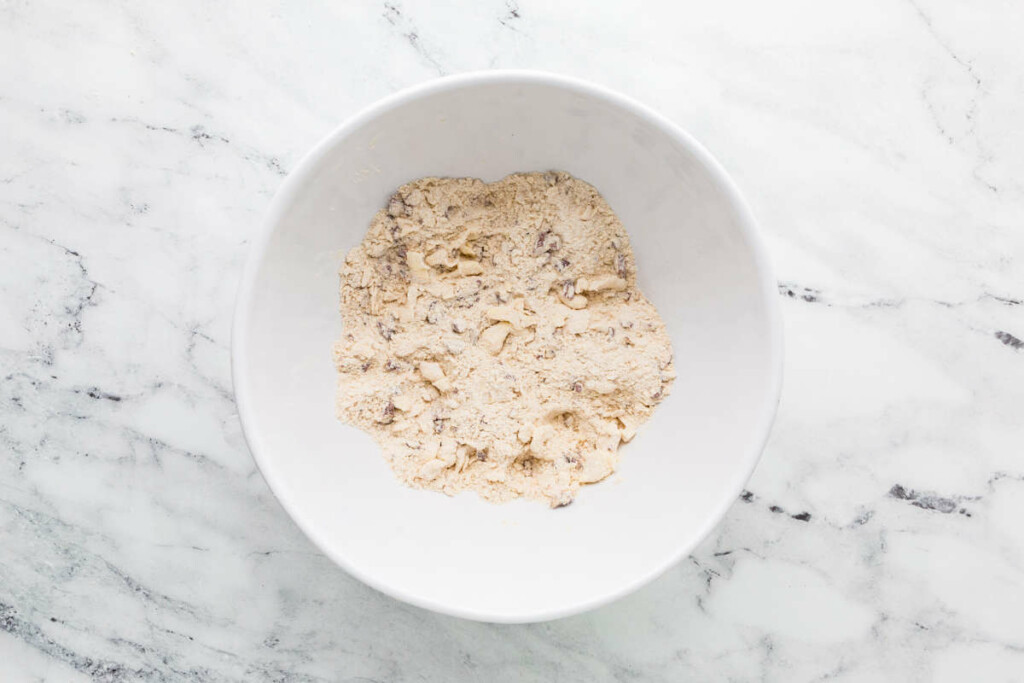
- Add the cold butter and work it in using a pastry blender or your fingers until the mixture is crumbly with some larger chunks still visible. Mix in the chopped nuts.
- In a separate bowl, mash the banana, then mix in the vanilla, milk, and sourdough discard until well combined.
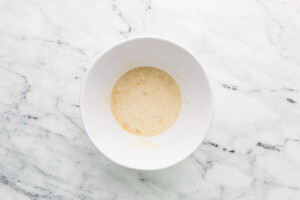
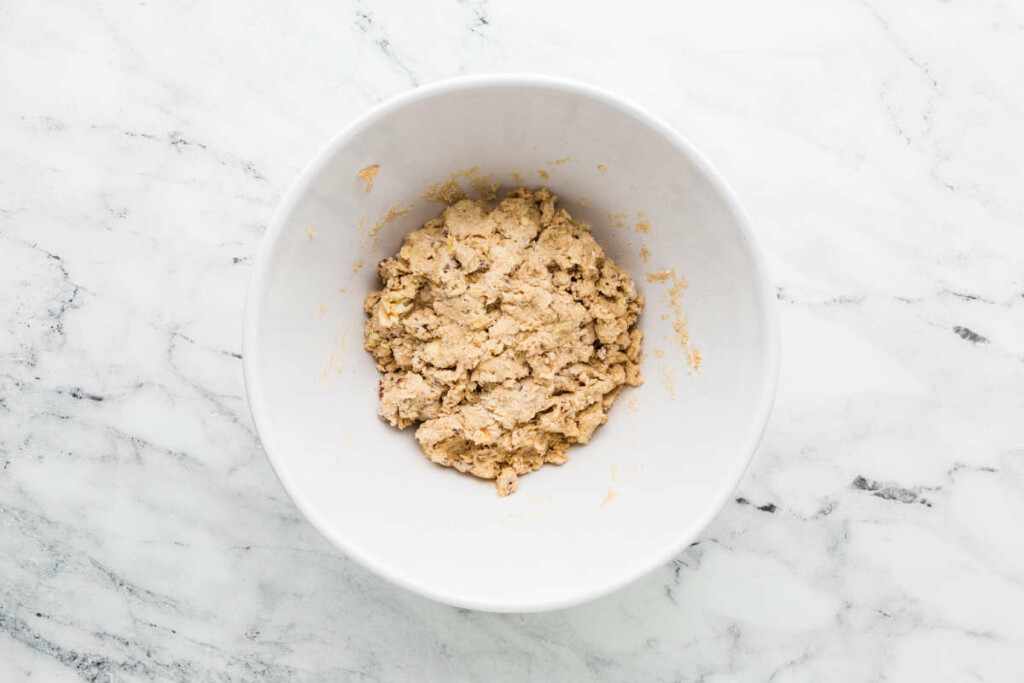
- Add the wet ingredients to the flour mixture and stir until most of the dough comes together. It’s normal to see some dry crumbs at this point. The dough should be soft and slightly sticky, but not so wet that it sticks heavily to your hands.If the dough feels exceptionally wet and sticky, add a little flour, 1 tablespoon at a time, just until it is manageable. The consistency of sourdough discard can vary quite a bit, and a thin, watery discard may require a little extra flour.Keep in mind that the next step will help incorporate any dry bits without overworking the dough.
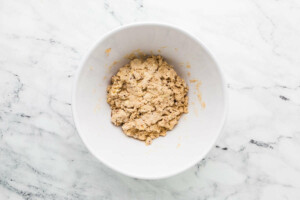
- Tip the dough onto a lightly floured counter and gather it into a rough mound. Scrape up any loose bits and pile them on top. If the dough sticks, lightly flour your hands, the bench scraper, or the surface as needed.Use a bench scraper or knife to cut the mound in half, stack the two halves, and press down gently. Repeat the cut-and-stack process three to four more times, or until the dough comes together and the loose crumbs are incorporated.
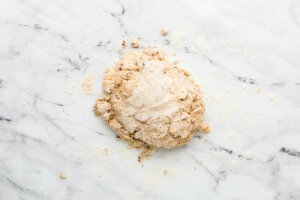
- Divide the dough in half and shape each half into a 6-inch round. Slice each round into 6 wedges.
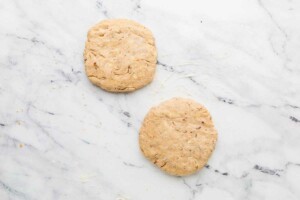
- Place the scones on the prepared baking sheet, spacing them about ½ inch apart. To minimize spreading in the oven, you can pop the scones in the freezer for 15 to 20 minutes before baking.
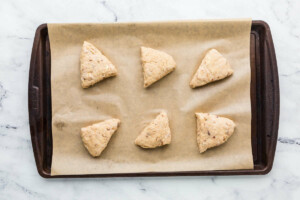
- Bake for 14 to 16 minutes, or until golden brown. Let the scones cool on a wire rack for 15 minutes before adding the glaze.
Make the Maple Glaze:
- In a small bowl, whisk together powdered sugar and maple syrup.
- Add milk, a little at a time until the glaze is pourable but not runny.
- Drizzle over the cooled scones. Let the glaze set for 10 to 15 minutes before serving.

Notes
Nutrition
Nutrition information is automatically calculated, so should only be used as an approximation.
 Like this recipe? Rate & comment below!
The Ingredient Shot
Process Photos
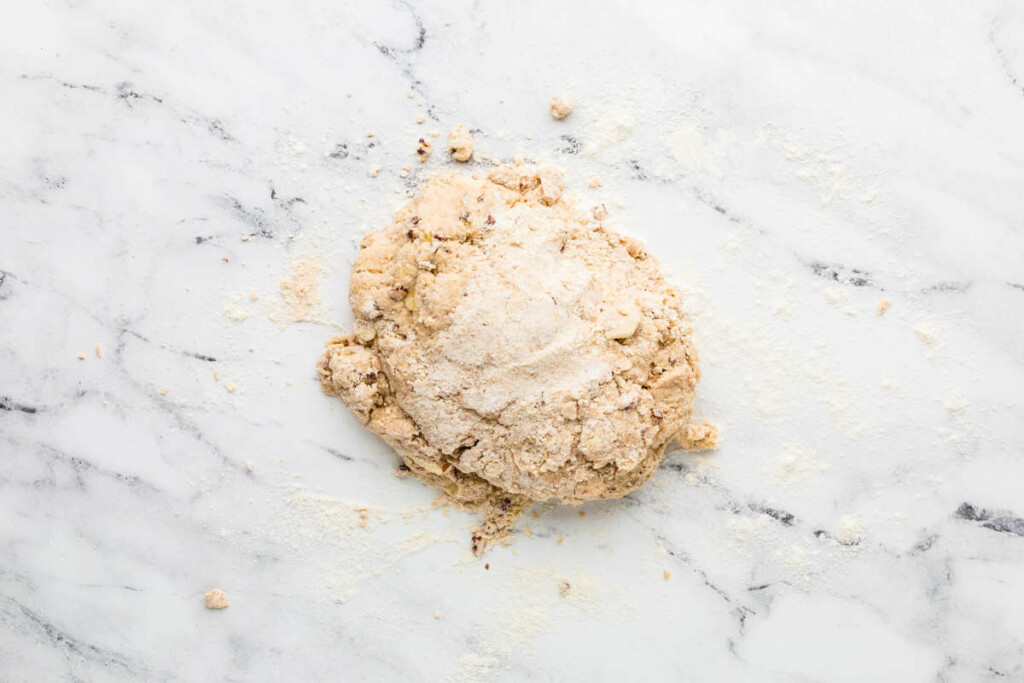
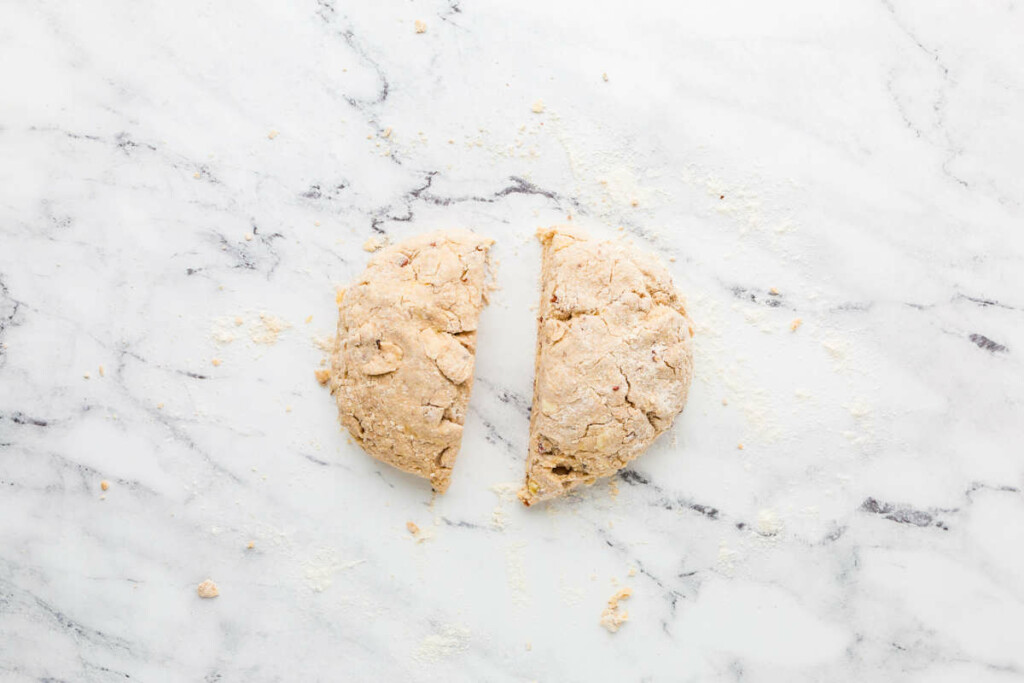

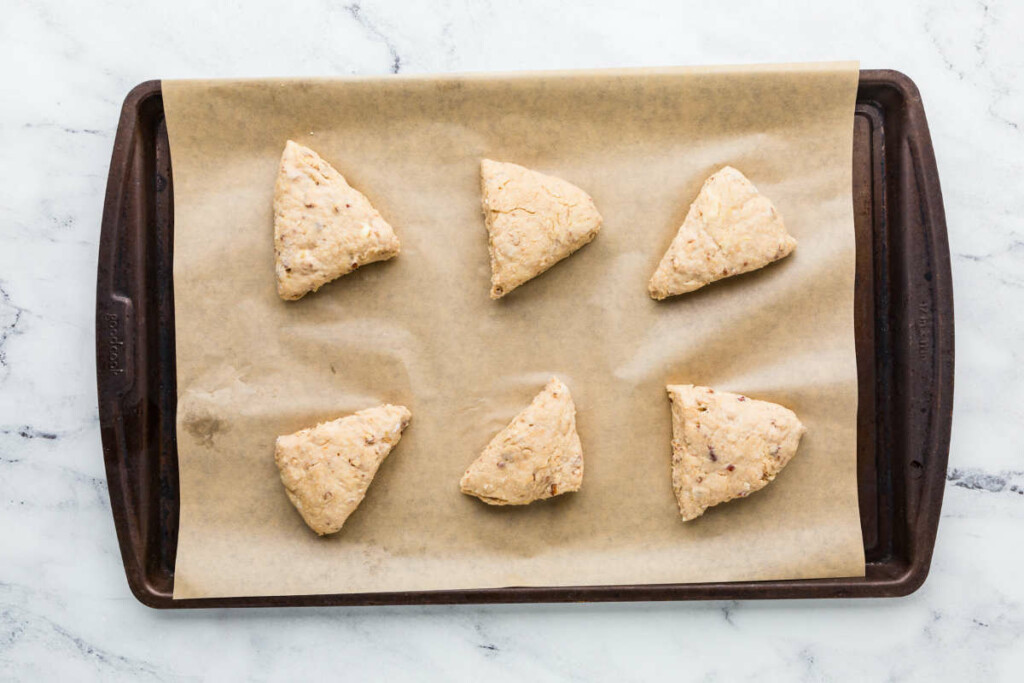











Excellent. Came out perfectly!
Thanks for the comment, I’m glad you enjoyed it.
These scones are delicious! I’ve made them several times now. Though, I always run into one issue. The dough is always waaaay too sticky when it comes to the cut and folds. I find myself adding a lot of flour to thicken it up. I do not use whole wheat flour, but make up for it by adding extra all purpose. Is this the reason?
Thanks so much—I’m glad you’ve been enjoying the scones!
As for the sticky dough issue, yes, the flour swap is likely the culprit. Whole wheat flour absorbs more liquid than all-purpose flour, so when you substitute it with only all-purpose (even in a larger quantity), the dough doesn’t firm up the same way.
A couple of ideas that might help:
Try reducing the liquid slightly when using all-purpose only.
Or, if you’re up for experimenting, mix in a small amount of oat flour or spelt to mimic the absorbency of whole wheat.
Chilling the dough a bit before shaping can also make it easier to handle without over-flouring.
Appreciate you sharing what you’re running into! Let me know if you try a tweak that works well for you.
I also had the problem of my dough being sooooo sticky. I used both all purpose and whole wheat flour so I am not sure what was the reason that mine was so sticky. I lost a good chunk of my dough because it was sticking to everything!
I suspect the sourdough discard may be the difference. Discard can vary quite a bit in consistency, especially if it has been stored for a while and become very thin or watery. The dough should be soft and somewhat sticky, but not so wet that it sticks to everything. If your discard is especially runny, you may need a little extra flour to get the dough to a workable consistency.