
This post may contain affiliate links. Please read our disclosure policy. As an Amazon Associate, I earn from qualifying purchases.
Razzleberry pie is one of those desserts you don’t have to wait for fresh berries to make. This recipe uses frozen raspberries and blackberries, so it is easy to pull together whenever you are in the mood for a berry pie. The filling bakes up thick and jammy inside a flaky double crust, and it sets up nicely once the pie has had time to cool.
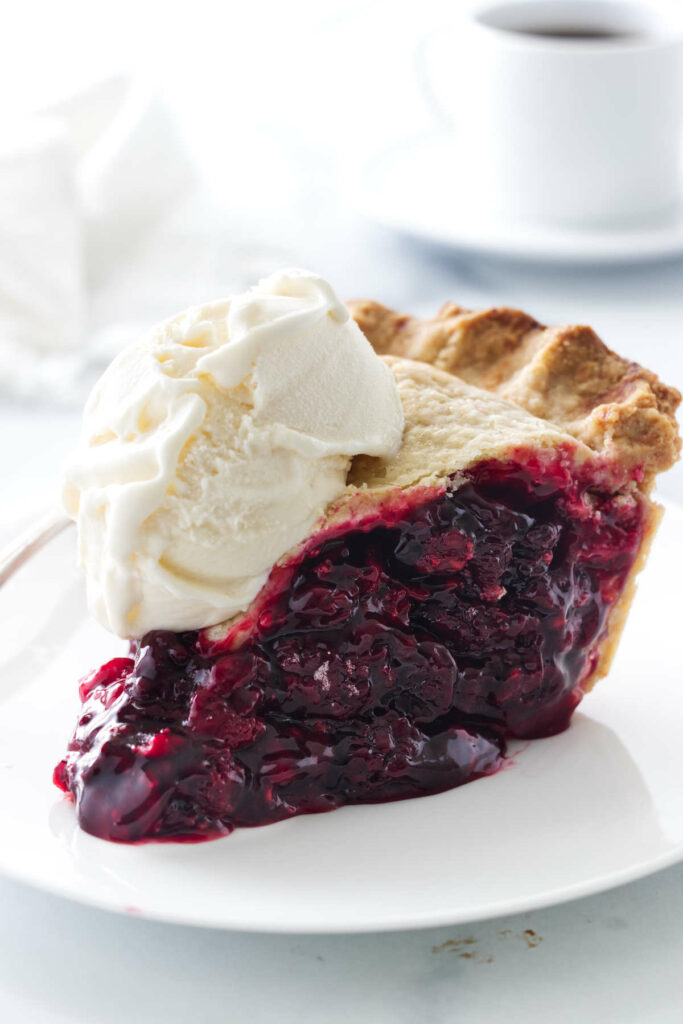
What Is Razzleberry Pie?
Razzleberry is not a single type of berry. It is a name used for a mixed-berry pie, and the combination can vary from one recipe to another. Our version is made with raspberries and blackberries, which give the filling a nice mix of sweet and tart flavors.
For a different combination of berries, try our mixed berry pie, or keep things simple with an old-fashioned blackberry pie.
Razzleberry Pie Ingredients
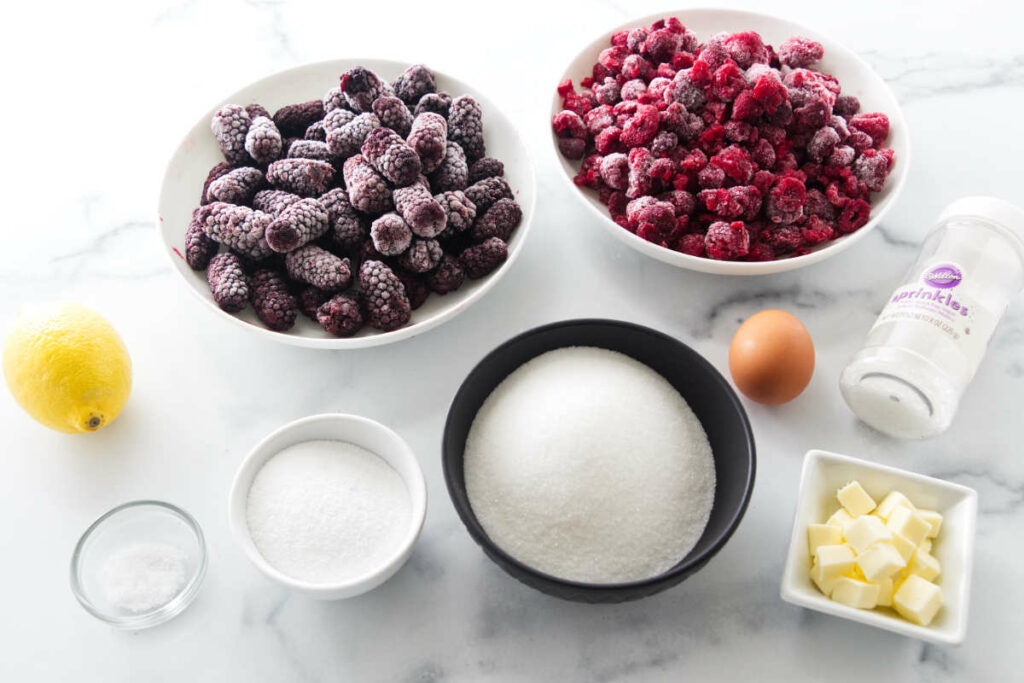
Double-crust pastry: Our all-butter pie crust makes a flaky, buttery crust. You can also use our gluten-free pie crust if needed.
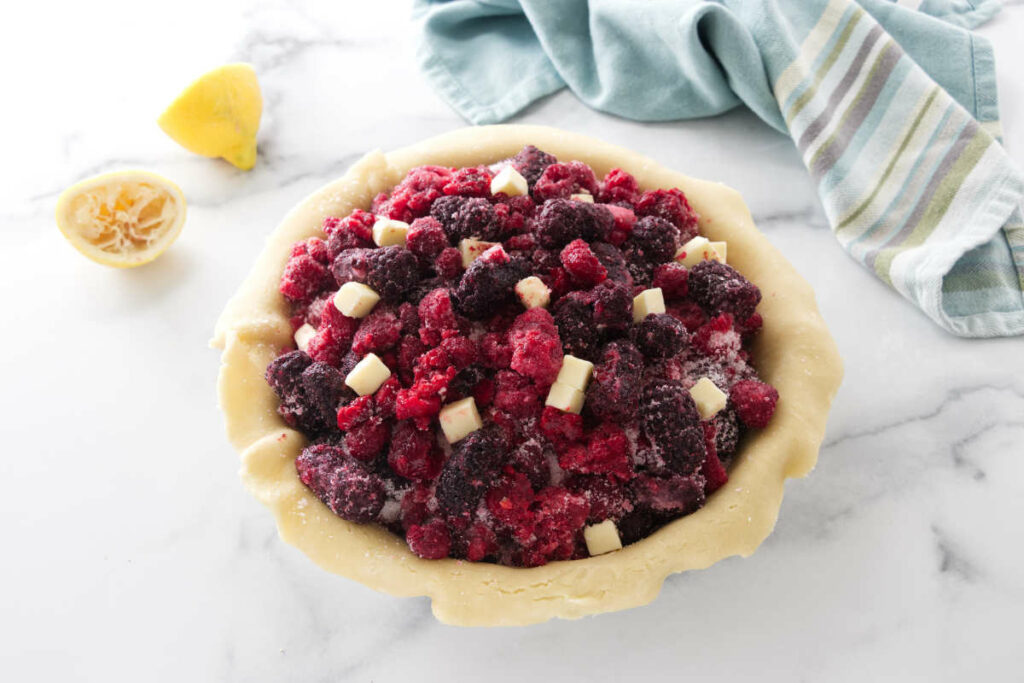
Raspberries and blackberries: Frozen berries go straight into the filling without thawing, so you can keep them on hand and make this pie any time of year.
Lemon juice: A little fresh lemon juice balances the sweetness of the berries.
Thickener: ClearJel, instant tapioca, or cornstarch will thicken all those berry juices. They work a little differently, so check the Recipe Tips below before choosing one.
Butter, egg white, and coarse sugar: A little butter goes over the berries before adding the top crust. The egg-white wash and coarse sugar give the crust a crisp finish with a little sparkle.
Recipe Tips
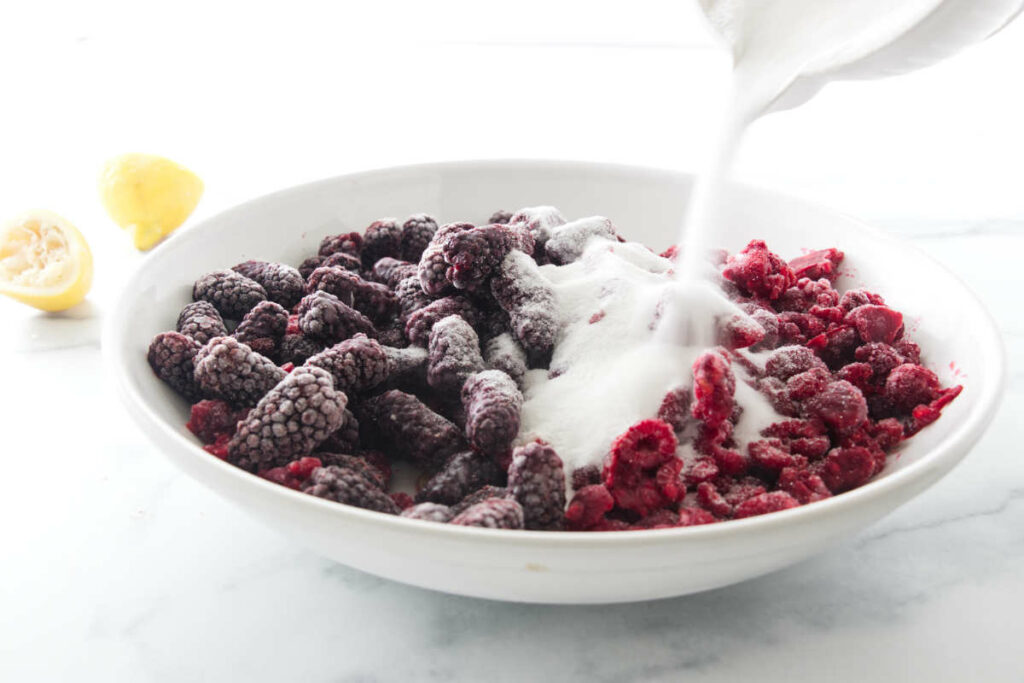
Keep the berries frozen: There is no need to thaw the raspberries or blackberries. Use them straight from the freezer when you make the filling.
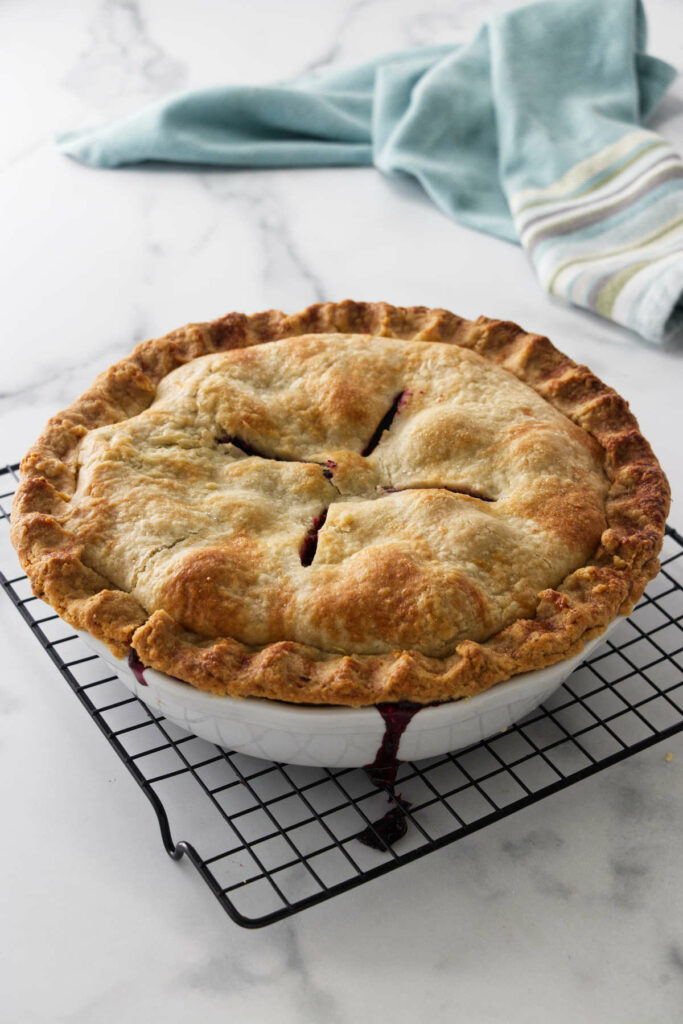
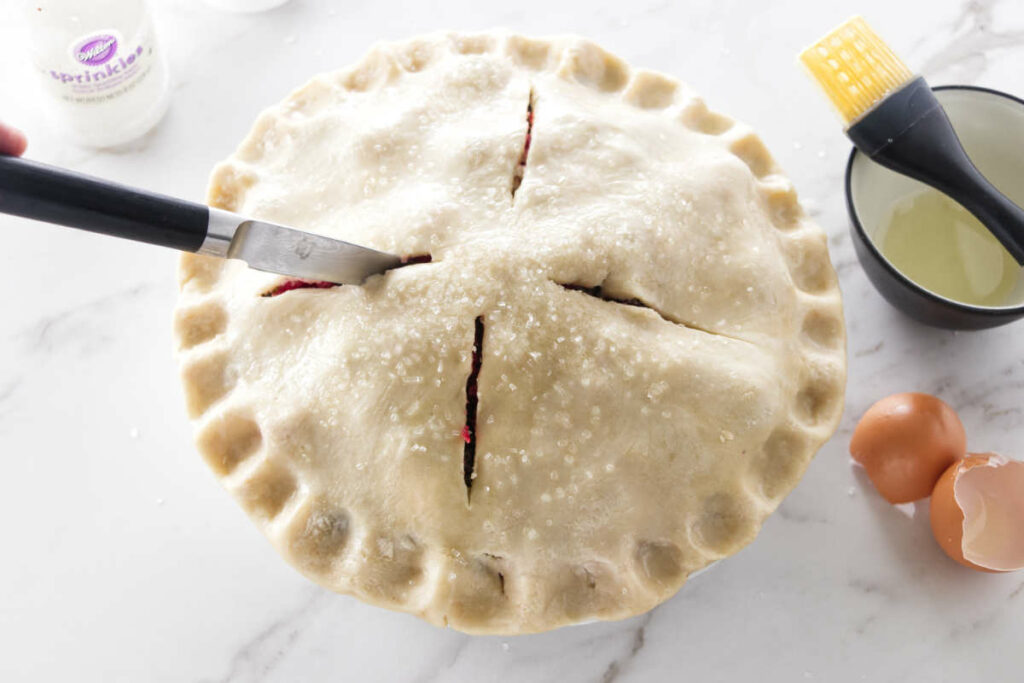
Watch for bubbling: Don’t rely on the clock alone. The berry juices should be bubbling through the vents in the top crust before you take the pie out of the oven.
Give the bottom crust plenty of heat: The initial blast of high heat helps the crust get flaky and crisp. Baking the pie on a lower oven rack also puts the bottom crust closer to the heat, which helps prevent it from getting soggy.
Choose your thickener: Instant ClearJel and quick-cooking tapioca both set the filling nicely and freeze well. Tapioca needs a short rest before baking. Cornstarch works too, but it doesn’t hold up as well after freezing.
Using fresh berries: Fresh raspberries and blackberries work too, but the pie will bake a little faster. Watch for the filling to bubble through the vents rather than relying on the baking time for frozen berries.
Keep an eye on the crust: If the edges are getting too dark before the filling is ready, cover them with a pie shield or strips of foil.
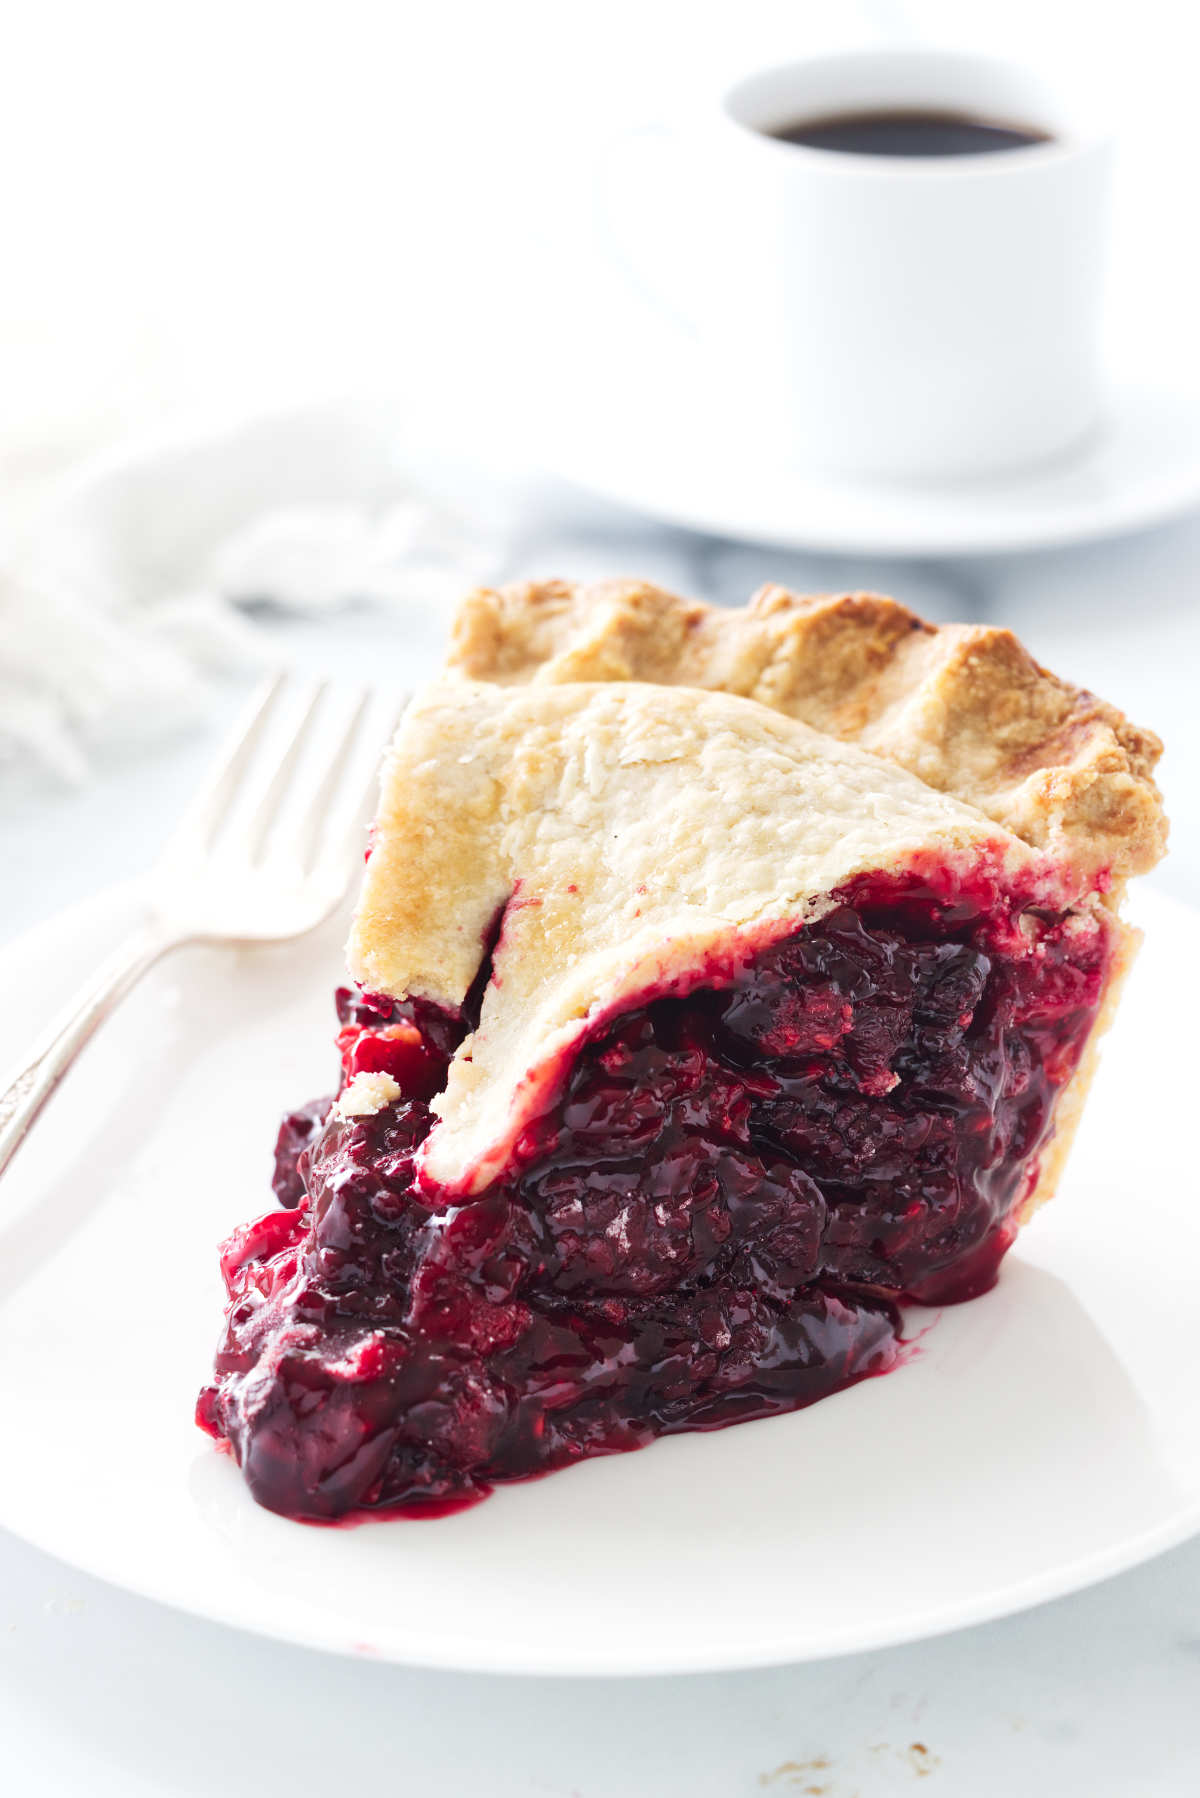
Don’t rush the cooling time: The filling continues to thicken as the pie cools. Let it cool completely and refrigerate it before slicing so you get clean slices instead of berry juices running across the plate.
Frequently Asked Questions
There isn’t one official combination of berries. Razzleberry generally refers to a mixed-berry pie, and recipes vary. Ours is made with raspberries and blackberries for a sweet-tart filling.
The filling may not have cooked long enough or the pie may have been sliced before it had time to set. Look for berry juices bubbling through the vents before taking the pie out of the oven, then let it cool completely before slicing.
Yes. Instant ClearJel and quick-cooking tapioca both hold up well through freezing and thawing, so either is a good choice if you plan to freeze the pie. Cornstarch is more likely to lose some of its thickening power and separate after thawing.
Once the pie has cooled and the filling has set, serve it plain or with a scoop of vanilla ice cream.
Let the Pie Cool, Then Dig In
The hardest part of this razzleberry pie might be waiting for it to cool. Give the filling plenty of time to set, then slice it up and serve it as-is or add a spoonful of homemade whipped cream or a scoop of vanilla lavender ice cream.
And if there happens to be a slice left for tomorrow, I wouldn’t complain.
Pin this now to find it later!
Pin It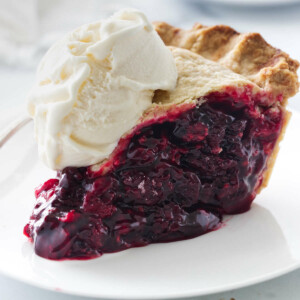
Razzleberry Pie
If you make this recipe, please leave a star rating and comment.
Ingredients
For the Crust:
- 3 cups all-purpose flour, plus more for dusting 360 grams
- 1 teaspoon salt
- 1 teaspoon baking powder
- 1¼ cups butter, cold, cut into small cubes; 20 tablespoons
- 6 to 8 tablespoons water, ice-cold
For the Berry Filling:
- 3 ½ cups frozen raspberries, 435 grams
- 3 ½ cups frozen blackberries, 500 grams
- 2 tablespoons fresh lemon juice
- ¾ cup granulated sugar
- 8 tablespoons quick-cooking (instant) tapioca, or ⅔ cup instant powdered clear jell
- ¼ teaspoon salt
- 1 tablespoon butter, cold; cut into small bits
- 1 Egg white
- 1 tablespoon coarse sugar, optional
Instructions
For the Pie Crust:
- Mix the flour and salt together in a large bowl. Add the butter and cut it in with a pastry blender until the largest pieces are the size of small peas and the mixture begins to clump on the pastry blender.
- Sprinkle the water over the mixture and stir with a fork. Squeeze a clump of dough together in your hands. If it holds its shape it is just right. If it is still crumbly and does not hold together easily, add another tablespoon or two of ice water until you can squeeze a handful, and it holds together.
- Divide the dough in half and form each half into a flat disk. Wrap each disk in plastic film and refrigerate for at least 30 minutes.
- Remove the dough from the refrigerator and let it rest at room temperature to soften up a little and make it easier to roll.
For the Pie Filling:
- Preheat the oven to 450°F
- Add the berries to a large bowl. Drizzle the lemon juice over the berries and toss to combine.
- In a small dish, add the sugar, clear jell (or tapioca), and salt. Sprinkle the mixture over the fruit and gently fold together to coat well.
- Roll out one of the pastry disks for the bottom crust to a diameter of about 14 inches. Carefully fit the pastry into a 9-inch, deep-dish pie plate.
- Spoon the fruit mixture into the pie crust and dot with the butter bits.
- Roll the remaining pastry disk for the upper crust a little larger than 14 inches. Cover the berry mixture with the pastry, trim and crimp the edges together, and cut 4 vents to allow steam to escape.
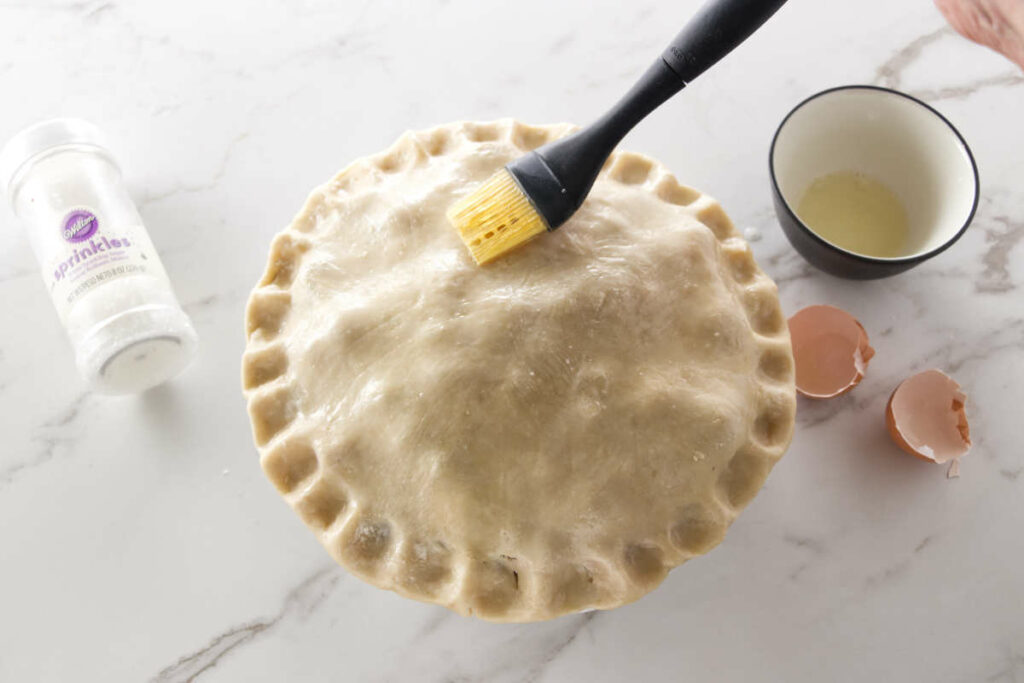
- Whisk the egg white with 1 tablespoon of cold water. Brush the top with the egg wash and sprinkle coarse sugar over the top of the pie.
- Set the pie on a parchment-lined sheet pan to catch any drips and transfer the pie to the lower position of the oven.
- Bake for 15 minutes, then reduce the heat to 375°F. Continue to bake for another 1 hour 15 minutes or until the crust is golden brown and the berry juices are bubbling up through the vents. If the crust begins to darken too quickly, drape a piece of foil or parchment paper over the top.
- Transfer the pie from the oven to a wire rack to cool, then refrigerate for 2 to 3 hours or until completely cold. If you slice the pie while it is still warm, the juices will run. If you want warm pie, you can zap the slices in the microwave after you slice it.
Notes
Nutrition
Nutrition information is automatically calculated, so should only be used as an approximation.
 Like this recipe? Rate & comment below!