This post may contain affiliate links. Please read our disclosure policy. As an Amazon Associate, I earn from qualifying purchases.
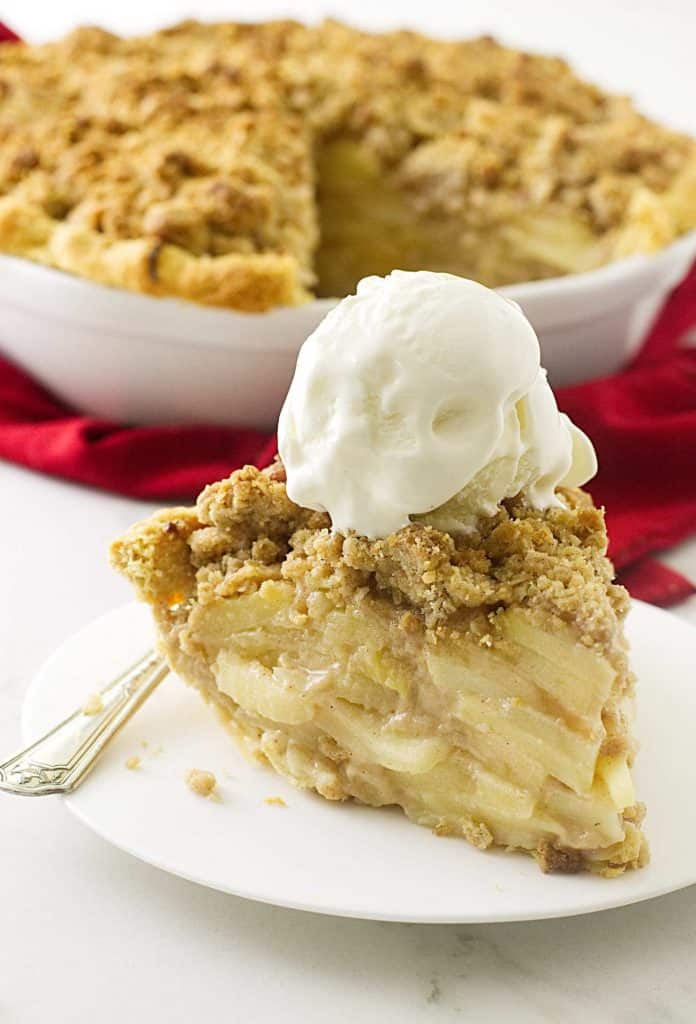
There’s nothing quite like a Dutch apple pie with its buttery, flaky crust, spiced apple filling, and a generous oatmeal streusel topping. Whether you’re using a homemade crust or a store-bought one, this pie is a comforting classic that never disappoints.
The combination of tender apples, rich cream, and a crisp crumble topping creates a perfect balance of flavors and textures. It’s the kind of dessert that brings warmth to any gathering. It is a fantastic dessert any time of the year but it is a must for the holidays.
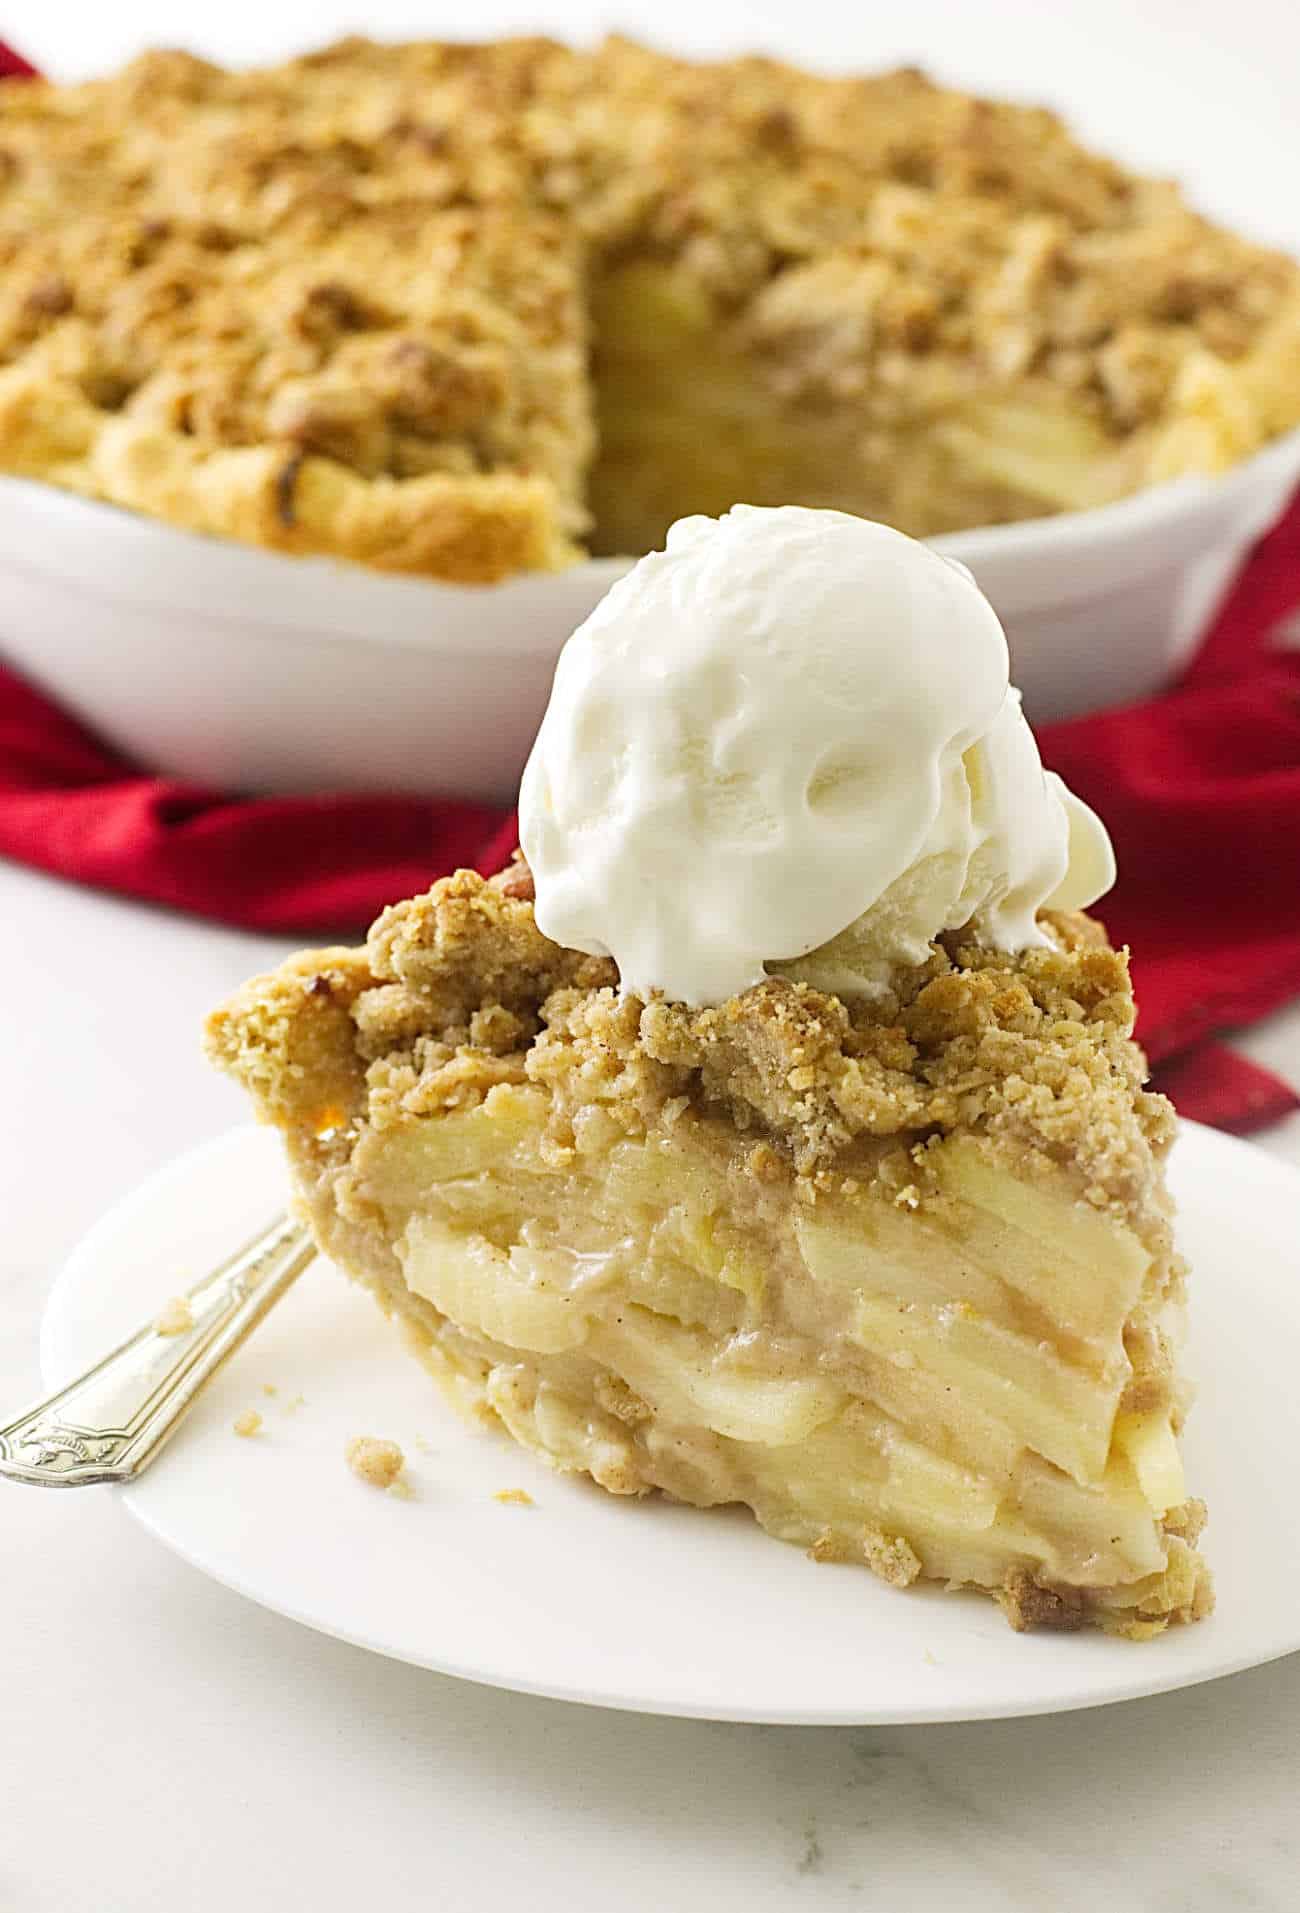
What is Dutch Apple Pie?
Dutch apple pie, also known as an apple crumb pie, is a twist on traditional apple pie. Instead of a top crust, like our deep dish apple pie, it’s crowned with a buttery, crumbly topping (like what you see on an apple crisp).
It’s a classic pie recipe made easier because there is no top crust.
Here is Why This Apple Pie Recipe Works
That Crumble Topping! The oatmeal crumble is the star here. That’s what Dutch apple pie is all about. The crumble adds a crunchy, buttery layer on top of the tender apples.
Customizable Crust: Go ahead, use your homemade pie crust or grab a store-bought pastry—no judgment here. Either way, you’ll end up with a flaky, golden crust that holds up to all that delicious filling.
Perfectly Spiced Filling: With just the right amount of cinnamon and a splash of cream over the apples, the filling is cozy and rich, without being overly sweet. It’s autumn in a slice.
No Soggy Bottoms: The initial high-temp bake sets the pie crust beautifully, so you won’t have to worry about a soggy bottom.
The Ingredients
To make this Dutch apple pie recipe, you’ll need a mix of fresh produce and pantry staples. Here’s a quick rundown of the ingredients you’ll need for your shopping list.
- Produce: Apples, lemon juice
- Pantry: All-purpose flour, cornstarch, rolled oats, sugar, brown sugar
- Pantry Seasonings: Cinnamon, salt
- Fridge: Heavy cream, butter, pie dough
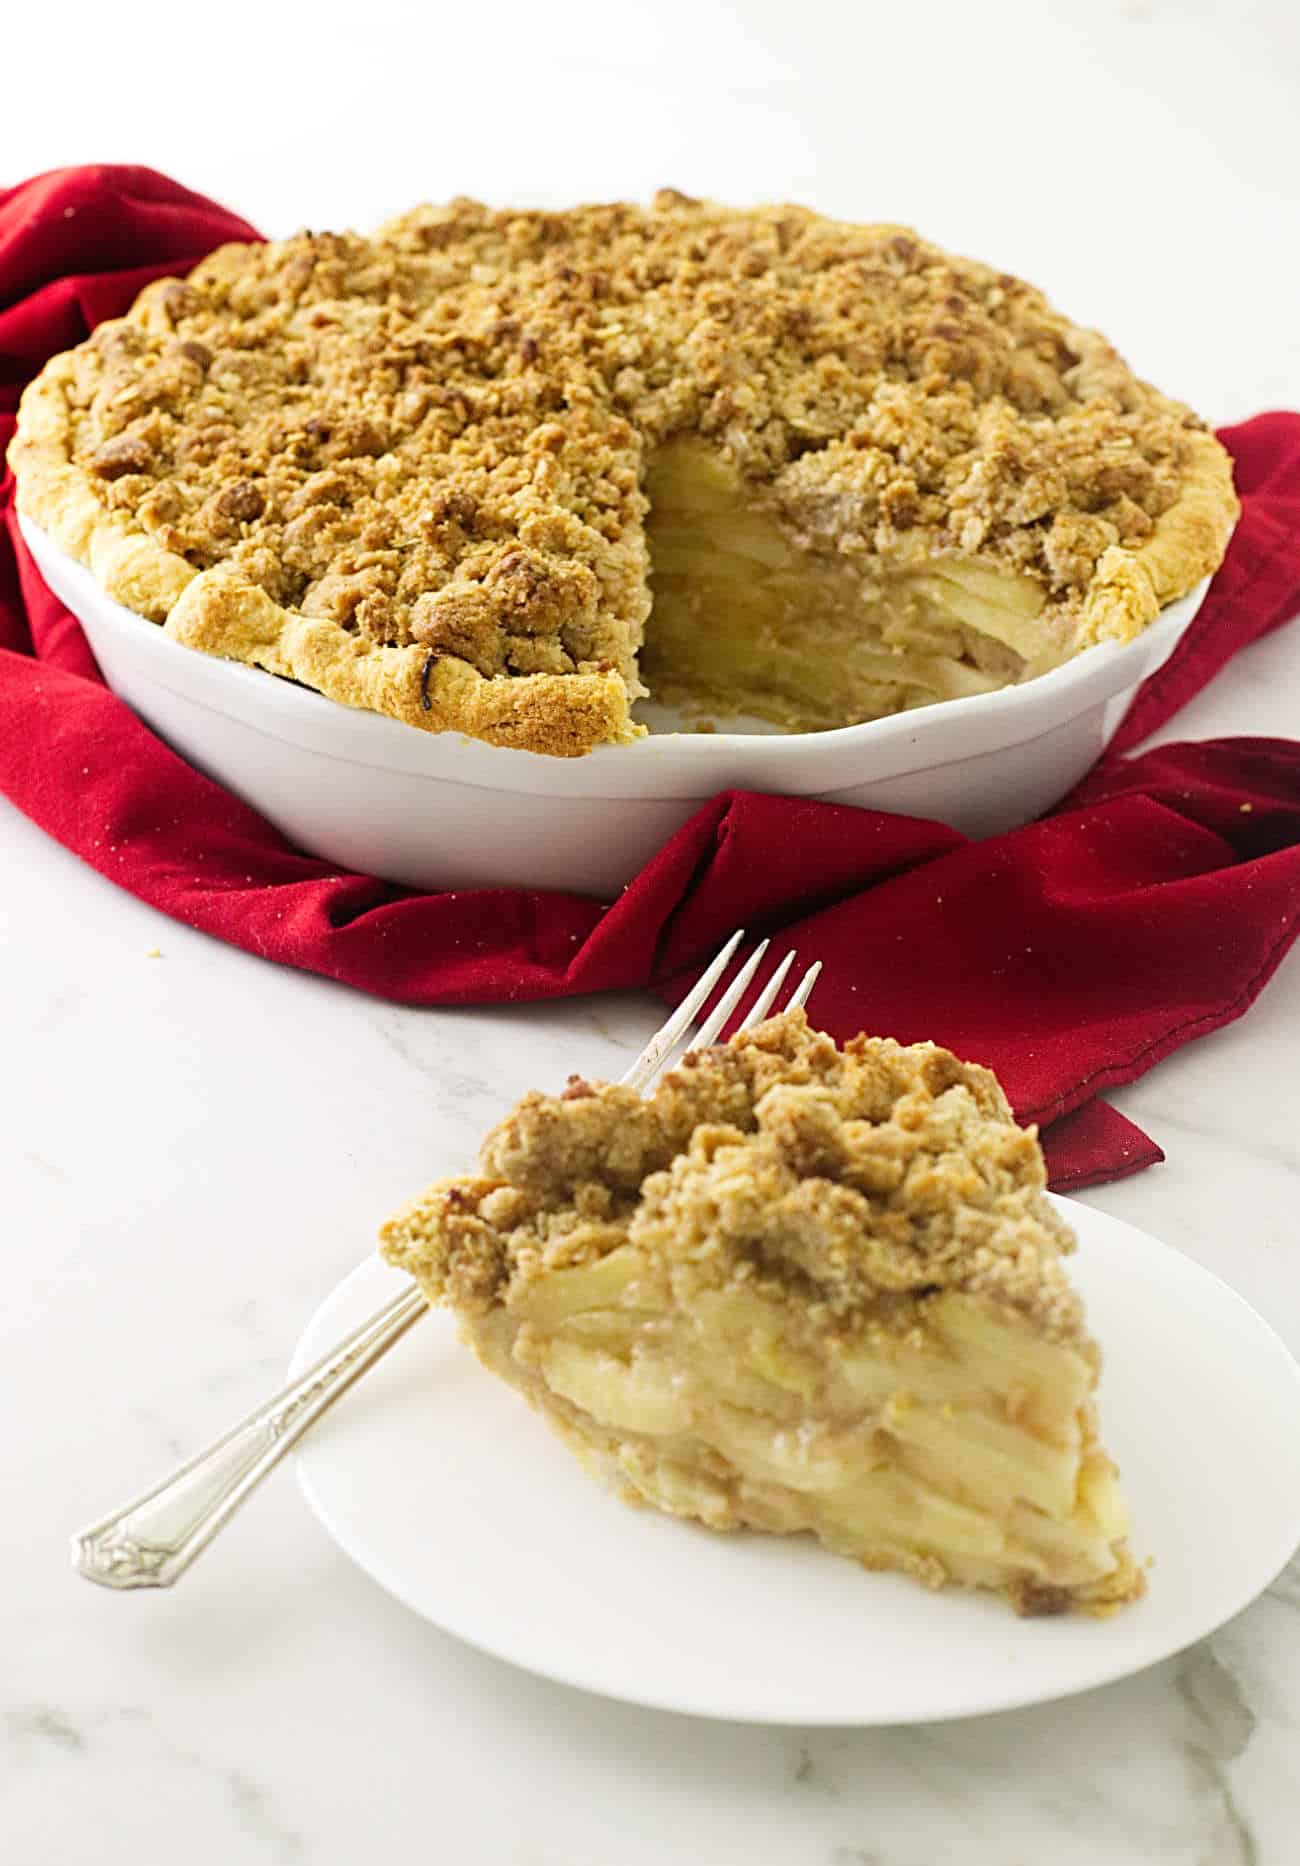
We used our own all-butter pie crust in this recipe and a crumble topping made with oatmeal.
Variations: More Ways to Make Apple Pies
Just adding one or two ingredients to the crumb pie can change things up. Here are som variations for a bit of a twist on your apple pies.
Caramel Pecan Dutch Apple Pie: Drizzle 1/4 cup of caramel sauce over the filling before adding the crumble. Mix in 1/2 cup of chopped pecans into the apple crumble for extra crunch to the pie recipe.
Maple Walnut Dutch Apple Pie: Swap out half of the sugar in the filling for maple syrup and stir 1/2 cup of chopped walnuts into the apple pie.
Cranberry Orange Dutch Apple Pie: Add 1/2 cup of dried cranberries to the apples and zest one orange into the mixture.
If you like this recipe, you might also like our apple frangipane tart recipe or our apple slab pie. And our apple empanadas are fun little hand pies.
Tips for the Best Pie
- Chill the Dough: Keep your pie dough cold until you’re ready to roll it out.
- Place the pie on a baking sheet to catch any drips. This keeps your oven clean if the juices bubble over the edge.
- Test for Doneness: The pie isn’t done until you see the pie filling bubble—seriously, wait until you see it bubbling around the edges. If you don’t, the filling won’t thicken properly as it cools. Patience pays off!
- If the edges of the crust brown too quickly, cover them with foil to prevent burning.
- Choose baking apples that maintain their shape when cooked. Combining sweet and tart varieties, like Honeycrisp and Granny Smith, adds depth of flavor.
- Let the pie cool completely before slicing.
Storage
To store leftover Dutch apple pie, cover it tightly with plastic wrap or aluminum foil and keep it in the refrigerator for up to 3 days.
If you want to freeze the pie, first let it cool completely, then wrap it in a layer of plastic wrap followed by a layer of aluminum foil. You can freeze the pie for up to 3 months. Thaw it in the refrigerator overnight
To reheat, place it in a preheated oven at 350°F for about 15-20 minutes, or until warmed through. If the crust or topping starts to brown too much during reheating, cover it loosely with foil.
The Best Dutch Apple Crumble Pie
This Dutch apple pie is comfort baking at its best; spiced apples, a buttery crust, and a crunchy oatmeal crumble that hits all the right notes.
You might also like:
- Copycat Costco Pumpkin Pie
- Chocolate Amaretto Mousse
- Rosemary Pine Nut Tart
- Homemade unsweetened applesauce
Pin this now to find it later!
Pin It
Dutch Apple Pie with Oatmeal Streusel
If you make this recipe, please leave a star rating and comment.
Ingredients
- Single Crust Pie Dough, Homemade or storebought
Apple Pie Filling
- 4 pounds apples, peeled, cored, and sliced
- 2 tablespoons fresh lemon juice
- 1 cup granulated sugar
- 2 tablespoons all-purpose flour
- 2 tablespoons cornstarch
- 1 teaspoon ground cinnamon
- ¼ teaspoon salt
- ¼ cup heavy cream
Oatmeal Streusel Topping
- 1 cup old-fashioned rolled oats
- 1 cup all purpose flour
- 1 cup brown sugar, packed
- ½ teaspoon ground cinnamon
- ¼ teaspoon salt
- ½ cup butter, melted
Instructions
Prepare the Crust:
- Roll out your pie dough on a lightly floured surface until it’s about 2 inches larger in diameter than your pie pan.
- Transfer the dough to the pan, press it in and flute the edges. Place the crust in the refrigerator while you prepare the filling.
Make the Apple Filling:
- Place the apples in a large bowl and toss with the lemon juice.
- Combine the sugar, flour, cornstarch, cinnamon, and salt in a small bowl then toss it with the apples and coat them with the sugar mixture. Drizzle the cream over the top and set the bowl aside while you mix the streusel topping.
Prepare the Crumble Topping and Pie:
- In a medium bowl, mix the rolled oats, flour, brown sugar, cinnamon, and salt.
- Pour the melted butter over the dry ingredients and stir until the mixture is crumbly and well combined.
- Remove the pie crust from the refrigerator and pour the pie filling into the prepared crust (juices and all… the extra juices won't make the filling runny if bake the pie long enough).
- Sprinkle the streusel topping evenly over the apples.
Bake the Pie:
- Place the pie on a baking sheet to catch the drips. Slide the pie into the oven on the bottom rack.
- Bake at 425°F for 15 minutes then reduce the temperature to 350°F and move the pie to the center of the oven.
- Continue baking for an additional 50-65 minutes, or until you see the filling is bubbly. If the pie crust starts to brown too much before you see the filling bubble, cover it with some aluminum foil and continue baking until it bubbles.If the filling doesn't reach a bubbling stage, the thickener won't have a chance to do its job effectively, which could result in a runny filling. Increase the bake time if needed.
- Remove the pie from the oven and allow it to cool to room temperature before slicing. Letting the pie cool first helps the filling set.
Video
Notes
- Choosing the Right Apples: For the best flavor and texture, it’s important to use baking apples that hold their shape well when cooked. A mix of sweet and tart varieties, such as Honeycrisp and Granny Smith, will give your pie a more complex flavor.
- Baking Temperature: Starting the baking process at a high temperature (425°F) helps to set the crust quickly, which prevents the bottom crust from becoming soggy. After the first 15 minutes, reducing the temperature to 350°F helps the filling cook through evenly without overbaking the crust.
- Oven Rack Positioning: For the first 15 minutes, place the pie on the lower rack of the oven. This allows the bottom crust to bake thoroughly, reducing the chance of it becoming soggy. After the initial 15 minutes, move the pie to the middle rack to finish baking. This helps the filling cook evenly and prevents the bottom crust from burning.
- If your apples are particularly juicy, consider adding an extra tablespoon of flour to the filling mixture to help thicken the juices during baking.
- It’s tempting to dive into your pie as soon as it’s out of the oven, but letting it cool to room temperature is crucial. This cooling period allows the filling to set, and you can slice the pie cleanly without the filling spilling out.
Nutrition
Nutrition information is automatically calculated, so should only be used as an approximation.
 Like this recipe? Rate & comment below!


What a neat way to make pie! So logical, but I’ve never made an apple pie this way. But you know I will! Love the topping, too. Thanks!