This post may contain affiliate links. Please read our disclosure policy. As an Amazon Associate, I earn from qualifying purchases.
This copycat Costco pumpkin pie recipe has an incredibly silky-smooth and creamy texture. It is a perfect re-creation of Costco’s legendary pumpkin pie.
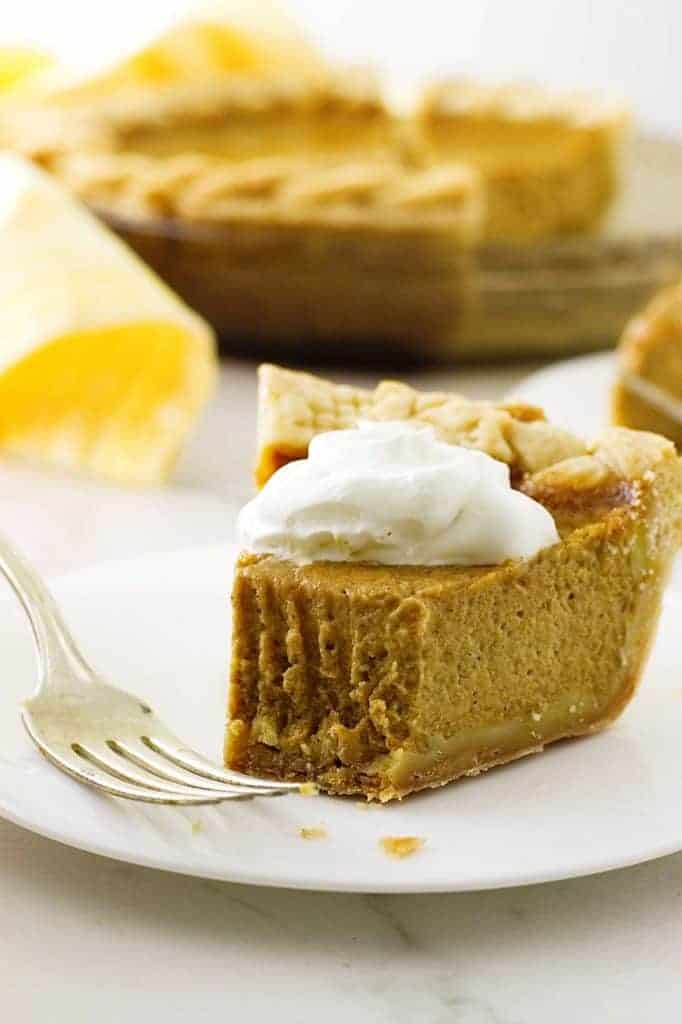
I believe pumpkin pie must be the most popular pie for Thanksgiving. It seems to be on every table and every year Costco seems to sell out of their pumpkin pie.
Have you ever heard Costco customers complaining when the store is sold out of pumpkin pie the day before Thanksgiving? It’s quite a scene. This copycat Costco pumpkin pie will ease all your worries of any short supplies at Costco.
I have to admit that Costco has perfected their pie. I can’t say as much for their pie crust but certainly, their pumpkin filling is foolproof.
This recipe fulfills your wishes for that same ultra-creamy and smooth custard filling that Costco has accomplished. It isn’t too sweet and it has just the right amount of spice to allow the pumpkin flavor to remain the star.
Costco’s pumpkin pie is 12 inches and weighs over 3 pounds. That’s a lot of pie for a holiday dinner that is known for unreasonably excessive amounts of food. Our
Thanksgiving dinner is always followed by more than a few sweets to choose from but most of the guests are pretty full when it is time for dessert. Since it is hard to turn down a delectable confection, everyone asks for “just a sliver” of each dessert. This recipe has been scaled down to a normal size 9-inch pie. It is just right!
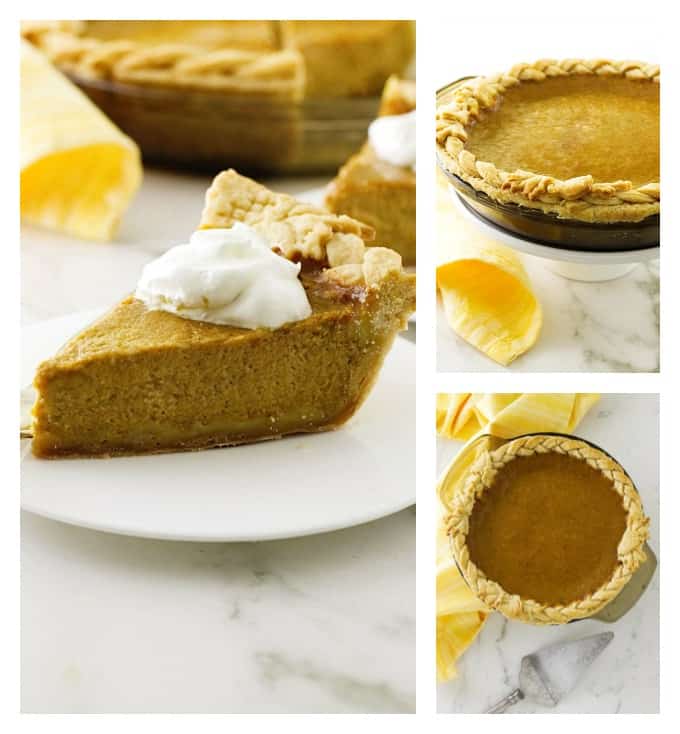
The secrets to a creamy, smooth copycat Costco pumpkin pie:
Pumpkin pie is actually an egg-based custard. Custards require gentle, low heat and should only be cooked until the egg base is set. If the pumpkin filling is firm when you remove it from the oven, it is over-baked and will lose that smooth texture.
Bake the pie only long enough for the eggs to be cooked. The pie should still have a little jiggle when you remove it from the oven.
Here is why this recipe works:
- Cooked to a precise temperature. In order to prevent over-baking the pie, get an instant read thermometer and take the pie out of the oven when the center reads 175°F.
If you do not have a thermometer, you can bake this pie without one but a good instant-read thermometer will give you the best results. - Extra egg yolks. To enhance the creamy, smooth, and rich texture of the pumpkin pie, there is a greater proportion of yolk in this pie. Replacing some of the egg whites with egg yolks contributes to a more tender and creamy texture as well as creates richness and depth of flavor.
- Heavy cream. There is also a higher proportion of cream to milk in this recipe. It just won’t turn out the same if you replace all the cream and milk with half and half nor will it be the same if you replace the milk with a non-dairy milk.
You can certainly create a pumpkin pie that is dairy-free but if you are looking for that quintessential Costco pumpkin pie flavor and texture, you will want to use real dairy.
The biggest secret to getting a silky, creamy texture is to bake the pie to an internal temperature of 175°F.
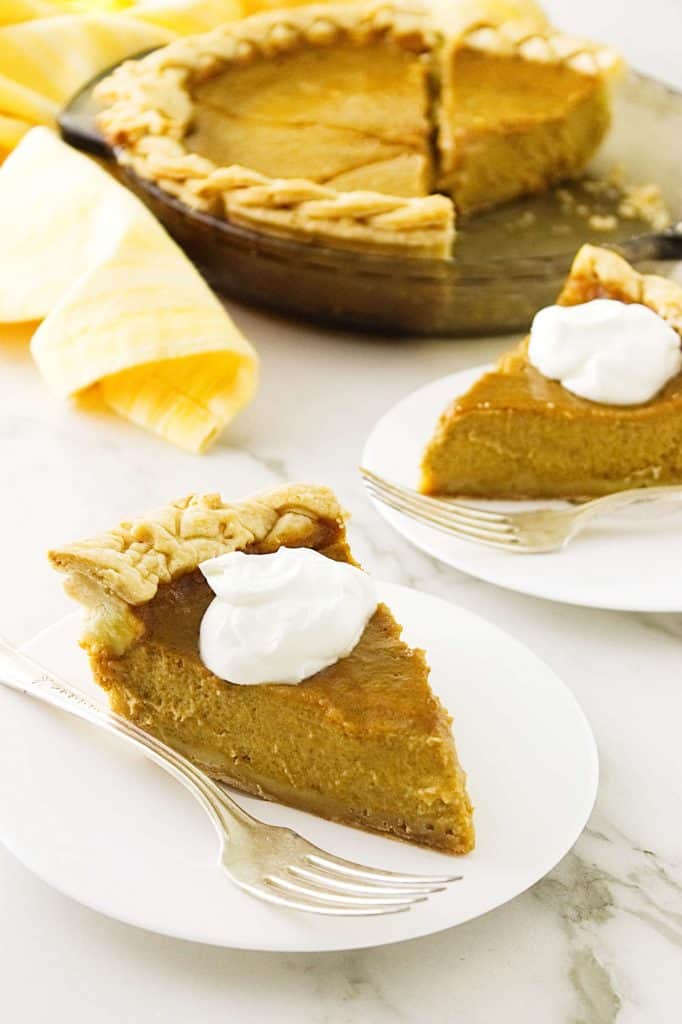
Canned or Fresh Pumpkin?
Costco uses canned pumpkin for their pies. That’s pretty much a no-brainer since they are baking on such a large scale. But the type of pumpkin they use is pretty important to the taste and texture of their pie.
I have learned through the Costco Connection magazine that they use the Dickinson variety of pumpkin. This variety of pumpkin has a more assertive pumpkin flavor and a texture more suitable for baking. This is certainly another secret to the ultimate Costco pumpkin pie.
If you’re at a loss for finding Dickinson pumpkin, don’t despair. Libby’s uses a Dickinson variety in their pumpkin purée. If you are feeling especially adventurous and have the forethought to plan well in advance, you can plant your own Dickinson pumpkins.
Why You Should Pre-Bake the Pie Crust:
Since you will be baking the pie at a fairly low temperature the crust needs to be baked in advance or it simply won’t get completely cooked by the time the custard filling is finished.
Pre-baking (or blind-baking) the crust ensures that both the crust and the filling will be perfectly cooked. No soggy-bottomed crust in this copycat Costco pumpkin pie! Watch our video to see how easy it is.
- The trick to pre-baking the crust is to solidify the fats in the dough before you put it in the oven. Once you have the pie dough in the pan, pop the whole thing in the freezer for about 15 minutes before putting it in the oven.
- You will also want to line the unbaked crust with parchment and fill it with pie weights. Doing this will hold the shape of the pie dough and prevent the sides of the crust from slumping to the bottom of the pan during baking.
The Pie Crust
We used our favorite all-butter pie dough recipe with einkorn flour for our pie crust. It isn’t necessary but it really does make an incredible pie crust. You could also make a traditional all-butter pie crust.
Our recipe for a single crust, all-butter einkorn pie dough is just below the pumpkin pie recipe. If you want to make decorations and a braided crust like the pie in our photos then you will want to double the recipe so you have enough dough for the decorations.
You may also like one of these pie recipes:
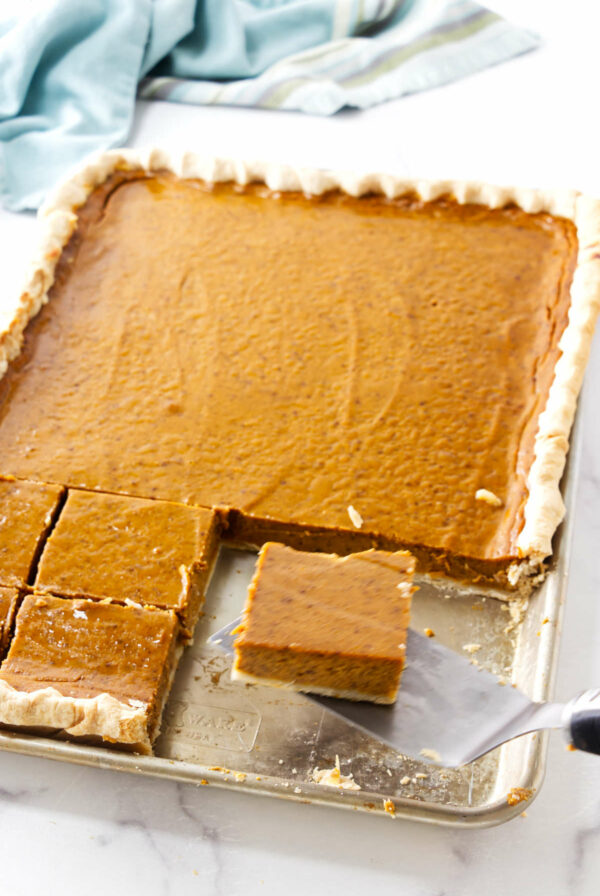
If you are serving a crowd, check out our pumpkin slab pie recipe.
Pin this now to find it later!
Pin It
Copycat Costco Pumpkin Pie
If you make this recipe, please leave a star rating and comment.
Equipment
Ingredients
Crust
- 1 recipe single pie crust, or use a store-bought crust
Filling
- 1 large large egg, 50 grams
- 3 egg yolks, 50 grams
- 1 cup heavy cream, 227 grams
- ½ cup whole milk, 113 grams
- 1 (15 ounce) can pumpkin puree, (not pumpkin pie filling)
- ¾ cup granulated sugar, 150 grams
- 2 teaspoons vanilla extract
- 2 teaspoons ground cinnamon
- ¾ teaspoon ground ginger
- ½ teaspoon ground nutmeg
- ⅛ teaspoon ground cloves
- ½ teaspoon salt
Instructions
Prepare the Pie Crust
- Pre-heat the oven to 375°F
- Roll the chilled pie dough out on a floured board then position the pie crust in a standard size 9-inch pie plate. Fold the edges of the pie dough under and crimp or press down with a fork. Freeze for 15 minutes. (See note 1)
- Line the pie crust with parchment paper and fill it with pie weights. (See note 2.)
- Bake for 15 to 20 minutes then remove the pie weights and bake for another 5 minutes. Remove the pie crust and set aside while you prepare the filling.
- **Reduce the oven temperature to 325°F
Prepare the Filling
- Whisk the egg and egg yolks in a large bowl. Add the rest of the ingredients and whisk until well blended.
- Pour the filling into the pre-baked pie shell and bake for 45 to 60 minutes (time may vary based on your oven). The edges will look slightly puffy. The center may jiggle like jello when you shake the pie plate… that's fine, it will firm up when it is cool. (See note 3) If you have an instant-read thermometer, the center of the pie should measure 175°F.
- Cool on a wire rack for 2 hours, then cover with plastic wrap and store in the refrigerator until ready to serve.
Video
Notes
- Chilling the un-baked pie dough in the freezer prior to baking it will solidify the fat and prevent shrinkage.
- It is also necessary to add weights to the pie crust while it is pre-baking. If you skip this step the sides of the crust will fall to the bottom of the pan. You can use any combination of weights such as rice, wheat berries, beans, or store-bought pie weights.
- When the pie is finished cooking the center should wiggle like jello. If it is firm, it is overcooked. If you want to be more accurate with the cooking time then use an instant-read thermometer. The perfect time to pull the pie from the oven is when the center reaches 175°F. Preventing the filling from over-cooking will ensure that you get a smooth and creamy pumpkin pie.
- If the pie crust seems to be browning too quickly while the pie is baking then cover the crust with foil.
- If you want to make decorations with the pie dough like the pictures then double the pie dough recipe and you will have enough dough for decorating.
- You can make this pumpkin pie 2 to 3 days in advance. Keep it covered and stored in the refrigerator until time to serve.
- Use canned pumpkin puree and not homemade pumpkin puree from fresh pumpkins. Homemade pumpkin puree will often have more liquid than canned pumpkin puree.
- Do not confuse canned pumpkin puree with canned pumpkin pie filling. The two products look very similar so check the label carefully.
- Libby’s canned pumpkin uses the same variety of pumpkins that Costco uses in their pumpkin pie. I have noticed other brands of pumpkin puree can look watery and may not work well with this recipe.
Nutrition
Nutrition information is automatically calculated, so should only be used as an approximation.
 Like this recipe? Rate & comment below!



The recipe was very easy to follow and the pie filling was very smooth and creamy. I don’t think I cooked the filling long enough as it wasn’t set quite as much as I like. I cooked it for 45 minutes and my thermometer read at least 175 degrees. Next time, I will cook for between 45-60 minutes and see if the texture is more to my liking. Also, I ordered the Thermoworks thermometer suggested, I’ll have a better thermometer. Looking forward to making this pie again!
Thank you for your feedback! I’m so glad you enjoyed the recipe and found it easy to follow. If you like the pie a bit more firmly set, letting the filling reach 180°F should do the trick. You’re going to love how quickly the Thermoworks thermometer gives a reading, you won’t have to keep the oven door open long. I can’t wait to hear how your next pie turns out!
If we strained the fresh pumpkin and then puréed it measuring out the 15 ounces could it be an equal substitute?
It will work but I can’t say that it will give you the same texture as the Costco pie. They use a specific type of pumpkin and from my research it is the same type of pumpkin that Libby’s uses. Your fresh pumpkin will still make an awesome pie though.
I put my fresh pumpkin overnight in refrigerator in coffee filter and by morning the
Water has been drained
I test the done of the pie with a knife. Stick it in center (tip of knife) of pie. If it comes out clean it is done
Do you think I could follow this exact recipe as is without using a crust at all? The filling sounds delicious and that’s the only part of our Costco pies we eat 🤭
Sure. Pumpkin pie is basically a custard with a crust. You can either make it as directed in a pie dish or pour the mixture into individual ramekin custard dishes. The baking time will vary depending on what size of ramekin dishes you use so it will be more strait forward to use a pie dish.
I used 2 Tenderflake premade deep pie crusts to make 2 pies and found that this recipe filled the 2 crusts with enough left over for another pie. I ended up using the leftover filling with a homemade graham crust and it was great; I ended up with 3 pies at the end. Bonus!
Thanks for the great recipe! This is better than Costco’s pumpkin pie. I made pie using this recipe and it was rich, creamy and not too sweet. I had a chance to try Costco’s pie soon after. Costco’s pie was too sweet and not as rich tasting.
Thanks for the comment, I’m glad you enjoyed it.
This was great! Costco’s pumpkin pie was the first I could truly say I liked due to the creamy, light taste and your recipe did not fail (in fact it might be better). The only bust was the crust – I used the butter recipe I forgot to put in the pie weights and did not have parchment paper so it shrunk down. My rescue efforts were futile but it was still delicious.
I’m glad to hear you liked the pie, sorry the crust was a bust. Prebaking pie crust can be tricky. If you don’t want to mess with a butter crust, you can always do a graham cracker crust which is a little less technical.
@Dahn Boquist, that’s a great idea, I do prefer the taste of homemade crusts (I find the store premade ones too dense and not as much flavor) so I will definitely look at that option!
I agree! Homemade crusts are so much better 😉
I made this pie today, and it didn’t set! I checked the pie for a slight jiggle at the 45 minute mark, but it was still very wet. I let it go for another few minutes, then checked the temperature and it read 177, but was still very wet in the middle.
I trusted the temp (I know the thermometer is accurate) and pulled it out hoping the egg would continue to cook and set. It did for a little while, and it did set a little bit more than it had been, but then when it was cooled all the way down it was still too liquidy in the middle.
It was absolutely delicious so no one minded that it wasn’t set properly, but I want to know what I did wrong so I can fix it for Thanksgiving!
Any thoughts?!
It sounds like something is not right with your measurements. Either you measured too much cream, milk, or pumpkin or your eggs were too small. Double-check your measurements and it will work just fine.
@Amanda,
I had the same issue. I used large eggs and measured everything exactly. I got a similar reading (between 175 and 180) and still left it in for a few more minutes. Cooled for two hours and it was soup in the middle.
Make sure you use canned pumpkin for this recipe, homemade pumpkin puree from fresh pumpkins will have too much liquid in it. You also do not want to use canned pumpkin pie filling. I get consistent results with Libby’s canned pumpkin. Other canned pumpkin brands may have a different water content.
My daughter won a Costco pumpkin pie. Neither she or my husband could eat it due to allergies. I went searching for a copy cat recipe. I made this using lite canned coconut milk to make it dairy free. I made it in the tart shells from Costco that I pre-baked for 15 minutes at 350°. Once filled I baked the tarts for 30 minutes at 325°. So I was able to compare the Costco pie with the copy cat tarts, one bite after the other. Very comparable considering I didn’t use dairy, but the tart crust was better for being pre-baked.
Thanks for this comment. I’m thrilled to know it is good when made dairy-free. Coconut milk sounds like a terrific substitution.