This post may contain affiliate links. Please read our disclosure policy. As an Amazon Associate, I earn from qualifying purchases.
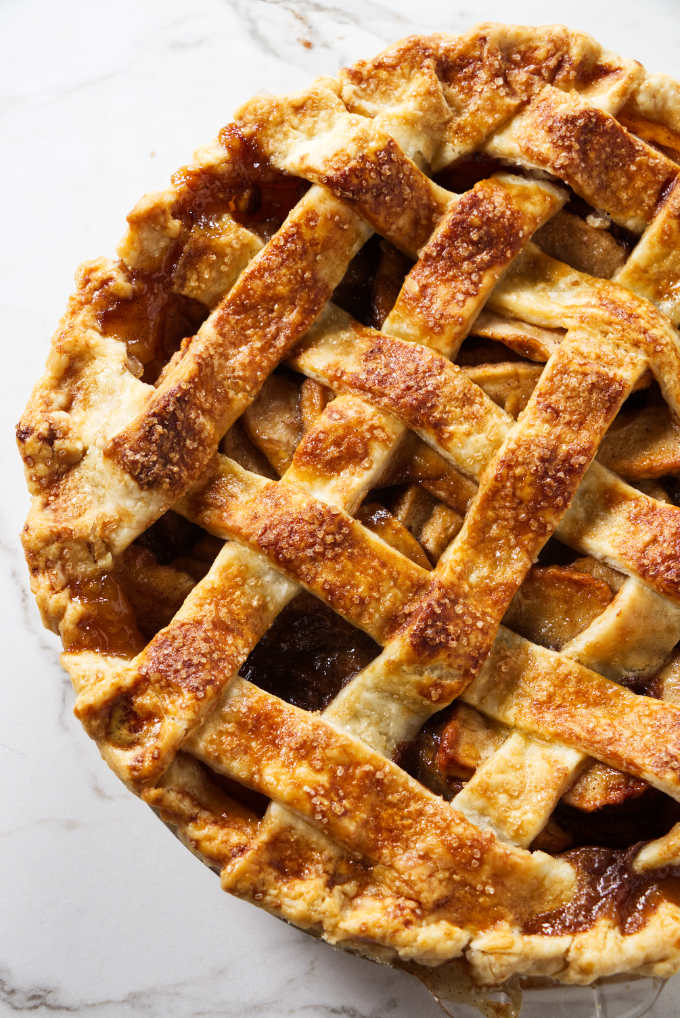
All butter pie crust is the best. It’s flaky and tender, but it also has a deliciously rich flavor- because butter makes everything better. You can use this recipe to make single or double pies for any occasion!
This is an all-purpose pie dough that goes well with sweet or savory pies. Whether you plan to bake an apple pie or a chicken pot pie, this pie crust is the one!
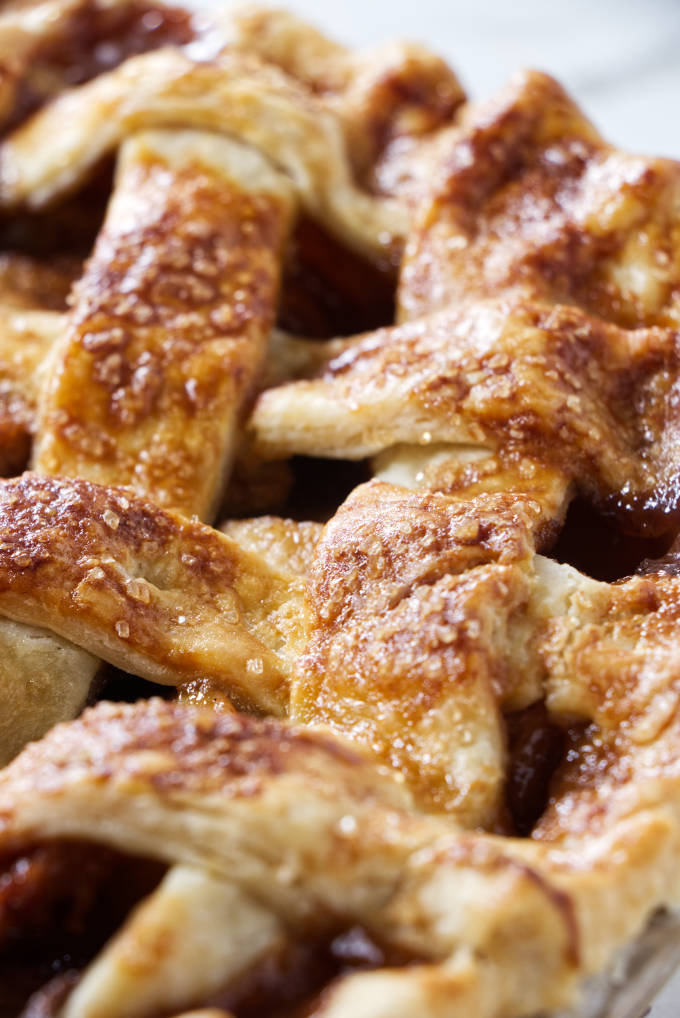
A traditional way to make pie dough flaky is by leaving large chunks of butter in the dough. However, that can make it difficult when trying to roll and shape the crust.
We have solved that problem by adding baking powder to the recipe. The baking powder aerates the pie crust and provides small air pockets that make the crust flaky. That bit of baking powder allows you to blend the butter more thoroughly into the dough, without compromising flakiness.
A bonus to blending the butter into the flour more thoroughly is that it makes the dough easier to roll and shape.
So, if an all-butter pie crust makes you nervous, this recipe might be a game-changer for you. Go ahead and blend the butter into the flour as much as you want. The more thoroughly the butter gets incorporated into the flour, the more pliable your dough will be.
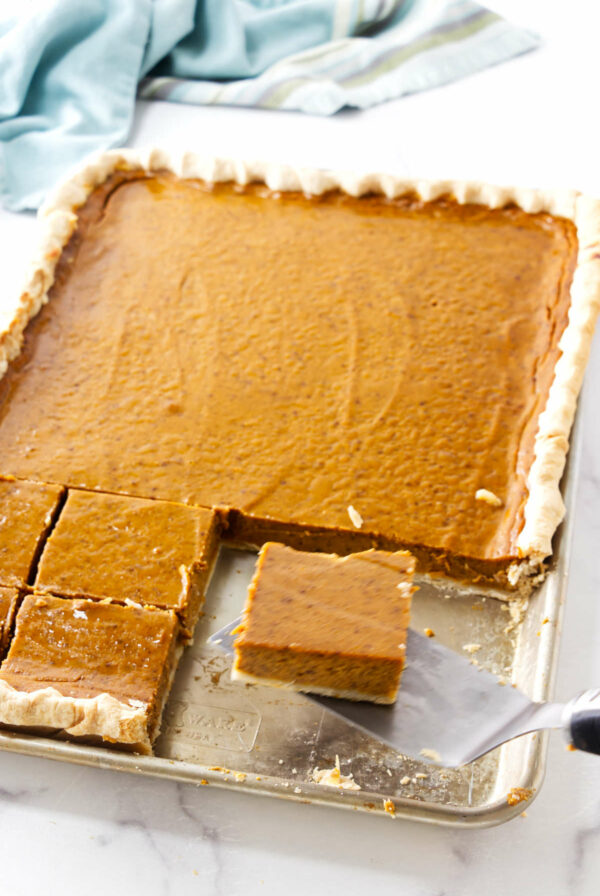
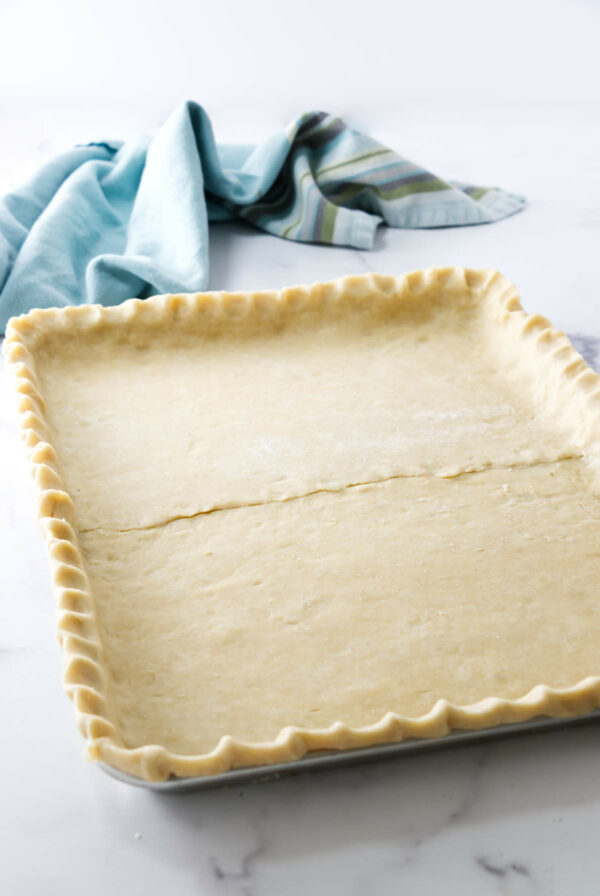
For a crowd sized recipe, check out my slab pie crust.
The Ingredients:
It really only takes four ingredients to make an all-butter pie crust. We have added a fifth ingredient (baking powder) to give extra lift and flakiness to the crust. Here is what you need.
- Flour. All-purpose flour works quite well in this recipe. However, if you happen to have pastry flour, then use that instead. Pastry flour will give the crust a more tender texture.
- Salt. Even if you use salted butter, I recommend using salt. It will give the dough a butter flavor.
- Baking Powder. As mentioned above, the baking powder is extra insurance that you will have a flaky crust. It’s totally optional.
- Butter. Make sure the butter is cold. You can use salted or unsalted butter, your choice.
- Ice water. Place some ice in a cup, top it off with water, and let the water sit for a while to get ice cold.
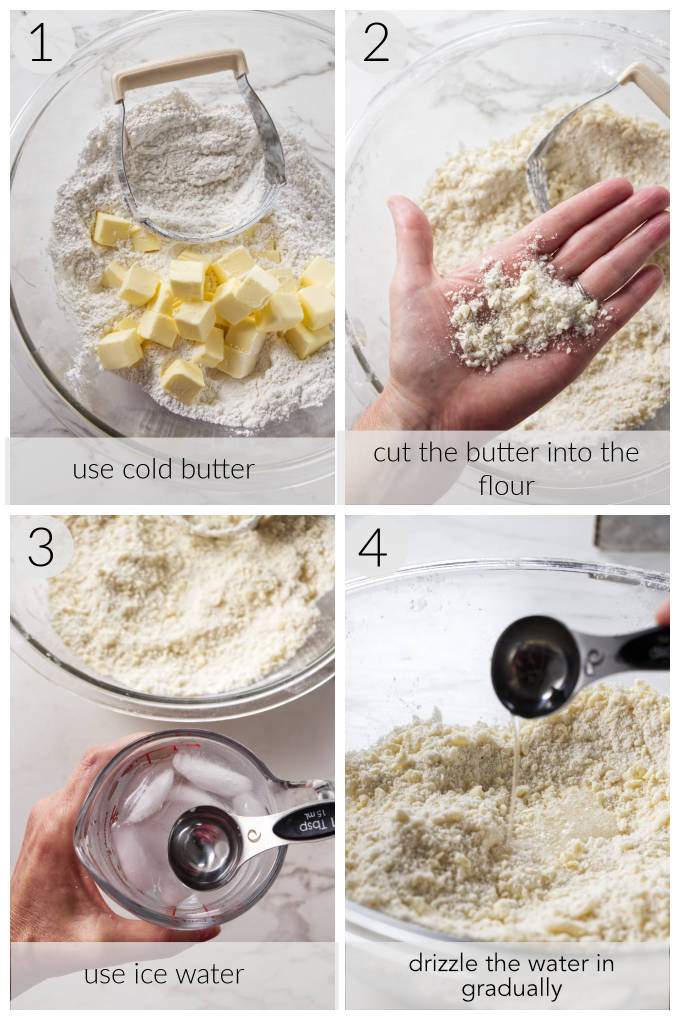
How to Make It:
Here is a quick rundown of the process for an all-butter pie crust. Make sure to scroll down to the printable recipe card for all the details.
- Combine the flour, salt, and baking powder in a bowl.
- Cut the butter into the flour until it looks like damp cornmeal.
- Gradually add the ice water until the dough starts to form large clumps that hold together when you pinch the dough.
- Dump the dough on the counter and push it together to form a ball. Flatten it into a disk, then stick it in the fridge to chill.
After the dough has time to rest and chill, it will be ready to roll out and transfer to your pie dish.
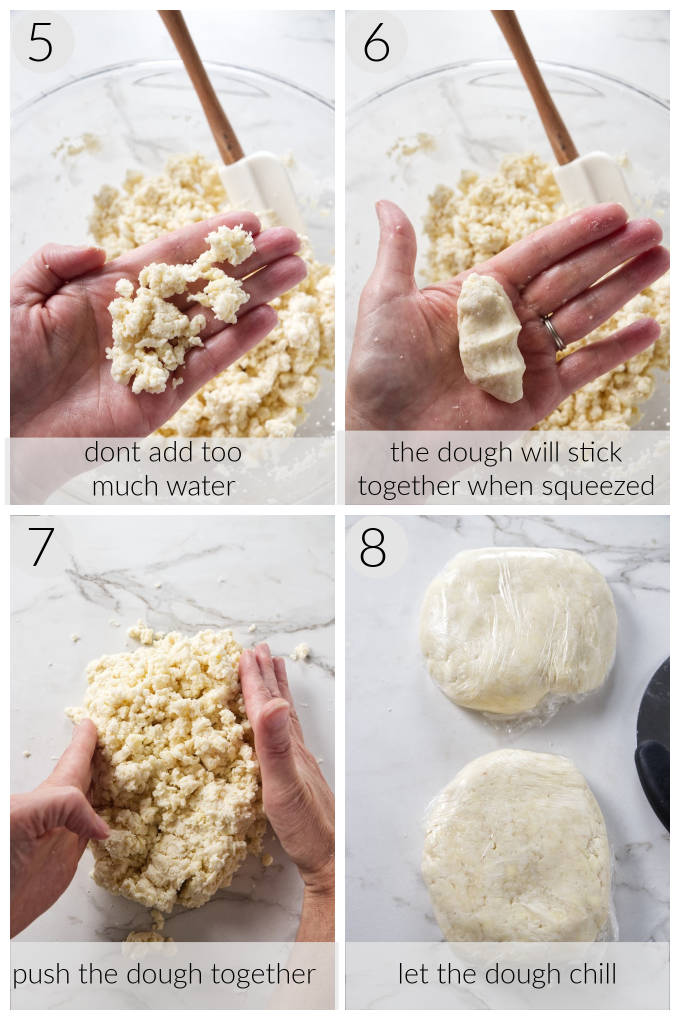
Tips for Success:
Making pie crust is easy on paper, but it can go wrong quickly when you put it into practice. Here are a few tips to help make sure it goes smoothly!
- Use cold ingredients. Make sure the butter is straight out of the fridge, and stick some ice in the water to get it extra cold. Some people even stick the flour in the refrigerator to get all the ingredients cold.
- Don’t add too much water. Water will make the flour form gluten. A little bit of gluten is ok because it gives the pie dough strength and makes it easy to shape.
But too much gluten will make the pie crust tough. Add the water one tablespoon at a time. Stop adding the water when the dough is still clumpy and loose but holds together when you squeeze it. - Stir the water in by hand. If you want to use the food processor to cut the butter into the flour, go for it. But when it comes to adding the water, it can be easy to over-shoot if you use the food processor.
- Let the dough rest. Resting will give it time to hydrate fully and let the gluten relax.
- Chill the dough. Stick the dough in the fridge while you let it rest. That will make sure the butter has a chance to get solid.
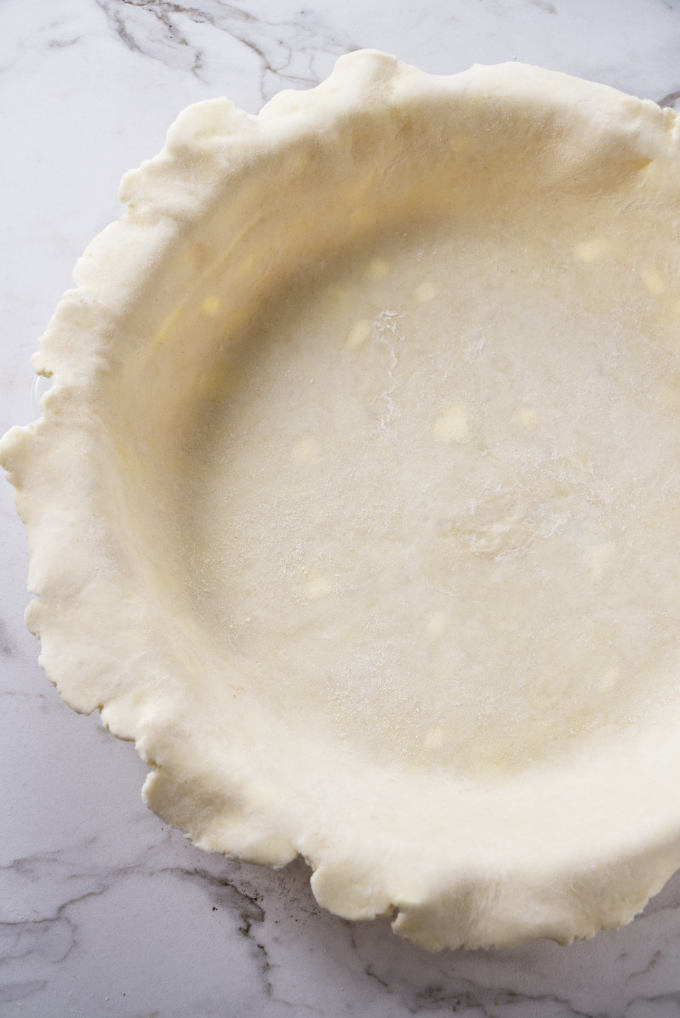
Helpful Hints for Rolling Out Pie Dough:
Start with a round disk
Shape the dough into a round disk about 1 inch thick. It’s easier to roll a circle when you start with a circle.
Dust with flour
Put a light dusting of flour on the counter and the top of the dough. Flour your rolling pin as well.
Lift, turn, dust
After you roll the dough a couple of times, lift it, turn it, then give it another dusting of flour. You want to keep moving the dough as you roll it out and keep it lightly dusted with flour.
Try an alternative surface
To make the rolling even easier, use wax paper or a pie crust bag. I like using wax paper, but my friend swears by her pie crust bag. It makes a perfectly round shape and she uses it to transfer the dough to the pie dish.
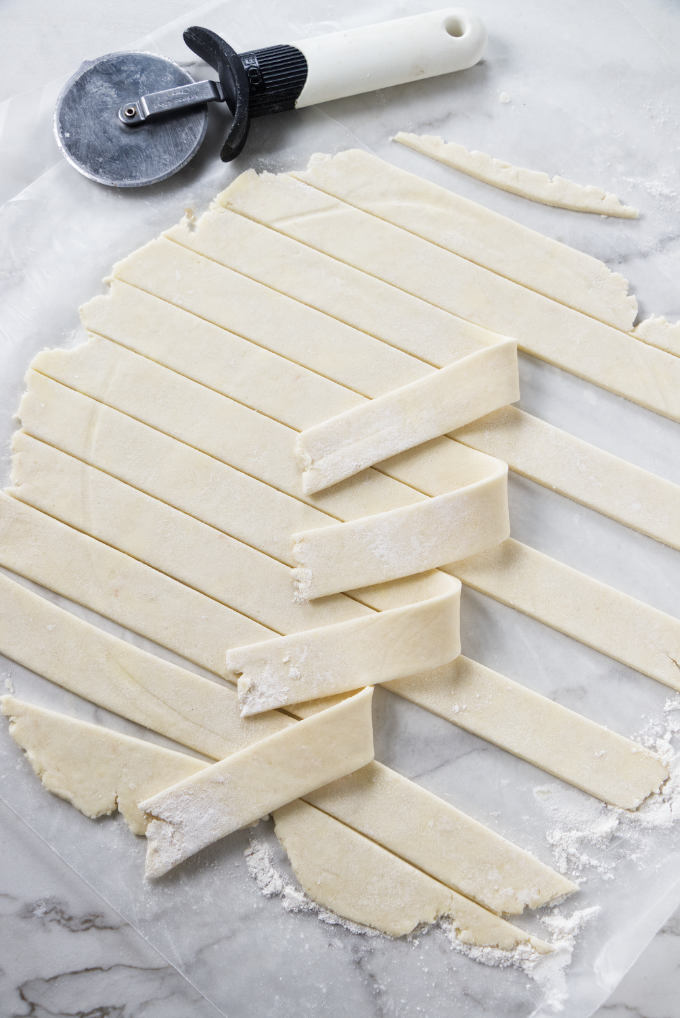
How to Pre-Bake a Pie Crust:
Sometimes a recipe will have you pre-bake or par-bake your pie crust. It is essential for custard pies, no-bake pies, and quiches. It’s also a great way to prevent a soggy bottom when you make fruit pies.
Here are some tips to par-baking a buttery pie crust.
- Chill the pie shell. Stick the pie shell in the freezer or fridge until it is cold and hard.
- Dock the crust. Docking means that you poke holes in the bottom of the crust. It helps air escape so the crust does not puff up on the bottom.
- Weigh it down. Even if you don’t dock the crust, you should weigh it down with pie weights. Stick some parchment paper in the pie shell, then fill it with pie weights. You can also use rice, sugar, dried beans, or popcorn kernels.
- Partial pre-bake vs. completely pre-baked. If you plan to bake the pie filling (for example, a pumpkin pie or quiche), you only need to bake the crust partially. However, if the filling does not need to bake (like our peanut butter pie), you should completely bake the crust.
I like to use parchment paper to place my pie weights in the pie shell. You can use aluminum foil but I have better success with parchment paper. I find that aluminum foil can sometimes stick to my crust and tear it when I lift it out of the pie dish.
Pies to Make with This Crust
Some Other Recipes We Are Sure You Will Love:
Our Butterscotch Cinnamon Pie is a delicious and delectable treat. The thick, soft, and gooey butterscotch filling is absolutely amazing.
Our Blueberry Rhubarb Pie is prepared using frozen fruit! The combination of juicy blueberries and tangy rhubarb creates a flavor-packed fruit pie.
This chocolate pecan pie is so rich and decadent you only need a small slice. With a tender flaky crust and luscious chocolate, pecan filling, this pie is a definite winner.
Check out our butter conversion chart for helpful tips on butter measurements.
Pin this now to find it later!
Pin It
All Butter Pie Crust
If you make this recipe, please leave a star rating and comment.
Ingredients
Single Crust Pie
- 1 ½ cups all-purpose flour, 180 grams
- 1 tablespoon granulated sugar, (optional)
- ½ teaspoon salt
- ½ teaspoon baking powder
- 10 tablespoons butter, cold
- 3 to 4 tablespoons cold water
Double Crust Pie
- 3 cups all-purpose flour, 360 grams
- 2 tablespoons granulated sugar, (optional)
- 1 teaspoon salt
- 1 teaspoon baking powder
- 20 tablespoons butter, cold
- 6 to 7 tablespoons cold water
Instructions
- Combine the flour, sugar if using, salt, and baking powder in a bowl. Cut the butter into cubes and toss half of it into the flour mixture. Use a pastry blender (or you can use a food processor) to cut the butter into the flour. Blend it really well until it looks like cornmeal. Add the rest of the butter. Continue to blend the butter until it looks like coarse cornmeal with pea-size lumps.
- Drizzle the ice water into the mixture one tablespoon at a time. Stir the mixture with a rubber spatula after each addition of water. Test the dough by squeezing a small amount in your hand. If it doesn’t hold together, continue adding more ice water. When the mixture holds together after you squeeze it, stop adding water. It should still look clumpy and rough at this point. The less water you add, the more tender and flaky the crust will be so stop adding water as soon as the dough holds together when you squeeze it.
- Dump the dough onto the counter and push it together into a ball.
- If you are making a double-crust pie, cut the ball in half and shape each half into a disk.
- Wrap the dough in plastic wrap and let it chill in the fridge for at least 30 minutes.
To roll the dough out:
- When it is time to roll the dough, let it rest on the counter for 20 to 30 minutes if it is too cold to work with.
- Place the dough on a floured counter. Dust the top of the dough and your rolling pin with more flour.
- Roll the dough into a 12-inch circle. Lift and turn the dough as you roll, keeping the dough lightly dusted with flour.
- Wrap the dough around your rolling pin to transfer it to a pie plate (alternatively, you can slide a thin cutting mat under the dough to lift and transfer it).
- Gently ease the dough into the pie dish by lifting the edges and allowing the dough to fall into the dish without stretching it (if you stretch the dough, it will shrink when you bake it).
- Trim and crimp the edges of the dough. Use a fork to prick holes in the bottom of the pie shell if you plan to pre-bake the crust.
- Place the pie shell in the freezer for 30 minutes or in the fridge for 1 hour or until it gets firm and cold.
- Preheat the oven to 400°F
To pre-bake the pie crust:
- Line the pie shell with parchment paper and fill it with pie weights.
- For a partially baked crust, bake for 10 to 15 minutes then transfer to a cooling rack and remove the pie weights.
- For a fully baked crust, bake for 10 to 15 minutes then remove the pie weights and continue baking for another 10 to 20 more minutes or until the crust is golden brown (Optionally, you can leave the pie weights in the shell for the entire baking time. However, the crust will not get quite as brown).
- Transfer the pie shell to a cooling rack and let cool for about 1 hour.
Notes
- You can use all-purpose flour or pastry flour for this recipe. Pastry flour will give the crust a slightly more tender texture.
- The baking powder is optional but it helps aerate the dough and give it a flakier texture.
- Don’t add too much water to the dough. Excess water will make the crust tough. The dough should look chunky and rough but will hold together when you squeeze it in your hand.
- You can store the dough in the refrigerator for 2 to 3 days or in the freezer for 3 months.
Nutrition
Nutrition information is automatically calculated, so should only be used as an approximation.
 Like this recipe? Rate & comment below!
