
This post may contain affiliate links. Please read our disclosure policy. As an Amazon Associate, I earn from qualifying purchases.
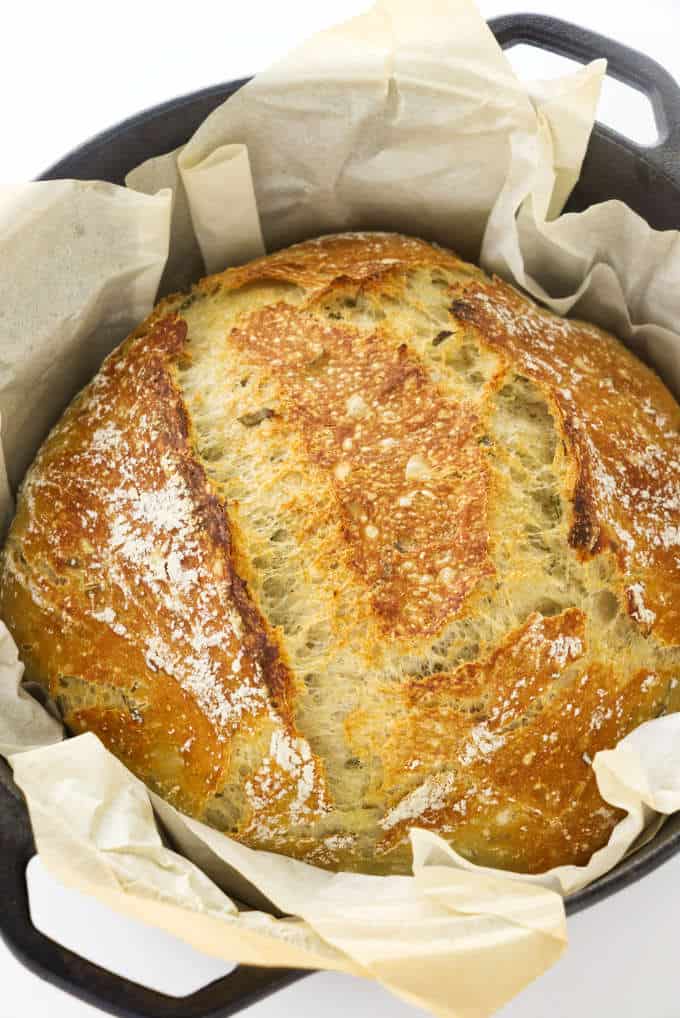
This no-knead rosemary bread is a beautiful, lofty loaf infused with woodsy rosemary flavor. It’s a quick rosemary bread recipe that results in an artisan-style bread made entirely in a Dutch oven.
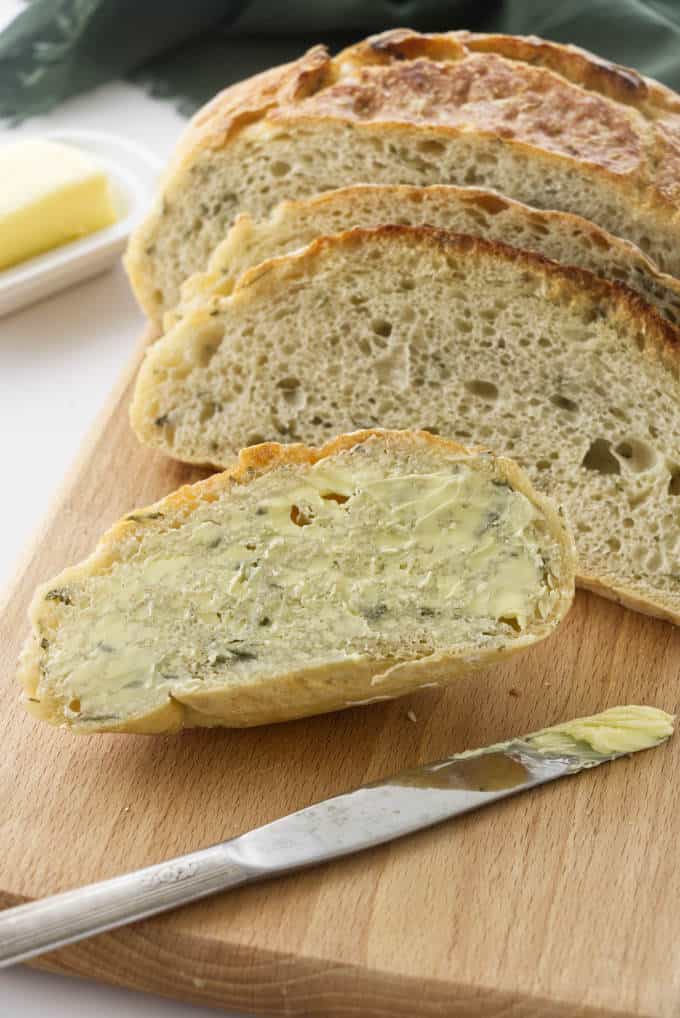
Warm, soft and pillowy in the center with a crisp crust, it’s delicious, addicting, and perfect for any occasion!
A Quick Rosemary Bread Recipe
This rosemary bread is simple to make and easy enough for any experience level! We love a good no-knead bread recipe (see our No-Knead Cranberry Walnut Bread or this Quick No Knead Dutch Oven Bread), and this recipe is our latest homemade bread obsession. Rapid rise yeast makes this a quick bread recipe. And the fact that it’s no-knead saves a bit of time and effort, too.
Rosemary adds the perfect flavor- it’s light and pine-y, savory yet a tad sweet. Which means it goes with almost anything! But let’s be honest, all you really need with a slice of this bread is a thick smear of butter but it’s great served with some garlic butter sauce or herbed olive oil.
Here Are The Ingredients You Need
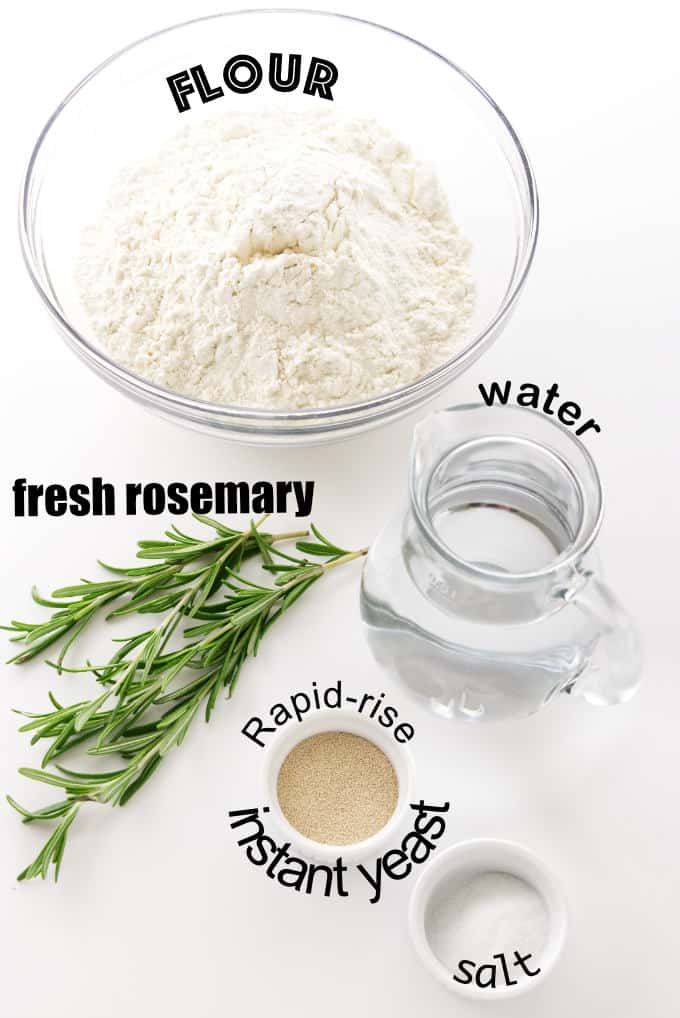
Another great thing about our no-knead rosemary bread is that it only requires a few simple ingredients… five to be exact! Could it be any easier? You might even have these on hand already, which means no special trip to the store.
Take a look:
- Flour. We used all-purpose flour but bread flour will also work.
- Quick Rise or RapidRise instant yeast. Make sure you have this kind of instant yeast for this recipe. It is a sub-category of instant yeast and acts quicker than regular instant yeast.
- Table salt. Salt helps with flavor and structure but measure carefully because too much salt will kill the yeast.
- Fresh rosemary leaves. We chopped some of the leaves to release more of the flavor from the rosemary.
- Lukewarm water. For best results, the water temperature should be about 120°F. If you don’t have a thermometer, test it on the inside of your wrist. The water should be comfortably warm.
About The Dutch Oven
We make this rosemary bread in a Dutch oven. It rises and bakes in the pot, and the lid traps in the steam and helps the bread rise better. This results in a lofty loaf with a cracking crust.
One tip about Dutch oven bread: do not leave the lid on for the entire bake time or the crust will actually become too thick.
How To Make This Bread
There’s no need to be intimidated by making homemade bread, especially when it comes to this no-knead rosemary bread recipe!
Here’s a look at the process, but don’t forget to scroll to the bottom of the page to see the printable recipe card and check out all the delicious details:
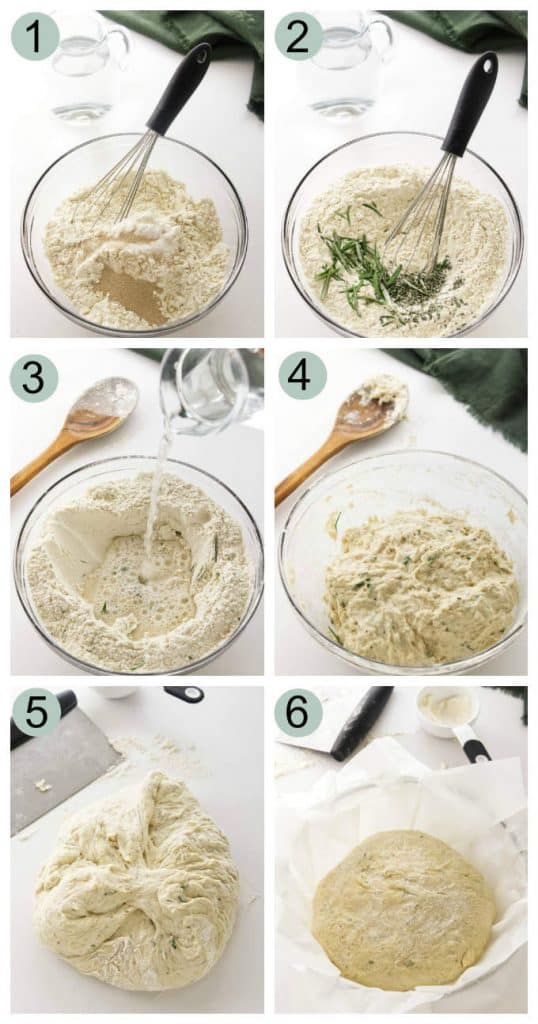
- Make the bread dough: Stir together the flour, yeast and salt in a mixing bowl. Chop up 1 tablespoon of the rosemary leaves and add the chopped and whole leaves to the flour mixture. Make a well in the center and pour in the water. Stir to combine- the dough will be soft and sticky.
- Let the dough proof: Coat a large bowl with oil and place the dough into the bowl. Cover it with plastic wrap or parchment paper and let the dough rise for about 1 hour in a warm place in the kitchen. After 40 minutes, place the Dutch oven (with its lid) in the oven and heat to 450°F.
- Shape the dough: Tip the dough out onto a flour-dusted surface. Use a bench scraper or spatula to turn and fold the dough a few times to shape it into a mound. Dust it lightly with flour and place it in the center of a sheet of parchment paper. Use the paper as a sling and gently set it into another bowl. Cover with plastic wrap and let it rise another 15 minutes.
- Bake the no-knead bread: Remove the hot Dutch oven from the oven. Score the bread dough on the top with a slash or X. Use the parchment paper to lift the dough out of the bowl and transfer it into the hot Dutch oven. Place the lid on the pot and transfer it to the oven. Bake for 45 minutes and then remove the lid. Continue baking another 12-15 minutes. Lift the hot bread out of the Dutch oven and let it cool before slicing.
More Artisan Bread Recipes
- No Knead Cranberry Bread
- Thin Focaccia Bread
- Quick No Knead Dutch Oven Bread
- Sprouted Wheat Buttermilk Sandwich Bread
- 21 Artisan Bread Recipes
Tips For The Best No-Knead Rosemary Bread
- About the flour: All-purpose flour has a protein content of about 10 percent, while bread flour has 12 percent. If using bread flour, we recommend increasing the water by 2 tablespoons to 1/4 cup to compensate for the extra protein.
- About the yeast: Make sure the yeast has not expired- the package should have an expiration date. And a tip about storage: keep the yeast in the refrigerator or freezer. Also, as noted above, make sure you use Rapid rise or Quick rise instant yeast. If you have regular instant yeast, refer to the notes for different rise times.
- Mixing the dough: You can choose to mix and proof the bread in the same bowl, however we like transferring the dough to an oiled bowl because it makes the transfer to the floured work surface a little easier.
- About scoring the bread: This is entirely optional but it does serve a purpose! Scoring the bread before baking allows it to expand and gives it more height.
- For a lofty loaf: You can lightly mist the top of the dough with water before placing it in the oven. This will produce more steam and help the bread rise even higher! Steam is one of the reasons why a Dutch oven works so well- the lid traps the steam which produces a loftier loaf and a thick crust.
- When the bread is done baking it will have an internal temperature of 210°F. It should also sound hollow if you thump the bottom of the loaf.
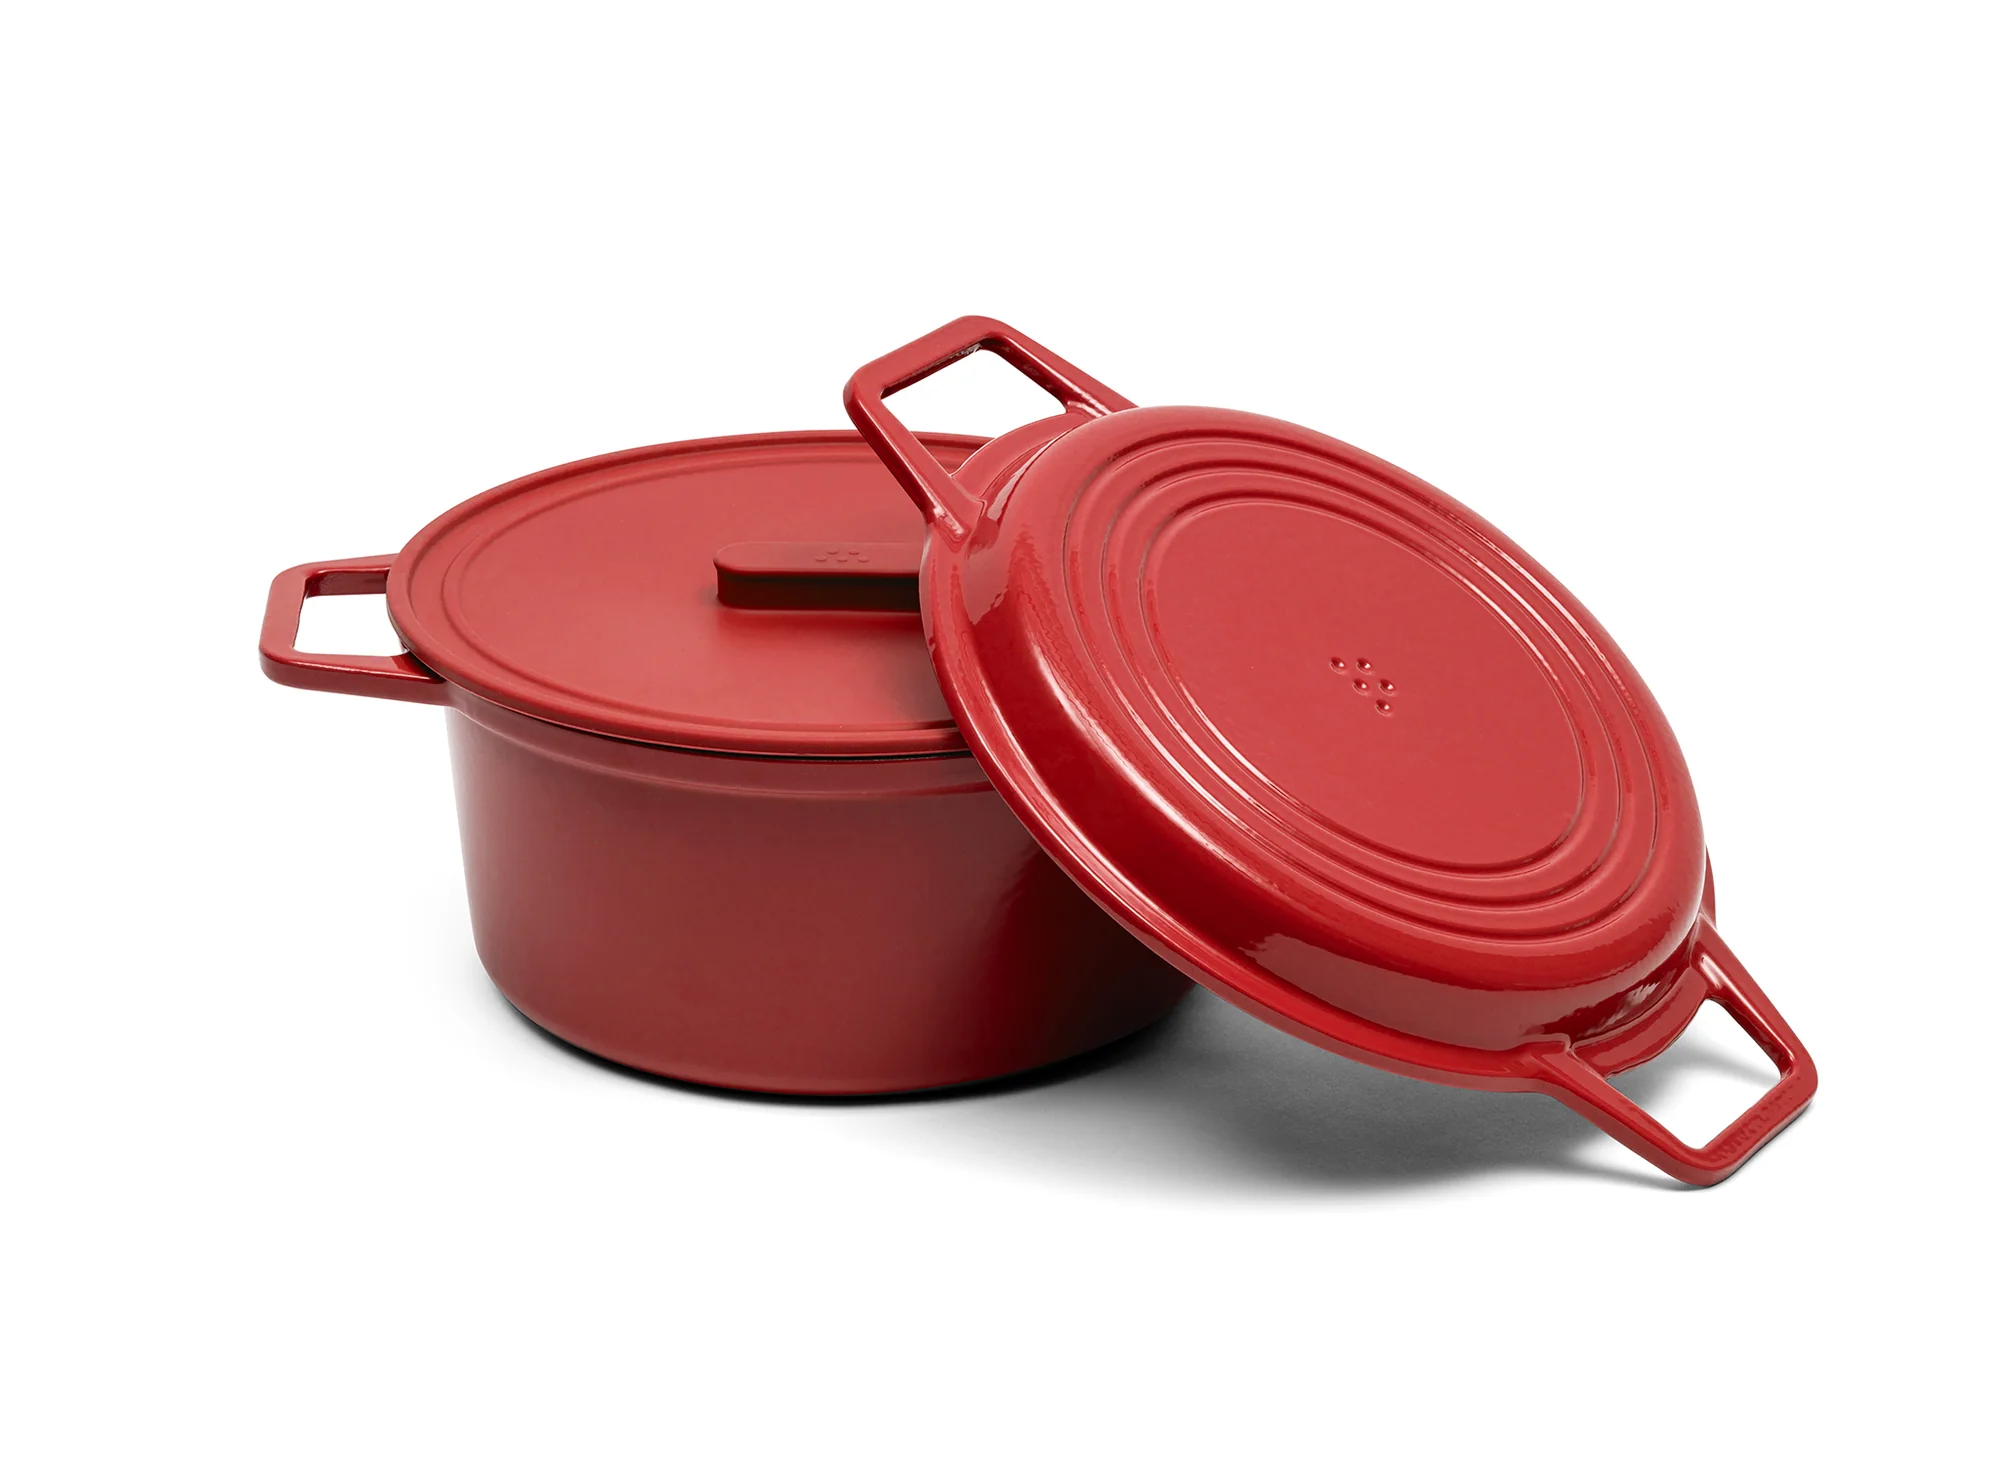
ENAMELED CAST IRON DUTCH OVEN
7-QT. DUTCH OVEN WITH GRILL LID
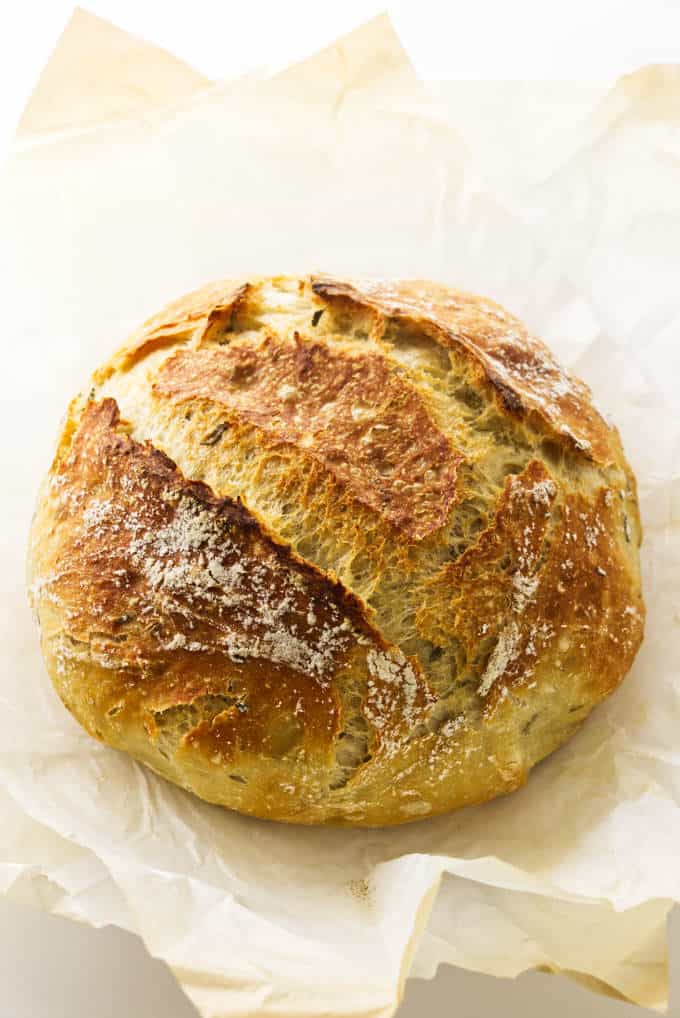
This No-knead Rosemary Bread is such a treat! Making a tasty, artisan loaf couldn’t be easier. It’s definitely a favorite in our house and we know you will love it too! Enjoy!
P.S. This artisan bread also makes a delicious gift if you’re looking for homemade treats to share this year. 😉
Some More Recipes You Will Love:
Garlic and Herb Focaccia Bread: A thin, crisp Italian flatbread infused with garlic and herbs. This is the perfect cracker-like bread for soups or appetizers.
Sage Brown Butter Skillet Cornbread: Made from scratch and baked in a skillet. The brown butter and sage add an incredible depth of flavor that you have got to try to believe how delicious it tastes!
Quick No Knead Dutch Oven Bread: You will be the proud baker of this lofty loaf of artisan-style bread! Just a one hour rise, shape it, let it rise a few minutes; then bake it! You will love the crunchy crust and tender, moist crumb. It is guaranteed to be addictive!
Pin this now to find it later!
Pin It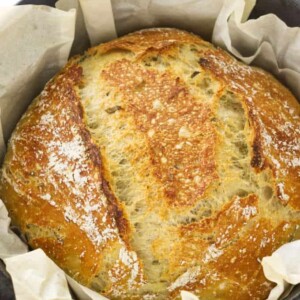
No-Knead Rosemary Bread
If you make this recipe, please leave a star rating and comment.
Ingredients
- 4½ cups all-purpose flour, or bread flour, 540 grams
- 1½ packet instant dry yeast, 11 grams or 3 teaspoons
- 2 teaspoons salt, 9 grams
- 4 tablespoons fresh rosemary, divided
- 2¼ cups water, lukewarm; up to 120°F, (338 grams)
Instructions
- Fluff up the flour before measuring or weighing; then add the flour, yeast, salt to a mixing bowl and stir to combine.
- Chop 1 tablespoon of the rosemary leaves and add them along with the whole leaves to the flour mixture, stir to combine.
- Make a well in the center of the flour mixture and pour the water in, stir to combine and no flour remains on the bottom of the bowl. The dough will be soft and sticky.
- Coat a large bowl with olive or vegetable oil; then transfer the dough into the bowl. (See Notes).
- Cover the bowl with a piece of oil-sprayed plastic wrap or parchment paper. Let rise for 1 hour in a warm area of the kitchen.
- When the dough has been rising for 40 minutes, place a 6-quart Dutch oven, with its lid, into the oven and set the oven temperature to 450°F.
- After the dough has risen for the full 1 hour, sift a light dusting of flour on a large piece of parchment paper and set aside.
- Tip the dough out onto a lightly flour-dusted surface. Use a bench scraper or spatula to turn and fold the dough 5 or 6 times to shape into a rough mound. Dust lightly with flour.
- Place the dough, folded side down, in the center of the reserved parchment paper. Dust the top of the mound lightly with flour.
- Using the parchment paper as a sling, lift the dough and set it into another bowl, cover with plastic wrap and let rise for 30 minutes (see Notes).
To Bake the Bread:
- Carefully transfer the hot Dutch oven from the oven to the countertop and remove the lid.
- Remove the plastic wrap from the dough. With a sharp knife, scissors or a bread taser blade, score the bread dough on the top with a slash or X, (see Notes).
- Again, using the parchment paper as a sling, lift the dough and carefully set it into the hot Dutch oven.
- Place the lid on the Dutch oven and transfer to the oven.
- Bake for 45 minutes, then remove the lid from the Dutch oven and bake the bread for an additional 12 to 15 minutes.
- Transfer the hot Dutch oven to the work area and using the parchment paper, lift the bread out and place on a wire rack. Let cool before slicing.
Notes
- The protein content in all-purpose flour is about 10 percent as compared to 12 percent in bread flour. If using bread flour, the water may need to be increased by 1/4 of a cup to compensate for the extra protein. If it looks like it needs more water, start with 2 tablespoons and add more if needed. The dough should be soft and sticky.
- Yeast will have an expiration date on the package, use within the date limit. Yeast should be stored in the refrigerator or freezer.
- The bread dough can be mixed and allowed to rise in the same bowl. It is optional to transfer the dough to an oiled bowl for the rise, however, the oil does make it less messy to transfer the dough from the bowl to the floured work surface.
- Placing the shaped dough and parchment paper into another bowl will keep the shape mounded during the final rise.
- Scoring on the top is not mandatory but doing so will allow the bread to expand and give it more height.
- Misting the top of the dough lightly with water before placing in the oven, will produce more steam and help the bread rise even higher.
- Bread baked in a Dutch oven works because the Dutch oven holds the steam in and helps the bread rise better. This produces a lofty loaf with a cracking crust. Do not leave the lid on the Dutch oven for the entire bake time or the crust will become too thick.
- To determine that the bread is cooked completely, tilt the bread on its side and thump on the bottom. It should sound hollow if done. You can further check the temperature with an instant-read thermometer. When the bread is done it will register 210°F when inserted in the top of the bread.
- This bread rises quickly because we use Rapid rise or Quick rise instant yeast. If you have regular instant yeast, you will need to let the dough rise for approximately 3 hours before you shape the dough. After you shape the dough, let it rise for approx. 1 hour. Times will vary depending on the temperature of your kitchen.
Nutrition
Nutrition information is automatically calculated, so should only be used as an approximation.
 Like this recipe? Rate & comment below!
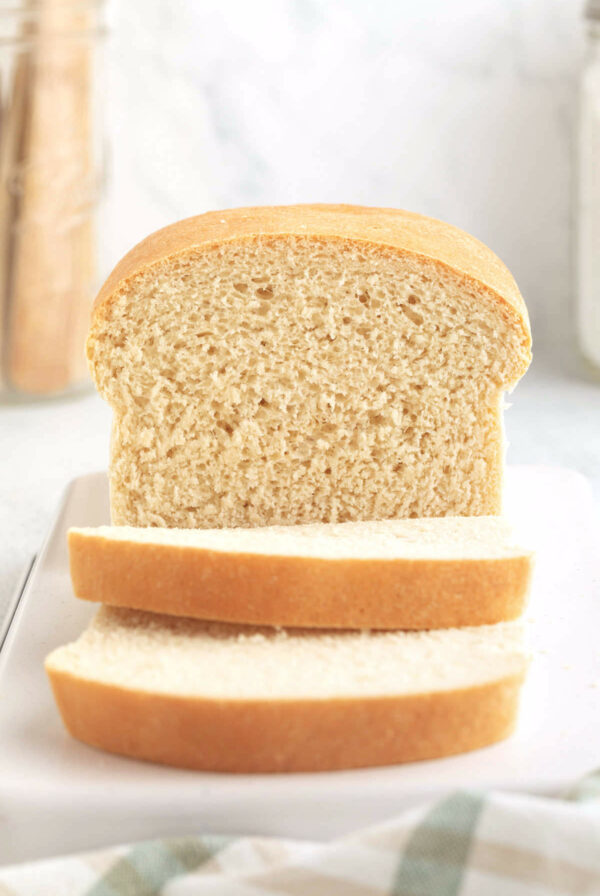


Worst recipe ever…and I have baked a few in 50 years. You clearly wrote the wrong amount of water down. I searched 5 other no knead recipes and this was too much water. None were over 1 1/2 cups. It turned out soupy and added 2 more cups water and more yeast. Just threw it away. Wasted King Arthur flour, yeast, and rosemary. Not to mention a fair amount of time.
I’m sorry this recipe didn’t work out for you. 540 grams flour and 338 grams water is about 63% hydration, which is not unusually high for a Dutch oven bread. In fact, many no-knead recipes are 70–80% hydration. I appreciate you taking the time to leave your feedback. If you’re willing to share whether you weighed the ingredients or measured by cups, I’d be happy to help figure out what may have happened.
Great recipe!
Wondering if I split the dough to get two loaves what would be the bake time?
Yes, you can split the dough into two small loaves! Start checking after about 20 minutes of covered baking, then remove the lid and continue baking for another 8 to 10 minutes uncovered. You’ll know they’re done when the internal temperature reaches around 200°F to 210°F, or the loaves sound hollow when tapped on the bottom.
Thank you!
Wondering if dough can be mixed together overnight to rise and bake next day. Or is that too long of a rise time?
I haven’t tried it with this recipe, but it should work if you refrigerate the dough and decrease the yeast to 2 teaspoons. Mix the dough as directed, then cover it and refrigerate it overnight instead of letting it rise at room temperature. The cold temperature will slow the yeast activity so it won’t overproof.
When you’re ready to bake the next day, take the dough out of the fridge and let it sit at room temperature for about an hour so it can finish rising and take off the chill. Then continue with the shaping and second rise before baking.
If you left the dough out at room temperature overnight instead of refrigerating it, it would overproof and collapse. Sometimes dough can still proof too much in the fridge, depending on how cold your refrigerator runs, so keep an eye on it the first time you try it.