
This post may contain affiliate links. Please read our disclosure policy. As an Amazon Associate, I earn from qualifying purchases.
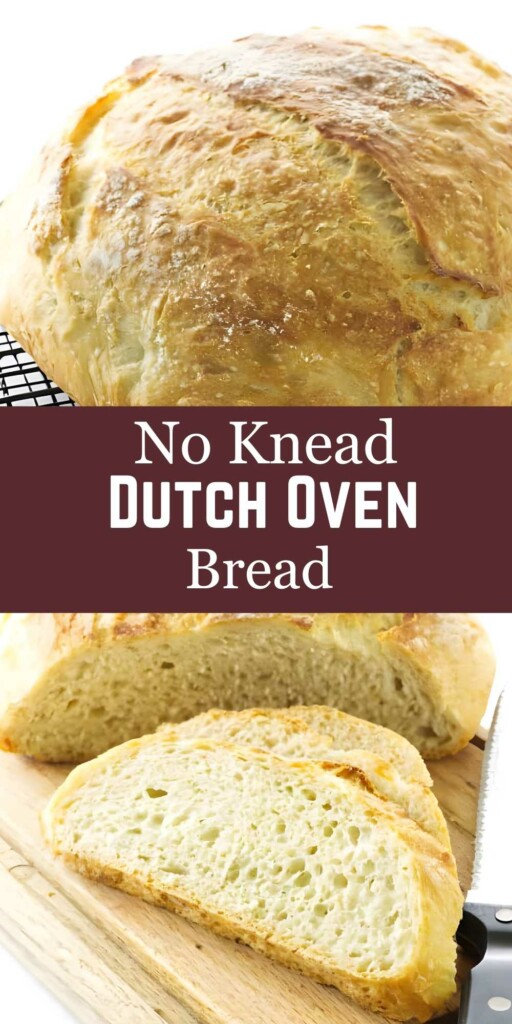
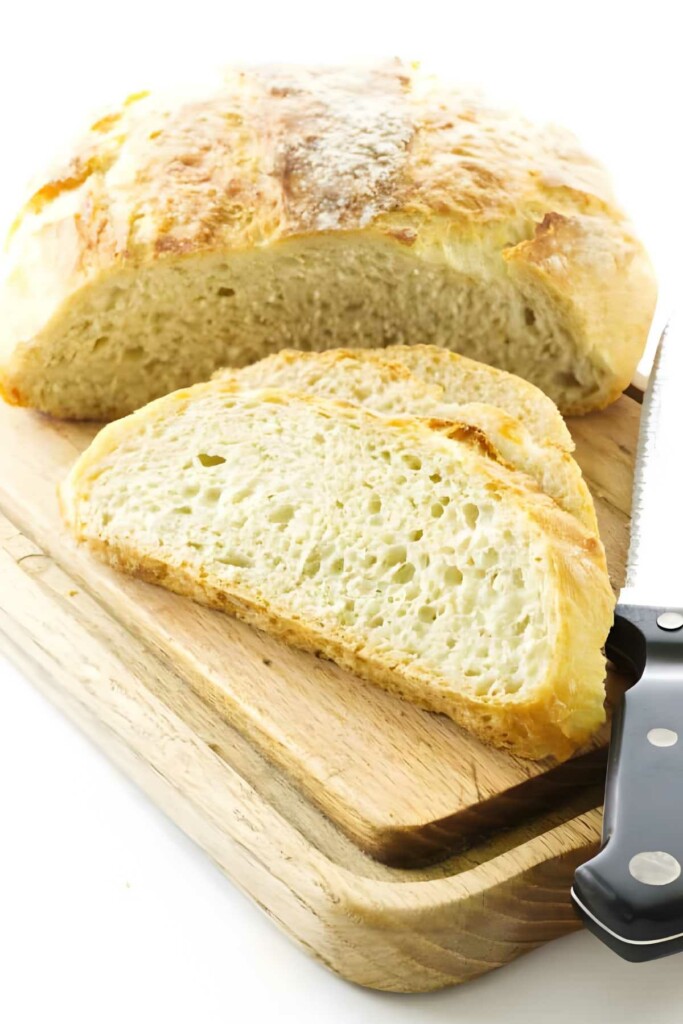
This quick no-knead Dutch oven bread gives you a crusty, bakery-style loaf without a long rise time or complicated techniques. Stir the dough together, let it rest, shape the loaf, and bake it in a hot Dutch oven for a crisp crust and chewy interior.
It is one of the easiest homemade bread recipes you can make, and it works well even if you are new to baking bread.

Want a twist on this easy artisan bread? Try my no knead rosemary bread or my Dutch oven cranberry walnut bread next.
This No-Knead Dutch Oven Bread is Quick
I wanted this bread to have that crisp Dutch oven crust and chewy artisan-style crumb, but without turning bread baking into an all-day production.
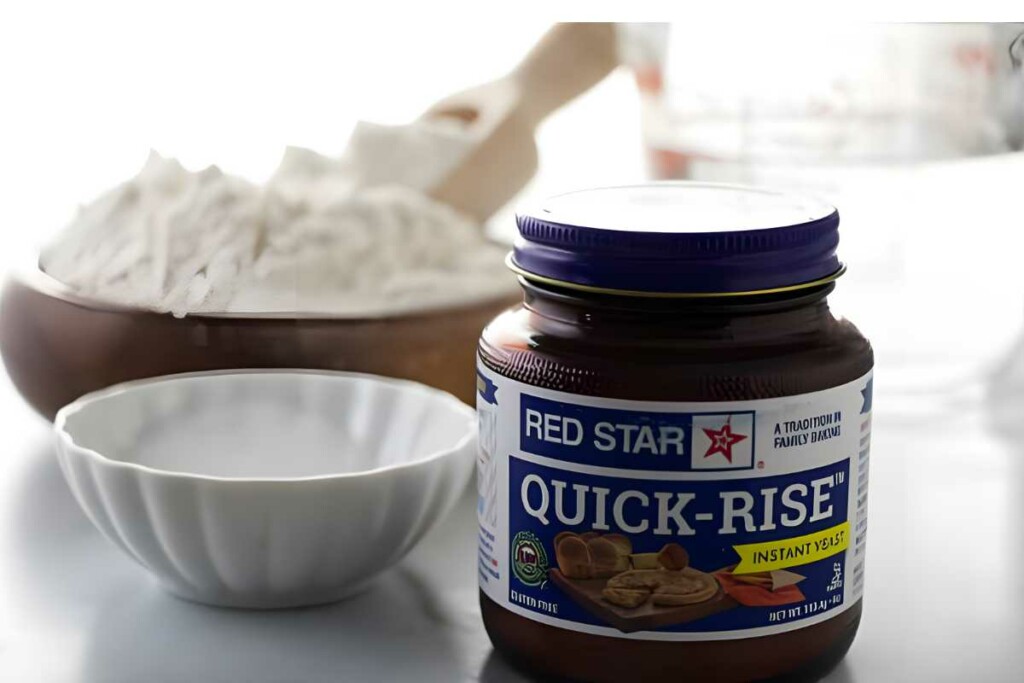
The dough is simple: flour, yeast, salt, and water. The longer rest does most of the work, giving the gluten time to develop without kneading.
I tested this as a quick 2-hour bread recipe because not everyone wants to start bread dough the night before. The dough still gets enough time to rise, relax, and build flavor, but it stays realistic for a same-day bake.
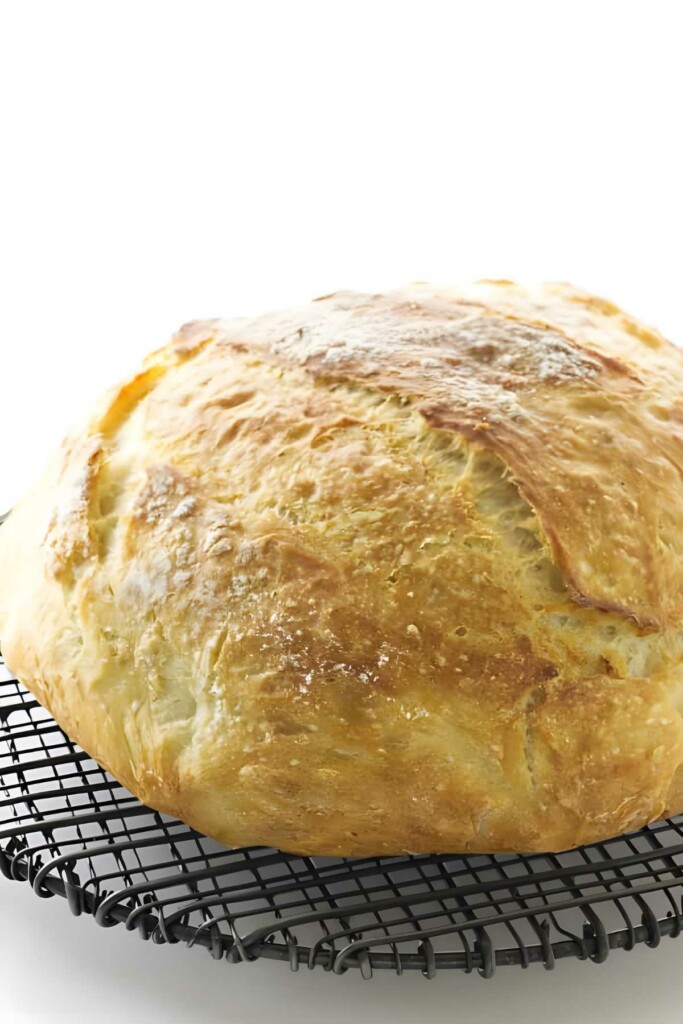
The Dutch oven is what gives this loaf its crust. It traps steam around the dough during the first part of baking, helping the bread rise higher before the crust sets. Then the lid comes off so the outside can brown and turn crisp.
This is also a flexible base recipe. Once you understand the method, you can use the same Dutch oven approach with variations like my no-knead rye bread.
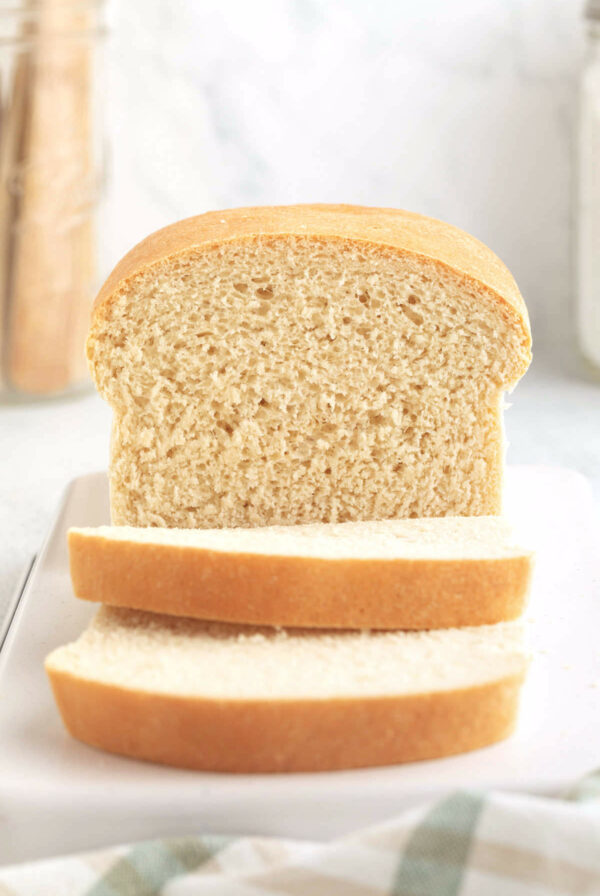
If you want a sandwich loaf, try my white sandwich bread recipe.
Recipe Tips
Use the right water temperature: Keep it around 100°F. Too hot and you’ll kill your yeast; too cold and it’ll take longer to rise.
Don’t skip the preheat: That Dutch oven needs to be scorching hot to give the dough a good oven spring.
Score before baking: A quick slash on top helps control where the bread expands as it bakes.
Use bread flour if you can: The higher protein content gives a chewier crumb and taller rise.
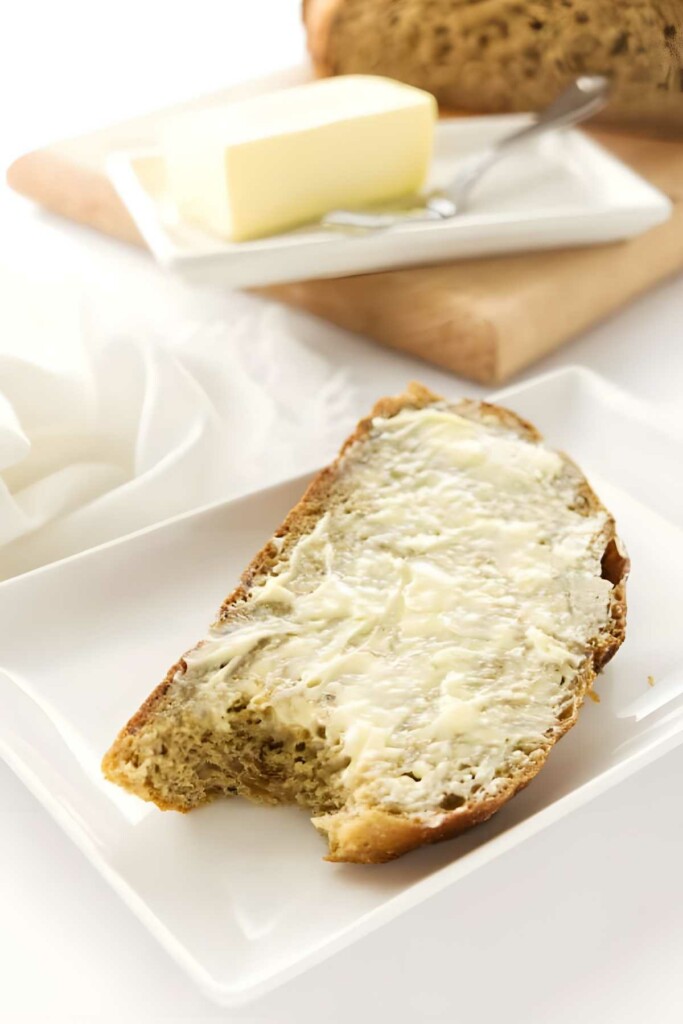
Serve it with garlic butter: This loaf is begging to be dunked in something delicious. Try my garlic butter sauce for the ultimate upgrade.
Common Problems and Fixes
Why is my bread dense?
Dense bread usually comes from one of three things: the dough did not rise long enough, the yeast was old, or too much flour got worked into the dough.
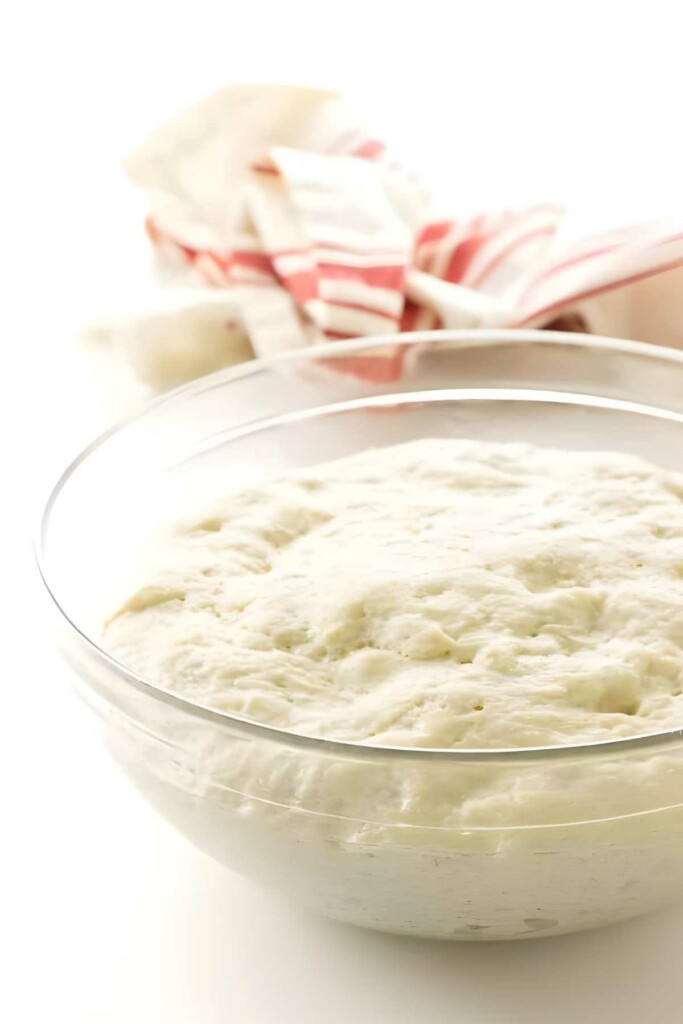
This dough should look a little shaggy and sticky before rising. If it looks stiff or dry, the loaf will usually bake up heavier. If your kitchen runs cool, the dough may simply need more time to rise.
Why didn’t my dough rise?
Check the expiration date on the yeast first. Even partially inactive yeast can give you a weak rise.
Water temperature also matters. If the water is too hot, it can damage the yeast. I usually aim for warm water that feels slightly warm to the touch, not hot.
A cold kitchen can slow things down quite a bit too. I often let dough rise in the laundry room while the dryer is running because it stays warm without getting too hot.
Why is my dough so sticky?
This is a wetter dough than traditional sandwich bread dough, and that sticky texture helps create the airy interior.
It should be soft and tacky, not dry enough to knead like classic bread dough. Lightly flouring your hands and the work surface helps when shaping the loaf.
Why is the bottom crust too dark?
Dutch ovens hold heat extremely well, which can sometimes over-brown the bottom crust.
If this happens, place a baking sheet on the oven rack below the Dutch oven. That extra layer helps soften the direct heat hitting the bottom of the pot.
I adapted this recipe to make a sweeter Dutch oven cinnamon raisin bread.
Storing Leftovers
- Refrigerate: Wrap the cooled bread in a clean towel or place in a bread bag and store at room temperature for up to 3 days. Avoid the fridge unless your kitchen is very humid.
- Freeze: Let the loaf cool completely, then wrap it tightly in foil and place in a freezer-safe bag. It keeps well for up to 3 months.
- Reheat: To refresh the crust, reheat the thawed bread in a 350°F oven for about 10 minutes until warm and crisped up again.
Why No Knead Bread Wins
When you need an easy, dependable loaf that delivers on both taste and texture, this no knead Dutch oven bread pulls through every time. It’s got the artisan look without the artisan effort, and frankly, that’s the kind of kitchen win we all need.
Want to branch out? My no knead focaccia brings the same laid-back method with a totally different vibe.
Pin this now to find it later!
Pin It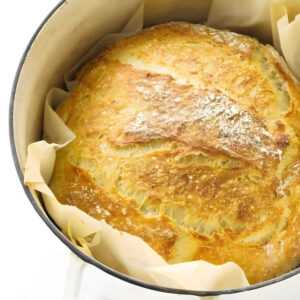
Quick No Knead Dutch Oven Bread
If you make this recipe, please leave a star rating and comment.
Ingredients
- 3 cups all-purpose flour, or bread flour, 360 grams
- 2¼ teaspoons Quick Rise Instant yeast, 1 packet, or RapidRise instant yeast
- 1½ teaspoons salt, 9 grams
- 1½ cups water, warm, up to 100°F; (338 grams)
Instructions
Make the Dough:
- Fluff up the flour before measuring or weighing; then add the flour, yeast and salt to a mixing bowl and stir to combine. Make a well in the center and pour in the water, stir and mix completely . The dough will be soft and sticky.
- Cover the bowl with an oil-sprayed plastic wrap and let stand in a warm spot at room temperature. Let rise for 1 hour. (I like to set the covered bowl on top of the refrigerator).
- After 40 minutes, place a 4 or 6-quart Dutch oven with lid in the oven and preheat to 450°F.
- Sift a light dusting of flour on a large piece of parchment paper and set aside.
- When the dough has rested for the 1 hour, turn it out onto a lightly flour-dusted work surface. Use a bench scraper to turn and fold the dough 5 or 6 times to shape into a rough ball. Dust lightly with flour.
- Place the dough with the floured side down, in the center of the reserved sheet of parchment paper. Dust the exposed top lightly with flour and cover with a fresh piece of plastic wrap. Let the dough rest on the counter top for 15 minutes.
Bake the Bread:
- Carefully remove the Dutch oven from the oven, remove the lid. Remove the plastic wrap covering from the dough, and using the parchment paper as a sling, lift the dough and set it into the Dutch oven. Spray the top of the bread with some water (see notes) and score it with a sharp blade.
- Replace the lid and transfer to the oven.
- Bake for 30 minutes, then remove the lid from the Dutch one and bake the bread for an additional 15 minutes.
- Transfer the hot Dutch oven to the work area and using the parchment paper, lift the bread out and place on a wire rack. Let cool before slicing.
Video
Notes
Nutrition
Nutrition information is automatically calculated, so should only be used as an approximation.
 Like this recipe? Rate & comment below!
Memories Of By-Gone Days:
I have vivid memories of watching my grandma bake bread when I was a kid. She started early in the morning, and it was a full-day affair. With a crew of farmhands to feed, she didn’t make just one loaf. She made batches. Big ones.
She mixed everything into a massive lump of dough, let it rise, punched it down, and kneaded it all over again. The punching was my favorite part. When she let me help, that warm, yeasty smell would puff up from the dough, and I thought it was pure heaven.
After shaping the loaves and giving them one last rise, she’d finally bake them. The kitchen smelled unreal. I can still picture those golden loaves cooling on the rack, and if it wasn’t too close to dinner, she’d slice off a heel and slather it with homemade butter just for me.
Bread baking has changed a lot since those days, and I think she would’ve loved this easier, 2-hour version. Honestly, give me a thick slice of this toasted bread with butter and raspberry jam, and you can keep your chocolate cake.


I have used this recipe ever since I found it a couple years ago.it was the first bread I ever made. one work, AMAZING!!! my family and I love this bread,. I have shared it with friends and they all think the same thing. I like to add fresh rosemary, garlic and cheese. thank you for such an amazing and simple bread recipe!!
Thank you so much! I love hearing that this was your first bread recipe and that it’s still a favorite. Rosemary, garlic, and cheese sound fantastic. I’m so glad your family and friends have enjoyed it!
Could this be adapted for freshly milled flour?
You probably could adapt it, but freshly milled flour behaves quite a bit differently than commercial flour. It absorbs more liquid, ferments faster, and usually won’t give quite the same rise. A blend of freshly milled flour and commercial flour would be easier to work with, especially in a no-knead dough. If you experiment with it, I’d love to hear how it turns out.
My first and only bread recipe, I hesitate to try any others as I don’t want to be disappointed. this is perfect for those new to bread baking. perfect every time.
Bread baking can feel intimidating at first, so I’m really glad this recipe gave you good results. Thanks for the comment.
It was mine too. I have tried others and was very disappointed. don’t do it!! lol