This post may contain affiliate links. Please read our disclosure policy. As an Amazon Associate, I earn from qualifying purchases.
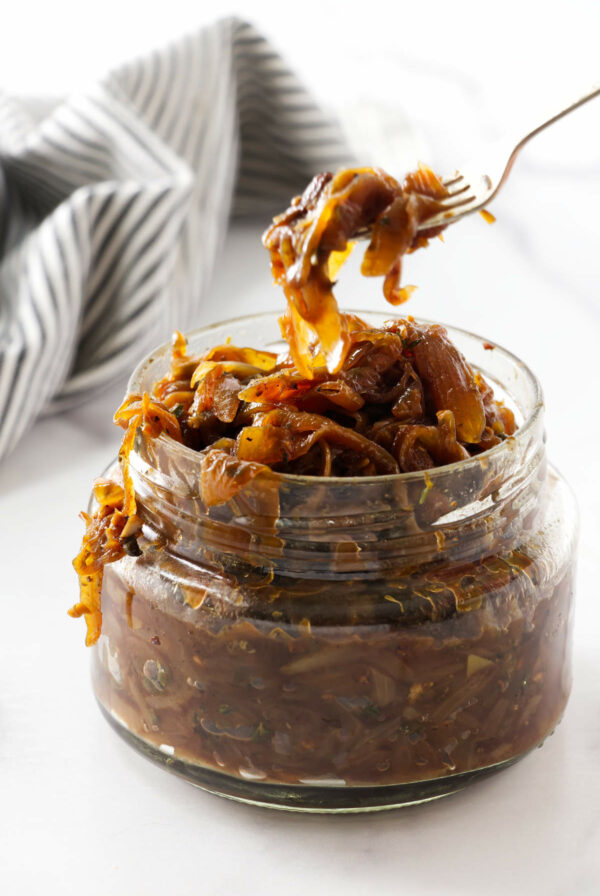
Do you want to know the secret way to up the ante of any meal? Caramelized onions! As a side dish, as a topping, as the main course itself… hey, we don’t judge. Either way you serve them, they WILL be a hit.
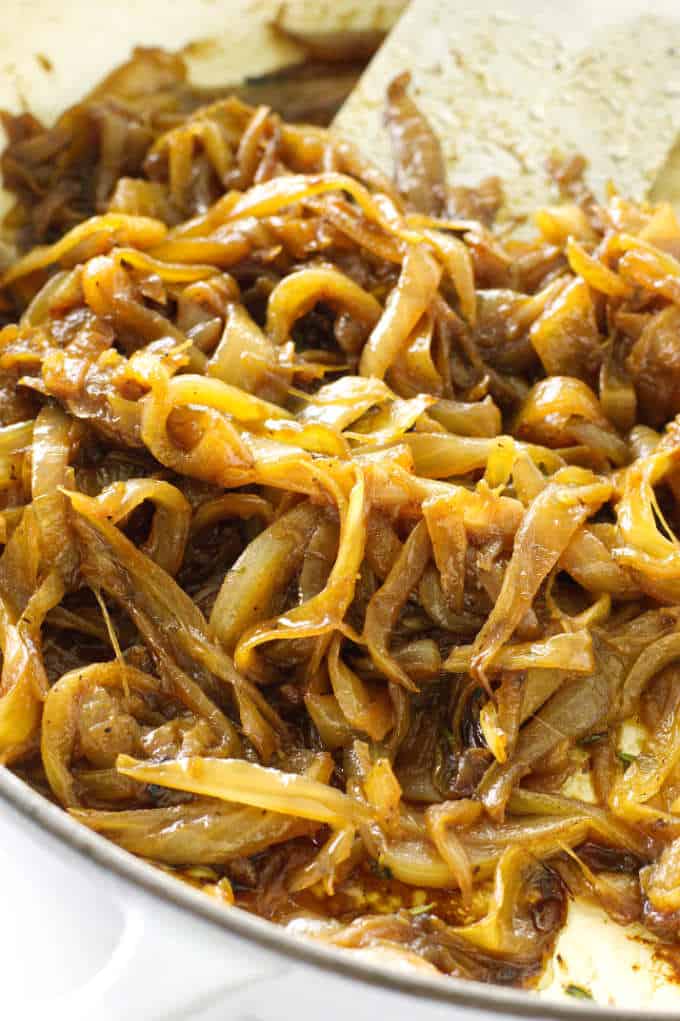
But we’re letting you in on a second secret here- there’s a trick to getting them just right. And by “just right,” I mean the perfect, soft consistency that’s not soggy, but not crunchy, and has the best savory-sweet flavor. The secret is in the cooking time.
Caramelizing the onions brings out their sweet, rich, natural flavors!
what is the difference between caramelized onions and sautéed onions?
First, let’s clarify! Sautéed onions, while also delicious, are fried in oil for a short amount of time. Caramelized onions are slow-cooked, so the natural sugars are intensified, caramelizing them and pulling out an amazing flavor. Our caramelized onions recipe includes a few other ingredients like garlic, herbs and wine, to create even more savory goodness!
how to make caramelized onions
So, how do you caramelize an onion? While it’s not a difficult process, there are a few tricks to ensure your onions turn out perfectly caramelized versus mushy or undercooked.
Here’s a brief run-down on how to make caramelized onions, but be sure to scroll to the recipe card and notes for the full instructions and tips:
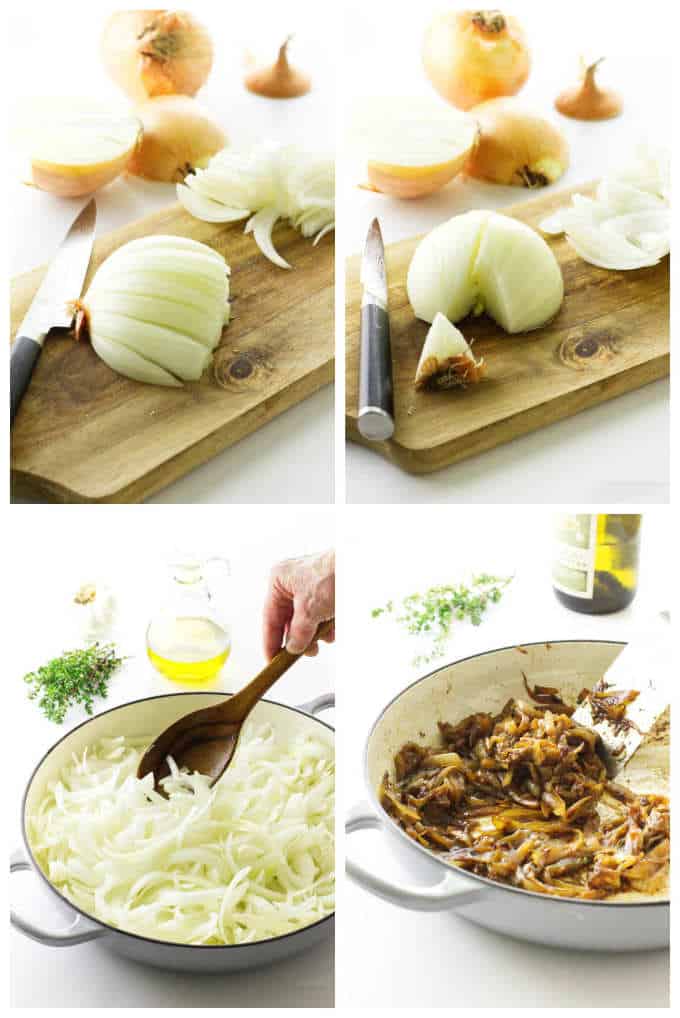
- Slice the onions (by the way, I HATE chopping onions but the full recipe below is a pretty nifty step-by-step guide on how to properly and easily slice them!).
- In a Dutch oven, heat oil over medium-low heat, add onions, and cook until they’re golden (about 5-10 minutes).
- Cook the onions for another 20-25 minutes, stirring every 5-8 minutes. Add wine to deglaze the pan, continue cooking, scraping the fond off the bottom, add more wine and stir until the wine evaporates.
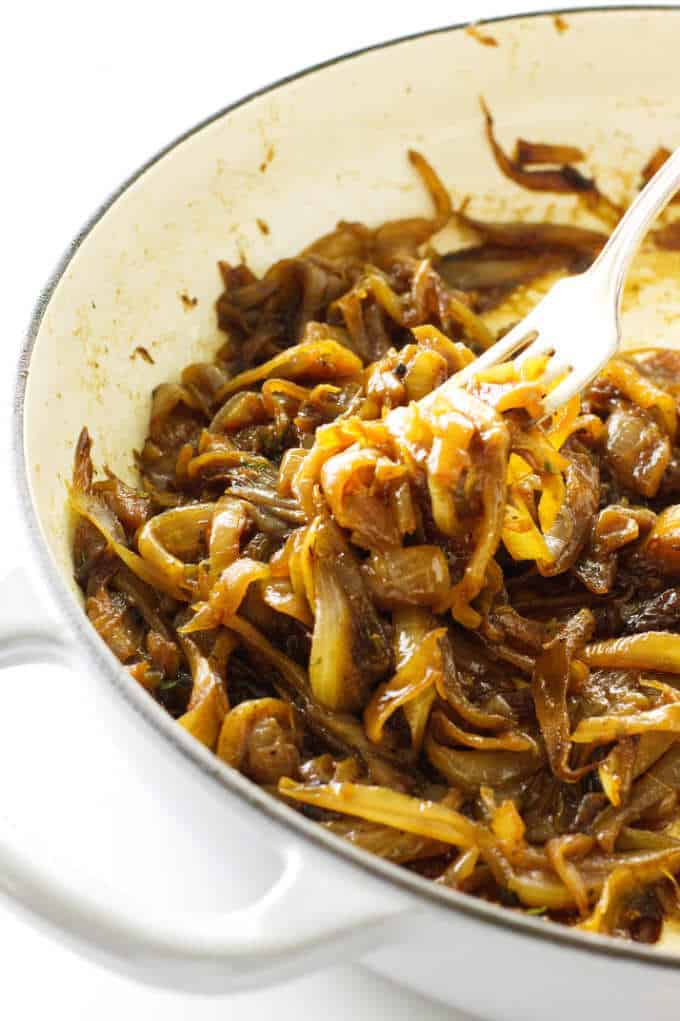
- Stir in the thyme and garlic and continue to cook until they’re a deep caramel color (the onions will cook about 50-60 minutes total).
- Season with salt and pepper and serve!
Related: Check out our caramelized pearl onions.
Pro tips for making caramelized onions
See how simple of a process that is? The toughest part about making caramelized onions is being patient. Also, I have a tendency to want to overly stir anything I’m cooking, but keep in mind that too much stirring will prevent the onions from browning!
Another tip- take care not to add the salt to the onions during the cooking process. Salt will draw out any moisture, which can leave you with mushy onions. That’s why we save the salt and pepper for last, once the caramelizing process is done.
What are the best onions to caramelize?
We like to use the standard yellow onion with brown skin, it tends to be one of the sweeter onion varieties. Some types of onions have more sugar and will caramelize faster than those with a lower sugar content. So if you’re choosing to caramelize a sweeter onion, be sure to pay close attention so you don’t overcook them!
How to store caramelized onions.
Cook an extra-large batch of these caramelized onions so you can save some for several dishes throughout the week. You can store caramelized onions in the fridge for 4 to 5 days or freeze them for 3 or 4 months. Keep them in an airtight container. We like glass storage containers because they don’t absorb any odors.
what to serve caramelized onions with
Remember when I said they’d be good with almost anything? Here’s a short list of ideas to get you started (and pssst! these are also great ideas on what to do with any leftovers!):
- On top of a burger or patty melt
- In an omelette or quiche
- Served with meatloaf
- In a French onion soup
- As a side to a chicken or beef main course
- On top of a baked potato
- As part of a charcuterie board
- Stirred in with sautéed mixed vegetables
Honestly? Caramelized onions with any meal is my idea of bliss. Happy eating, friends!
More Recipes You Will Love
- Split Pea and Ham Soup: Homemade Split Pea and Ham Soup is a classic, comforting soup, perfect for the cold winter weather.
- Crockpot Chicken and Vegetables: This Crockpot Chicken and Vegetables is a breeze to prepare and a huge time saver. Tender, tasty chicken, fresh veggies and herbs cooked for hours and creating a rich sauce.
- Beef Pho: Beef pho is served in a deep bowl and layered with hot noodles, green scallions, cilantro and thin slices of beef. A rich, hearty, piping hot beef broth is ladled over the beef then condiments of Thai basil, mint, cilantro jalapeno peppers, and lime wedges are passed to guests to add and enjoy.
Pin this now to find it later!
Pin It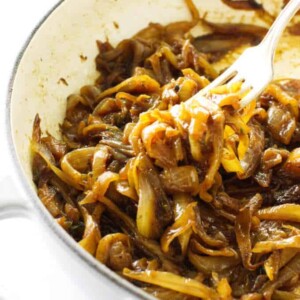
Caramelized Onions
If you make this recipe, please leave a star rating and comment.
Ingredients
- 2 tablespoons olive oil
- 3 pounds yellow onions
- 3 cloves garlic cloves, thinly sliced
- ½ cup dry white wine
- 1 tablespoon Fresh thyme
- Salt and pepper, to taste
Instructions
Prepare and slice the onions:
- Cut off the stem end of the onions and place the cut end on the cutting board, root end up. Slice the onion in half then remove the outer dry layers. Do not cut the root end off yet as it serves to hold the onion together while you slice it.
- Working with one onion-half at a time, lay the cut side down. Begin cutting strips with the tip of the knife positioned just in front of the root end and slice to the cut stem end. Make 1/4-thick slices to the entire half onion.
- Now it is time to cut off the root end. Cut an inverted V at the root end that is attached to the slices. This will release the onion slices. Repeat with all the onion haves.
Cook the Onions:
- In a Dutch oven or a heavy-bottomed soup pot set over medium heat, add the oil and when it is hot tip the sliced onion in and toss to coat with oil.
- When the onions begin to sizzle, reduce the heat to medium-low and cook without stirring for 5-10 minutes until the edges begin to turn golden.
- Continue to cook the onions for another 20-25 minutes, stirring every 5-8 minutes. Do not stir continually as it will prevent the onions from browning. Adjust the heat to low if you see burn spots. Be patient, and keep the heat low the entire process is going to take 50-60 minutes.
- Add ¼ cup of the wine to deglaze the pan, cook and stir, scraping up the fond stuck to the bottom, until the wine evaporates and the onions begin to brown and stick to the bottom. Add another splash of wine when the fond builds up and continue to stir until the wine evaporates.
- Stir in the thyme and the garlic and continue to cook, stirring often until the onions are soft and a deep caramel color. For softer onions add additional wine and cook another 5 minutes to your desired consistency.
- Season with salt and pepper and transfer to a serving dish.
Notes
- Some varieties of onions have more sugar content and will caramelize more quickly than those with less sugar content. The standard yellow onion with brown skin is one of the sweeter onions and is our choice for these caramelized onions.
- Onions may be sliced in strips, rounds, half-rounds or chopped.
- Do not add salt to the onions as they are cooking as the salt will draw out moisture, risking mushy onions. Add salt to the onions at the end of the caramelizing process.
- Experiment with herbs and select your preference.
- To prevent the garlic from burning, add it to the onions during the last part of the cooking process.
- Onions can be caramelized up to 5 days in advance. Allow to cool, place in a lidded container and refrigerate. Make a batch for my lentils and rice recipe.
Nutrition
Nutrition information is automatically calculated, so should only be used as an approximation.
 Like this recipe? Rate & comment below!