This post may contain affiliate links. Please read our disclosure policy. As an Amazon Associate, I earn from qualifying purchases.
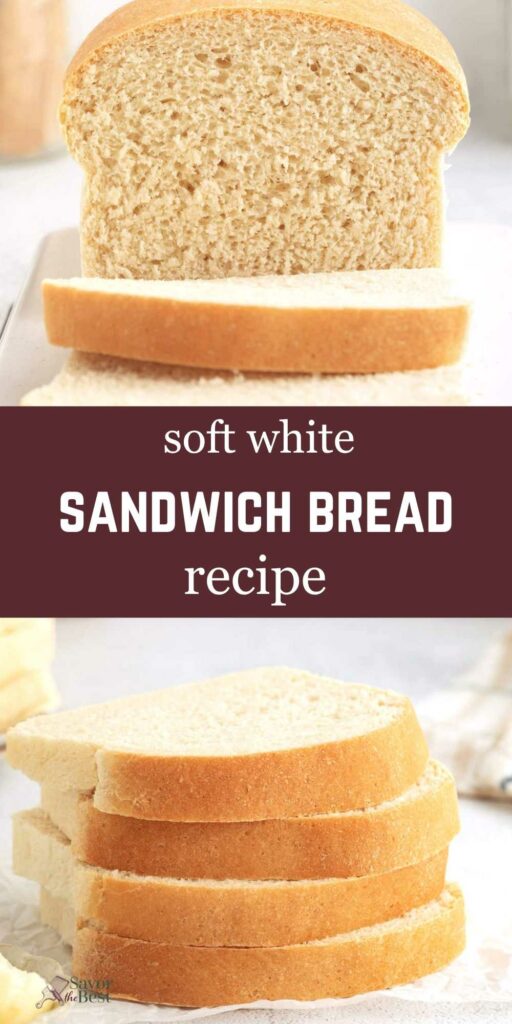
This white sandwich bread recipe is the kind of loaf that quietly replaces the store-bought bread and doesn’t give you much reason to go back.
The dough is easy to work with and forgiving enough for regular people baking in regular kitchens. No special equipment. No complicated shaping. Just a reliable homemade sandwich bread that earns a permanent spot in the rotation.
It bakes up soft, slices cleanly, and holds together for sandwiches without drying out by the next day. Dry milk powder adds tenderness, while a small amount of potato flakes helps the loaf stay soft for days without turning gummy.
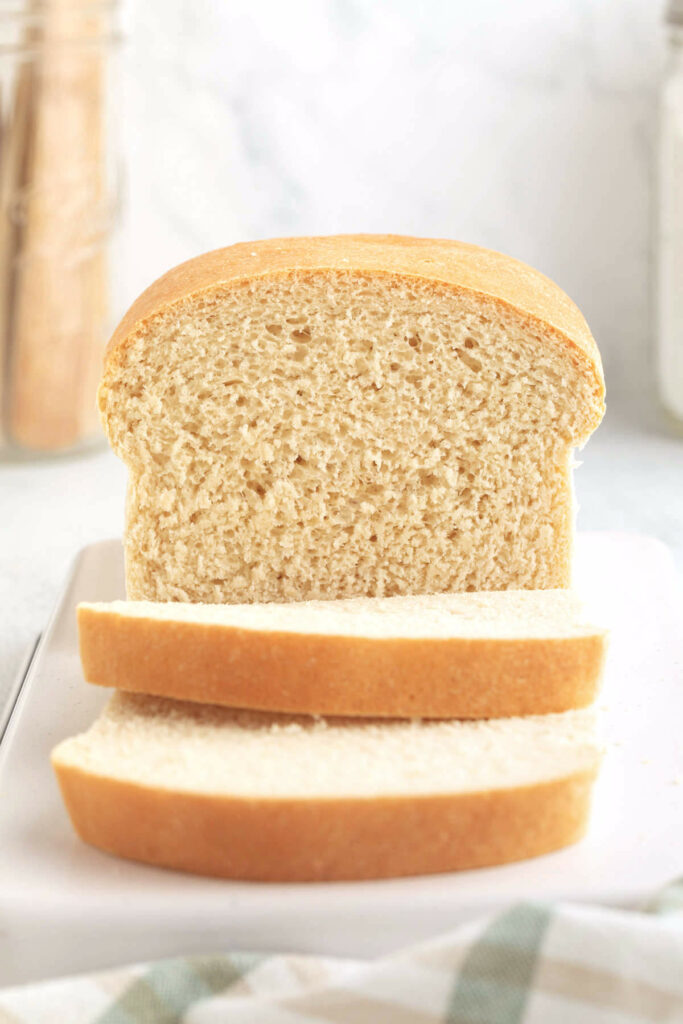
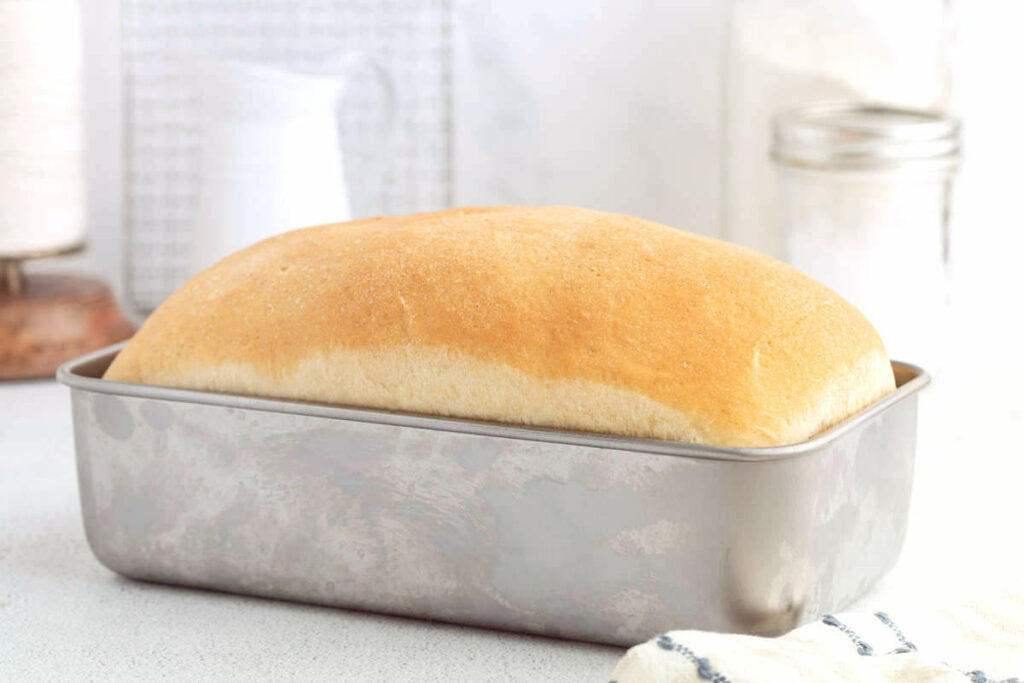
Homemade Sandwich Bread
I tested this recipe to get a soft sandwich bread that still slices cleanly and holds up for everyday sandwiches. The goal was a loaf tender enough for peanut butter and jelly but sturdy enough that it doesn’t collapse in your hands.
The dry milk powder and potato flakes do some heavy lifting here. They help the bread stay soft longer and keep the crumb tender without making the loaf overly rich.
I also tested the recipe with both all-purpose flour and bread flour. Both work well, and the dough gives you some flexibility as you mix. You can adjust the flour slightly based on your kitchen and still end up with a soft, workable dough.
This bread is perfect for hearty sandwiches like my BLT sandwich or chicken Caesar sandwich.
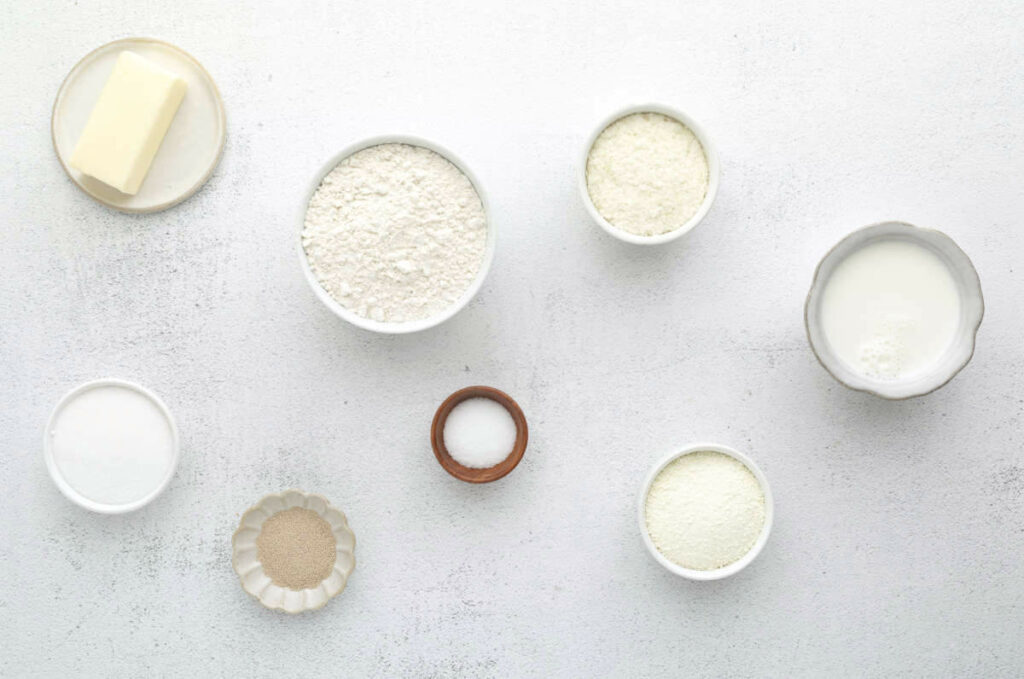
Ingredient Notes
Dry milk powder helps give the bread a softer crumb and better color without adding extra liquid to the dough. It also helps the bread loaf stay soft longer, which makes a noticeable difference in sandwich bread.
Potato flakes help the bread retain moisture and stay soft for several days. Use plain, unseasoned instant potato flakes.
Butter adds flavor and creates a softer, more tender texture. Melted butter blends easily into the dough and contributes to the soft crust and rich crumb.
Milk enriches the dough and gives the bread a softer texture than water alone. Combined with the dry milk powder, it helps create a loaf that stays tender and slices well.
Flour affects the texture and structure of the loaf. All-purpose flour makes a soft, tender sandwich bread, while bread flour gives the loaf a little more chew and structure.
Instant yeast keeps the process simple since it can be mixed directly into the dry ingredients. It gives the dough a reliable rise and helps develop good structure without extra steps.
How to Get a Soft Sandwich Loaf
The Windowpane Test
A lot of bread recipes tell you to knead until the dough reaches “windowpane stage,” but they never explain what that actually means.
Pinch off a small piece of dough and gently stretch it between your fingers. If the dough stretches thin enough for light to pass through without tearing right away, the gluten is developed properly.
If it tears quickly or feels rough and tight, keep kneading for another minute or two and test again.
You don’t need the dough paper-thin. You’re just looking for smooth, elastic dough that stretches instead of ripping apart immediately.
Watch the Dough More Than the Clock
Rise times can vary a lot depending on your kitchen temperature. A warm kitchen may cut the rise time nearly in half, while a cool kitchen can slow everything down.
Instead of focusing only on the timer, look for dough that has almost doubled in size and feels airy and slightly puffy.
If you gently press the dough with a fingertip, the indentation should slowly spring back instead of filling in immediately.

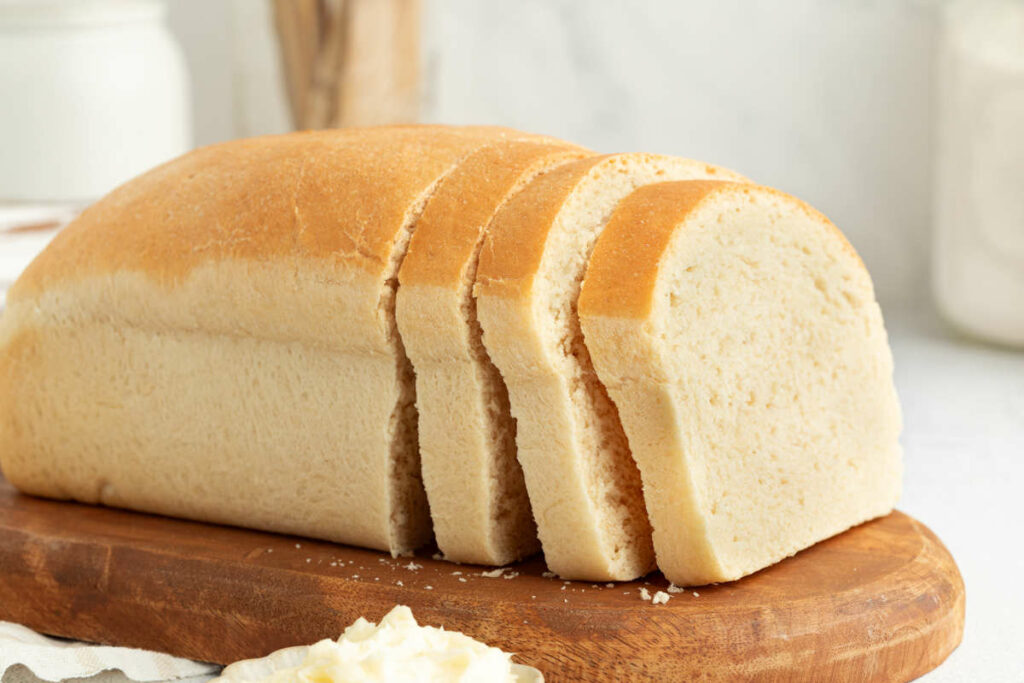
Let the Bread Cool Before Slicing
Fresh bread smells amazing, and cutting into it too early is incredibly tempting. Unfortunately, slicing hot bread can compress the crumb and make the inside seem gummy. The bread loaf is still finishing its structure as it cools.
For the cleanest slices, let the bread cool at least 1 hour before cutting into it. A serrated bread knife with a gentle sawing motion works best. Pressing straight down tends to squash soft sandwich bread.
Pan Size Changes the Shape of the Loaf
This recipe was tested in a 9×5-inch loaf pan, which gives you a classic sandwich loaf with nice, even slices.
You can bake it in a smaller 8½×4½-inch pan, but this is a fairly generous amount of dough for that size pan. The loaf tends to mushroom over the sides a bit as it rises and bakes, which gives you a taller loaf but a less uniform shape.
I’ve also baked it in a longer 10-inch loaf pan that’s slightly narrower, and it works well there too. The loaf bakes up a little longer and lower with more evenly shaped slices.
Recipe Tips
Start with less flour: It’s easy to add flour, but you can’t take it out. Hold back some at the beginning and add it gradually until the dough is soft and slightly tacky.
Don’t rush the kneading: Give the dough time to become smooth and elastic. If it still looks rough or tears when stretched, it needs a few more minutes.
Watch the dough, not the clock: Rise times are just estimates. Your kitchen temperature will change how fast the dough rises, so go by how it looks and feels.
Use warm (not hot) liquids: Aim for about 100–110°F. Hot liquids can kill the yeast, and then you’re starting over whether you like it or not.
Grease the pan well: This bread is soft, and it can stick if you don’t prep the pan properly. A light but thorough coating keeps things simple later.
Don’t overproof the second rise: If the dough rises too much before baking, it can collapse or bake up with a weak structure. Look for a slow spring-back when you press it.
Let it cool before slicing: Cutting too soon can squash the loaf and make it seem gummy. Give it time to set so you get clean slices.
Adjust for your flour: Bread flour will give you a slightly chewier loaf, while all-purpose keeps it softer. Both work, just expect a small difference in texture.
For more sandwich bread recipes, try my einkorn sandwich bread or oatmeal bread. Both have a soft crumb and slice beautifully for sandwiches and toast.
If you prefer a more rustic loaf with less hands-on work, my no knead Dutch oven bread is another reader favorite.
Uses for This Bread
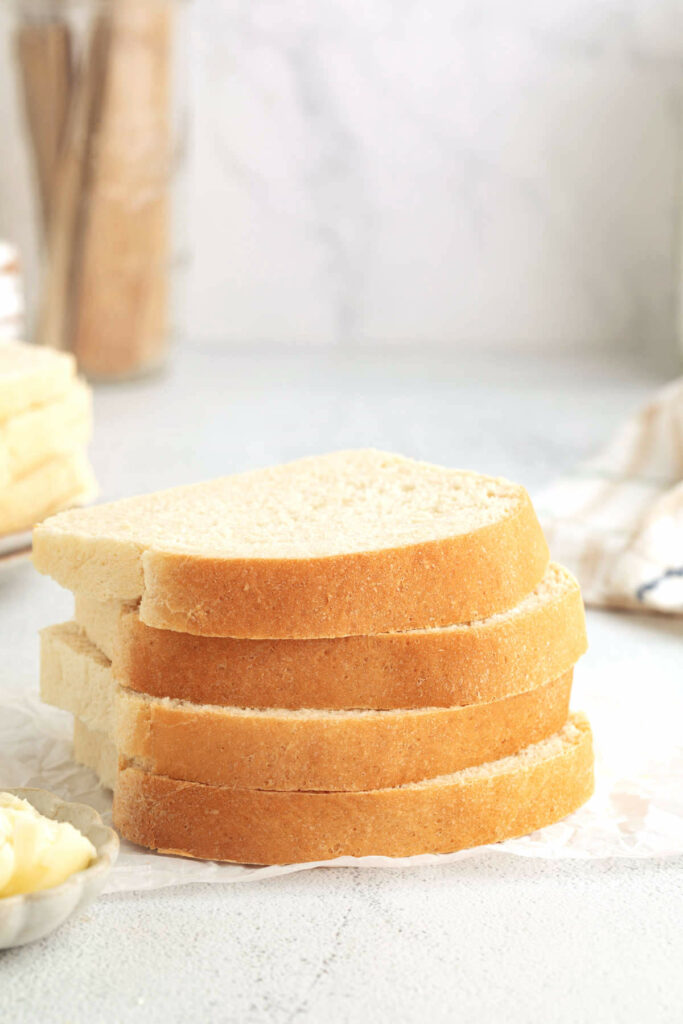
This loaf bread works for just about everything you’d use store-bought sandwich bread for, only better.
It makes excellent toast, grilled cheese sandwiches, and packed lunches because the crumb stays soft without falling apart. I especially love it for leftover meatloaf sandwiches or thick slices spread with roasted garlic spread while the bread is still slightly warm.
The slices are sturdy enough for hearty sandwiches but still soft enough for peanut butter and jelly.
Pin this now to find it later!
Pin It
White Sandwich Bread
If you make this recipe, please leave a star rating and comment.
Ingredients
- 3 ¼ to 3 ½ cups all-purpose flour, or bread flour, 390 to 420 grams
- ¼ cup dry milk powder, 28 grams
- ¼ cup potato flakes, 21 grams
- 3 tablespoons granulated sugar, 37 grams
- 2 ¼ teaspoons instant yeast, (1 packet; 7 grams)
- 1½ teaspoons salt, 9 grams
- ⅔ cup water, warm, 160 grams
- ⅔ cup milk, warm, 160 grams
- 5 tablespoons butter, melted, 71 grams
Instructions
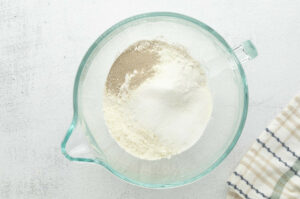
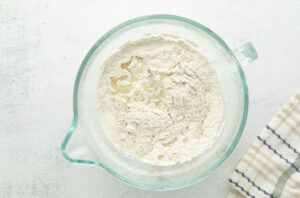
- Mix the dough: In a large bowl or the bowl of a stand mixer, combine 3 ¼ cups of the flour, dry milk powder, potato flakes, sugar, and yeast. Stir well to distribute the yeast, then stir in the salt.
- Add the warm water, milk, and melted butter and mix until incorporated.
- Adjust with flour: Continue mixing, adding additional flour 1 to 2 tablespoons at a time, until the dough is soft and smooth. It should feel slightly tacky but not sticky and pull away from the sides of the bowl. Avoid adding more flour than needed, as too much can make the bread dense.
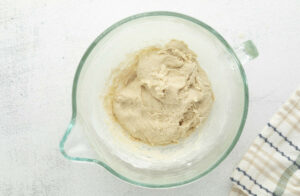
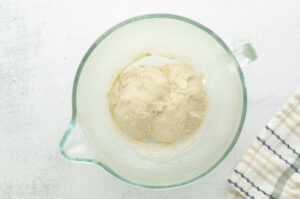
- Knead: Knead using a stand mixer fitted with the dough hook (or by hand) until the dough is smooth and elastic, about 6–8 minutes in a mixer or 8–10 minutes by hand. The dough should hold together easily and stretch without tearing.
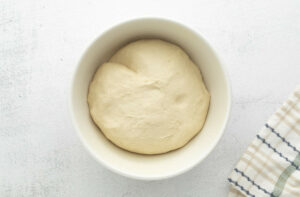
- First rise: Transfer the dough to a lightly greased bowl, cover, and let it rise until almost doubled, about 1 to 2 hours. When gently pressed with a fingertip, the indentation should slowly fill back in but not spring back right away.
- Shape: Gently deflate the dough and turn it out onto a lightly oiled work surface. Shape into an log and place the dough in a lightly greased 9 × 5-inch loaf pan.
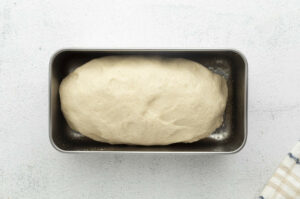
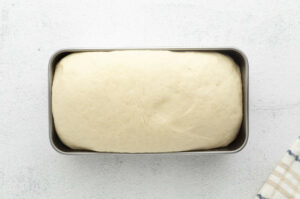
- Second rise: Cover loosely and let rise for about about 60 minutes, until the dough almost doubles in size. A fingertip pressed into the dough should leave an indentation that slowly springs back and remains slightly visible.
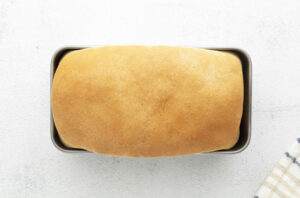
- Bake: Toward the end of the rise, preheat the oven to 350°F. Bake for 34–40 minutes, until golden brown. Remove from the pan and cool completely on a rack before slicing.
Notes
Nutrition
Nutrition information is automatically calculated, so should only be used as an approximation.
 Like this recipe? Rate & comment below!