
This post may contain affiliate links. Please read our disclosure policy. As an Amazon Associate, I earn from qualifying purchases.
Making a sourdough starter from scratch can feel intimidating, but the pineapple juice method takes away some of the uncertainty. By using pineapple juice for the first few days instead of water, you create a slightly acidic environment that helps the good yeast and bacteria thrive while discouraging the unwanted ones.
This step-by-step guide will walk you through the entire process, from mixing the very first jar on Day 1 to having a bubbly, active starter ready for bread baking. It’s not an overnight project. A strong starter takes time, daily attention, and a little patience, but the payoff is worth it.
Once your starter is established, you’ll have the foundation for homemade sourdough bread, sourdough pancakes, pizza dough, and more, all from a living culture you built yourself.
Once you understand the science behind it, the pineapple juice method makes a lot of sense. Here’s why it works so well for starting a healthy sourdough culture from day one.
Here is Why The Pineapple Juice Method Works
Beginner-friendly and predictable: With clear day-by-day instructions, you’ll know exactly when to switch from juice to water, when to start discarding, and what to look for at each stage.
Creates the right environment from the start: Pineapple juice lowers the pH in those crucial first days, making it harder for unwanted bacteria to take over while giving the good yeast a head start.
Encourages early yeast activity: Many bakers see bubbles and signs of life sooner with this method compared to starting with water alone. It doesn’t guarantee instant results, but it often shortens the waiting game.
Helps avoid unpleasant odors: New starters made with plain water can sometimes smell a little “off” in the early stages. The pineapple juice method helps prevent that sour, cheesy smell that can make you wonder if something’s gone wrong.
Tips for success
Be patient: Every kitchen is different. Some starters are ready in a week, while others take two or even three weeks to become strong and reliable.
Switch to water on Day 4: Pineapple juice is only for the first three days. After that, water is all your starter needs, extra acidity can harm the yeast once it’s established.
Use unbleached flour: Bleached flour is treated with chemicals that can slow yeast growth. Whole grain flour in the first couple of days can give your starter a boost, but white flour works too.
Watch the temperature: Try to keep the starter stored between 70–75°F. Too warm can encourage unwanted bacteria; too cool can slow yeast activity.
Choose non-chlorinated water: Chlorine can harm the wild yeast and bacteria in your starter, especially in the early days.
Don’t seal the jar tightly: Your starter gives off gas as it ferments. Keep the lid loose or use a breathable cover like a paper towel or coffee filter to let gases escape while keeping out dust and insects.
Feed at consistent times: Try to feed your starter around the same time each day so it develops a predictable rhythm.
Use a clear container: Seeing the sides of the jar makes it easier to track bubbles, rise, and fall, all signs of activity.
Mark the starting level: Use a rubber band or piece of tape on the jar to mark the height right after feeding. This makes it easy to see when it has doubled.
Expect some variation: Don’t panic if your starter smells different from one day to the next. Fresh, fruity, tangy, or even a bit yeasty are all normal during early fermentation.
Questions About Building a Sourdough Starter
If you didn’t remove some before feeding, your starter would grow exponentially. A 1:1:1 feeding means you’re doubling the total amount every time, so in just a few days, you’d have jars of starter taking over your kitchen and you’d be using huge amounts of flour to keep it going. Discarding keeps the quantity manageable
Your starter may look sluggish, but it’s rarely ruined. Just resume your regular schedule and it should bounce back.
New starters can have different smells during the first week. Sharp, tangy, fruity, or yeasty smells are normal. A strong rotten odor is a sign something’s wrong and you may want to start over.
That’s a sign your starter is hungry. You can stir the hooch back in or pour it off before feeding. I usually recommend pouring it off because mixing it in can make your starter more acidic, which can weaken it over time.
You can use your starter once it reliably doubles in size within 4–6 hours of feeding and shows lots of bubbles throughout. For some kitchens, that’s around Day 7; for others, it might take 1–2 more weeks.
Most recipes work best when your starter is at its peak, after it has doubled (or tripled) in size and is full of bubbles but before it starts to collapse. This is when the yeast is at its most active and ready to give your dough the best rise.
Take it out 1–3 days before you plan to bake and feed it twice a day until it’s bubbling and doubling reliably. Then use the amount your recipe calls for, and feed the remaining starter as usual before returning it to the fridge.
Building a Sourdough Starter From Scratch
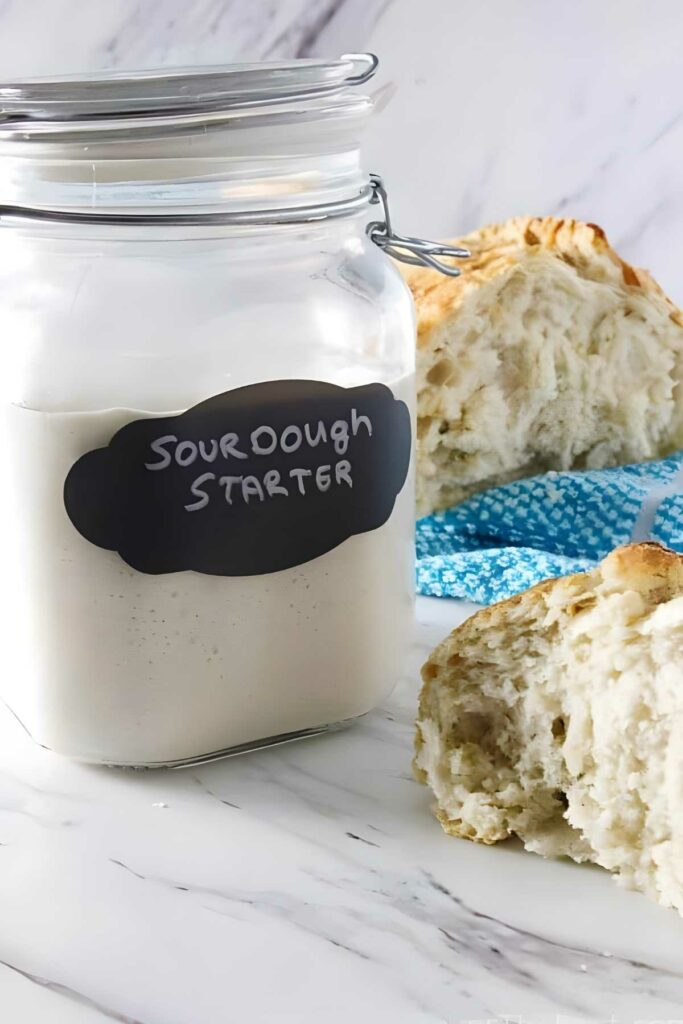
Starting a sourdough starter with pineapple juice is a simple way to give the culture the best possible beginning. Once it’s active and doubling reliably, you’ll have a living ingredient you can use for sourdough pizza dough, bread, pancakes, and more, all from a starter you built yourself.
If yours takes a little longer to mature, don’t be discouraged. Every kitchen is different, and a slower start doesn’t mean it won’t become strong and dependable. Keep feeding it, watch for those signs of growth, and before long, you’ll be baking with a starter that’s truly your own.
Pin this now to find it later!
Pin It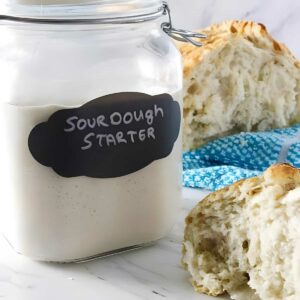
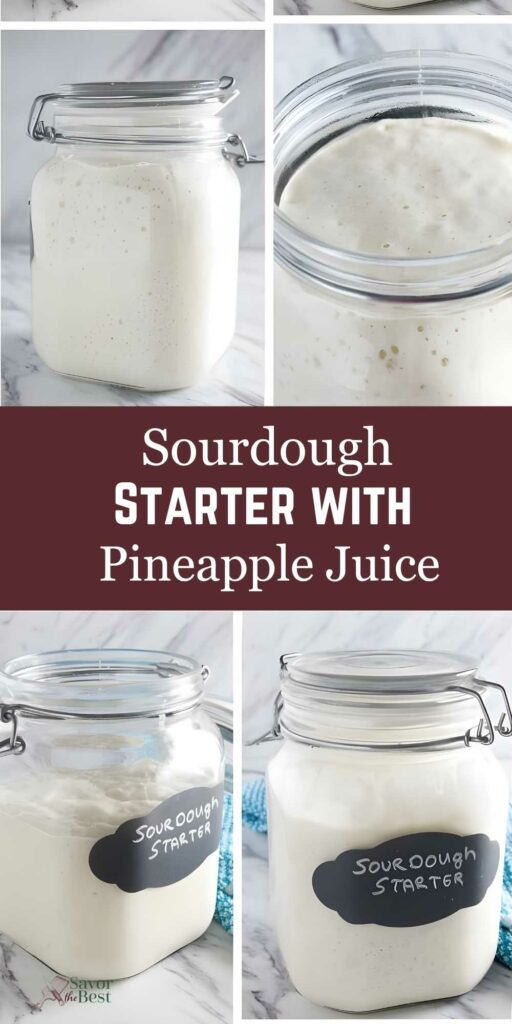
Making a Sourdough Starter with Pineapple Juice
If you make this recipe, please leave a star rating and comment.
Ingredients
- all-purpose flour, see notes
- Unsweetened Pineapple Juice
- Water, non-chlorinated
Instructions
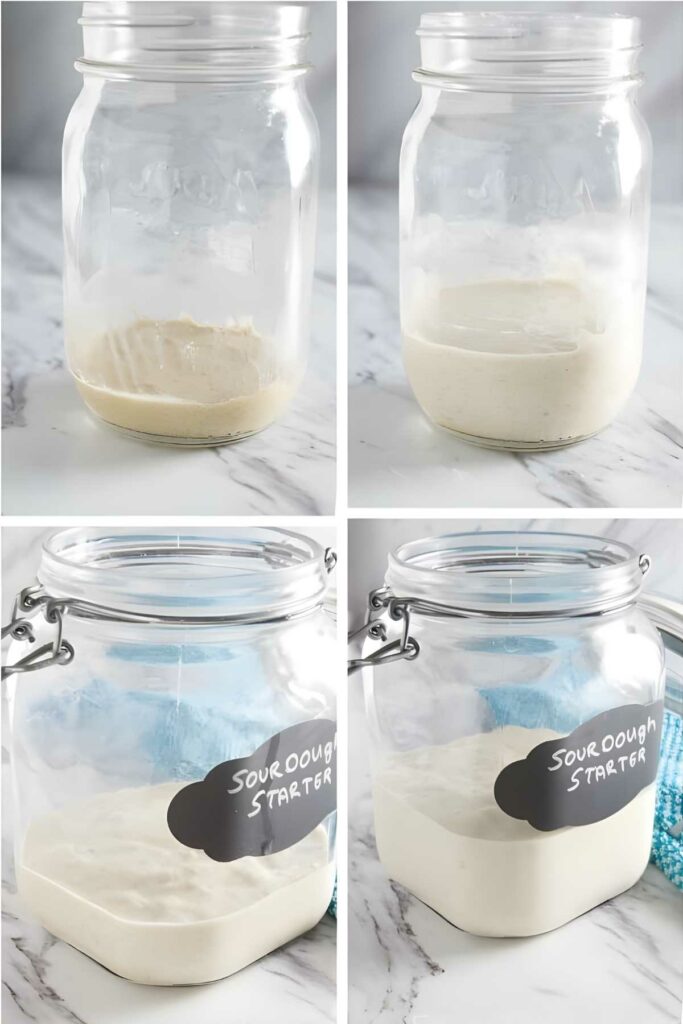
Day 1: Start Your Starter
- In a small jar or bowl, mix 2 tablespoons flour (15 grams) and 2 tablespoons unsweetened pineapple juice (30 grams). This is the beginning of your starter.
- Stir 2–3 times during the day to mix in air. Keep it loosely covered with a paper towel or coffee filter to allow airflow while keeping out dust and insects.
Day 2: First Feeding
- Add 2 tablespoons flour (15 grams) and 2 tablespoons unsweetened pineapple juice (30 grams) to the starter you made on Day 1.
- Stir well to combine, then stir 2–3 times during the day to keep it aerated. Cover loosely as before. You won’t see any activity yet, the yeast is still getting established.
Day 3: Second Feeding
- Add ¼ cup flour (30 grams) and ¼ cup unsweetened pineapple juice (60 grams) to the existing starter and stir well.
- You may start to notice bubbles. If not, don’t worry, some starters take longer. There’s no need to discard any starter yet, just feed it, stir it, and wait.
Day 4: Begin Discard and Regular Feeding
- Starting today, switch from pineapple juice to water. Keep only ¼ cup (about 60 grams) of your starter and discard the rest.
- Add ¼ cup water (60 grams) and ½ cup flour (60 grams) to the remaining starter and stir well. Transfer the starter to a quart-size jar or larger so it has plenty of room to rise without overflowing.
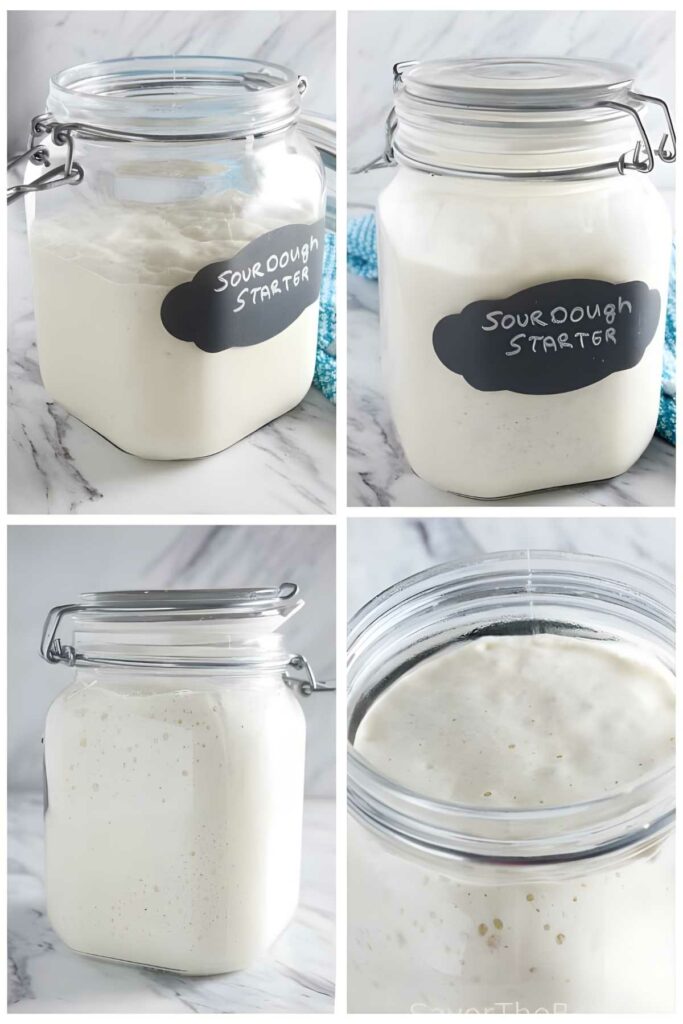
Day 5: Continue Feeding
- Repeat the same feeding process as Day 4. If your starter doubles in size in less than 12 hours, start feeding it twice per day. If it’s still slow, keep feeding once a day. Some starters just need more time to get going.
Day 6: Maintain the Schedule
- Continue discarding down to ¼ cup (60 grams) of starter before each feeding, then add ¼ cup water (60 grams) and ½ cup flour (60 grams).
- Feed once or twice a day depending on how active your starter is. Look for a consistent rise and fall between feedings.
Day 7: Ready to Use (or Keep Feeding if Needed)
- If your starter is reliably doubling in size between feedings, it’s ready to use in baking. Remove the amount needed for your recipe, then feed what remains at a 1:1:1 ratio by weight. For example, 20 grams starter, 20 grams water, 20 grams flour.
- If your starter still isn’t doubling, keep feeding daily until it’s strong and active, which can sometimes take another week or two.
Storing and using your sourdough starter:
- Room temperature maintenance: If you plan to bake often, you can keep your starter at room temperature. Feed it once or twice a day (following the Day 4 feeding amounts) depending on how quickly it rises and falls between feedings.
- If you won’t be baking for a while, store your starter in the refrigerator and feed it once a week using a 1:1:1 ratio by weight (equal parts starter, water, and flour). As an example, you might keep about ¼ cup starter (around 60 grams), then feed it with ¼ cup water (60 grams) and ½ cup flour (60 grams).
- The flour amount looks larger because flour is lighter than water; ½ cup flour weighs about the same as ¼ cup water. The exact amount isn’t critical. Just keep the ratio the same.
- When you’re ready to bake again, take the starter out of the fridge 1–3 days before you need it and feed it twice a day until it’s fully active. Keep the lid loose so gases can escape.
Notes
Nutrition
Nutrition information is automatically calculated, so should only be used as an approximation.
 Like this recipe? Rate & comment below!
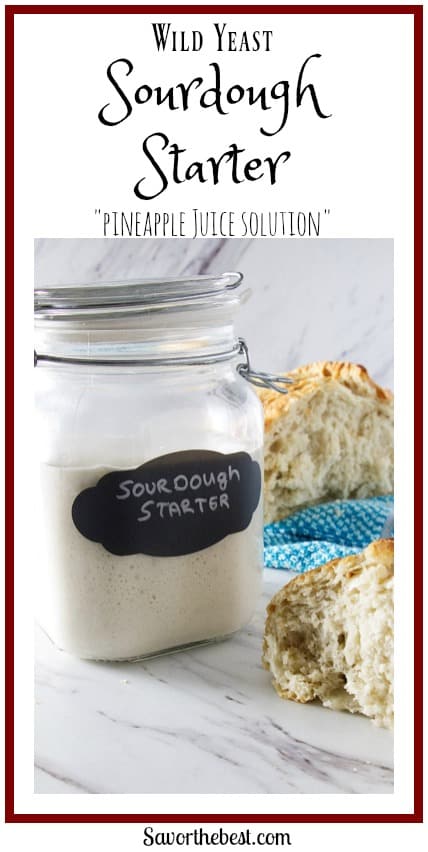


I just started this tonight and I feel so hopeful! For the past 17 days I’ve been attempting a regular starter (just water and flour) and I cannot get it to rise unless it’s in a 90° oven! So I fear there’s just bacteria and no yeast. Really hoping this method works for me.
Oh good luck. I do hope it works for you. I would be concerned that 90 degrees is a tad too worm. Starter will do best between 70 and 85 degrees. Let me know if you have any questions along the way 😉
Hi,
I’m on day 5 of this process and have seen very little activity. Before feeding today it had a fruity/slight alcohol smell and tasted sour, which I know is normal. If I’m following the recipe exactly and my kitchen is 75-77° when can i expect to see some noticeable rising??
I have had some feedback that some readers do not see sufficient progress for a couple of weeks. The hardest part is the waiting. It seems to take longer to “take-off” in some kitchens so don’t give up.
Wouldn’t ya know it…last night it almost doubled and today in 9.5 hours it’s almost doubled again! I’m so excited.
Woo Hoo!!! Keep it up, you are on your way to sourdough 😉 So exciting!!
Hello! Thank you for this awesome post! 🙂
I used juice from a Dole Pineapple (squeezed and strained). I’m on my 2nd feed of Day 6, and since Day 4 it’s been doubling nicely. I don’t have a proper kitchen scale (only a scale for packages…) so I’ve been using ‘cups’.
Question: I noticed the ‘cups’ portions are different for ‘1:1:1’ under ‘storing your starter’ vs ‘day 4’. So far I’ve been doing 1/4 cup starter, 1/4 cup water, 1/2 cup flour. When storing do you put more starter in the jar (vs water and flour)?
You have been doing it correctly, thanks for noticing the typo. You can continue using those ratios when you maintain and store the starter.
The starter and water are very close in their weights as related to their volume but the flour is much lighter so it takes approximately twice as much flour (in volume) to get the same weight as the water and starter. You can maintain a starter very easily with measuring cups. A scale makes it more precise but it isn’t crucial. As long as you use equal volumes of water and starter to twice the volume of flour then your measurements will be very close to 1:1:1 in weight.
Im on day 4 and this is my first attempt at a sourdough.
My question is, do you need to stir the starter 2 or 3 times like on previous days or just leave it after feeding?
Im looking forward to tasting this and trying out the pancakes!
Thanks
you don’t have to be as vigilant with stirring it but it won’t hurt if you do. Make sure you give it a good stir when you feed it then you can let it sit
Thank you for the reply.
The starter looks great today and Im planning on making a loaf.
I made the leftover starter pancakes and everyone said they were delicious. They were.
Thanks for the recipes and Happy Easter!
Thanks Mel, Happy Easter to you too!
Thanks for this!
Just want to clarify – after Day 7 (assuming it has doubled and things are going well) should it always go in the fridge, or only if I’m only rarely going to use it. For example, if I plan on baking with it about once a week, should I leave it out or still store it in the fridge? If I’m baking fairly frequently it doesn’t seem practical to have to plan my baking 1 to 3 days in advance (the time you say to wait after it’s been in the fridge.)0 But maybe that’s what I’ll need to do?
Or if I am supposed to leave it out on the counter if I plan more frequent use, do I do the same type of feeding (once a week discard all but 1/2 cup then top off with 1:1:1 ratio) or do i simply use what I need for a given recipe then feed whatever is left (i.e. if there’s 200 grams left after I take what I need should I feed it with 200 grams each of water and flour or should I discard it down to 60 grams then feed it?)
Sorry, want to make sure I have this right – thanks!
You don’t have to store it in the fridge. The fridge helps make it more manageable to maintain your starter in the long term because you will not have to feed it as frequently. If you keep it on the counter then you will need to feed it pretty regularly. That isn’t a problem if you are baking frequently. I will keep my starter out for several weeks in a row when I know I will be baking a lot. I stick it in the fridge when I am taking a break from baking or when I get tired of maintaining the starter on a daily basis. The frequency of how often you feed it will depend on the temperature and humidity. On hot, humid summer days, I will sometimes have to feed my starter 2 times per day. In the cooler months, I only feed it once a day. If you make something with the starter, use what you need and then feed what is left. However, that is not a hard and fast rule. If you have too much starter to fit into your container then dump some of it out. The important thing is to make sure you feed it and still have enough starter for your next baking project. I like to keep at least 1 cup of starter. I will confess that I will sometimes bake my bread using starter that is pretty fresh from the fridge because I don’t always plan ahead very well. My starter is pretty old and very strong though so I wouldn’t recommend doing that if your starter is still fairly young.
That’s great advice – thanks!
You’re welcome Mark 🙂
My starter seems to be rising a bit but it’s not overly bubbly and seems really dry and layer forms over the top of if. Should I be feeding it more or maybe covering it better ? I’m on day 5.
Love your blog! Thank you !
Hi Madison, a new starter will take quite a while to become really strong. The longer you keep it, the stronger and more robust it will be (and the better your bread will turn out). It can be kind of unpredictable as to exactly how long it takes because every kitchen will have variables in temperature, yeast, humidity, etc. It sounds like your starter might be getting a bit too much air if it is forming a dry layer on the top. Try sealing the lid or stick it in a cabinet where there isn’t any air movement. It’s ok if it isn’t overly bubbly just yet. Sometimes it just takes a bit longer to get going. Some people have reported that it takes a couple of weeks for their starter to look strong. It takes a bit more work to get the starter established but once it is really strong, it will be hard to ruin it. Thanks for the comment 🙂
Hello,
Thank you for the clear instructions. I had already tried several times to make a starter, without success. I’ve tried your method, I’m in day 7, and I see some bubbles in the mixture, half a day after feeding, it rises approx 25%, but never doubles. I’m wondering if I’m doing something wrong, or if I should start over again…
Don’t give up, sometimes it takes a bit longer. If it isn’t doubling in size yet then only feed it once per day or even slow down to every 36 hour feeds. Also try using whole wheat flour for a week.
At what point in the process should you cover the jar with an actual lid (as opposed to a paper towel)? Should the lid be loose or airtight?
After the first few days to a week, you can cover it with a lid but keep the lid loose. Thanks for the question!
On Day 5 & 6, where it says ” continue the same feeding regimen as on Day 4, does it mean also, that on Days 5 & 6 and going forward to discard 1/4 cup of the starter on each of those days?
Sorry, I’m just not clear if 1/4 cup of starter should continue to be discarded on days 5 & 6 and going forward.
Thank You,
Sharon, thanks for the question. You will want to do discard the same amounts on day 5 and 6. To be clear, you want to discard all the starter EXCEPT 1/4 cup. So toss it all out but save 1/4 cup of the starter. Add 1/4 cup water to the 1/4 cup starter, then add 1/2 cup flour. Just keep doing that same feeding regimen every time. The more you work with your starter, the less confusing it will be.
Thanks so much for your response.
Your welcome! Happy baking 🙂
Hi… this may sound silly, but how do you keep throwing away all but a quarter cup….do you take out the quarter cup , clean the jar ….then put it back in and then feed ? Then do that every time you feed again? Ty
Yep that’s how you do it. Sometimes I am lazy and just estimate… I will dump out all but what LOOKS like 1/4 cup then feed it equal weights of flour and water. It is fast and easy to do it that way but it isn’t as accurate. If you do it that way you risk under or over-feeding but it still works. As long as you feed it equal weights of flour and water then you will always have a starter that is 100% hydration. It really is pretty hard to kill a sourdough starter and the longer you have it, the better you get at just ‘winging it’ 😉
Does the pineapple juice have to be unsweetened or would the juice drained off canned pineapple work just as well?
It should be unsweetened juice. As long as your can of pineapple juice does not have added sugar then it will be fine. Thanks for your question, Rayla
What a terrific post! SO informative and useful. We’ve neer worked with a sourdough starter — really should try it. Thanks for the inspiration!
Thanks John, it is much easier to work with than people initially think. I gave some starter to my son and he has kept it alive and well for several months, made some great bread from it and made pancakes and waffles with his discard. I honestly wasn’t sure my son would be interested in keeping his starter alive but he has done very well. I guess if you can keep a dog or cat fed and watered then a sourdough starter shouldn’t be too much trouble. 🙂