
This post may contain affiliate links. Please read our disclosure policy. As an Amazon Associate, I earn from qualifying purchases.
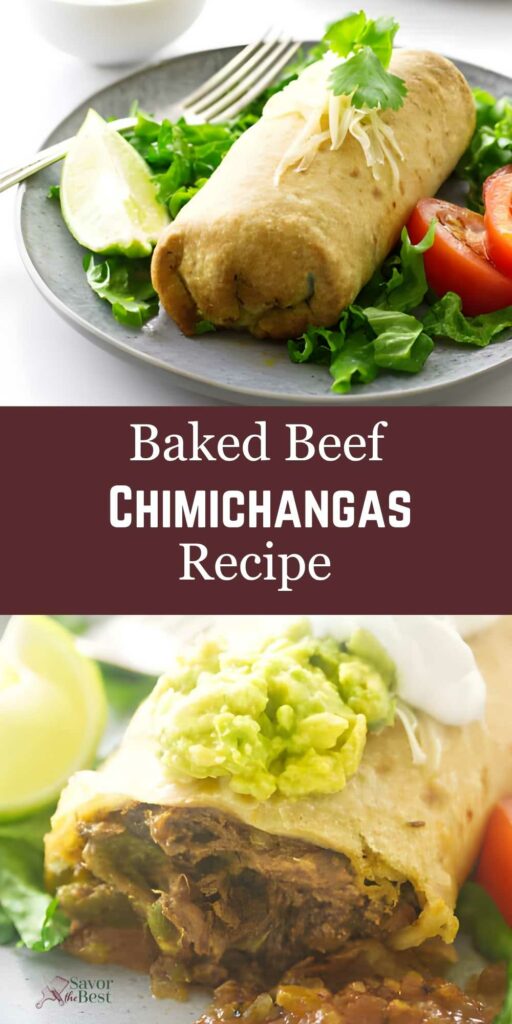
These baked beef chimichangas start with tender, slow-cooked chuck roast, shredded and seasoned with green chiles, warm spices, and just the right amount of Monterey Jack cheese.
Instead of deep frying, the stuffed tortillas are brushed with oil and baked until golden and crisp, giving you that satisfying crunch without the extra grease. They’re hearty enough to serve as a main dish, freezer-friendly for make-ahead meals, and a crowd-pleaser for any Tex-Mex night.
Here’s Why This Baked Chimichangas Recipe Works
Slow-braised beef: Chuck roast becomes fall-apart tender after hours in the oven, absorbing the flavors of savory herbs and rich beef stock.
Bold, Tex-Mex flavor: Green chiles, sautéed onions, garlic, and warm spices give the filling depth and a gentle kick.
Oven-baked crunch: A light brush of oil before baking gives them a golden, crispy tortilla shell without the grease or splatter of frying.
Melty Monterey Jack: Smooth and mild, this cheese melts into every bite; inside the chimichanga and bubbling on top.
Recipe Tips
Brown the roast first: Searing the chuck roast before braising locks in flavor and builds a rich, savory base for the filling.
Scrape the pot clean: Deglaze with a splash of red wine or beef broth to lift the browned bits from the pan. There is so much flavor there.
Don’t drown the meat: Add just enough broth to reach halfway up the roast so it braises gently without becoming waterlogged.
Let the sauce cool slightly: A brief rest thickens the cooking liquid, making it easier to mix evenly into the shredded beef.
Roll tight, bake seam-side down: This keeps the chimichangas sealed as they crisp in the oven, giving you a neat, golden finish.
If you’re craving more sizzling Tex-Mex flavor, my flank steak fajitas are loaded with tender strips of beef, peppers, and onions.
Baked Chimichangas
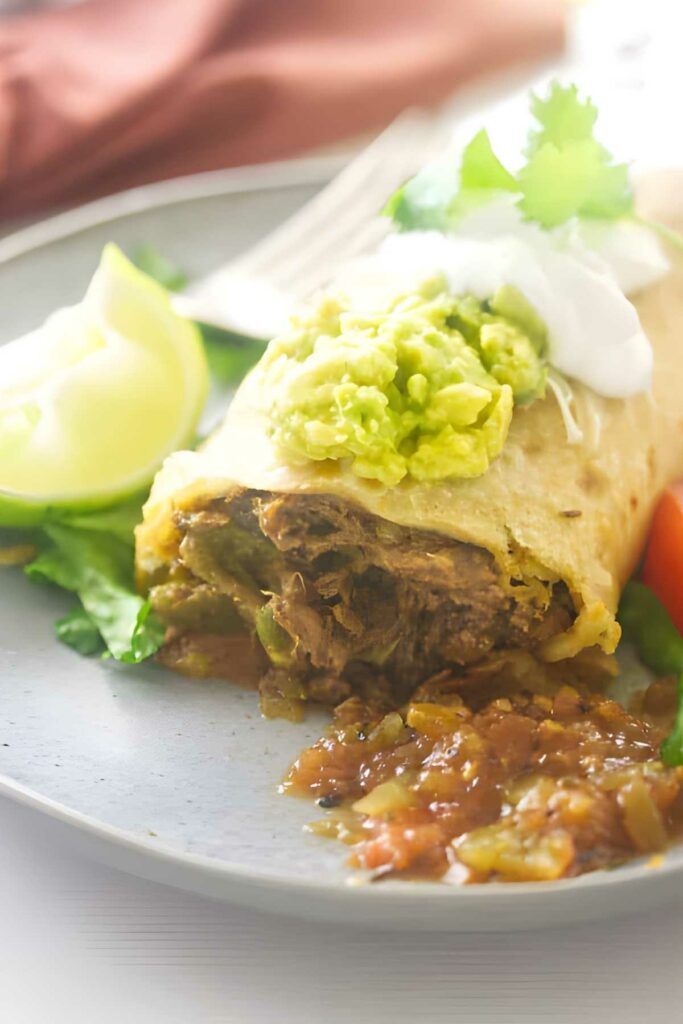
These baked beef chimichangas have all the hearty, cheesy Tex-Mex flavor you expect, no deep fryer required. The tortillas bake up golden and crisp and the slow-braised beef stays tender and juicy.
They reheat well, so go ahead and make a double batch. And when you’re in the mood for a Tex-Mex bake instead of handheld wraps, my turkey burrito casserole is a must-try.
Pin this now to find it later!
Pin It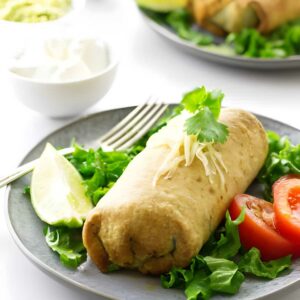
Baked Beef Chimichangas
If you make this recipe, please leave a star rating and comment.
Ingredients
For the Shredded Beef:
- 2½ pound chuck roast
- ½ teaspoon salt
- ¼ teaspoon ground black pepper
- 1 cup red wine
- 2½ to 3 cups beef stock
- 2 bay leaves
- 2 tablespoons fresh oregano, chopped; or 1 tablespoon dried
For the Filling:
- 2 tablespoons vegetable oil
- 2 large onions, chopped
- 4 to 5 garlic cloves, minced
- 4 (7 ounce) can diced green chiles
- 2 teaspoons dried oregano
- 2 teaspoons ground cumin
- 2 teaspoons chili powder
- 2 tablespoons butter
- 2 tablespoons all-purpose flour
- 1 cup reserved beef liquid from the beef roast
- 12 Tortillas
- 16 ounces Monterey jack cheese, shredded
- 2 tablespoons olive oil
Instructions
Braise the Beef
- Preheat the oven to 275°F. Season both sides of the chuck roast with salt and pepper.
- Heat 1 to 2 tablespoons vegetable oil in a large oven-safe pot over medium heat. Sear the roast for 2–3 minutes per side until browned. Transfer to a plate.
- Pour the red wine into the pot and scrape up the browned bits from the bottom. Return the roast to the pot.
- Add enough beef stock to come halfway up the meat. Stir in bay leaves and oregano. Cover with a lid and braise in the oven for 6–7 hours, or until the beef shreds easily with a fork.
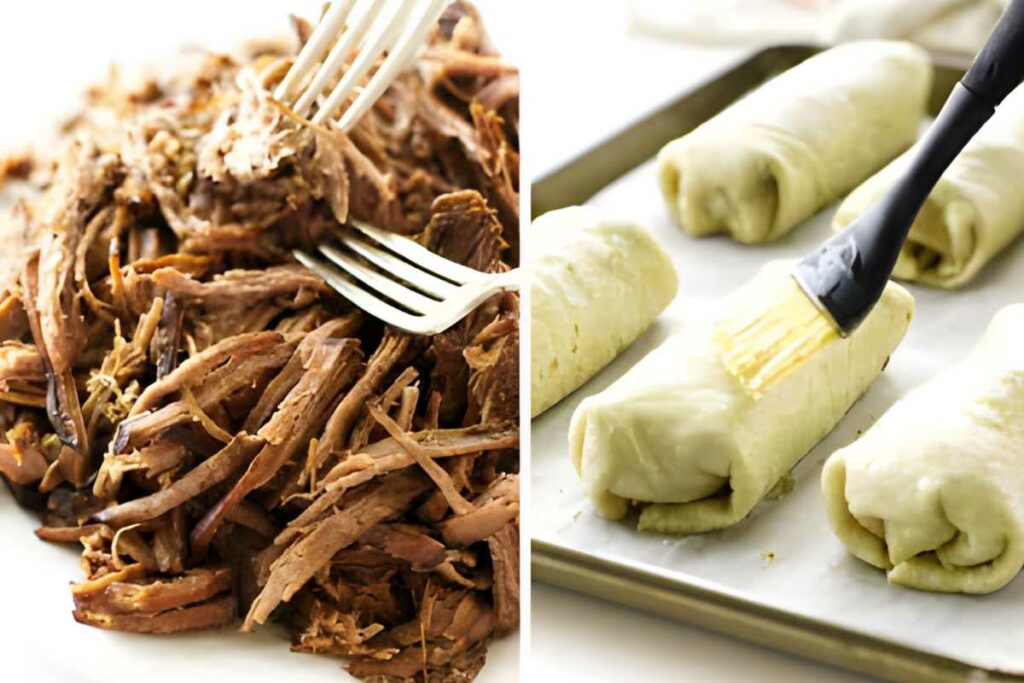
- Remove the roast from the pot and reserve 1 cup of the cooking liquid. Shred the beef while still warm and place it in a large bowl.
Make the Filling
- Heat 2 tablespoons vegetable oil in a large skillet over medium heat. Add onions and cook until softened, about 5 minutes. Stir in the garlic and cook 1 minute more.
- Remove from heat, add green chiles, dried oregano, cumin, and chili powder. Transfer this mixture to the bowl of shredded beef.
- In the same skillet, melt butter over medium heat. Whisk in flour and cook for 2 minutes.
- Slowly whisk in the reserved 1 cup beef cooking liquid. Cook until smooth and slightly thickened, 2–3 minutes.
- Let the sauce cool slightly, then pour over the beef mixture. Stir until well combined.
Assemble the Chimichangas
- Preheat the oven to 425°F. Line a baking sheet with parchment paper and lightly coat with nonstick spray.
- Working with one tortilla at a time, spoon about ¾ cup beef filling into the center. Add 2–3 tablespoons shredded Monterey Jack (reserve remaining cheese for topping).
- Fold the left and right sides in toward the center, then roll tightly from the bottom up. Place seam-side down on the baking sheet. Repeat with remaining tortillas and filling.
Bake and Serve
- Brush the tops of the chimichangas with olive oil. Bake for 15–20 minutes, or until golden and crisp.
- Sprinkle remaining cheese over the chimichangas and bake 2 minutes more, until melted.
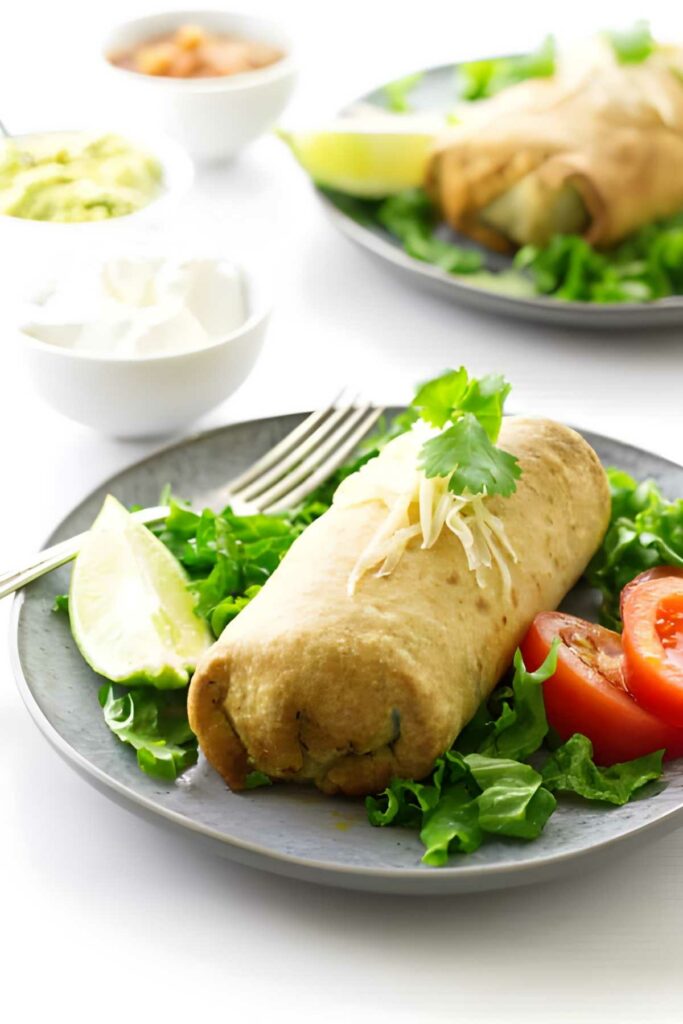
- Serve with salsa, guacamole, and sour cream.
Video
Notes
- Brown the beef first: Searing the chuck roast before braising develops a richer, deeper flavor in the finished filling.
- Deglaze for flavor: Adding wine to the hot pot after browning loosens the flavorful browned bits from the bottom. If you prefer not to use wine, substitute an equal amount of beef broth.
- Slow-cooker option: You can cook the chuck roast in a slow cooker on Low for 8–10 hours, adding the wine (or broth), stock, herbs, and seasonings as directed.
- Cheese swaps: Monterey Jack gives a mild, creamy flavor, but Cheddar or Pepper Jack can be used.
- Make ahead: The shredded beef mixture can be prepared up to 3 days in advance and stored in the refrigerator, or frozen for up to 2 months.
- Freezer-friendly chimichangas: Assemble and freeze before baking. Bake from frozen at 375°F for 25–30 minutes, adding extra time as needed until hot and crisp.
Nutrition
Nutrition information is automatically calculated, so should only be used as an approximation.
 Like this recipe? Rate & comment below!
This recipe was originally written on March 30, 2015.


Oh, I love this idea. Baked not fried. Brilliant. Can’t wait to make them.
Thanks, Mimi….they are so good! The recipe makes enough for a crowd but I like to keep some of them in the freezer, unbaked, for quick and easy lunches/dinners.
I almost never make chimichangas — it’s that frying thing. Just too much trouble. Like this baked version — I should give this a try. Thanks!
Thanks, John….This is dinner tonight! ? The recipe makes 10-12 chimies and I they freeze well. I still have 4 in the freezer, easy weeknight dinner.
Hi! I was actively looking for Chimichangas recipes for quite a while now, but I can’t seem to find the right one until I came across your blog and I think this might be it! I just jave one question, do you have a video for this recipe? My fiancé have been asking me to make this for him because it’s his favorite, so Im going to try this one. And also, I’m from Subic too! ?
Hello, Krizia! Thank you so much for contacting us regarding this recipe of Shredded Beef Chimichangas. I’m sorry that a video is not available at this time. When we posted this recipe we had not learned the video process yet. I will send you a ‘heads-up’ if we can put one together. These chimies are really good. They make a big batch with more than enough for 2 people and freeze well. Whenever I make them I freeze some of them un-cooked for another meal. It is nice to meet another Subic traveler. We were there from 4/75-3/80 then again from 5/86-9/91 and loved our adventures there. 🙂
What kind of green peppers are the ones you used in this recipe? Green chili’s or jalapeños or ? We are not piquant eaters, but do love the flavor of green chili’s. I am looking forward to making this soon! Thank you for sharing…..this sounds delicious!
Hi, Jan….You will love these chimies! I have also made them with shredded pork and they are delicious. I used the Ortega canned chiles and they are available in just about any grocery store. In the past I have used fresh poblano chiles and roasted them but that is a little more time intensive than opening a can. I like shortcuts 🙂 Thank you for your comments.
Hi, cannot wai to try this. I don’t know if it’s my iPad or if it’s missing but the filling begins w 2 tablespoons but I cannot see what that is. Could you please tell me? It is the first item. I’m sorry I have a couple other questions as well. I see a lot of green pepper but no tomatoes. I’m just wondering if something shifted. I wouldn’t ask if I wasn’t planning to make it. Any chance that you could send so that I get it right. I hope that you understand…. this is the first recipe that makes sense how you cook it. I thought that it would need cooked for a while in the oven so this has to be what I am looking for. Mouth watering here. Lol. Thank you for your help. ?
Hi Candice, Thanks for the comment. The first item for the filling is oil to cook the onion and garlic in. You are correct… There are plenty of green peppers but no tomatoes. If you want to add tomatoes, I would recommend substituting 1 can of the green peppers for an 8 ounce can of diced tomatoes.
My folks live in Surprise and I visit often. Now’s a great time to go as the weather is much better than Seattle! I’m sorry to hear of your friends passing. Sending wishes of peace.
Kathi
Thank you, Kathi….It was a great visit but I have got to have more green trees in my life. We saw a lot of sage brush 🙂