
This post may contain affiliate links. Please read our disclosure policy. As an Amazon Associate, I earn from qualifying purchases.
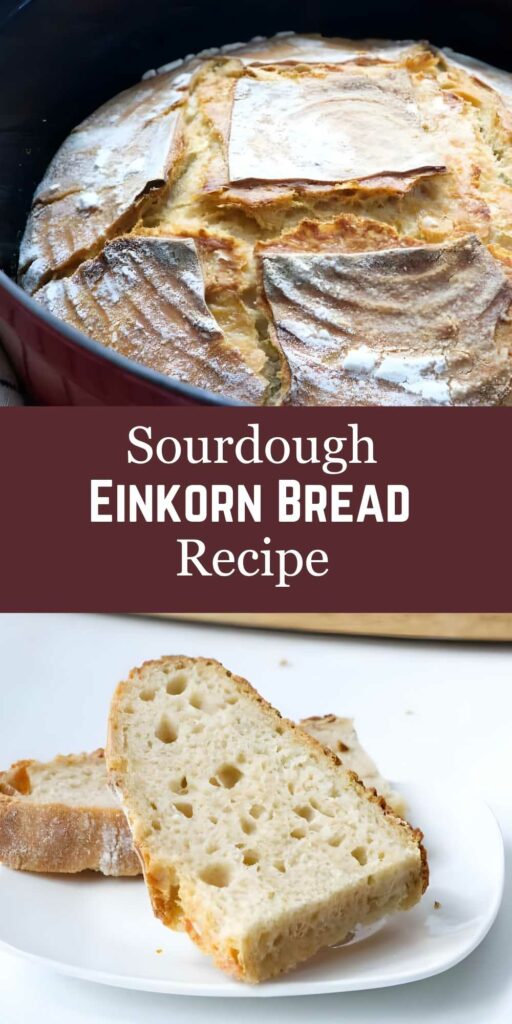
This einkorn sourdough bread is made with 100% all-purpose einkorn flour, which gives you a light-colored loaf with a soft, tender crumb and rich, buttery flavor. It’s naturally fermented for a mild tang and doesn’t require any kneading, just gentle folds and time to rest. No special flour blends, no extra steps. Just the simple beauty of einkorn at its best.
New to sourdough? You might want to start with my Dutch oven sourdough bread made with regular all-purpose flour.
Here’s Why This Einkorn Sourdough Bread Recipe Works
No kneading needed: Einkorn’s delicate gluten doesn’t strengthen with kneading, so a few folds and some rest time are all it takes.
Flexible timing: A long, slow ferment in the fridge gives you scheduling wiggle room and a deeper sourdough tang.
Straightforward ingredients: Just four basics; starter, water, all-purpose einkorn flour, and salt. No blends or fillers, so nothing masks einkorn’s naturally rich flavor.
Rich, complex flavor: Einkorn brings a naturally buttery, nutty taste that stands out in every slice.
Recipe Tips
Use a mature starter: Your sourdough starter should be at its peak; bubbly, active, and recently fed, for the best rise and flavor.
Wet your hands: Einkorn dough is naturally sticky. A little water on your hands makes folding and shaping much easier.
Skip the countertop flour: Adding extra flour can weigh the dough down. Use wet hands and a damp surface instead to keep the texture light.
Proof by look, not the clock: Einkorn ferments faster than modern wheat. Watch for signs of rise instead of relying solely on time.
Flour your basket: A 50/50 blend of rice flour and einkorn flour helps prevent sticking. Rice flour doesn’t absorb as much moisture, so it creates a better barrier between the dough and the basket.
Choose your hydration level: This recipe gives you a range of water amounts so you can adjust based on your comfort with shaping sticky dough. Less water makes the dough easier to handle; more water gives you a softer, airier crumb. If you’re feeling confident, you can even add an extra tablespoon or two for an even lighter texture, just expect a looser dough that’s a bit more challenging to shape.
Storage: This bread keeps well at room temperature for 2 to 3 days. For longer storage, slice and freeze.
Einkorn Sourdough Questions, Answered
No problem. You can still make this bread even if your sourdough starter is made with regular flour. You have two options:
Option 1 (Quick and easy): Use your regular starter as-is. Feed it with your usual wheat flour, then use it in the recipe. Your loaf will be made with 100% einkorn flour except for the bit of wheat flour from the starter. It still works beautifully.
Option 2 (Gradual switch): Transition your sourdough starter to einkorn flour by feeding it several times with einkorn. Each feeding increases the percentage of einkorn in the starter:
1st feeding: 50% einkorn
2nd feeding: 75% einkorn
3rd feeding: 87.5% einkorn
4th feeding: 93.7% einkorn
5th feeding: 96.8% einkorn
This works because each feeding removes half the starter and replaces it with fresh einkorn flour and water. After four or five feedings, your starter is nearly all einkorn.
In the end, either method will give you a great loaf. It just depends on how “pure” you want your einkorn to be.
Yes! You can absolutely use a loaf pan if you’d prefer a more classic sandwich-style shape. In fact, using a pan makes the dough a bit easier to manage—especially since einkorn is naturally soft and sticky.
With a free-form or “hearth-style” loaf, the dough needs enough structure to hold its shape on its own. But in a pan, the sides offer support, so you don’t have to worry as much about the dough spreading out or flattening during the final proof or bake.
It’s a great option if you’re new to working with einkorn or just want a tidy loaf for slicing.
Want to try another ancient grain? Check out my spelt sourdough bread.
Sourdough Bread with Einkorn Flour
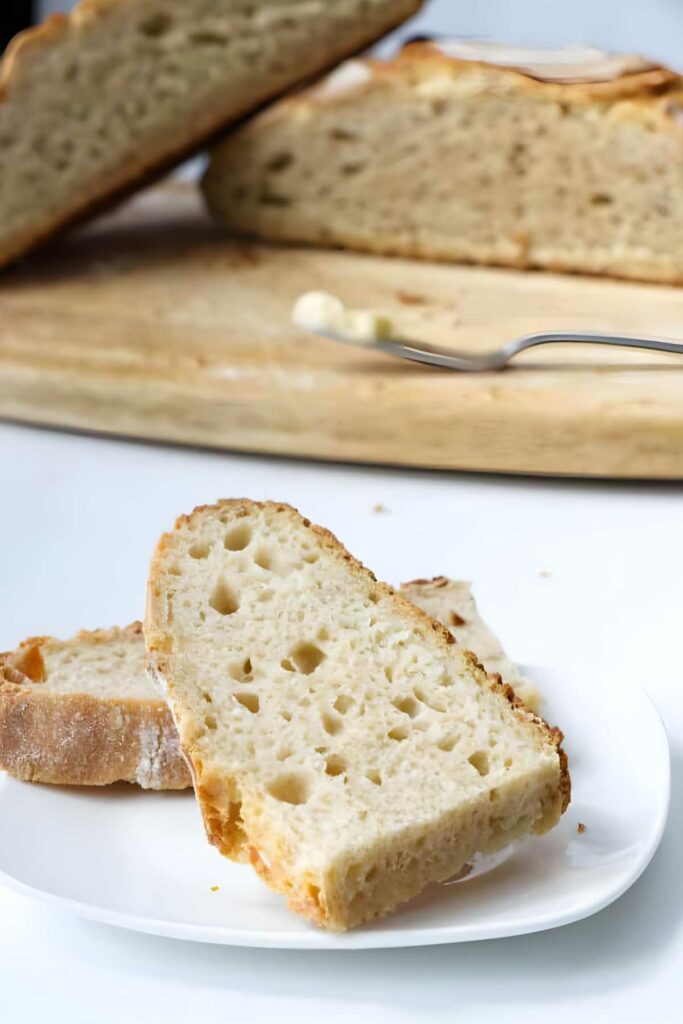
Einkorn sourdough dough can be a little tricky to handle. It is soft, sticky, and not always easy to shape. But the effort pays off. Using 100% all-purpose einkorn flour will give you a golden, crusty loaf with a tender crumb and deep, rich flavor.
Once you get the feel for it, this is the kind of bread that earns a regular spot in your baking routine.
Pin this now to find it later!
Pin It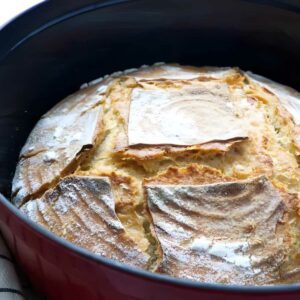
Sourdough Einkorn Bread
If you make this recipe, please leave a star rating and comment.
Ingredients
- ¾ cup active sourdough starter, 180 grams, see notes
- 1 ⅔ to 1 ¾ cups warm water, 392 to 413 grams
- 5 cups all-purpose einkorn flour, 600 grams
- 2 teaspoons salt, 12 grams
Instructions
- Mix the dough: In a large bowl, stir the starter into the warm water until fully dissolved. Add the flour and salt, and stir until it forms a rough, shaggy dough.
- Stretch and fold: After mixing, let the dough rest for 10 to 15 minutes. Then, with wet hands, grab one side of the dough, stretch it up, and fold it over to the opposite side. Rotate the bowl and repeat this motion 3 to 4 times, folding from a different side each time.Let the dough rest another 10 to 15 minutes, then repeat the stretch and fold process once more.
- Expect a sticky dough: The dough will be wet and sticky at this stage, that’s normal. Don’t add extra flour; it will make the bread dense. Wet your hands to keep the dough from sticking as you work with it.
- First rise (bulk fermentation): Let the dough rise at room temperature for 3 to 6 hours, until it increases by about 50% to 75%. This is your bulk fermentation stage.After the bulk rise, you’ll shape the dough and then do an optional cold proof (see below) to fit your schedule and boost flavor.
- Shape the dough: Turn the dough out onto a work surface and gently shape it into a round. If you're using a loaf pan, shape the dough into a log instead.
- Final proof: Place the shaped dough into a well-floured proofing basket or loaf pan. Cover and let it sit at room temperature for 1 to 2 hours to start the final proof, then transfer it to the fridge overnight or up to 15 hours.
- Einkorn sourdough should rise by about 50% to 75% before baking. Don’t let it double. If it hasn’t reached that after the cold proof, let it finish rising at room temperature. Keep an eye on it and move it to the oven once it hits that 50–75% mark to avoid over-proofing.
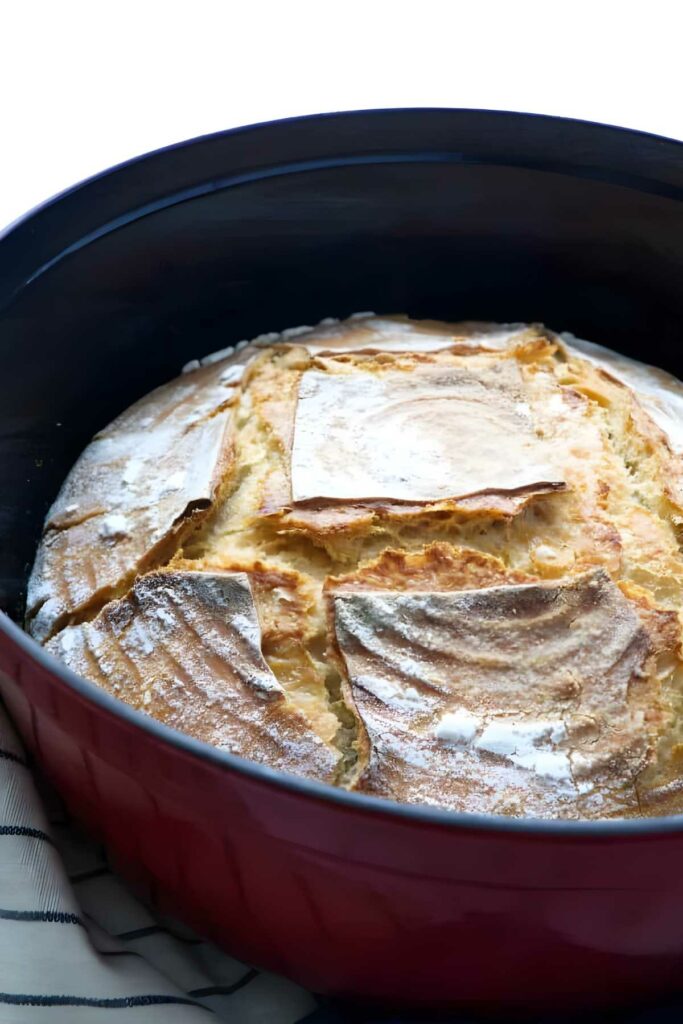
- Bake: Preheat your oven to 450°F. When it’s hot, gently tip the loaf into a Dutch oven or onto a baking sheet. Score the top with a sharp knife.If using a Dutch oven: cover for the first 30 minutes. Then remove the lid and bake for another 15–20 minutes, until the crust is golden and the loaf sounds hollow when tapped.
Notes
Nutrition
Nutrition information is automatically calculated, so should only be used as an approximation.
 Like this recipe? Rate & comment below!


Have you ever tried this recipe in a hot Dutch oven?
Yes, it works well in a preheated Dutch oven.
After doing a six-hour bulk fermentation on the countertop, can you continue by placing the unshaped dough in the refrigerator for several hours or overnight?
Yes, but it depends on how the dough looks. I do it quite frequently, and it works well as long as you don’t let it bulk ferment too long. It is hard to say how long is too long since it is so variable depending on the environment in your kitchen.
I don’t have a banneton and was going to use a glass bowl to proof, how would I prepare the bowl so the dough doesn’t stick? Also, can I make rice flour by grinding up rice in vitamix?
You can line the bowl with a fine cloth towel or t-shirt and coat the cloth with a blend of rice flour and einkorn flour. You could also just place the bread in a bread pan if you want a loaf shape.
A Vitamix blender should work if you want to make your own rice flour. Make sure to blend it until it is very fine. If the motor gets too worm while you blend the rice then give it a rest for a while and let it cool down before blending it further.
I took your suggestion and was very careful not to deflate the dough after the bulk fermentation. It certainly helped. The bread rose well, and the crumb was much more open. Thanks so much.
That’s fantastic! I’m glad it worked better for you. Thanks for the comment.
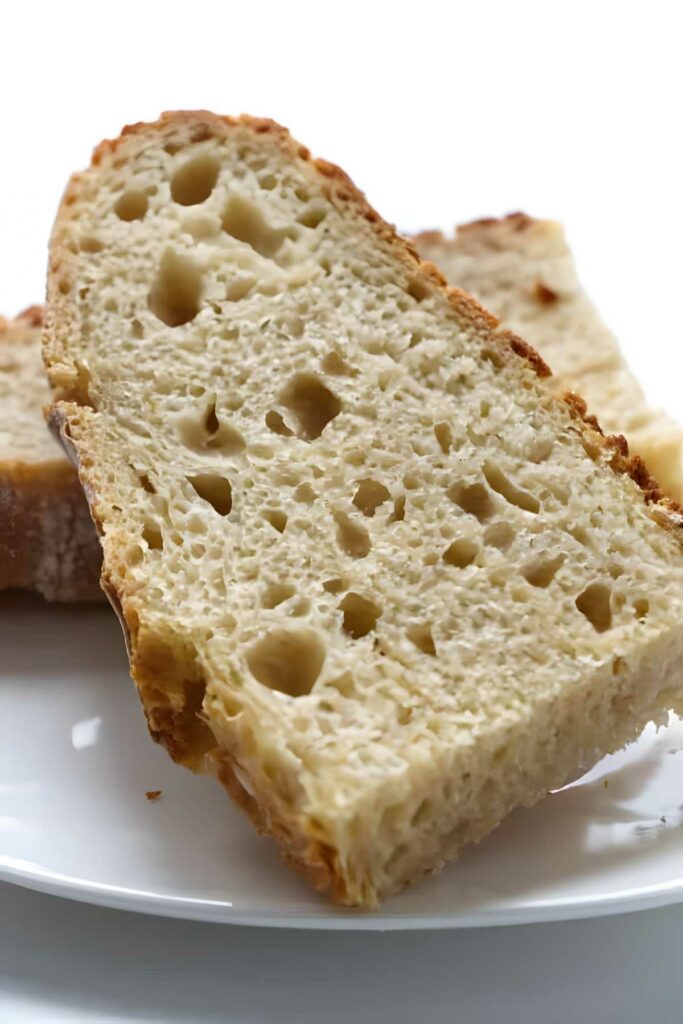
I have used your recipe many times with both whole grain and all-purpose einkorn flours, and I’ve gotten a better rise than with any other einkorn sourdough recipe I’ve used. However, the crumb of my bread is never as open as the picture of your bread. I’ve tried upping the hydration and using various proofing times, but no difference. Do you have any suggestions? Thanks very much.
An open crumb is definitely more challenging with einkorn bread. All purpose einkorn will give you a more open crumb than whole grain and the higher hydration will also create a more open crumb. But the best thing you can do for an open crumb is to make sure you don’t de-gas the bread when you shape it. And try to get a fairly tight surface tension on the surface of the bread when you finish shaping it.
When you turn the dough out to shape it in step 5, do not push all the air out. Stretch, pull, and fold it but don’t push down. It will de-gas a bit as you shape it but don’t intentionally push the air out. My grandma taught me to punch all the air out of the dough before shaping it and that is great for a nice tight crumb but not an open crumb.
Thank you so so SO much for this recipe!! It was my first time making sourdough bread and it turned beautiful and delicious. So grateful!
Thanks for the comment. I’m so happy it turned out well for you. Enjoy!
I’ve tried the recipe about 6 times now, mostly with the lowest water amount suggested. Each time it is just so wet and it does not hold its structure when dumping from the fridge. It spreads out like a too wet dough. Is it that the recipe calls for too much water? Or what else might be the problem?
It’s hard to say without more details. Bread making can have a lot of variables. You can add additional flour until the dough has a more workable consistency.
I can’t believe the rise on my bread! And it’s the simplest recipe I’ve come across! Haven’t tasted it yet, but I’m expecting great things!
I’m glad it turned out for you. This is definitely a favorite.
How much flour will I need to feed my remaining starter?
Feed your remaining starter with one part flour, one part water, and one part starter.
Is your starter wet or dry? I have a dry starter and want to be sure I can use it.
Thank you!
The recipe uses a wet starter with 100% hydration. You can convert your starter to 100% hydration and follow the recipe as written or use your dry starter and adjust the liquid in the recipe.