This post may contain affiliate links. Please read our disclosure policy. As an Amazon Associate, I earn from qualifying purchases.
This blueberry rhubarb pie combines sweet blueberries and tart rhubarb in a jammy filling tucked inside a flaky, all-butter double crust. Using frozen fruit means you get bold flavor year-round, while tapioca thickens the filling without turning it gummy.
This is the kind of dessert you make when you want a reliable, bakery-style pie that tastes like the real thing.
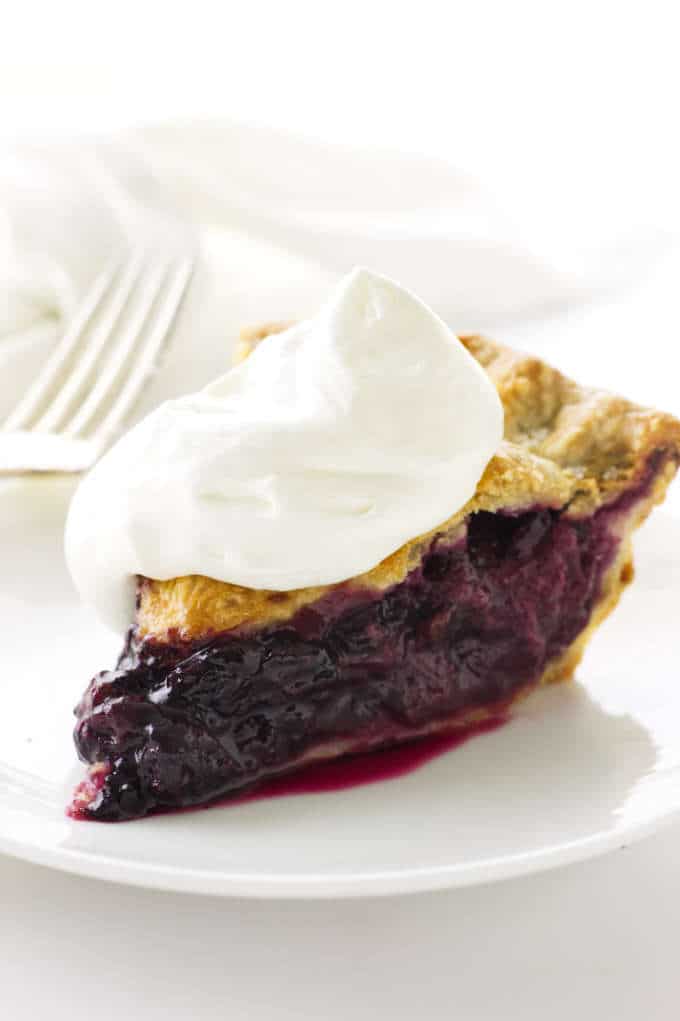
why you will love this pie
Honestly, what’s not to love about this blueberry rhubarb pie!? The flavor combination is divine, the crust is a simple pie crust recipe that comes together easily, and the filling is a breeze to make.
Blueberry pies are known to be incredibly easy since there’s essentially no prep work for the fruit. No peeling or slicing required when it comes to blueberries, and we actually created this pie recipe with extra ease in mind because we use frozen fruit! It’s a cost-efficient way to make this delicious fruit pie without having fresh berries or fresh rhubarb on hand.
How to make blueberry rhubarb pie
This blueberry rhubarb pie recipe requires a few steps for prepping, but it’s all very simple, we promise!
We use a double-crust pie dough recipe which only requires four ingredients:
- all-purpose flour
- salt
- cold butter, cubed
- ice water
For the blueberry rhubarb pie filling, you will need:
- frozen rhubarb, cut into 1/2-inch pieces
- frozen blueberries
- fresh lemon juice
- granulated sugar
- salt
- quick-cooking tapioca
- cinnamon
- nutmeg
- cold butter
- egg white whisked with cold water (to brush onto the crust)
- course sugar (for sprinkling on top)
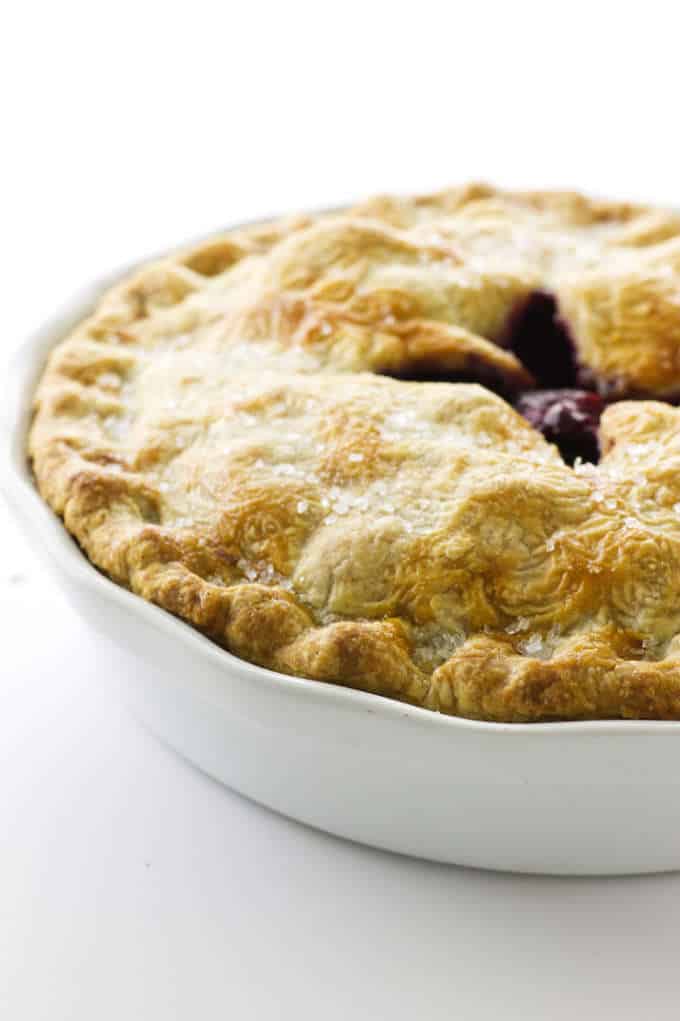
The step-by-step process
Here’s the step-by-step process, and we promise, it’s an easy one! Make sure to scroll all the way to the bottom of the page for the full recipe, which will include ingredient amounts and our notes.
Here’s the quick version:
- Make the pie crust- In a food processor, combine the flour and salt, then add the cubed (or grated) butter and pulse. Add ice water, pulse some more, then transfer the dough onto a work surface and shape it into a ball. Divide, flatten each portion into a disc, then wrap and refrigerate for 30 minutes.
- Roll out the bottom crust- Remove the chilled pastry and roll the larger disc into a large circle to make the bottom crust, using a bench scraper or flat spatula to turn the dough and get flour underneath as you roll it. Transfer the crust to a 9-inch deep-dish pie plate and reserve.
- Make the filling- Place the fruit in a large bowl, add the lemon juice, and toss to combine. In a small bowl, combine the sugar, salt, tapioca, cinnamon, and nutmeg, then stir it in with the fruit mixture. Spoon half the filling into the pie crust, dot it with half the butter pieces, then repeat with the remaining fruit and butter.
- Cover with top crust and bake- Roll out the top crust and place it over the fruit mixture, trimming excess dough before crimping the edges. Brush it with egg wash, cut steam vents, and place on a parchment-lined baking sheet. It’s ready for baking! (See full recipe for baking instructions).
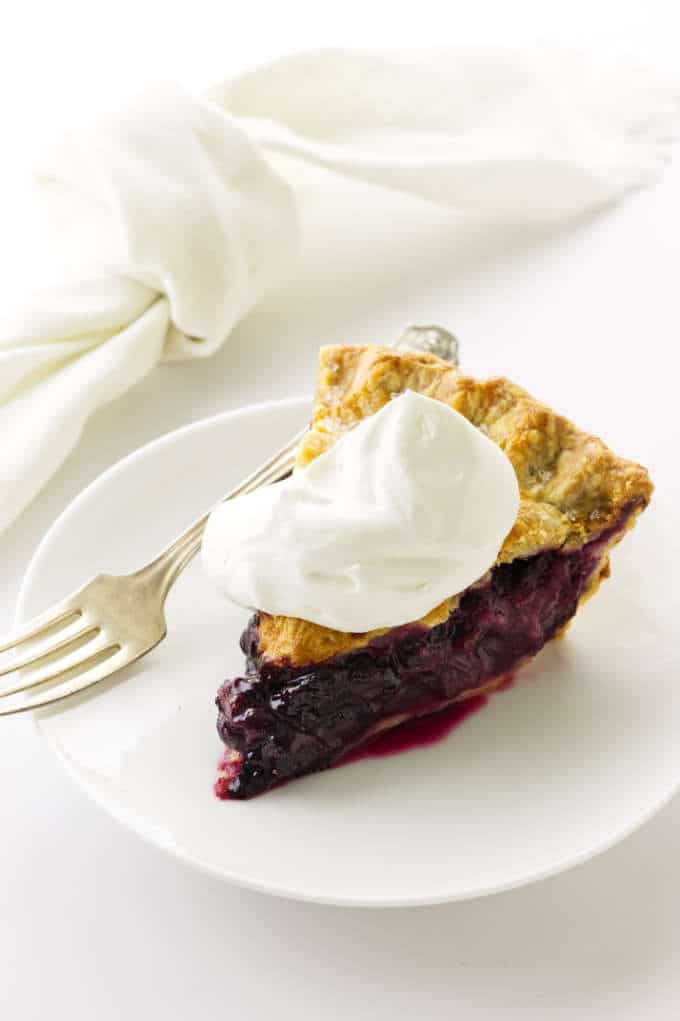
From our kitchen: Baker’s notes
As easy as this blueberry rhubarb pie is, we do have a few special baker’s notes to keep in mind. They’ll result in the best pie possible, and really, who doesn’t want that?
- If possible, grind the tapioca in a spice mill or kitchen blender. Combining the ground tapioca with the sugar and spices will ensure even distribution throughout the pie.
- To get a nice, even browning on the pie, rotate the baking sheet a couple of times during baking. The pie crust will turn a dark golden brown, but if you want it lighter, you can cover the top with a sheet of parchment paper (I do this at the end of the first 30 minutes of baking).
- Allow the pie to cool on a wire rack for two hours, then transfer to the fridge to chill before serving. Cooling and chilling the pie will allow the juices to thicken up, give you nice, clean cuts when slicing.
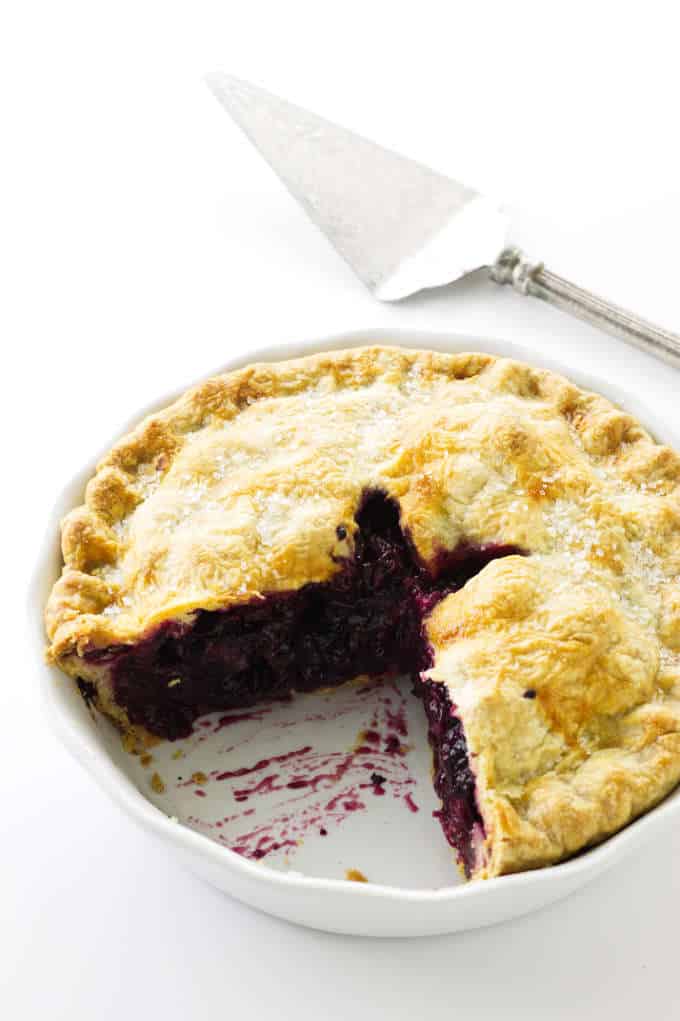
We can’t wait for you to try this blueberry rhubarb pie! It’s so, so good, and definitely worth turning on your oven for during that summer heat!
If you have extra blueberries, consider using them in these low carb blueberry galettes by Abby at Stem and Spoon or our blueberry banana bread (which is definitely not low carb 😉
More Recipes to Try
- Feeling classy? This Vanilla Panna Cotta with Strawberry Sauce is a rich and decadent dessert, and a delicious pairing of flavors!
- Our Roasted Artichokes with Garlic make the perfect starter for any summer gathering! Easy to make and fun to eat, we give this one a 10/10.
- Have you ever tried sourdough pizza crust? No need to be intimated- our Sourdough Pizza Dough recipe doesn’t require standard yeast and comes together with minimal effort!
Pin this now to find it later!
Pin It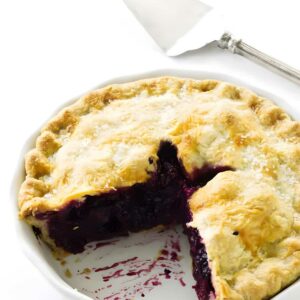
Blueberry Rhubarb Pie
If you make this recipe, please leave a star rating and comment.
Ingredients
Dough for a double-crust pie
- 2½ cups all-purpose flour, 300 grams
- ¾ teaspoon salt
- 1 cup butter, cut into cubes
- 5 to 6 tablespoons cold water
Pie Filling
- 3 cups frozen rhubarb, cut into ½-inch pieces
- 3 cups frozen blueberries
- 2 tablespoons fresh lemon juice
- ¾ cup granulated sugar
- ⅓ teaspoon salt
- 2½ tablespoons quick-cooking (instant) tapioca
- 1 teaspoon ground cinnamon
- ⅛ teaspoon freshly grated nutmeg
- 2 tablespoons butter, cold
- 1 egg white, whisked with 1 tablespoon cold water
- coarse sugar
Instructions
For the Pie Crust:
- Add the flour and salt to the bowl of a food processor and pulse several times to combine.
- Cut the butter into small pieces, or grate on a box-grater, add to the flour and pulse for 30 seconds or until only small pea-size bits of butter remain. Sprinkle the mixture with 5 or 6 tablespoons of ice water and pulse the processor for about 30 seconds or until the flour mixture comes together in a mass. Do not over-process, any remaining crumbs in the processor bowl can be worked into the dough on the work surface.
- Transfer the dough to a lightly dusted work surface. Shape the dough (incorporating any of the remaining flour mixture crumbs) into a ball.
- Divide the pastry ball into two sections, one a little larger than the other and flatten each into a disk. Wrap each ball dough in plastic wrap and refrigerate for 30 minutes.
Roll out the bottom crust:
- Remove the chilled pastry from the refrigerator and roll the larger disk into a large circle about 12-inches in diameter. Use a bench scraper or firm flat spatula to turn the dough and work flour underneath as you roll it. Transfer the pastry to a 9-inch deep-dish pie plate and reserve.
For the Filling:
- Preheat the oven to 400°F and arrange the oven rack to the lowest position.
- Measure the rhubarb and blueberries into a large bowl. Drizzle the lemon juice over the top of the berries and toss together to combine.
- In a small bowl combine the sugar, salt, tapioca, cinnamon and nutmeg, add the mixture to the fruit and toss until well combined.
- Spoon 1/2 of the fruit mixture into the prepared pie crust and dot with 1/2 of the butter pieces. Spoon the remaining fruit mixture into the crust and add the remaining butter pieces on top.
Roll the Top Crust and Bake:
- Roll out the top crust and place over the fruit mixture, trim the excess dough and crimp the edges.
- Brush the egg/water wash lightly over the top of the pie, cut steam vents and place the pie on a parchment-lined baking sheet. (This is a safety net and will save you a clean-up if the pie drips.)
- Transfer the baking sheet/pie to the oven and bake for 25 minutes until light golden brown.
- Reduce the oven temperature to 350°F and bake for 30 minutes.
- Open the oven door and sprinkle the top of the pie with the coarse sugar. Continue baking for an additional 25-30 minutes or until juices are bubbling from the pie vents and the top is a deep golden brown. (See notes)
- Remove the pie from the oven and transfer to a wire rack for 2 hours, then refrigerate until cold before serving.
Notes
Nutrition
Nutrition information is automatically calculated, so should only be used as an approximation.
 Like this recipe? Rate & comment below!


Can you make this with fresh fruits instead of frozen?
Yes, you can. Use the same amounts. Thanks for the question.
I can’t say I’ve ever had blueberries and rhubarb together but this combo sounds super delightful! I love the look of this pie – it looks and sounds like such a perfect summer dessert!
Hi, Katerina…I have to confess…this was my first taste of the combination and it is super delightful! Thanks for your comments, I hope you try it soon.
I love the combo of blueberries and rhubarb…definitely something I need to try too. The pie looks sensational.
Thank you, Angie….It is delicious, try it, you will like it!