

This post may contain affiliate links. Please read our disclosure policy. As an Amazon Associate, I earn from qualifying purchases.
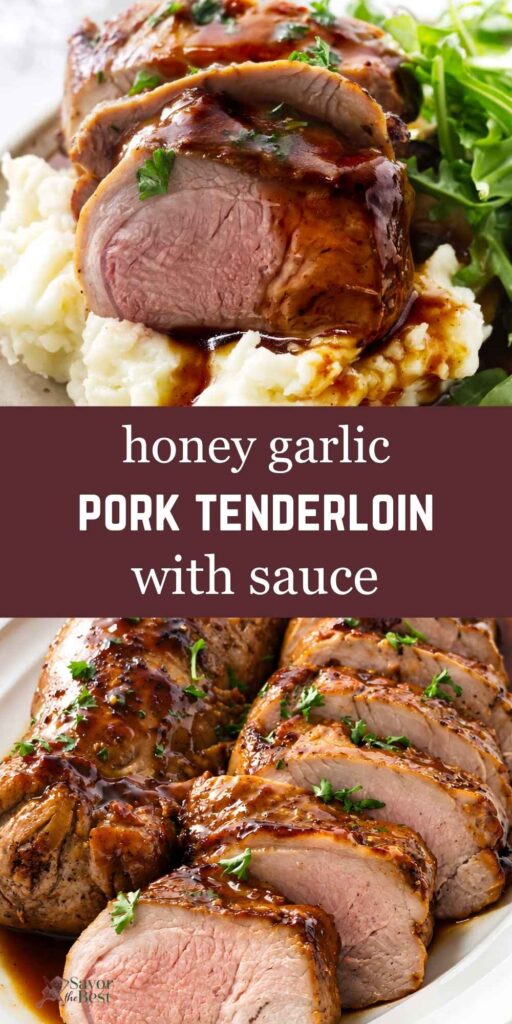
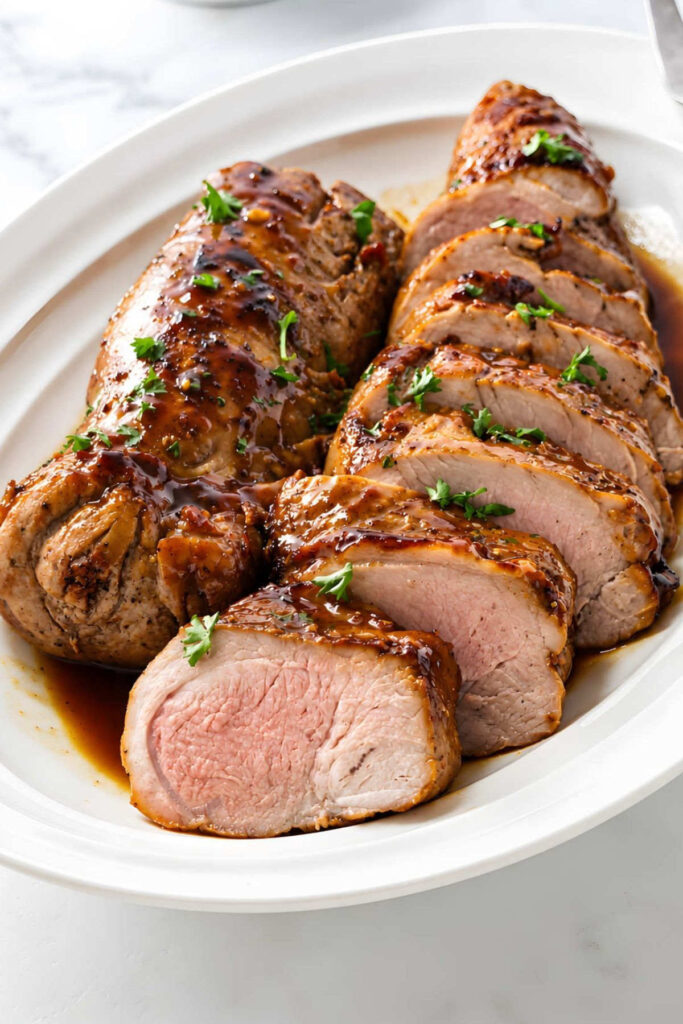
Honey garlic pork tenderloin is an easy way to get a flavorful dinner on the table without spending all evening in the kitchen. The pork gets a quick sear before finishing in the oven, while the sticky sauce adds just the right balance of sweet and savory flavors.
Everything comes together in one skillet, including the sauce, which picks up all those flavorful browned bits left behind by the pork. Serve the tender slices over rice or mashed potatoes so none of that sauce goes to waste.
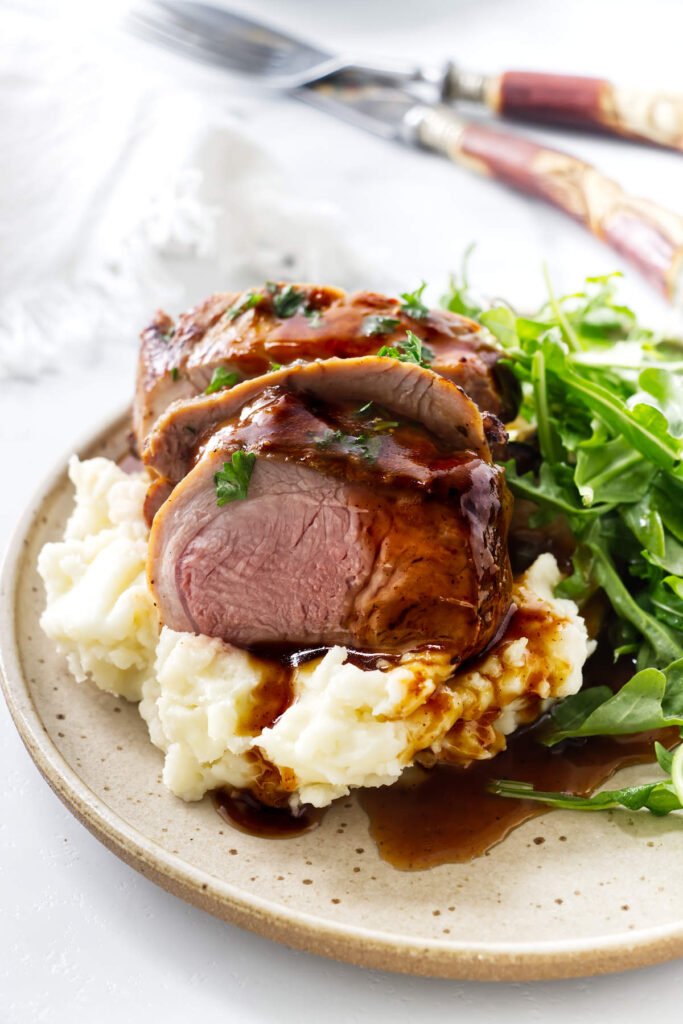
Big Honey Garlic Flavor, One Skillet
Easy enough for a weeknight: Pork tenderloin cooks quickly, and the sauce comes together while the meat rests. No complicated steps or hours of simmering.
Tender, juicy pork: A quick sear builds a flavorful crust, while a short finish in the oven keeps the lean tenderloin from drying out.
A sauce worth saving: Honey, garlic, fresh ginger, and soy sauce make a sweet-savory glaze with just enough tang from apple cider vinegar to balance the sweetness.
One skillet, less cleanup: The pork and sauce cook in the same pan, so all those flavorful browned bits end up in the sauce instead of going down the drain.
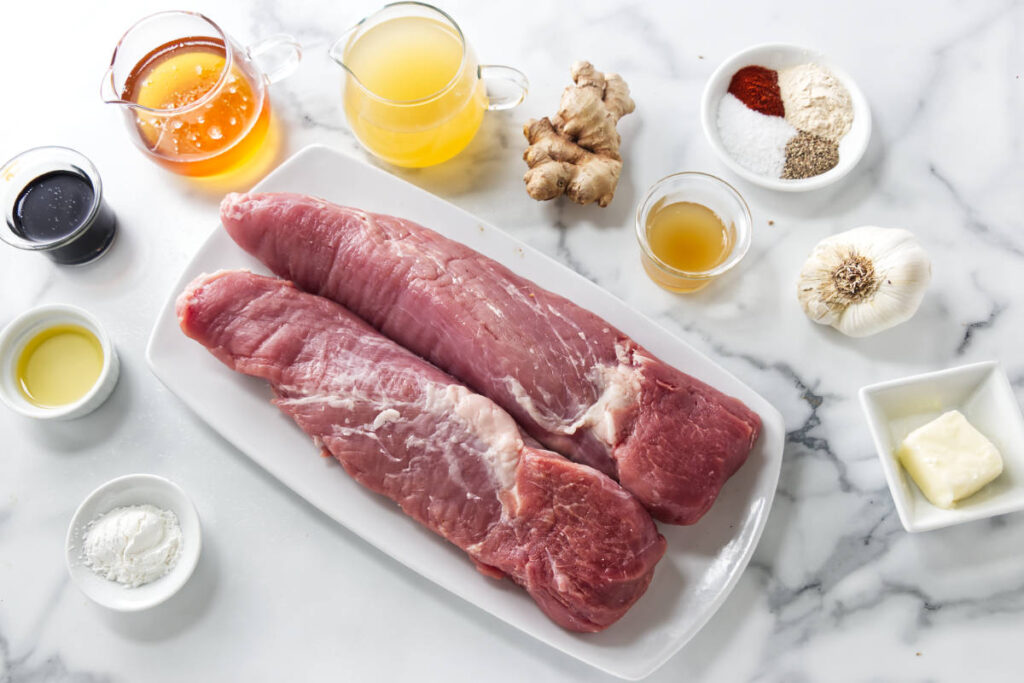
Key Ingredients
Pork tenderloin: Use two tenderloins, about 1 pound each. Remove the silver skin before cooking. Don’t confuse pork tenderloin with pork loin, which is a much larger cut and requires a different cooking time.
Honey: Adds sweetness and gives the sauce its glossy, sticky finish. Regular honey works well here; there’s no need to use anything fancy.
Soy sauce: Low-sodium soy sauce gives you more control over the saltiness, especially since the pork is already seasoned before searing.
Fresh ginger: Freshly grated ginger adds a warm, slightly spicy kick that balances the sweetness of the honey.
Chicken broth: Store-bought works fine, but homemade chicken broth is a great option if you have some on hand.
If you like these sweet and savory flavors, try my honey garlic glazed pork chops for another easy pork dinner. Or, for something a little different, my apple cider braised pork tenderloin pairs pork with apples and a savory cider sauce.
Recipe Tips
Watch the temperature: Pork tenderloins vary in thickness, so start checking the internal temperature a few minutes before the suggested roasting time is up. Use an instant-read thermometer and remove the pork when the thickest part reaches 145°F.
Don’t let burnt bits ruin the sauce: Those golden-brown bits left in the skillet add loads of flavor, but anything blackened or scorched can make the sauce bitter. Carefully wipe out any burned bits before adding the sauce.
Give the pork a rest: Let the tenderloins rest for at least 3 to 5 minutes before slicing. This helps keep the juices in the meat. Pour any juices that collect on the cutting board back into the sauce.
Make the sauce as thick as you like: Add the cornstarch slurry for a thicker, glossy glaze that clings to the pork, or leave it out for a thinner sauce that’s great for spooning over rice or mashed potatoes.
Store and reheat gently: Refrigerate leftovers in an airtight container for up to 3 to 4 days. Reheat over low heat with a splash of chicken broth to keep the pork from drying out.
Give the pork room to brown: Use a large skillet so the tenderloins aren’t crowded. If they’re packed too tightly, they’ll steam instead of developing that flavorful browned crust.
Serve It with Plenty of Sauce
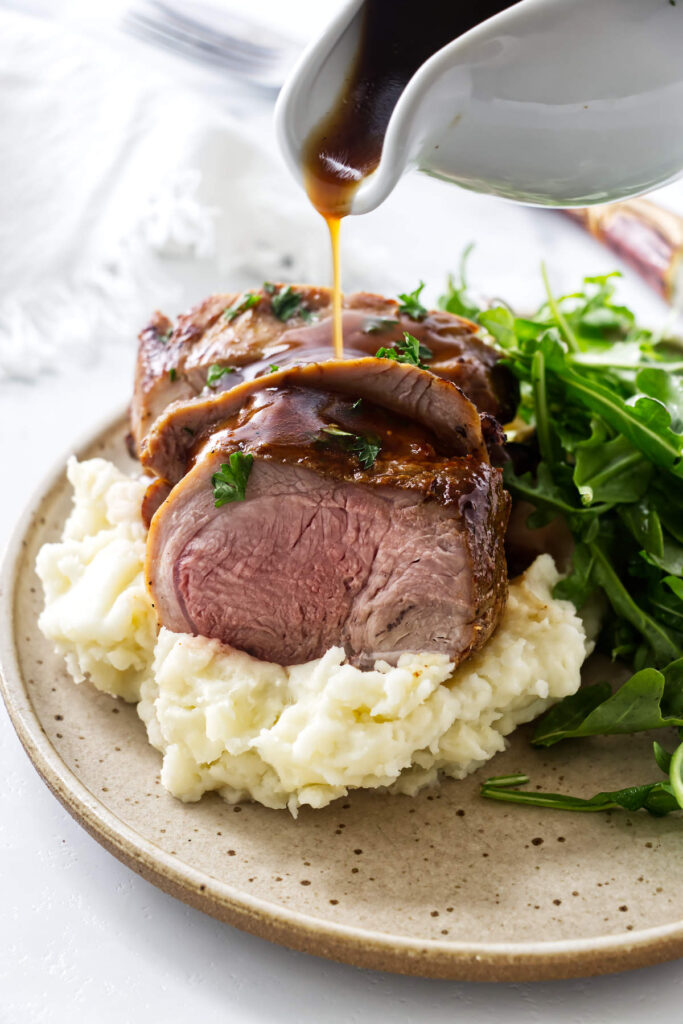
This honey garlic pork tenderloin is even better with something to soak up all that sweet, savory sauce. Serve it over fluffy white rice or mashed creamer potatoes. Add some steamed broccoli or roasted Brussels sprouts to round out the meal. And don’t forget to bring the extra sauce to the table. You’ll want every last spoonful.
Pin this now to find it later!
Pin It
Honey Garlic Pork Tenderloin
If you make this recipe, please leave a star rating and comment.
Ingredients
Pork and seasoning
- 2 pork tenderloins, about 1 pound each, silver skin removed
- 1 tablespoon olive oil
- 1 teaspoon Kosher salt, adjust for salt brand
- ½ teaspoon ground black pepper
- ½ teaspoon smoked paprika
- 1 teaspoon garlic powder
Honey garlic ginger sauce
- ½ cup honey
- ⅓ cup soy sauce
- 3 tablespoons apple cider vinegar
- 6 garlic cloves, minced
- 2 tablespoons grated fresh ginger
- ¾ cup chicken broth
- 2 teaspoons cornstarch, mixed with 1 tablespoon cold water
Instructions
- Preheat the oven to 425°F. Remove the silver skin from the pork tenderloins and pat them dry with paper towels.
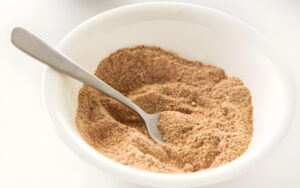
- Combine the salt, pepper, smoked paprika, and garlic powder in a small bowl. Rub the seasoning mixture evenly over the pork tenderloins.
- In a separate bowl, whisk together the honey, soy sauce, apple cider vinegar, minced garlic, grated ginger, and chicken broth. Set aside.
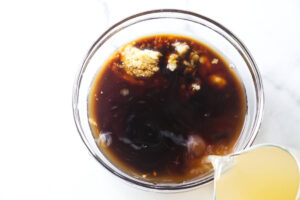
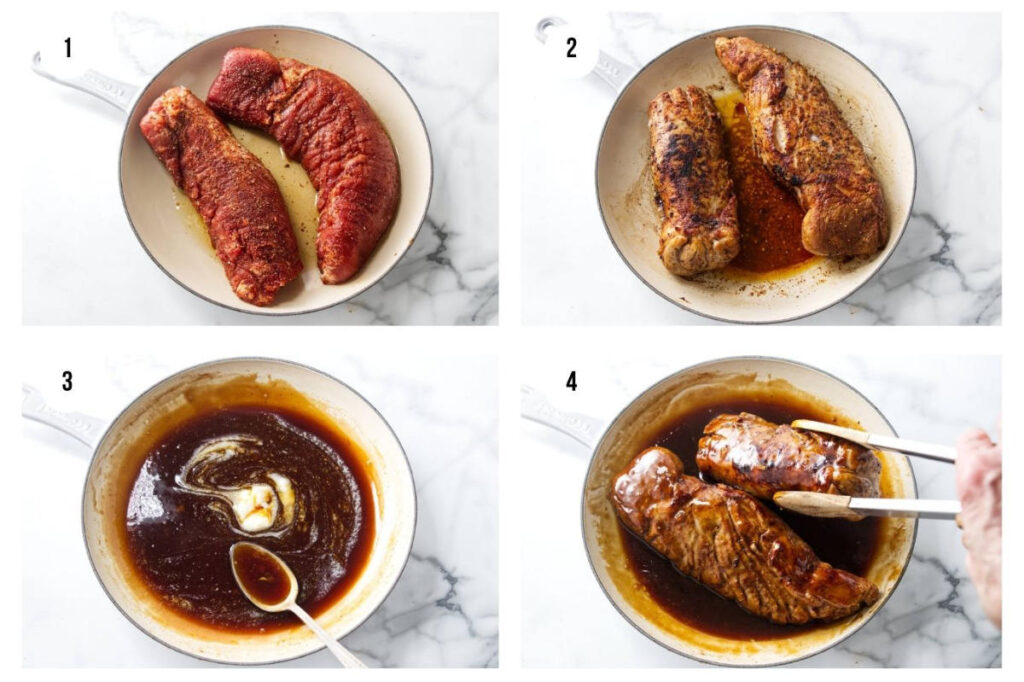
- Heat the olive oil in a large oven-safe skillet over medium-high heat. Add the pork tenderloins and sear for 5 to 6 minutes, turning occasionally, until browned on all sides.
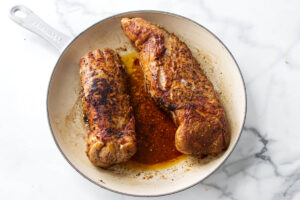
- Transfer the skillet to the preheated oven and roast for 10 to 15 minutes, or until an instant-read thermometer inserted into the thickest part of the pork registers 145°F.
- Transfer the pork to a cutting board, tent loosely with foil, and let rest for at least 3 minutes while you prepare the sauce.
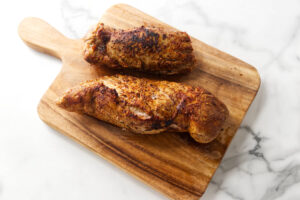
- Return the skillet to the stovetop over medium heat. Carefully pour in the honey garlic sauce and scrape up the browned bits from the bottom of the skillet. Bring to a simmer and cook for 3 to 5 minutes, stirring occasionally, until the sauce reduces slightly.
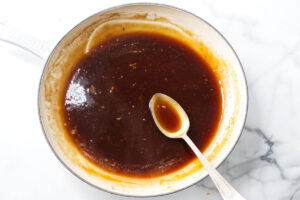
- For a thicker sauce, stir together the cornstarch and cold water, then whisk the mixture into the simmering sauce. Cook for another 30 to 60 seconds, or until thickened. Remove from the heat and stir in the butter.
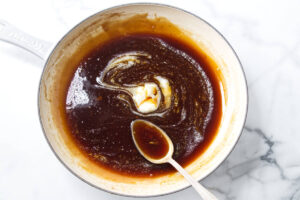
- Slice the pork tenderloins into ½-inch-thick medallions. Spoon the sauce over the sliced pork and serve.
Notes
Nutrition
Nutrition information is automatically calculated, so should only be used as an approximation.
 Like this recipe? Rate & comment below!












Ooh, I was browsing your blog and this caught my eye! I’m planning recipes for an Asian style Christmas menu…..not entirely convinced I will succeed but this glaze would be perfect for either a ham or even a turkey!
Hi, Nagi….I am so happy you found our blog! Thank you for your nice comments. I haven’t tried the glaze on turkey but it is delicious with the ham. It will be wonderful in your Asian style Christmas menu. Merry Christmas to you!