
This post may contain affiliate links. Please read our disclosure policy. As an Amazon Associate, I earn from qualifying purchases.
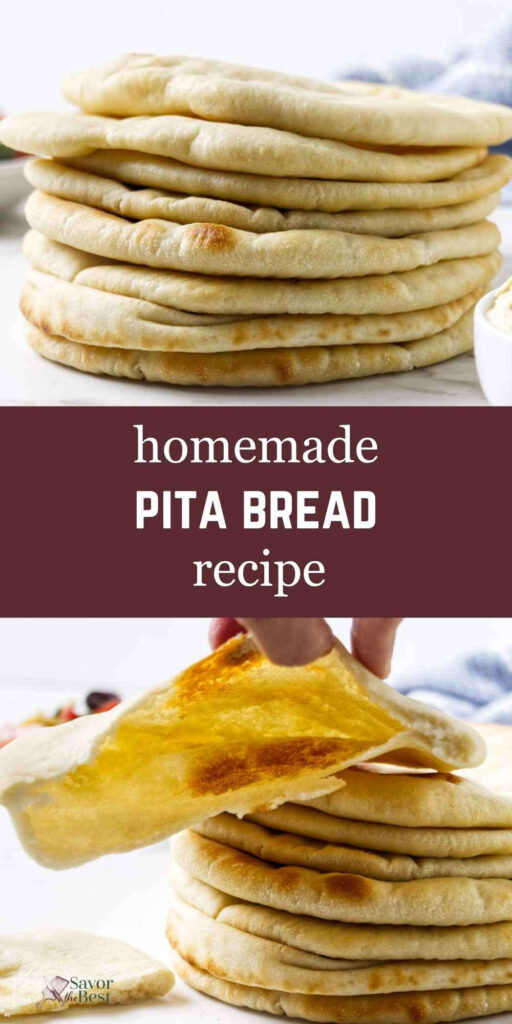
Homemade pita bread is soft, chewy, and much easier to make than you might expect. A simple dough made with flour, yeast, water, and olive oil bakes into tender rounds that are perfect for wraps, sandwiches, and dips.
Bake the pitas in a very hot oven for the best chance of creating pockets, or use the skillet for a slightly thicker, chewier flatbread. Either way, you’ll have warm, flexible pita that tastes far better than what you get at the store.
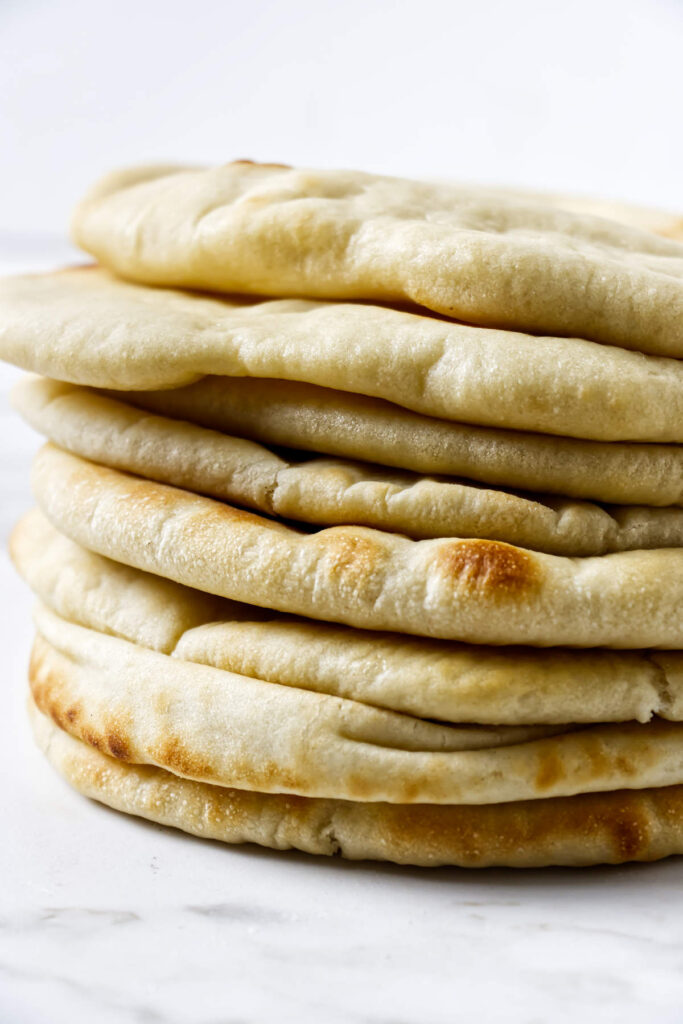
Pair it with Greek lemon chicken or braised lamb shanks for a Mediterranean meal, or fill the pockets with your favorite sandwich ingredients.
Here’s Why This Pita Bread Recipe Works
A soft dough stays tender: I keep the dough slightly tacky instead of adding too much flour. That softer dough bakes into tender pita instead of dry, stiff rounds.
Bread flour gives it chew: I like using bread flour because it gives the pita a little more structure and chew, but all-purpose flour still works well.
A short rest makes shaping easier: Resting the dough after dividing relaxes the gluten, which keeps the rounds from snapping back while you roll them.
Steam helps the pitas puff: Baking in a very hot oven and lightly misting the tops with water encourages the pitas to puff into pockets.
Ingredient Notes
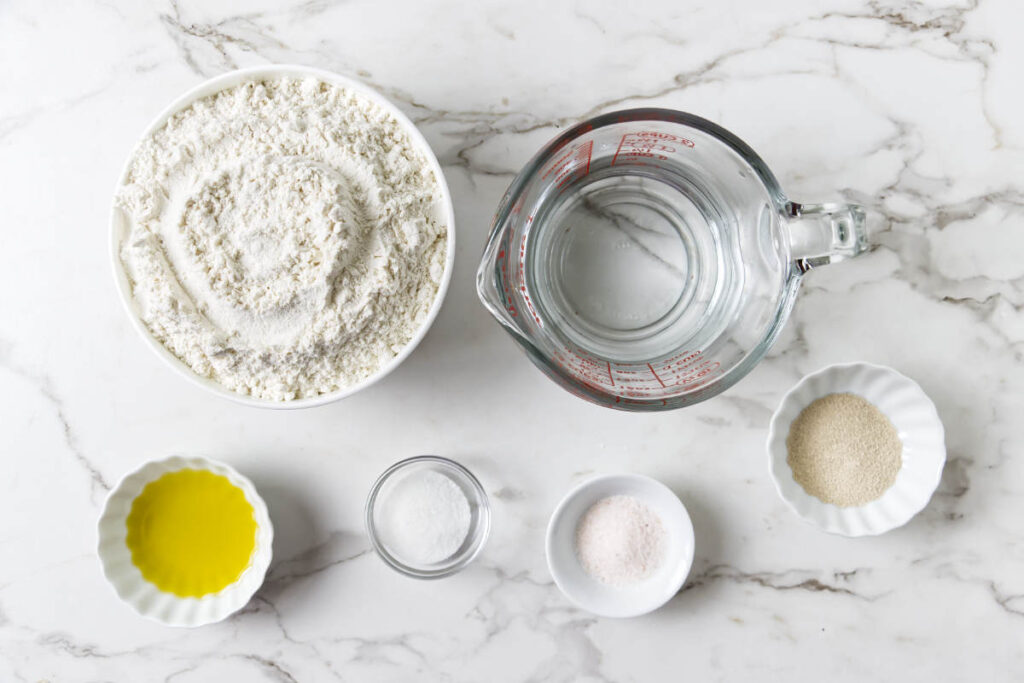
Bread flour or all-purpose flour: Bread flour gives the pita a slightly chewier texture. All-purpose flour makes a softer pita and is a good substitute.
Instant yeast: Instant yeast can go straight into the flour without proofing first. Make sure it is fresh so the dough rises properly.
Warm water: Water between 105°F and 110°F helps the yeast get moving. Water that is too hot can damage the yeast.
Olive oil: Olive oil keeps the dough supple and adds a little flavor.
Salt and sugar: Salt seasons the dough, while a small amount of sugar helps the yeast and rounds out the flavor.
Recipe Tips
Keep the dough soft: A slightly tacky dough bakes into softer, more tender pita. Add extra flour only 1 tablespoon at a time if the dough sticks heavily.
Let the dough relax: If the dough springs back while rolling, cover it and let it rest for 5 minutes before continuing.
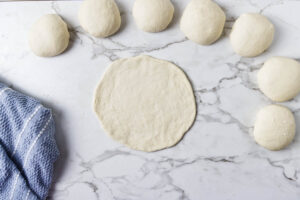
Roll the pitas evenly: Roll each pita to about 7 inches in diameter and ⅛ inch thick so they bake evenly.
Mist before baking: A light mist of water helps create steam and gives the pitas a better chance of puffing into pockets.
Don’t overbake: Remove the pitas while they’re still soft and lightly golden. Overbaking makes them crisp instead of flexible.
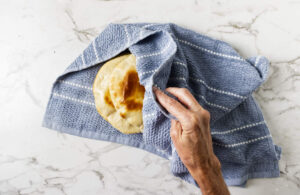
Cover while cooling: Stack the warm pitas under a clean kitchen towel to trap the steam and keep them soft.
How to Get Pita Bread to Puff
Pita puffs when moisture in the dough turns to steam and separates the top and bottom layers. For the best results, roll the dough thin and even, keep the rounds covered so they do not dry out, and bake them in a fully preheated oven.
Lightly misting the tops with water just before baking adds a little extra moisture and helps encourage a more consistent pocket. If a pita does not puff completely, it will still be soft and delicious for wraps, dipping, or tearing into pieces.
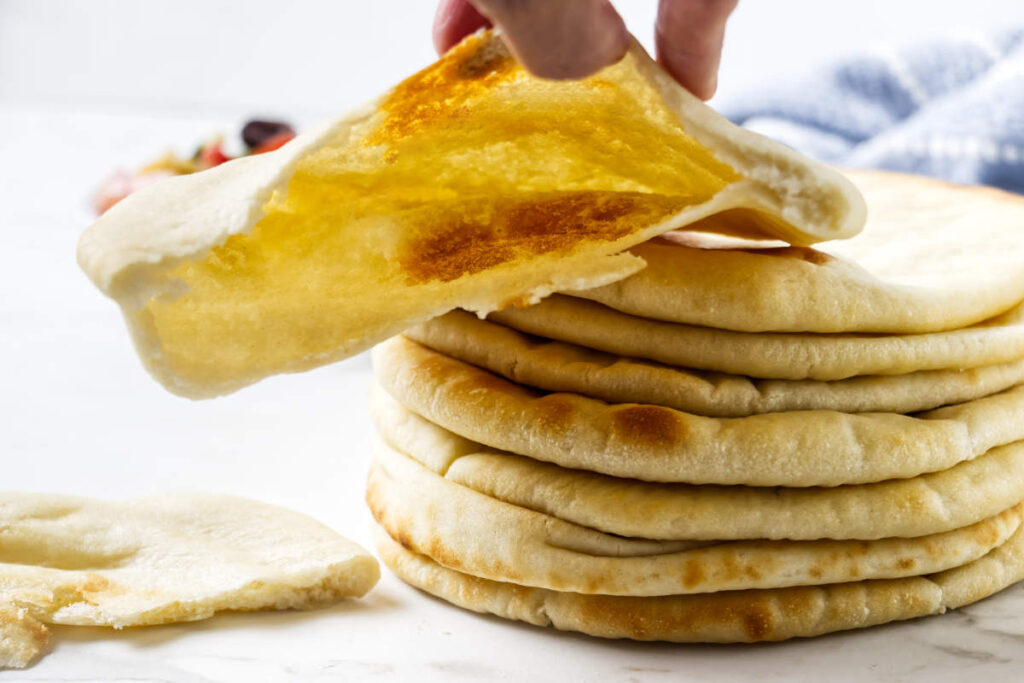
Oven vs Skillet Pita
The oven method is the best choice when you want pita pockets. The high heat helps the dough puff into a balloon before it settles into a soft pocket as it cools.
The skillet method makes a slightly thicker, chewier pita with golden brown spots. It may not form a full pocket, but it’s perfect for scooping hummus, serving alongside Mediterranean meals, or folding around fillings like the lamb in our lamb pita recipe.
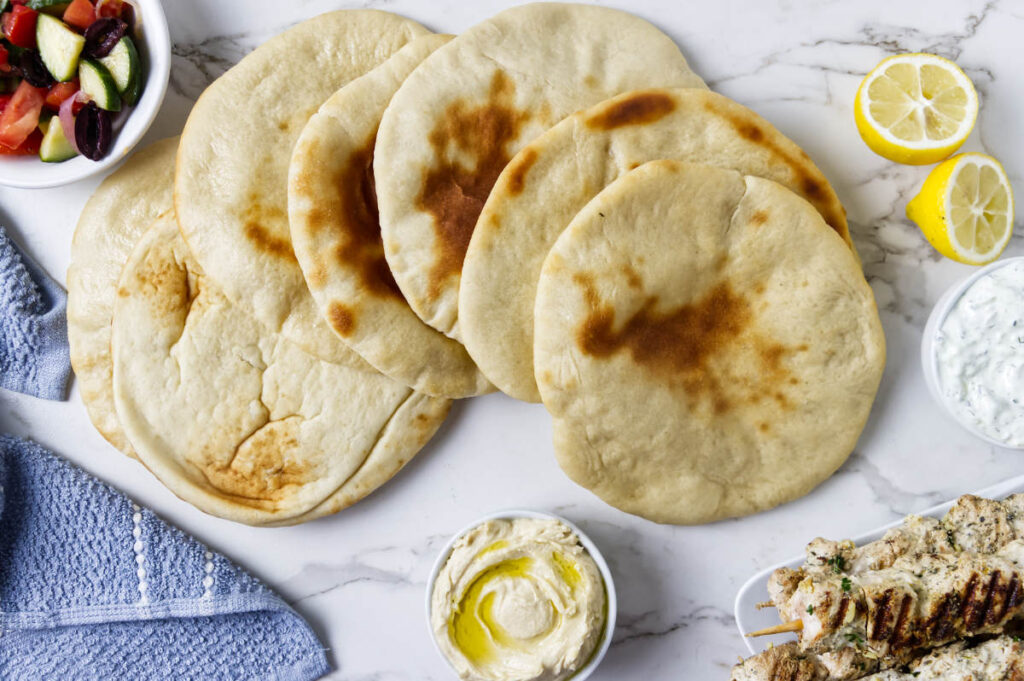
What to Serve with Homemade Pita Bread
Serve homemade pita bread with hummus, tzatziki sauce, grilled chicken, falafel, gyros, kebabs, or a simple cucumber tomato salad.
It is also a good side for chicken souvlaki, chicken meatballs, Greek lemon rice, and Greek salad.
Frequently Asked Questions
The oven may not have been hot enough, the dough may have been rolled too thick, or the dough may have dried out before baking. Roll the dough evenly, keep it covered, and bake in a fully preheated oven.
Roll the dough evenly, keep it covered until you’re ready to bake, and lightly mist the tops with water just before baking for the best chance of forming pockets.
Yes. Bread flour gives pita a slightly chewier texture, but all-purpose flour works well.
Yes. Cook the rolled pita in a lightly oiled skillet over medium-high heat for 1 ½ to 2 minutes per side. Skillet pita is usually thicker and chewier and may not form a full pocket.
Yes. After the first rise, cover the dough and refrigerate it overnight. Let it sit at room temperature for 30 to 60 minutes before dividing, shaping, and baking.
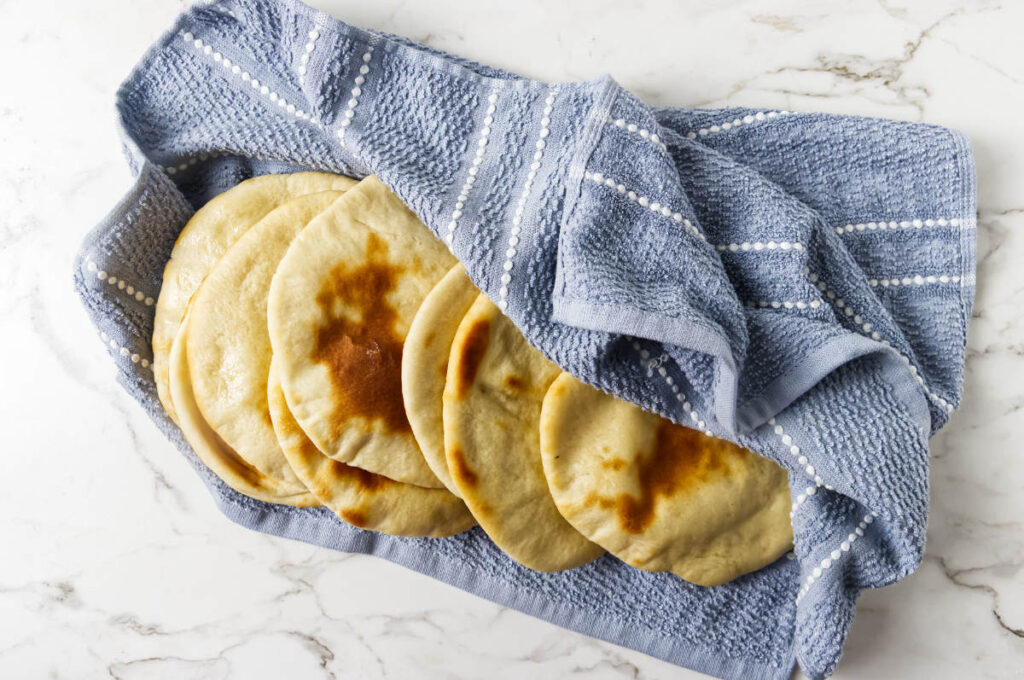
Transfer the hot pitas to a clean kitchen towel and keep them covered as they cool. The trapped steam helps keep them soft and flexible.
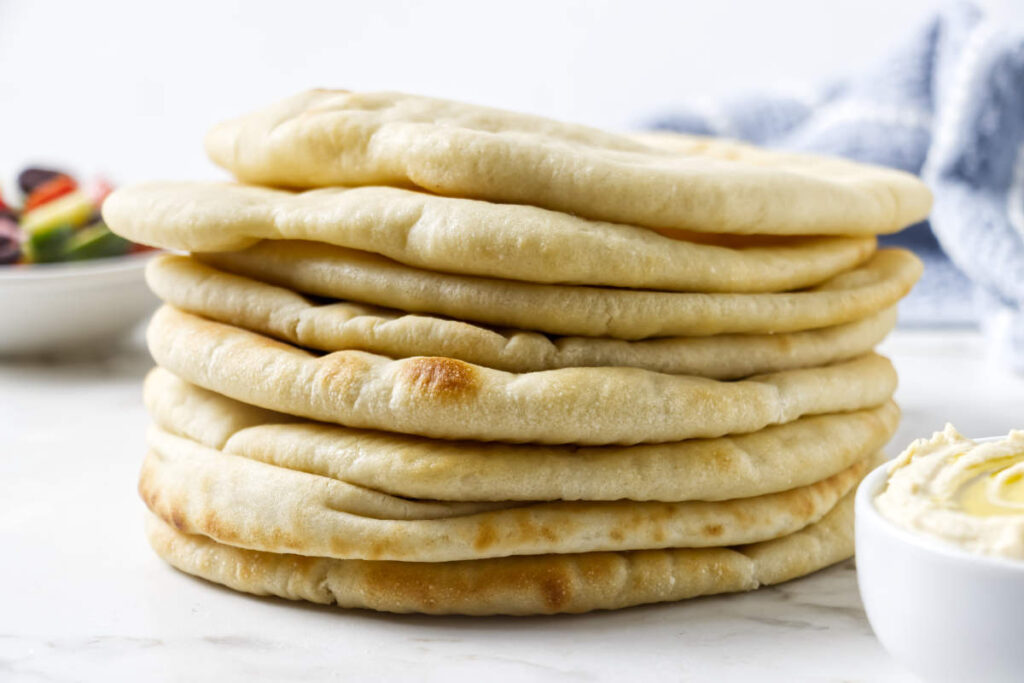
Soft Pita Bread from Scratch
Once you make homemade pita bread, it’s hard to go back to store-bought. Whether you bake them into puffed pockets or cook them in a skillet for soft, chewy flatbreads, they’re delicious served warm with your favorite Mediterranean meals.
Pin this now to find it later!
Pin It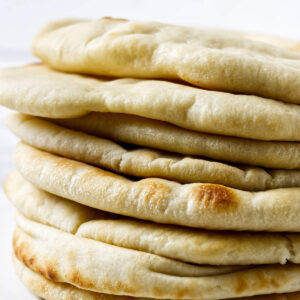
Homemade Pita Bread
If you make this recipe, please leave a star rating and comment.
Ingredients
- 3 ½ cups bread flour, or all-purpose flour, 420 grams
- 2 ¼ teaspoons instant yeast, 7 grams
- 1 teaspoon granulated sugar
- 1 ½ teaspoons salt, 9 grams
- 1 ¼ cups warm water, 295 grams
- 2 tablespoons olive oil, 28 grams
Instructions
Make the dough
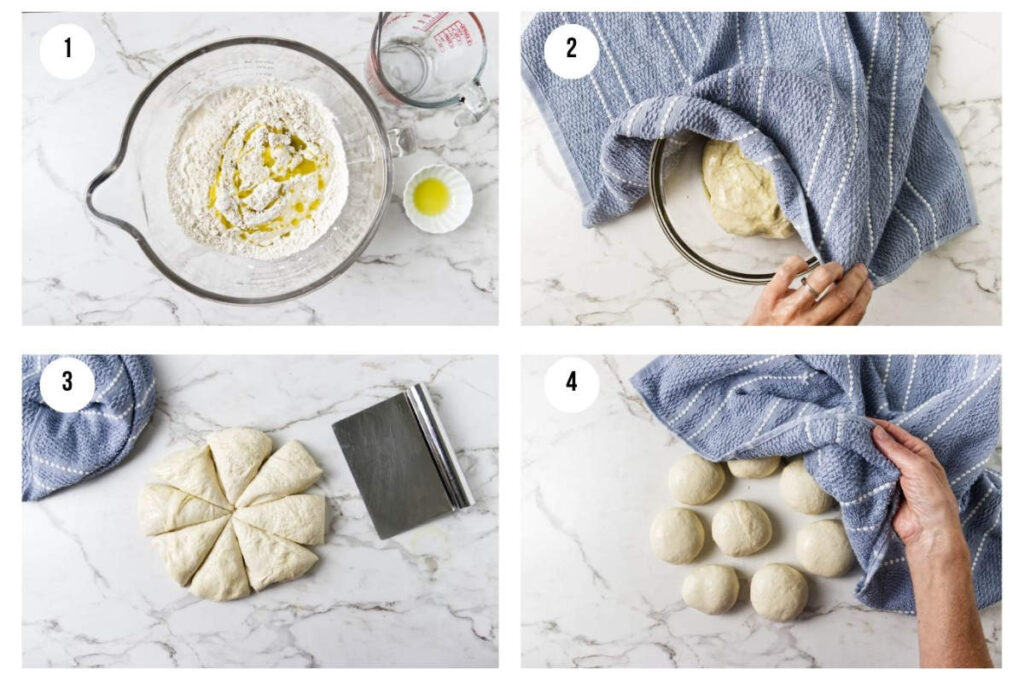
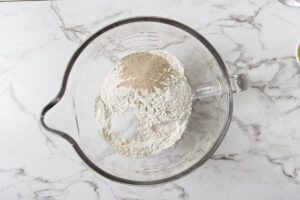
- In the bowl of a stand mixer fitted with the dough hook, combine the flour, yeast, sugar, and salt.
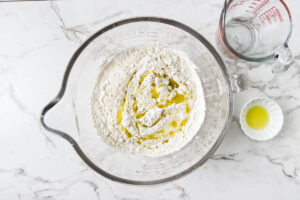
- Add the warm water and olive oil. Mix on low speed until a shaggy dough forms, then knead for 6 to 8 minutes, until the dough is smooth and elastic. It should feel soft and slightly tacky. If it sticks heavily to your hands, add flour 1 tablespoon at a time.
First rise
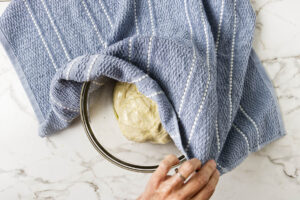
- Transfer the dough to a lightly oiled bowl and turn it once to coat. Cover and let rise in a warm place for 45 to 60 minutes, or until doubled in size. Toward the end of the rising time, preheat the oven to 500°F.
Divide and rest
- Turn the dough onto a lightly floured surface and divide it into 8 equal portions.
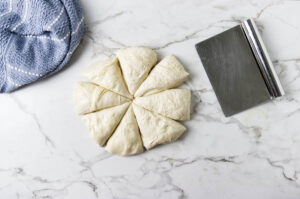
- Shape each portion of dough into a smooth ball. Cover with a towel and let rest for 15 to 20 minutes. This resting period relaxes the gluten, making the dough easier to roll.
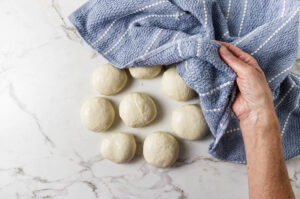
Shape the pitas
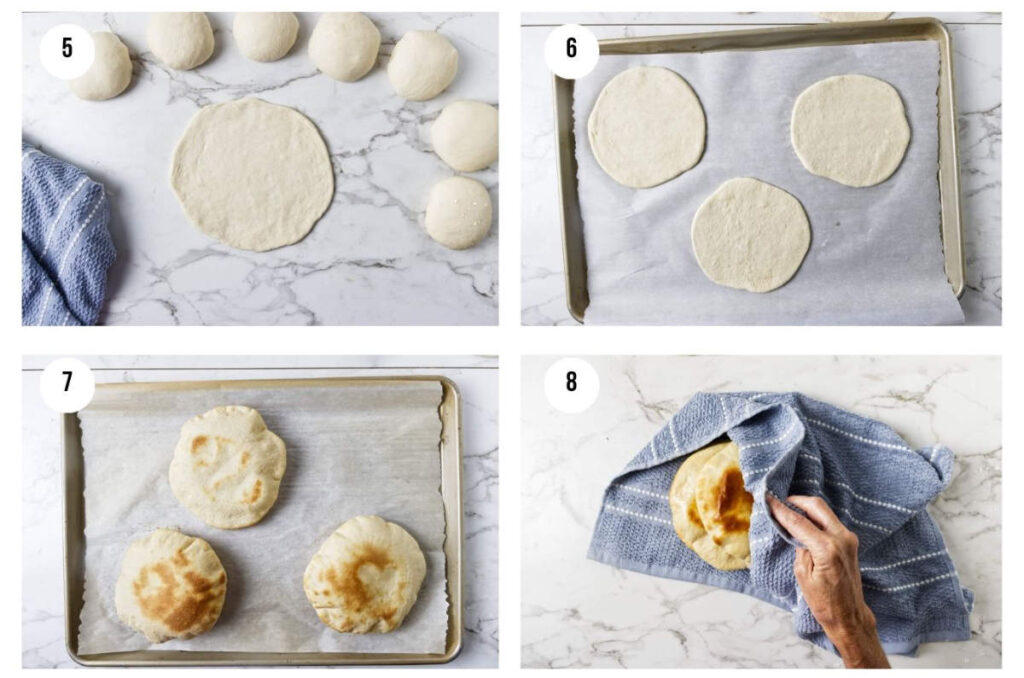
- Roll or gently stretch each dough ball into a circle about 7 inches in diameter and ⅛ inch thick. If the dough springs back while shaping, let it rest for 5 minutes before continuing.
Bake
- Place the shaped pitas on a baking sheet. For the best chance of forming a pocket, lightly mist the tops with water just before baking. Bake for 2 ½ to 3 ½ minutes, or until the pitas puff and are lightly golden. Remove them before they become crisp.
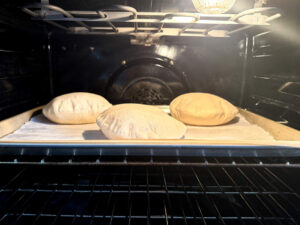
- Transfer the baked pitas to a clean kitchen towel and keep them covered while they cool. The puffed pitas will naturally collapse, leaving a soft pocket that can be split open for sandwiches or folded around your favorite fillings.
Notes
Nutrition
Nutrition information is automatically calculated, so should only be used as an approximation.
 Like this recipe? Rate & comment below!