
This post may contain affiliate links. Please read our disclosure policy. As an Amazon Associate, I earn from qualifying purchases.

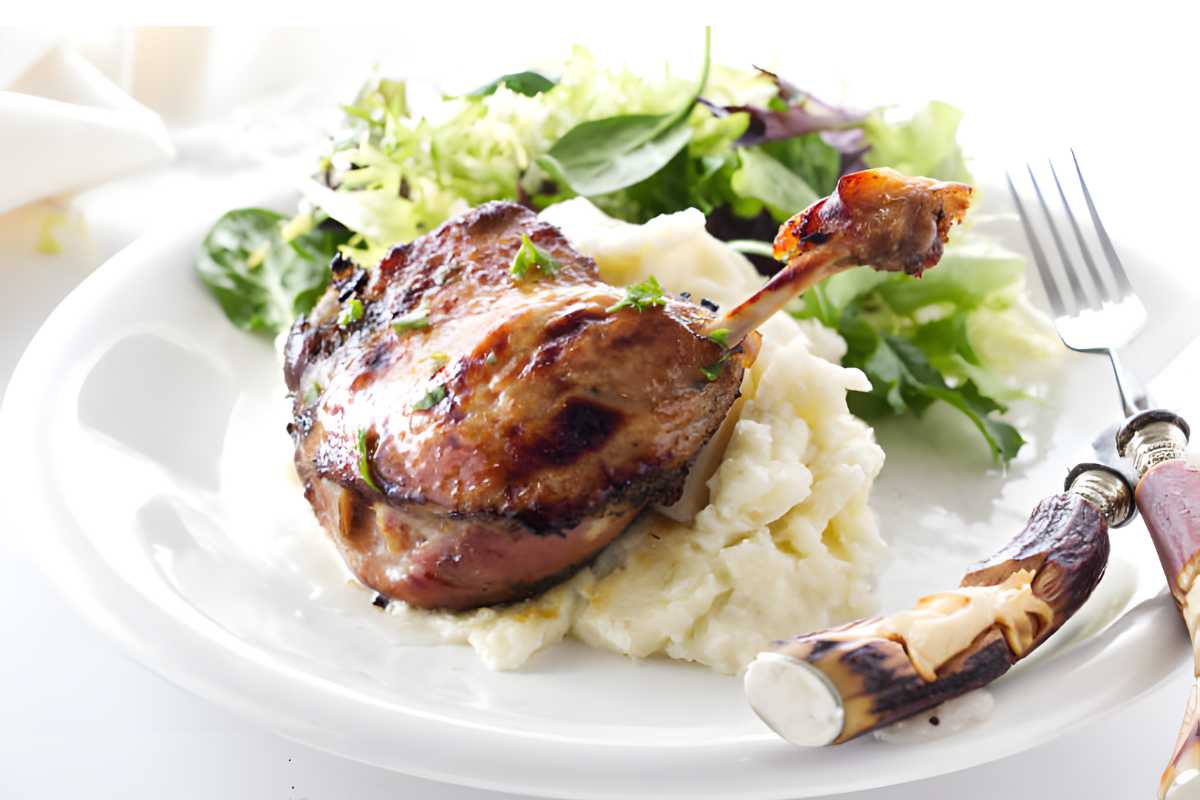
Sous vide duck legs are the ultimate way to get that fall-off-the-bone tenderness without babysitting a stove for hours. This method lets the duck do its thing in a warm water bath while you live your life. Garlic, thyme, and duck fat bring the flavor, and the sous vide magic locks it all in. It’s rich, it’s savory, and yeah, it’s kind of a show-off move.
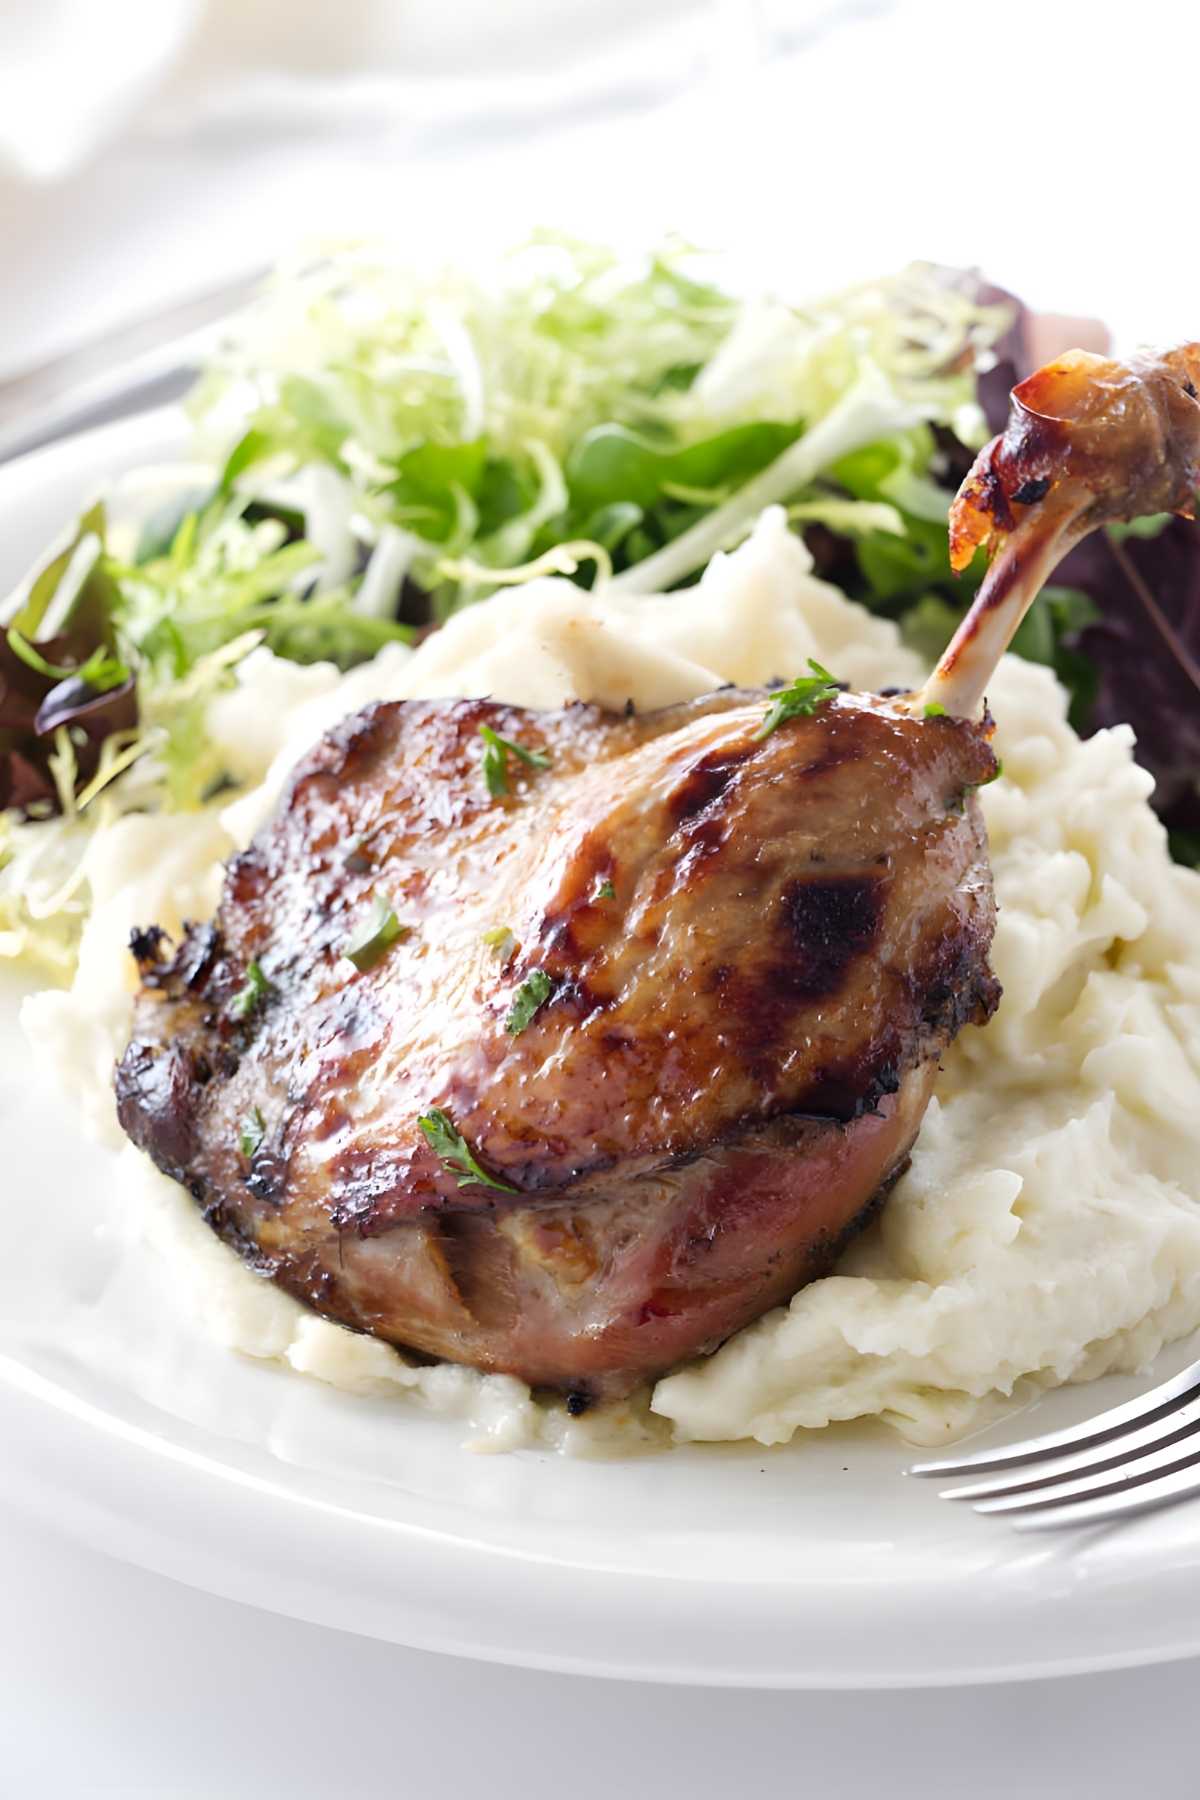
Try serving these duck legs with creamy ricotta mashed potatoes or roasted carrots and asparagus with gremolata to round out the richness. A crisp bistro salad is also a nice touch.
Here is Why This Recipe Works
Consistently juicy meat: Sous vide keeps the temperature steady, so your duck legs never dry out or overcook.
Set it and forget it: You get restaurant-level results without hovering over a pan for hours.
Infused flavor: Garlic and thyme seep into the meat over 10 hours, building deep flavor with almost zero effort.
Crispy finish: A quick sear or broil at the end gives you golden, crackly skin that contrasts beautifully with the tender meat.

Recipe Tips
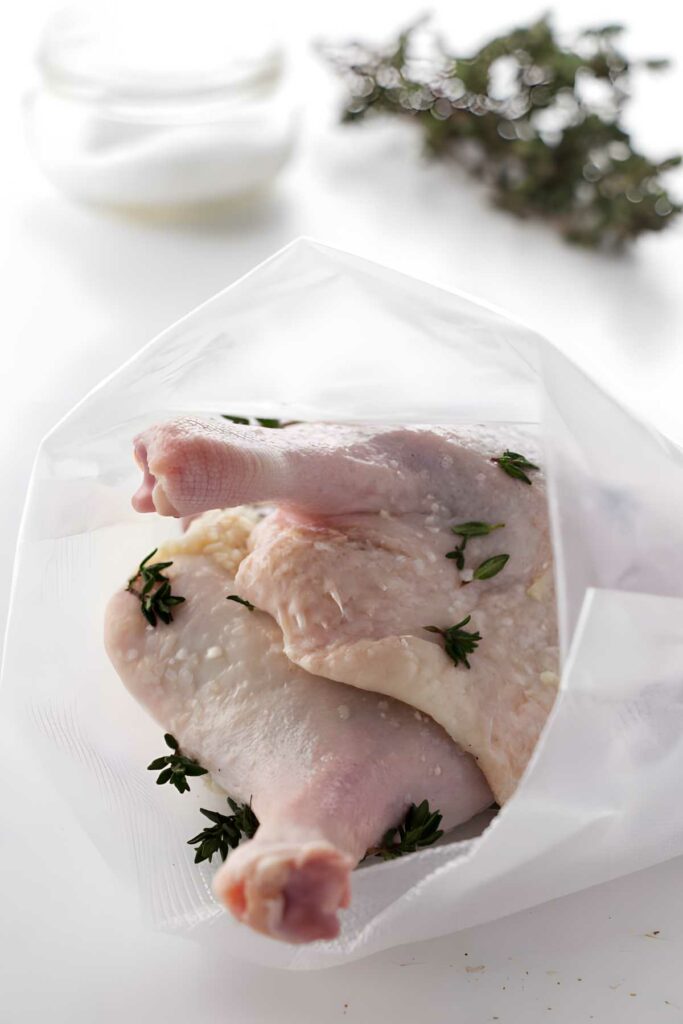
Use a quality vacuum seal or double-bag it: Waterlogged duck is not the goal. If you’re using zip-top bags, double up to keep the seal tight.
Season generously: Duck can handle bold flavor, don’t be shy with the salt, garlic, or herbs.
Cover your water bath: Plastic wrap or a lid keeps evaporation in check during that long cook.
Don’t skip the sear: It’s not just for looks. Crispy skin adds texture and a hit of extra flavor that pulls the whole thing together.
Don’t skip drying the skin: Moisture is the enemy of crispy skin. Pat those legs dry before searing or broiling.
Sear hot and fast: Whether stovetop or broiler, get that heat cranked up to crisp the skin without overcooking the meat.
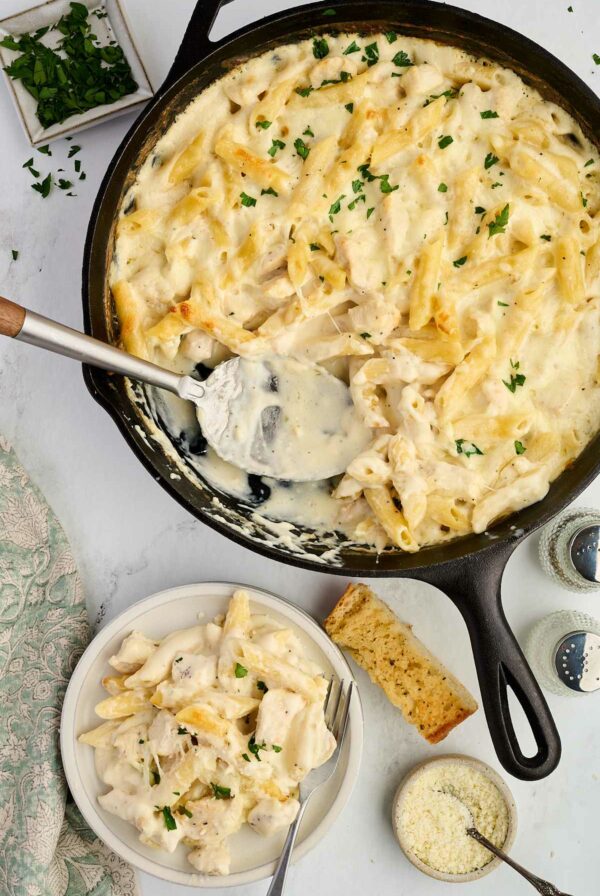
Save that fat and juice: The rendered duck fat is liquid gold, and adds serious depth to sauces or even roasted vegetables. It is also great in my duck pasta.
If you’re feeling fancy, check out my duck legs with orange sauce for a citrusy twist.
Time and Temp Chart for Sous Vide Duck
| Temp and Time | Texture of the Duck Legs |
|---|---|
| 150°F for 16 to 24 hours | Very juicy and slightly firm meat |
| 158°F for 16 to 20 hours | Rich, juicy, tender meat that pulls away from the bone easily |
| 170°F for 10 to 18 hours | Rich, delicate meat. Meltingly tender and juicy. Falls off the bone easily |
| 175°F for 10 to 18 hours | Rich, delicate meat. Meltingly tender. Slightly dry (no juices). Falls off the bone when touched |
Pin this now to find it later!
Pin It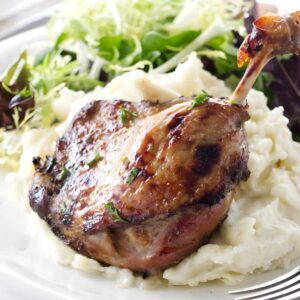
Sous Vide Duck Legs
If you make this recipe, please leave a star rating and comment.
Ingredients
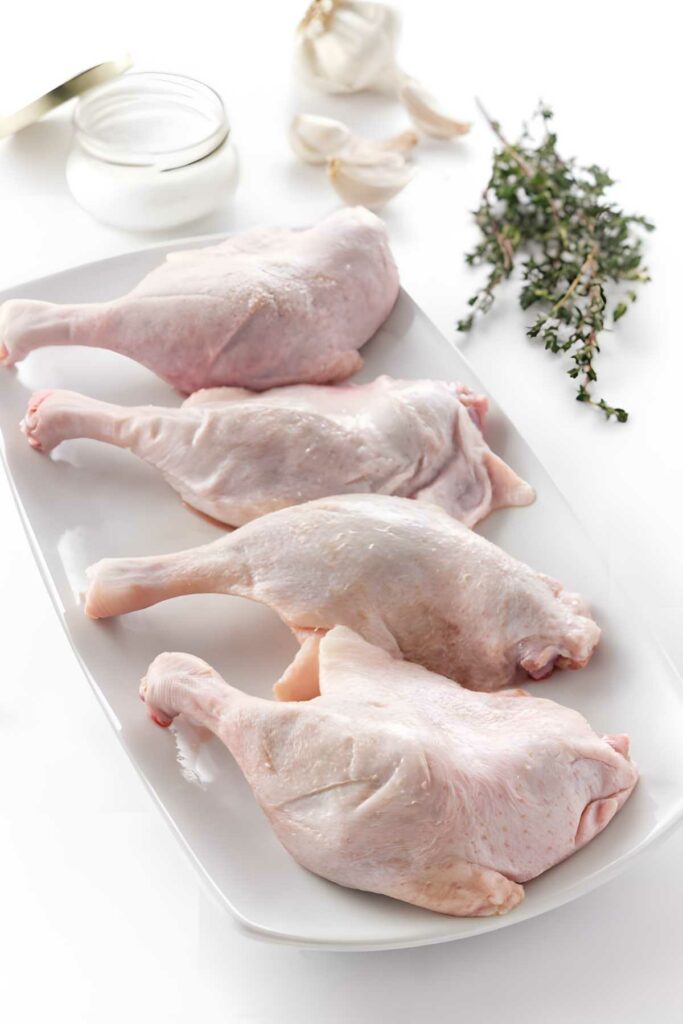
- 4 whole duck legs
- 2 teaspoons kosher salt
- 4 garlic cloves, minced or grated
- 2 tablespoons Fresh thyme
- 2 to 3 sprigs Fresh thyme
Instructions
- Set the sous vide cooker to 170°F (see notes for optional times and temperatures).
- Remove the duck legs from their package and pat dry with paper towels. Place flesh side up on a cutting board and salt liberally then spread the garlic on the legs and sprinkle with fresh thyme leaves.
- Place legs in vacuum seal bags or zipper-lock bags with two legs per bag and add additional sprigs of thyme. Seal the bags with the vacuum sealer or the water immersion method.
- Place the bags in the water bath and set the timer for 10 hours (or up to 18 hours but longer than 18 hours tends to change the texture of the meat when the temperature is set at 170°F). Cover the water bath with a lid or plastic wrap to minimize water evaporation. Check the water level occasionally and add additional water to keep the duck submerged.
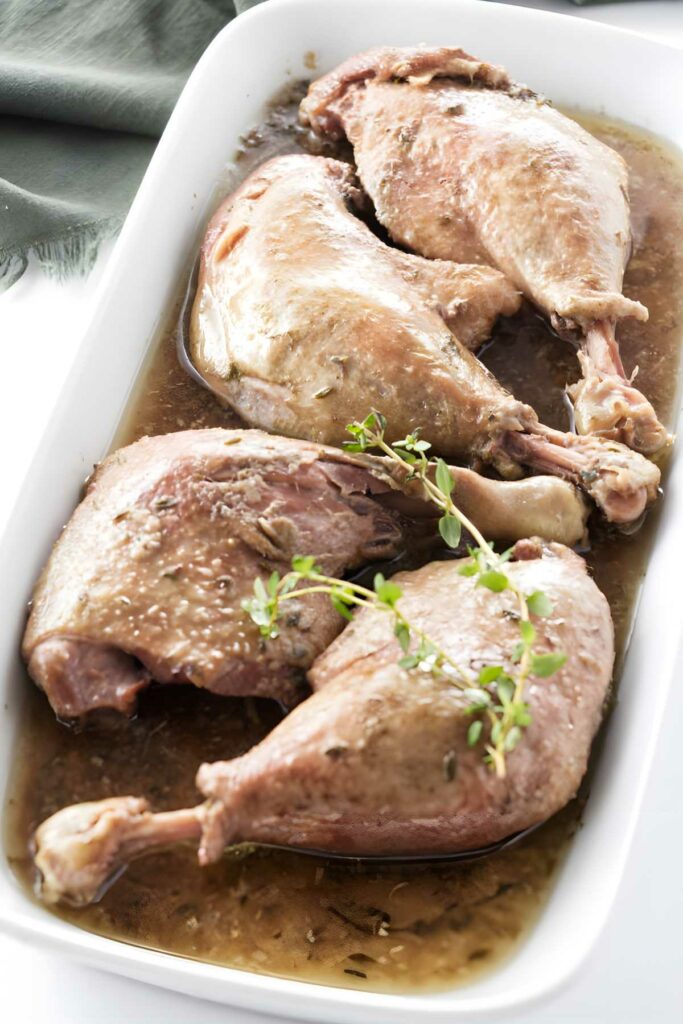
- When the timer goes off, remove the bags from the water bath (see the notes if you are not serving immediately). Place a fine-mesh sieve over a bowl. Open the bags and strain the fat and juices through the sieve.
- The duck fat will separate and float on top of the juices. Spoon the fat off and place it in a small dish. Reserve the juices for another use, it adds great flavor to pasta dishes.
- Pat the duck legs dry with a paper towel and brush lightly with the duck fat.
To Sear on the Stove-top:
- Heat a nonstick skillet over medium-high heat for 2 minutes.
- Add the duck legs, skin side down, and cook until crisp and well-browned, about 5 minutes.
To Brown Under the Broiler:
- Move the oven rack to the upper position so it is 4-6 inches from the heating unit. Turn the oven to broil and allow to heat for 2-3 minutes.
- Place the duck legs on a baking sheet, skin side up, and broil for 2-3 minutes or until crisp and golden brown.
Notes
Optional times and temperatures
-
- 150°F for 16 to 24 hours (juicy and slightly firm meat)
- 158°F for 16 to 20 hours (rich, juicy meat that pulls away from the bone easily)
- 175°F for 10 to 18 hours (rich, delicate meat, slightly less juicy. Falls off the bone easily)
Nutrition
Nutrition information is automatically calculated, so should only be used as an approximation.
 Like this recipe? Rate & comment below!
Storing Leftovers
Refrigerate: Store the duck legs sealed in their bags or in an airtight container for up to 1 week.
Freeze: You can freeze the sealed duck legs (with their juices and fat) for up to 3 months. Just label the bag and you’re good to go.
Reheat: Thaw overnight in the fridge, then warm the sealed bag in hot tap water for 5–10 minutes. Crisp them up under the broiler or in a skillet before serving.
Sous Vide Duck Leg Confit
These sous vide duck legs are ridiculously easy to make and taste like you spent hours fussing (spoiler: you didn’t). Juicy, flavorful meat and golden, crispy skin? That’s a win. Make a batch and impress yourself.
If you’re into sous vide, check out my sous vide tomahawk steak, sous vide rack of lamb, and sous vide filet mignon recipes. Same precision, different protein.


It looks incredibly delicious and tender.
Thanks Angie!