
This post may contain affiliate links. Please read our disclosure policy. As an Amazon Associate, I earn from qualifying purchases.
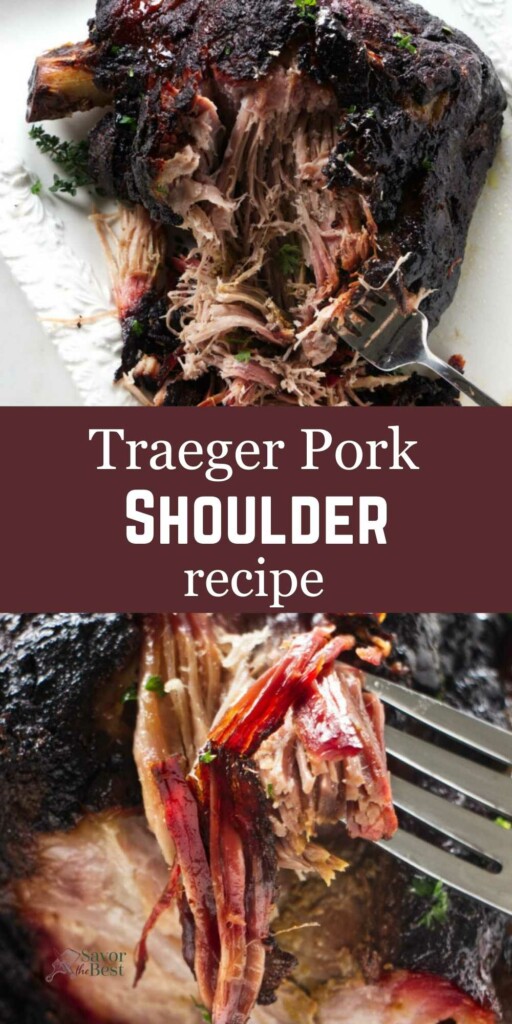
This Traeger pork shoulder recipe delivers smoky, ultra-juicy pulled pork with rich flavor from the inside out. A bold injection marinade infuses deep into the meat, while the low-and-slow Traeger method builds a flavorful smoky bark that’s just begging to be shredded.
It’s not a quick cook, but the hands-off time pays off with meat so tender and flavorful, you’ll wonder why you ever bothered with shortcuts.
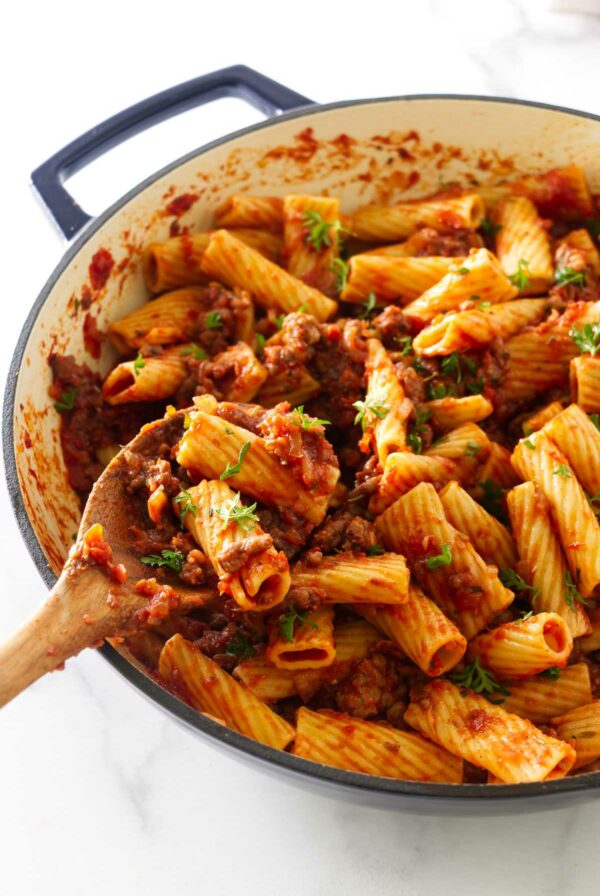
Smoked pulled pork is incredibly versatile. You can pile it onto sliders, tuck it into tacos, or use it for something a little more creative. We like to turn leftovers into things like pulled pork sliders, our pulled pork tamale pie, or those spicy pork empanadas that never last long around here.
Here is Why This Traeger Pork Shoulder Recipe Works
Flavor all the way through: The injection marinade doesn’t just sit on the surface—it gets deep into the meat for juicy, well-seasoned pork in every bite.
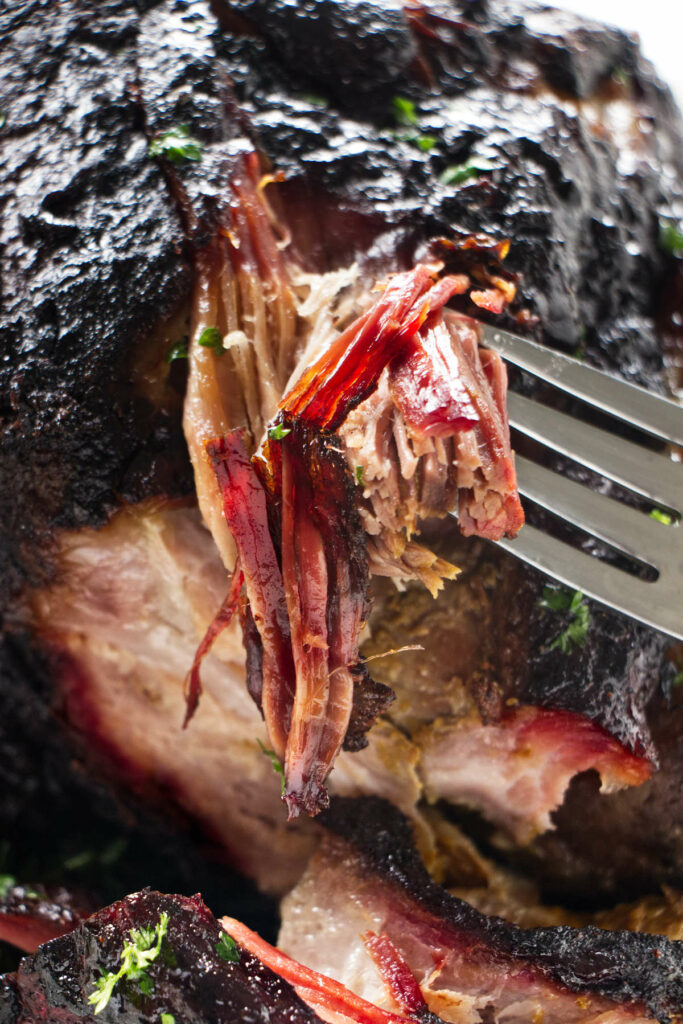
Smoky bark goals: That low-and-slow Traeger magic plus a good dry rub = a crusty bark that’s basically meat candy.
Hands-off cook time: Once it’s on the smoker, your job is mostly done. Let the Traeger do the work while you pretend you’re busy.
Make-ahead friendly: Feeds a crowd now or freezes like a champ for easy meals later; win-win.
Check out my smoked pork butt if you have that cut of meat.

Recipe Tips
Use a good injector: A sturdy meat injector makes a big difference. Cheap ones tend to clog or break halfway through.
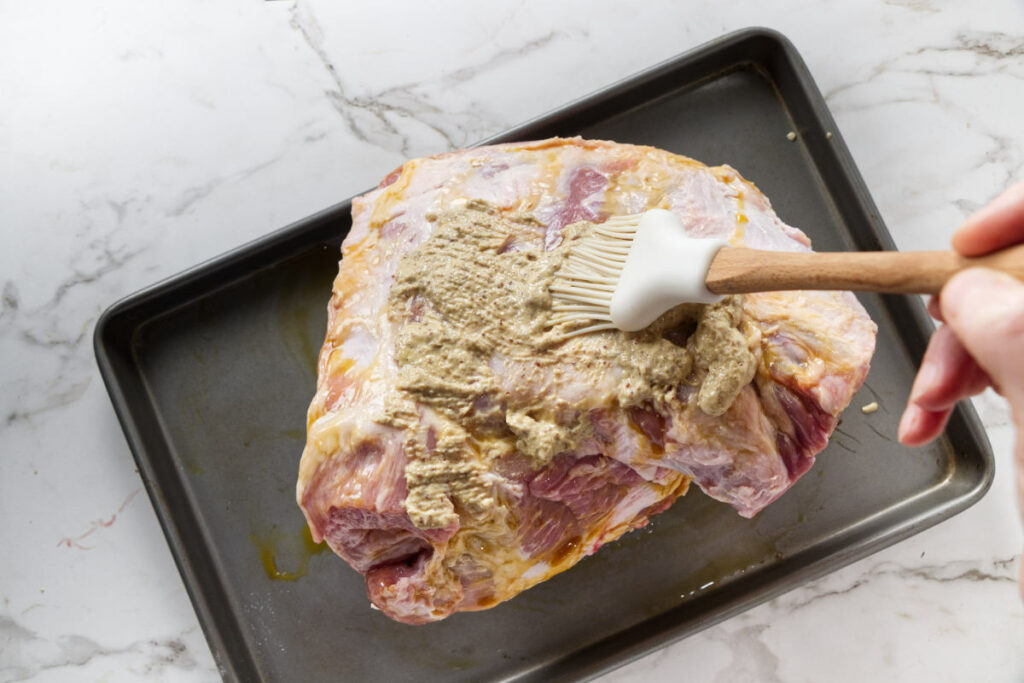
Don’t skip the mustard layer: It helps the rub stick and adds a subtle tang that boosts the flavor.
Inject in multiple spots: Get that marinade into every nook so the flavor is evenly distributed.
Watch your fat trim: Leave about ¼ inch of fat on top. Too much won’t render, and too little can dry things out.
Be patient with the stall: It’s going to happen. Wrap the pork if you’re short on time, or wait it out for max flavor and bark.
Let it rest: After smoking, rest the meat for at least an hour. This step isn’t optional unless you enjoy dry pork.
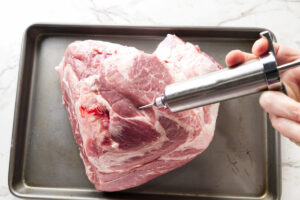
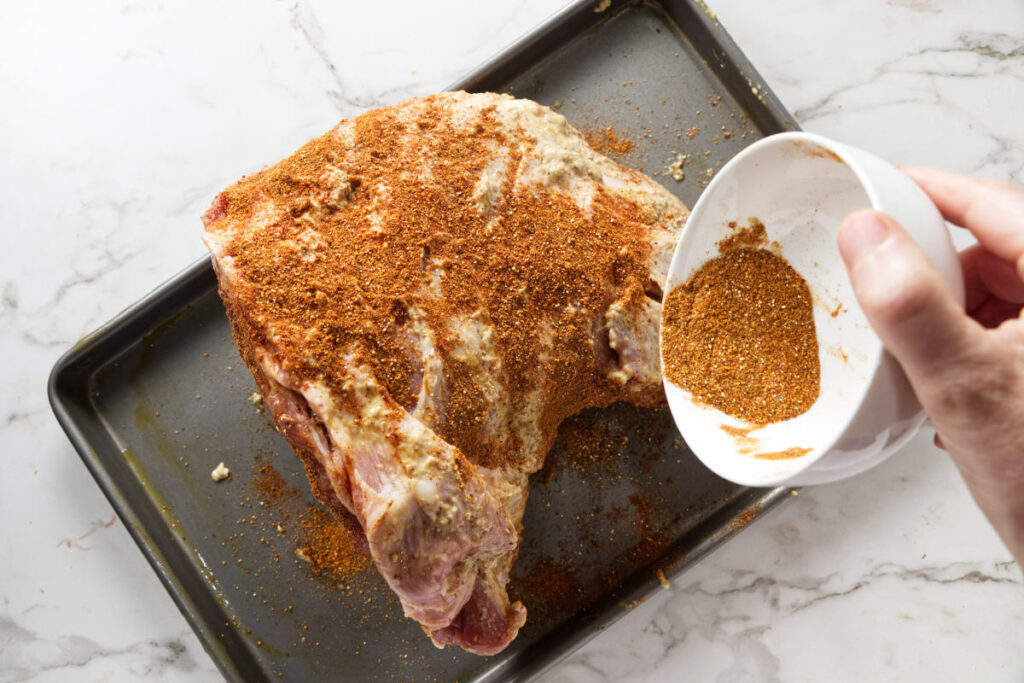
Use a rimmed pan when injecting: It gets messy fast. A rimmed baking sheet will save you from mopping the floor.
Keep the smoker closed: Resist the urge to peek. Every time you lift the lid, you lose heat and smoke.
Track internal temp, not time: Cooking by the clock is a gamble. A meat thermometer is your best friend here.
Just about any spice rub will work. Purchase your favorite rub or mix up your own blend like our Santa Maria rub or sumac spice rub.
Storing Leftovers
Refrigerate: Once the pork has cooled down, store it in an airtight container or wrap it tightly in foil. It’ll keep in the fridge for up to 4 days.
Freeze: For longer storage, portion the meat into freezer bags or airtight containers. You can freeze it for up to 3 months. Bonus points if you add a little of the cooking juices to each bag.
Reheat: Thaw frozen pork in the fridge overnight. Reheat either in a covered dish in the oven at 300°F with a splash of broth or leftover juices, or in a skillet over low heat. Microwaving is fine in a pinch, just cover it with a damp paper towel to keep it from drying out or turning rubbery.
Pin this now to find it later!
Pin It
Traeger Pork Shoulder
If you make this recipe, please leave a star rating and comment.
Ingredients
Injection Marinade
- 1 cup orange juice
- ½ cup fresh lemon juice
- ¼ cup brown sugar
- 2 tablespoons Worcestershire sauce
- 2 tablespoons olive oil
- 2 teaspoons salt
- 3 to 5 dashes Tabasco sauce
For the Pork Shoulder
- 9 pounds bone-in pork shoulder
- 4 tablespoons yellow mustard
- ½ cup dry rub seasoning, we used smoked chipotle mezcal
Instructions
Prep the Pork Shoulder
- Combine the marinade ingredients in a bowl and set aside.
- Trim the excess fat from the pork shoulder. Leave about ¼ inch of fat on the pork (a thicker layer of fat will not render down).
- Place the pork in a dish or rimmed baking sheet to contain the juices when you inject the marinade. Load a meat injector with the marinade and inject the pork shoulder in several places. Discard any of the marinade that leaks out.
- Pat the pork dry with paper towels. Smear the mustard all over the surface of the meat then coat it with a dry rub.

- Cover the meat with plastic wrap and refrigerate for 8 to 24 hours.
Smoke the Pork Shoulder
- Preheat the Traeger to 225°F.
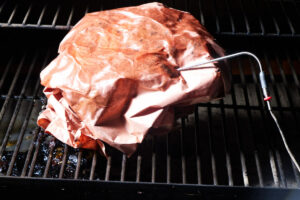
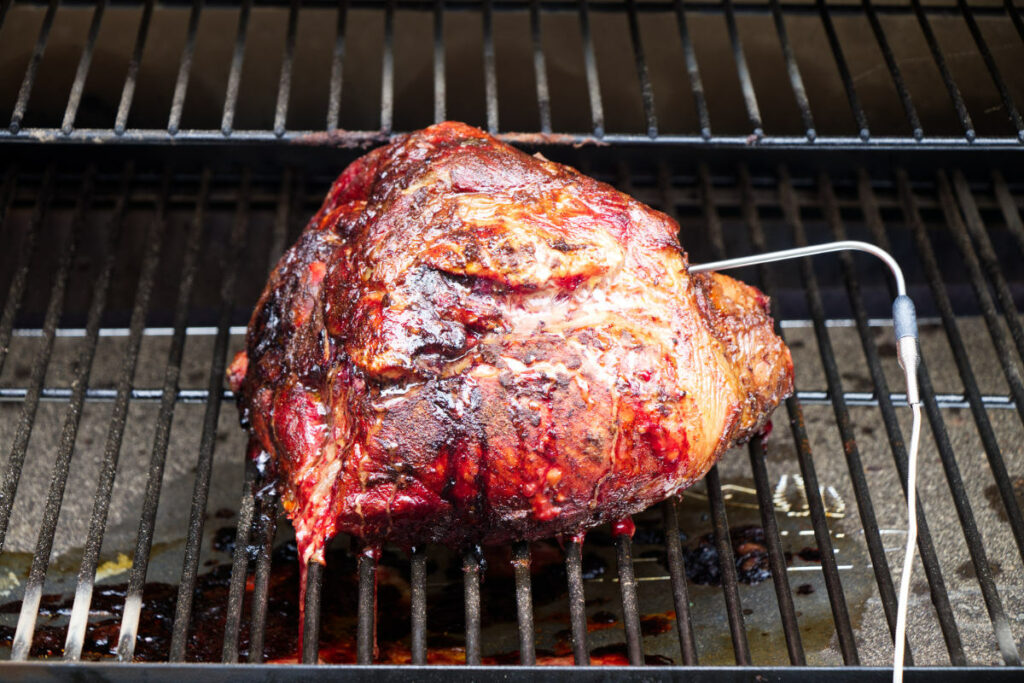
- Place the pork shoulder directly on the grill rack, fatty side up. Place a meat probe thermometer in the meat and close the grill.

- Smoke the pork shoulder until it reaches an internal temperature of 200°F to 205°F (this should take about 15 to 20 hours if you keep the Traeger set at 225°F).
Dealing with the Stall
- Approximately four to six hours into the smoking time, the pork shoulder will hit a stall and it will look like the temperature stopped climbing. The stall is normal. Sometimes it lasts so long that you might start to think your grill or meat thermometer stopped working.
- When the pork gets to the stall point, you can either wait it out, or push it out of the stall a bit faster by wrapping it in pink paper or aluminum foil.
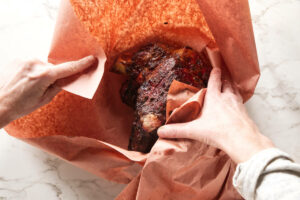
- Aluminum foil will insulate the meat and bring the temperature up quicker but it will block out most of the smoke flavor. Our choice is to use pink butcher's paper or simply wait it out. The paper will help insulate the meat and bring it out of the stall while still letting in some smoke flavor. Paper will also help keep a flavorful bark on the meat.
- Patiently waiting out the stall will give the pork shoulder the most flavor and the best crusty bark coating.
Finishing the Pork Shoulder
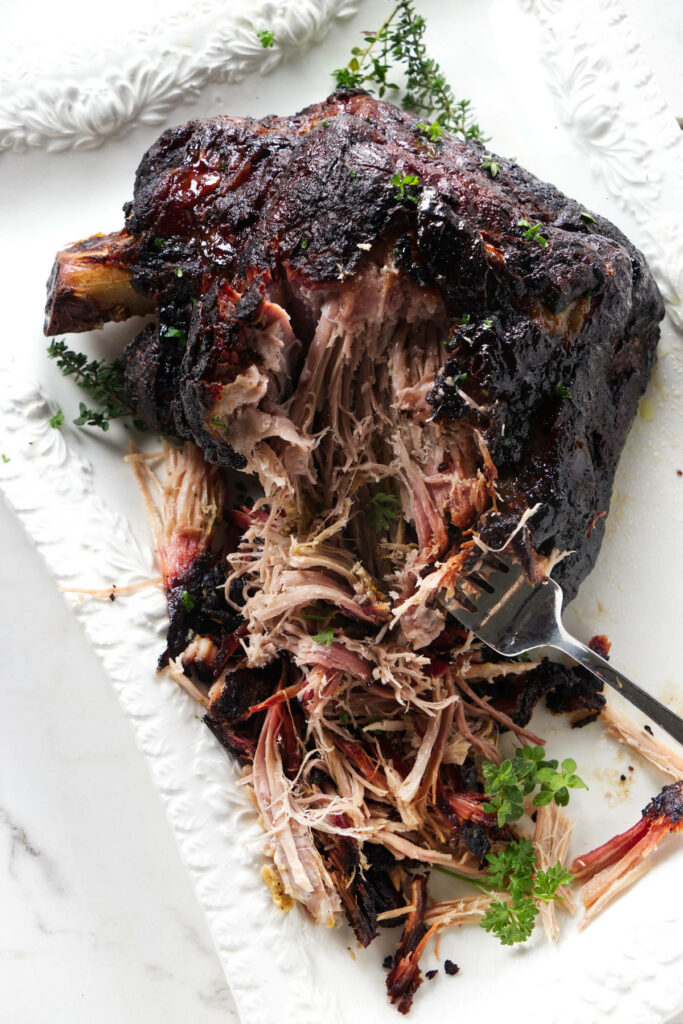
- When the pork shoulder reaches 200°F to 205°F, remove it from the smoker, cover it in aluminum foil, and let it rest for at least an hour. You can place it in an insulated cooler to keep it warm.
- When you are ready to serve the pork, use a fork or a pork shredding tool like bear claws to pull the meat. If you find large chunks of cartilage or fat, toss them out.
Notes
- You can use any storebought rub or make your own. Our tri-tip rub and our BBQ seasoning are easy to make. For this recipe, we used Spiceology Smoked Chipotle Mezcal.
- If you want pulled pork (shredded meat), cook the pork shoulder to an internal temperature of 200°F to 205°F. If you want to slice the pork, you only need to cook it to an internal temperature of 175°F.
- Base the finished pork shoulder on the internal temperature and not the estimated cook time. The cook time will vary but you can make a rough estimate based on the following:
- For pulled pork (cooked to an internal temperature of 200°F) estimate 1 hour and 45 minutes to 2 hours per pound.
- For sliced pork (cooked to an internal temperature of 175°F) estimate 45 minutes to 1 hour per pound.
- If you increase the temperature on the Traeger to 275°F, the pork shoulder should only take about 1-1/2 hours per pound to reach an internal temperature of 200°F.
- The internal temperature will hit a stall somewhere between 145°F and 160°F. The length of time the meat stays in the ‘stall’ varies with every cook. Wrapping the meat in foil or butcher’s paper will help push it through the stall and get the internal temperature to start rising again.
- Wrapping the meat in foil will help increase the temperature faster. Wrapping the meat in paper will help the meat keep that crunchy bark layer. The paper wrap will also let the meat continue to infuse with smoke flavor.
- If the pork finishes cooking before you are ready to serve it, an insulated cooler will keep it warm for several hours.
Nutrition
Nutrition information is automatically calculated, so should only be used as an approximation.
 Like this recipe? Rate & comment below!
Smoked Pork Shoulder
Smoking a pork shoulder on the Traeger takes time, but the payoff is big, rich, smoky flavor, a bark that’s pure gold, and juicy meat that practically shreds itself.
This recipe is perfect for feeding a crowd or stashing leftovers in the freezer for easy meals later. It’s low-effort once it hits the smoker, big on flavor, and just the kind of slow-cooked magic that makes you feel like a backyard hero.
The Process Photos


How can I print this recipe
The print button is in the recipe card above the ingredient list.
Looks amazing! Was wondering if the total cook time includes the stall in cooking
Yes, it includes the stall time.
The pork looks literally melt-in-mouth and to die for, Dahn.
angiesrecipes
This looks really terrific! Such a nice, thorough, complete recipe — really good. And this looks really delish! Thanks.
Thanks John