
This post may contain affiliate links. Please read our disclosure policy. As an Amazon Associate, I earn from qualifying purchases.
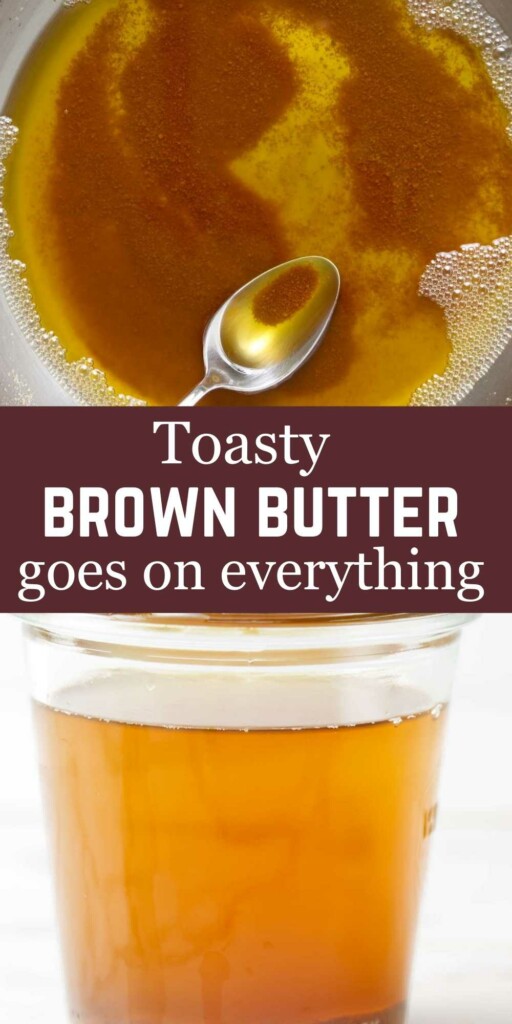
Brown butter is what happens when regular butter decides to show off. It’s just melted butter that’s been gently cooked until the milk solids toast and turn golden brown, giving it a deep, nutty, caramelized flavor that tastes great on pretty much everything.
I use this stuff in everything from cookies (hello brown butter snickerdoodles) to mashed potatoes. And once you’ve mastered the base, it’s easy to riff: brown butter sage sauce is kind of addictive.
If you’ve never browned butter, or just want a foolproof method, this recipe will walk you through it step-by-step. Use it in savory recipes like my green beans almondine or in sweets like my brown butter blondies.
Here’s Why This Brown Butter Recipe Works
No guesswork: Step-by-step visuals make it easy to spot when the butter’s just right, not burnt.
Flavor payoff is huge: That toasty, caramelized goodness adds serious depth to baked goods, sauces, vegetables, and even fruit fillings (like my bourbon peach pie).
Works with any amount: Whether you’re browning a stick or just a couple tablespoons, the process stays the same.
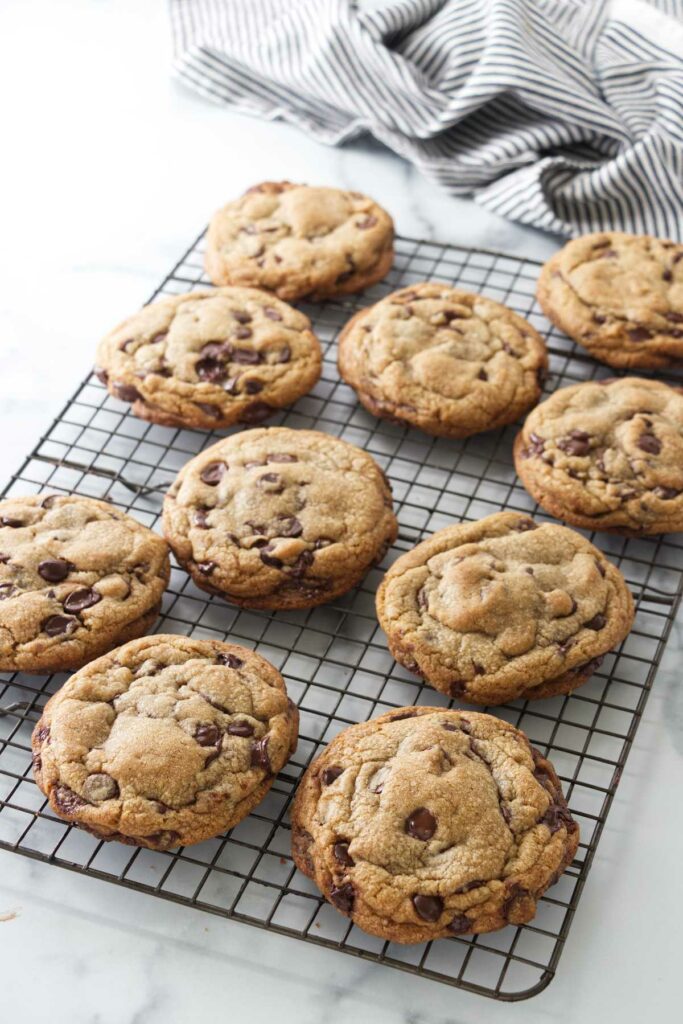
No extra equipment needed: Just a spoon and a pan. Then go make something like these sourdough chocolate chip cookies and taste what brown butter can really do.
Recipe Tips
Use a light-colored pan: It’s way easier to see the color change in the butter, which is key to not burning it.
Cut butter into chunks: Smaller pieces melt faster and more evenly, so nothing scorches while you’re waiting.
Stay close and stir often: Browning happens fast, and once it starts, it can go from “yum” to “yikes” in seconds. If it starts smelling burnt, you’ve gone too far.
Scrape up the browned bits: Those golden flecks at the bottom? That’s where all the flavor lives, don’t leave them behind.
Cool before using in baking: Hot brown butter can ruin the texture of doughs or scramble eggs. Let it chill out before mixing it in.
Tilt the pan to check color: If the foam is making it hard to see, use a spatula to scooch the foam aside and peek at the bottom.
Prevent it from over-browning: Once browned, pour it out of the hot pan ASAP or it’ll keep cooking and may burn from residual heat.
Watch the heat: Medium heat is your friend. Too hot and it can splatter and burn in a blink.
Salt intensifies as it browns: Browning concentrates flavor, including salt, so salted butter can taste even saltier once it’s cooked. Stick with unsalted butter for this recipe.
Browned Butter for the Win
Once you know how to brown butter, there’s no going back. It’s the kind of kitchen trick that makes people wonder what your secret is. And you don’t even have to tell them it only took five minutes and one pan.
Pin this now to find it later!
Pin It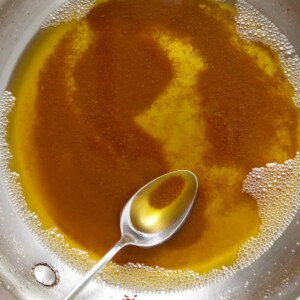
The Foolproof Way to Make Brown Butter
If you make this recipe, please leave a star rating and comment.
Ingredients
- 8 tablespoons Unsalted butter, or use any amount; just know it reduces slightly as it browns
Instructions
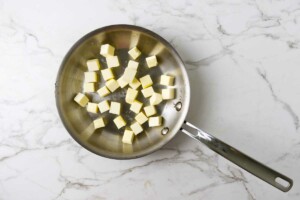
- Cut the butter into chunks and toss it into a light-colored skillet or saucepan. The smaller pieces will help it melt more evenly.
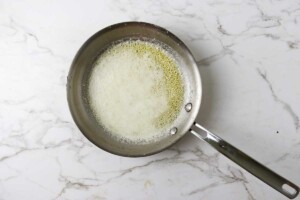
- Turn the heat to medium and let the butter melt completely, stirring occasionally to help it along. It’ll look pale yellow and glossy at this stage.
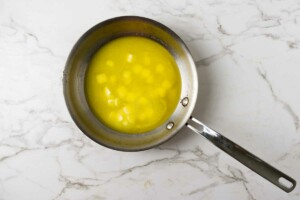
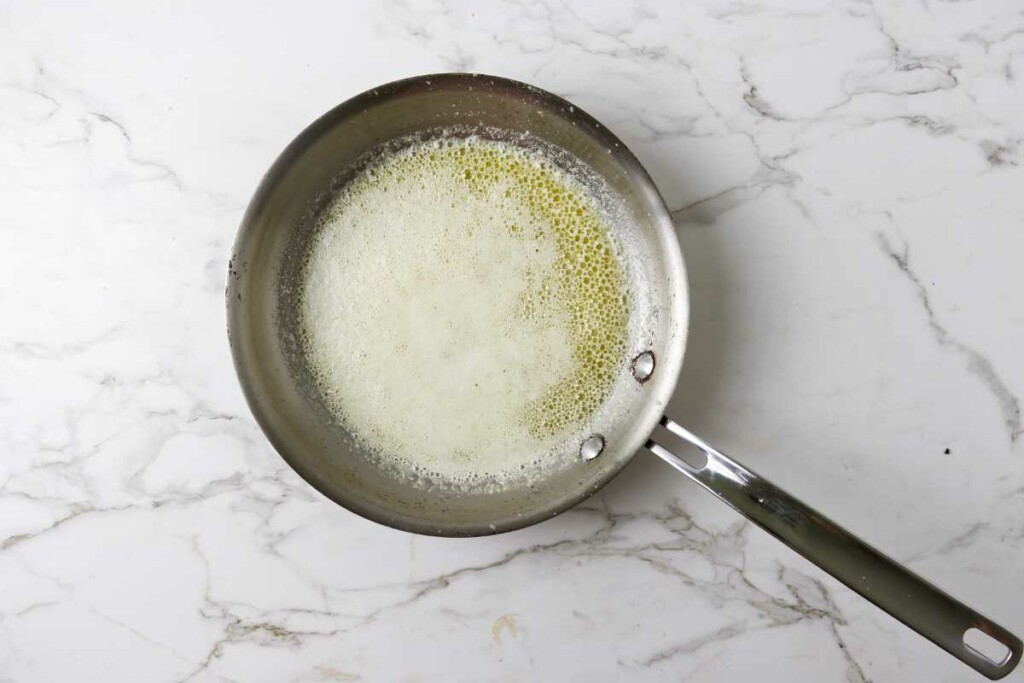
- Once the butter is melted, it will start to foam on top. This is normal, the water content is evaporating. Keep cooking and gently stirring.
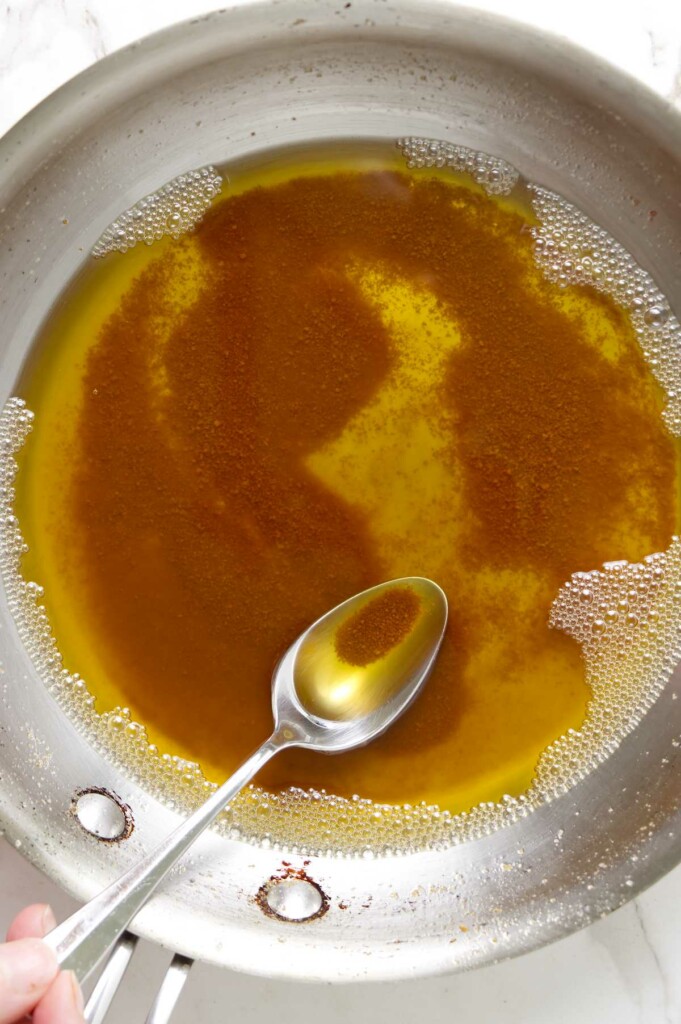
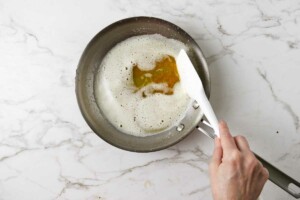
- The foam will begin to subside, and you’ll see little golden flecks forming at the bottom of the pan. That’s your brown butter magic happening. Stir constantly and don’t walk away, it can go from browned to burnt fast.
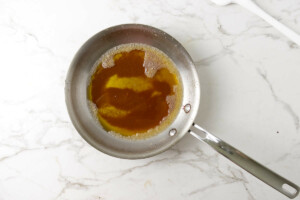
- As soon as the butter turns golden brown and smells nutty and toasty, remove it from the heat. Pour it into a heatproof bowl to stop the cooking process. Make sure to scrape in all the browned bits at the bottom. That’s where the flavor lives.
Notes
- Salted vs. unsalted: Stick with unsalted so you’re in control of the seasoning. Salted butter gets even saltier as it browns, since the water cooks off and the flavor concentrates.
- Measuring after browning: If your recipe needs a specific amount, brown a little extra and measure it after it browns since it reduces as it cooks.
- Using it in baking: Let it cool slightly before using it in recipes that call for softened or melted butter. If it’s hot, it can scramble eggs or mess with dough texture.
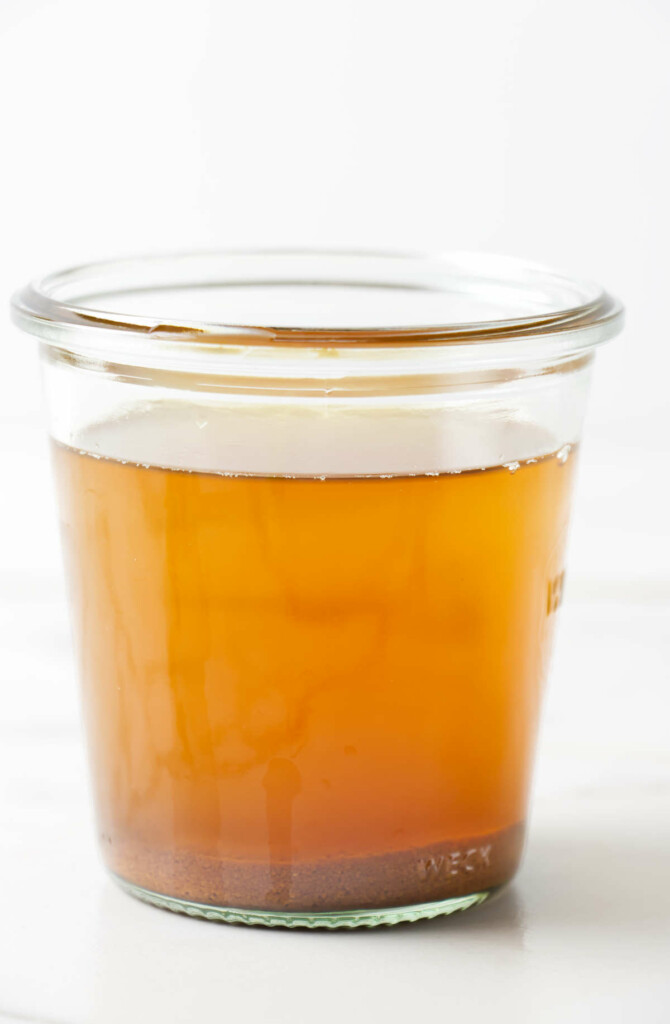
- Store in the fridge for up to 2 weeks, or freeze in an airtight container for up to 3 months.
- Reheat: Gently warm on the stove or in the microwave until just melted. No need to bring it to a boil, just loosen it up enough to use.
- Storing: I like to portion it into tablespoons in an ice cube tray so I can grab what I need.
Nutrition
Nutrition information is automatically calculated, so should only be used as an approximation.
 Like this recipe? Rate & comment below!
The Process Photos


Easy to follow recipe! Unsalted butter works perfectly
Thanks so much! I’m glad the recipe was easy to follow. Appreciate you taking the time to leave a comment!