
This post may contain affiliate links. Please read our disclosure policy. As an Amazon Associate, I earn from qualifying purchases.
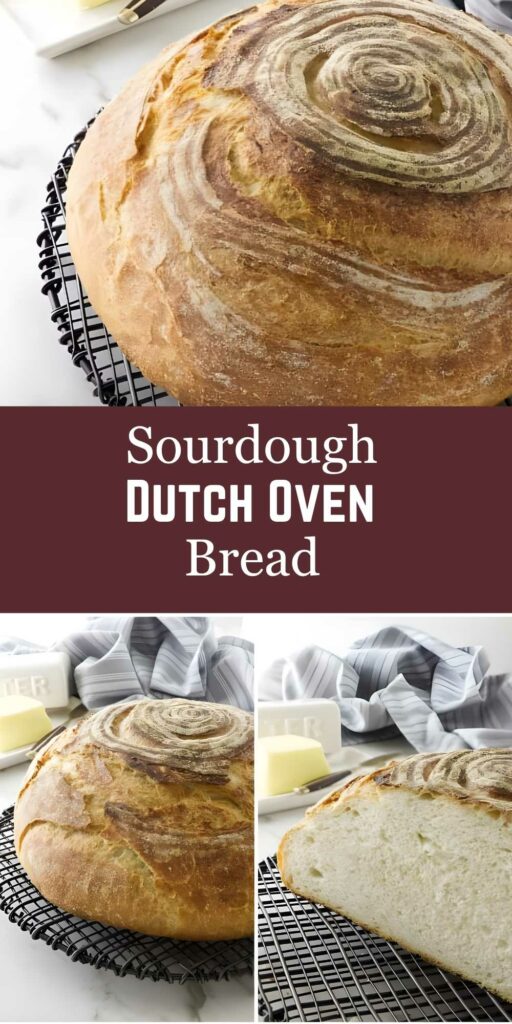
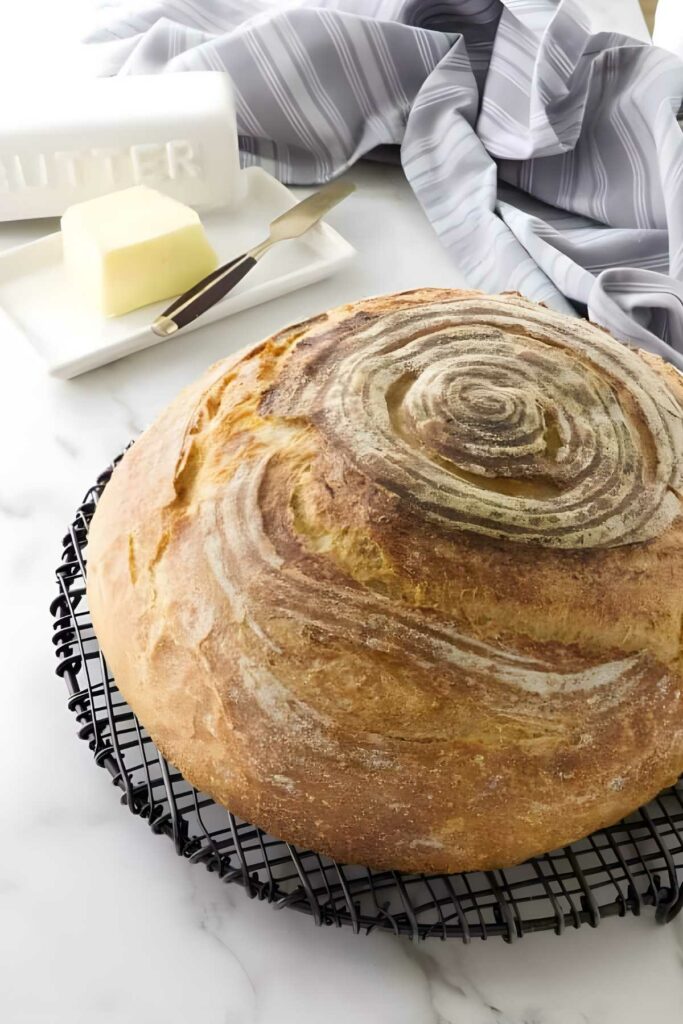
This rustic sourdough bread bakes up with a crisp, blistered crust and a chewy, open crumb. No fancy techniques required. A long, slow fermentation builds complex, well-developed flavor, while the Dutch oven traps steam for that golden artisan finish. With just four ingredients and a little planning, you’ll get a loaf that looks and tastes like it came from a bakery
Looking for a version made with ancient grains? Try our Einkorn Sourdough Bread for a nutty, flavorful twist.
Here’s Why This Sourdough Bread Recipe Works
A Dutch oven creates its own steam chamber, helping the loaf rise fully and develop a crisp, crackling crust.
Long fermentation builds better flavor. A slow rise (especially overnight) develops complexity without pushing the dough into sharp sourness.
Sticky dough makes great bread. This high-hydration dough can be a little messy, but it’s worth it. The extra moisture helps create an open, chewy crumb.
Stretch and fold, or knead if you prefer. A few quick folds during the first rise are all it takes to build structure. But if you’re more comfortable with traditional kneading, we’ve included notes for that method too.
For a sweeter way to use your sourdough starter, these Sourdough Raised Donuts are soft, pillowy, and downright irresistible.
Recipe Tips
Weigh your ingredients. Measuring flour by volume can swing wildly. Using a scale keeps your hydration consistent and your dough predictable.
Handle sticky dough with wet hands. This dough is higher in hydration and a bit sticky. A quick splash of water on your hands makes shaping easier.
Dust proofing baskets with a rice flour blend. All-purpose flour tends to stick. A 50/50 mix of rice and AP flour creates a drier surface that helps the dough release cleanly.
Preheat your Dutch oven. You can bake in a cold pot, but a fully preheated Dutch oven gives you better oven spring and a more dramatic rise.
Watch the dough, not the clock. Rising times vary with temperature and starter strength. Instead of timing it strictly, look for dough that’s puffy and slightly jiggly before baking.
Use leftovers to make my sourdough French toast that uses discard as well as sourdough bread.
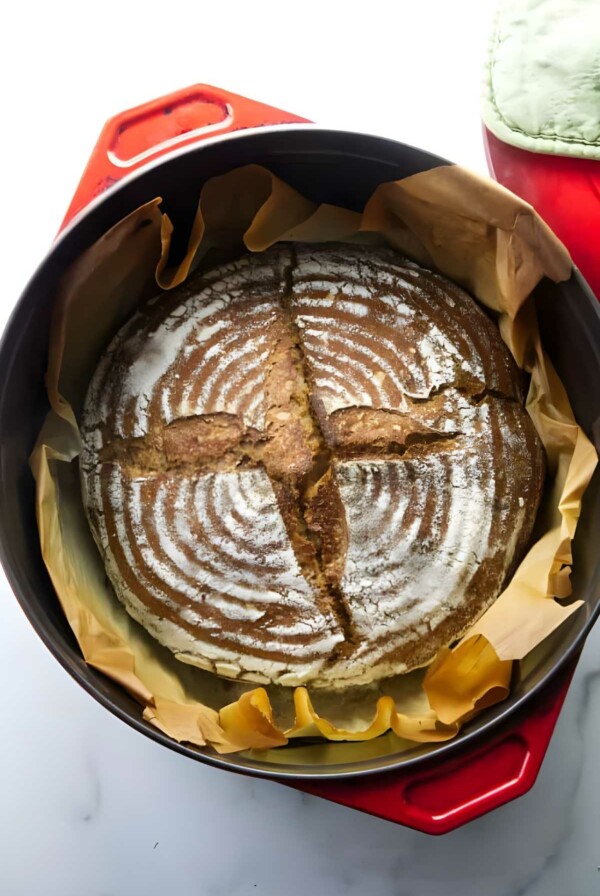
Rustic Sourdough Bread
This is the kind of bread that reminds you why baking from scratch is worth it.
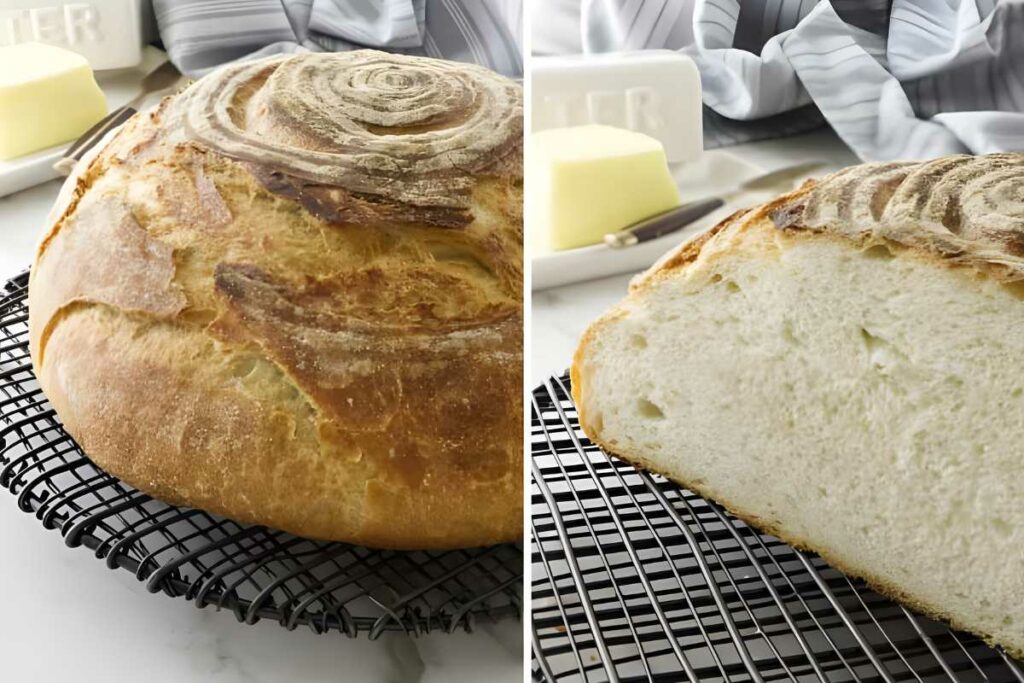
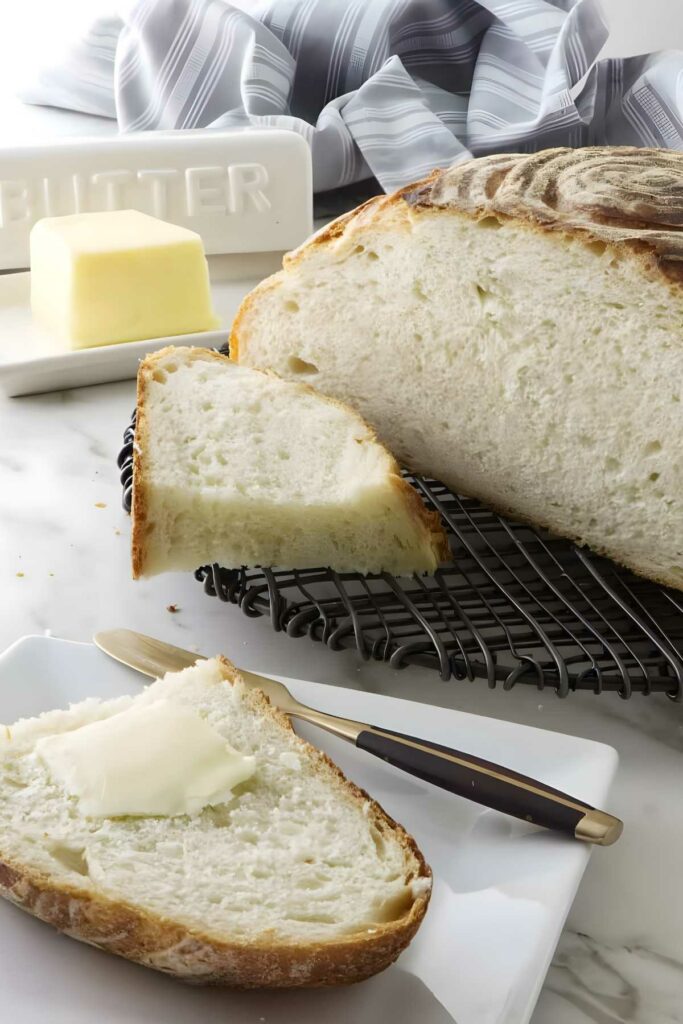
The crust sings, the crumb is open and chewy, and the flavor runs deep. You don’t need fancy tools or a complicated routine, just patience, good ingredients, and a Dutch oven.
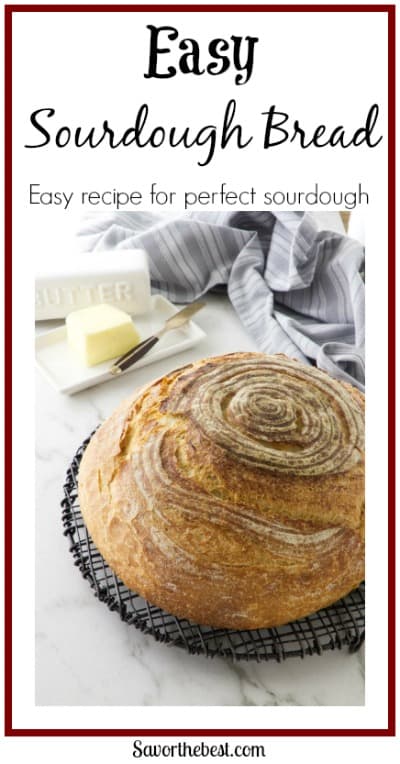
Pin this now to find it later!
Pin It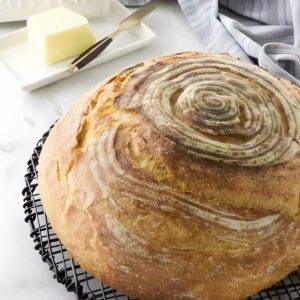
Easy Sourdough Bread Recipe
If you make this recipe, please leave a star rating and comment.
Ingredients
- ⅔ cup active sourdough starter, (160 grams)
- 1⅓ cups warm water, (314 grams)
- 4¼ cups all-purpose flour, (510 grams)
- 2 teaspoons salt, (12 grams)
Instructions
Mix the dough
- In a large bowl, combine the sourdough starter, warm water, flour, and salt. Stir with a spatula or your hands until no dry spots remain. The dough will be sticky and shaggy. Cover the bowl with a damp towel or plastic wrap and let it rest for 30–45 minutes.
Stretch and fold and Bulk Rise
- After the rest, perform the first stretch and fold: with wet hands, grab one side of the dough, stretch it upward, and fold it over the center. Rotate the bowl and repeat 3 more times for a total of 4 folds.
- Repeat this process 2 more times, spaced 30 minutes apart, for a total of 3 rounds. After the final fold, cover the bowl and let the dough rise at room temperature until puffy and nearly doubled in size, about 4 to 6 hours, depending on the temperature.
Shape and proof
- Turn the dough out onto a lightly floured surface. Gently shape it into a round by folding the edges toward the center and flipping it over. Use your hands or a bench scraper to tighten the shape slightly.
- Place the dough seam-side up in a floured proofing basket or towel-lined bowl. Cover and refrigerate for 8 to 12 hours for a cold fermentation that develops more flavor and makes scoring easier.Short on time? You can skip the fridge and let the shaped dough rise at room temperature for 1 to 3 hours, or until it looks slightly puffy and airy. See the note below about signs that the bread is ready to bake.
Score and bake
- Place a Dutch oven with the lid on into the oven and preheat to 475°F. Let it heat for at least 30 minutes to ensure the pot is thoroughly hot.
- Remove the dough from the fridge and invert it onto a sheet of parchment paper. Score the top with a sharp knife or lame.
- Carefully transfer the dough (on the parchment) into the hot Dutch oven. Cover and return it to the oven. Lightly spritz the surface of the dough with water. This encourages extra steam in the pot and helps create a crisp, blistered crust.
- Bake covered for 20 minutes, then uncover and bake for another 20–25 minutes, or until the crust is deep golden and crisp. Transfer to a wire rack and let the loaf cool completely before slicing.
Notes
Nutrition
Nutrition information is automatically calculated, so should only be used as an approximation.
 Like this recipe? Rate & comment below!
For a reminder of the true Bread of Life, read John 6:35. If you’re hungry for more than bread, this verse is worth a pause.


I have attempted this recipe many times and my initial mixing of ingredients is always WAY too dry, leaving flour unable to be incorporated. I always have to add extra water, at-least a quarter of a cup if not more.
Thanks for the comment. This dough has a 67% hydration level. It should be soft and slightly tacky, not dry, so the most likely culprit is too much flour getting into the measuring cup. A small splash of extra water is fine if needed, but needing 1/4 cup or more usually means the flour was over-measured. If you can, use the gram measurements since they’re much more accurate. If you don’t have a scale, lightly spoon the flour into your measuring cup instead of dipping it into the flour.
Made my first loaf. Can’t wait to eat it. Soooo excited
Awesome!! I’m excited for you!
I want to try this with the ancient grains GF flour blend. Will that flour blend allow a good GF sourdough bread recipe? I need to be rice free, so this blend is perfect for that. I already use the blend to feed my starter!
Gluten free yeast bread is a bit trickier to make. It can be done with the ancient grains flour blend but I haven’t developed a recipe for it yet.
Great recipe! At the risk of sounding dense, I just wanted to point out that it’s not obvious that you intend the Dutch oven to be preheated. I’ve only been making einkorn sourdough for about a year and I wondered why you didn’t preheat the Dutch oven for this recipe. I searched the comments and saw that you intended for the Dutch oven to be preheated but it’s not specific in the recipe itself (unless I’m missing something!) Maybe this is obvious to most 🤪. Thank you for the recipe! I’m going to make it again and I think it’s going to be my go to recipe! Your specificity concerning the starter hydration was so helpful! I didn’t even know what that meant and had to look it up!
Thank you for the comment, I appreciate all the help to make sure the recipe is clear. I did mention the option to preheat the DO in the notes but I added an additional step to make sure the notes don’t get missed. My intention was to make the step optional but I see how that was not easy to understand. You can make this bread without preheating the DO but you will get more oven spring if it is preheated. Please be careful with the hot Dutch oven. I hear so many stories of people burning themselves while transferring the dough to the pot. I hope the recipe is a little more clear now. Please let me know if I can clarify anything else.
This is the only recipe I use now. I have tried so many others and found them to be very time consuming.
Am I able to add cinnamon and raisins to the mix and still follow the same procedure?
Yes, you can add spices, nuts, seeds, dried fruit, sun-dried tomatoes, or olives to the dough. I like to soak my dried fruit to get it soft. If you do that, then keep in mind that it may affect the hydration of the dough, depending on how ‘wet’ the ingredients are. Just make sure any soaked fruit or ‘wet’ ingredients get patted dry. Thanks for the question and the compliment.
I have a cast iron Dutch Oven but it isn’t deep enough for a round loaf. You mention putting the loaf on a baking sheet or hot pizza stone. Both of which I have. My questions: Will either option change cooking time or temperature? Also would I have to put a pan of water in the oven or cover the loaf with foil?
The baking time is nearly the same if you bake the bread on a pizza stone or on a baking sheet instead of a Dutch oven. A Dutch oven will help the bread rise higher and have a springier texture. If you put a pan of water in the oven while you bake on a sheet pan, that will help a bit with oven spring. The bread won’t rise as high as it does in a Dutch oven but a bit of steam will help boost it a bit.
This is my go to recipe now. I have tried quite a lot and this has not failed me. I don’t like a dark crust on the bottom, so I place a round cooling rack on the bottom and place the dough and parchment paper on top of it. I now don’t get the “ burnt” crust. Also when I take the lid off, I set my timer for 5 minutes at a time I order to get a nice golden crust finish. I always let the dough sit I. A broth from basket overnight in the fridge.
Thanks for the comment. I’m glad the cooling rack helped get the bottom crust you like. Great trick.