
This post may contain affiliate links. Please read our disclosure policy. As an Amazon Associate, I earn from qualifying purchases.
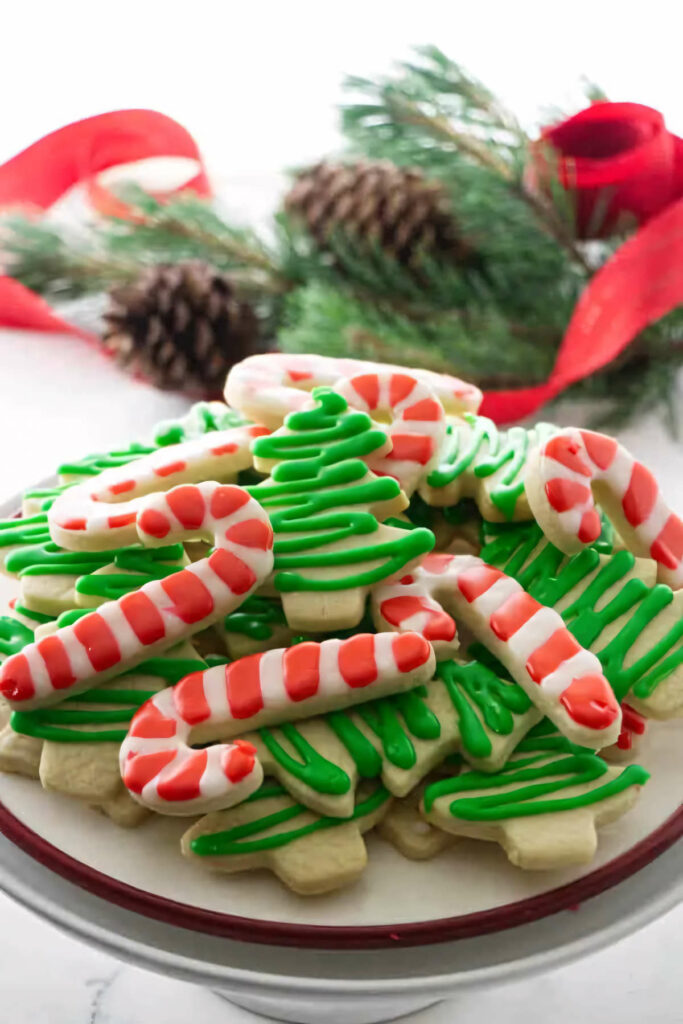
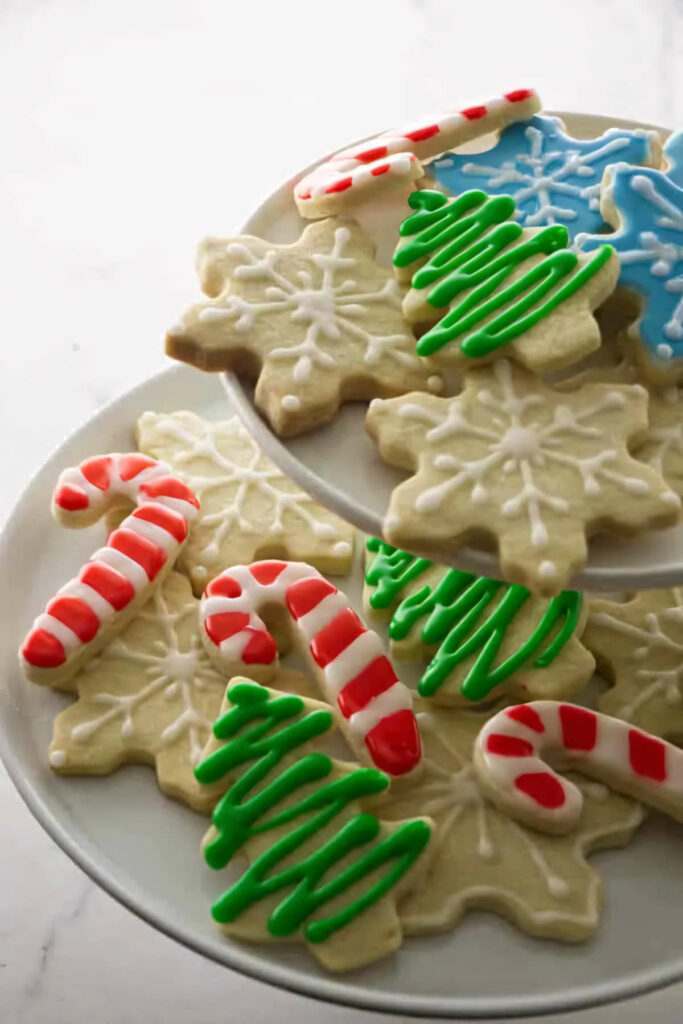
Christmas cut out cookies: the timeless sugar cookie that’s somehow become a canvas for every holiday, event, and “just because” moment. These cookies bake up with crisp edges and soft centers, and here’s the best part…. they actually keep their shape (no blobby snowmen here).
With a no-fuss icing that sets perfectly, you’ll have a batch ready to decorate, stack, or devour straight from the cooling rack.

This is where the fun begins. With only six ingredients, your favorite cookie cutters, and perhaps a few little helpers (because baking Christmas cookies is way more fun with tiny bakers and a big mess, right?), you’ll have festive cookies that bake up beautifully every time.
Here is Why This Recipe Works
Shape-Saving Secret: No lopsided blobs here. Freezing the cookie cutter shapes keeps them looking like the stars (or trees, or hearts) they’re supposed to be.
Perfectly Balanced Texture: Crispy edges with soft, buttery centers. These Christmas cutout cookies check all the boxes for texture perfection.
Easy-to-Mix Icing: Whip up a simple icing that’s thick enough to hold designs but smooth enough to spread with ease. No fancy equipment needed.
Versatile and Customizable: With endless shape and icing options, these Christmas cut out cookies bring holiday cheer to any cookie platter.
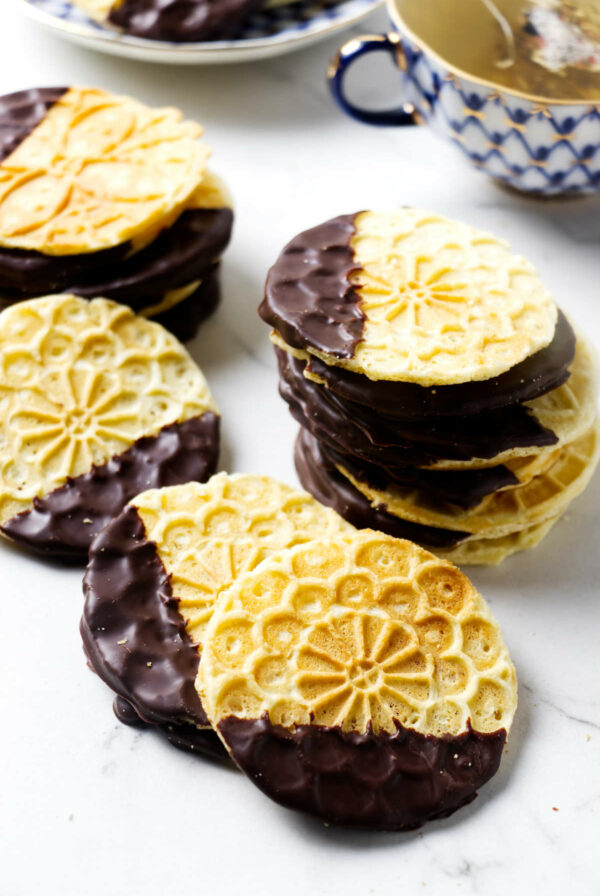
For more Christmas cookies, try my Italian pizzelle.
The Ingredients
- Fridge: Butter, eggs
- Pantry: All-purpose flour, granulated sugar, powdered sugar, baking powder, Salt, vanilla extract
- Condiments: Light corn syrup (optional)
If you love this recipe, try our Christmas pinwheel cookies.
Why Sugar Cookies Spread and How to Prevent It
Cutout cookies can spread for many reasons. Sometimes it’s about ratios, like too much butter or sugar compared to flour, or a bit too much baking powder. Other times, it’s a temperature issue with the oven, or maybe the dough is too thick. The list goes on!
The secret to shape-holding roll out sugar cookies? Cold dough! Freezing the cut-out shapes before baking keeps the cookies from spreading, so each one comes out just as you intended.
Most recipes call for chilling the dough before rolling, but that can backfire as the dough warms up while you work. Instead, chill the cookies after cutting them out. Stack them with wax paper in between layers, pop them in the freezer, and they’ll be ready for a quick, no-spread bake!

Variations
Lemon Almond Sugar Cookies: Add 1 tablespoon of lemon zest and ½ teaspoon of almond extract for a bright, citrusy twist.
Chai Spice Christmas Cut Out Cookies: Mix in 1 teaspoon of ground cinnamon, ½ teaspoon of ground cardamom, and ¼ teaspoon each of ginger and cloves. Perfect with a spiced glaze on top!
Chocolate Espresso Cutouts: Add ¼ cup cocoa powder and 1 teaspoon of instant espresso powder.
Funfetti Christmas Cutout Cookies: Stir in ¼ cup of rainbow sprinkles to the dough for a funfetti effect.
Tips for Success
- Chill as needed for easier handling: If your kitchen runs warm, a brief chill before rolling can firm up the dough and make it easier to work with.
- Freeze the cut out cookies before baking. This will help them firm up and hold their shape in the oven.
- Once you add the flour, mix just until combined. Overmixing can make the cookies tough.
- Flour your work surface generously. Keeping the dough well-floured prevents it from sticking to the counter and rolling pin.
- Roll the dough to about ¼ inch thick: This thickness gives cookies that hold their shape but stay soft. Thinner cookies may turn crispy and break more easily.
- Check for the right icing consistency. It should have a thick, ribbon-like texture that drizzles slowly off a spoon. Add water gradually to avoid making it too runny.
Storage
Room temp: To keep your Christmas cutout cookies fresh, wrap un-frosted cookies in plastic wrap at room temperature for up to two weeks. For frosted cookies, stack them in an airtight container with wax paper between layers.
Freezing: Place cooled, undecorated cookies in a single layer on a baking sheet and freeze until solid. Then, transfer them to a freezer-safe container, separating layers with parchment paper. They’ll keep well for up to 3 months.

More Recipes You Will Love
- The perfect Homemade Gingersnap Cookie as your holiday baking spree continues! They are soft and chewy with the right amount of snappy, ginger flavor.
- Exquisite yet easy to make, these Pistachio Cherry Cookies are a blend of salty, sweet and tart.
- For the cranberry lover, this Christmas Cranberry Layer Cake is a beautiful and delicious dessert to grace your holiday table.
Pin this now to find it later!
Pin It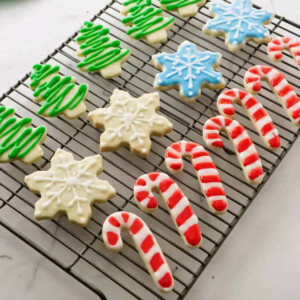
Christmas Cut Out Cookies (That Hold Their Shape)
If you make this recipe, please leave a star rating and comment.
Ingredients
For the Roll Out Cookie Dough
- 1 ½ cups butter, (3 sticks; 340 grams), softened
- 1 ⅔ cups granulated sugar, (333 grams)
- 2 large eggs
- 4 teaspoons vanilla extract
- 5 cups all-purpose flour, (600 grams)
- 1 ½ teaspoons salt
- ¼ teaspoon baking powder
Sugar Cookie Icing
- 2 cups powdered sugar, (aka confectioners sugar)
- ¾ teaspoon vanilla extract
- 1 tablespoon light corn syrup
- 1 to 3 tablespoons water, or milk
Instructions
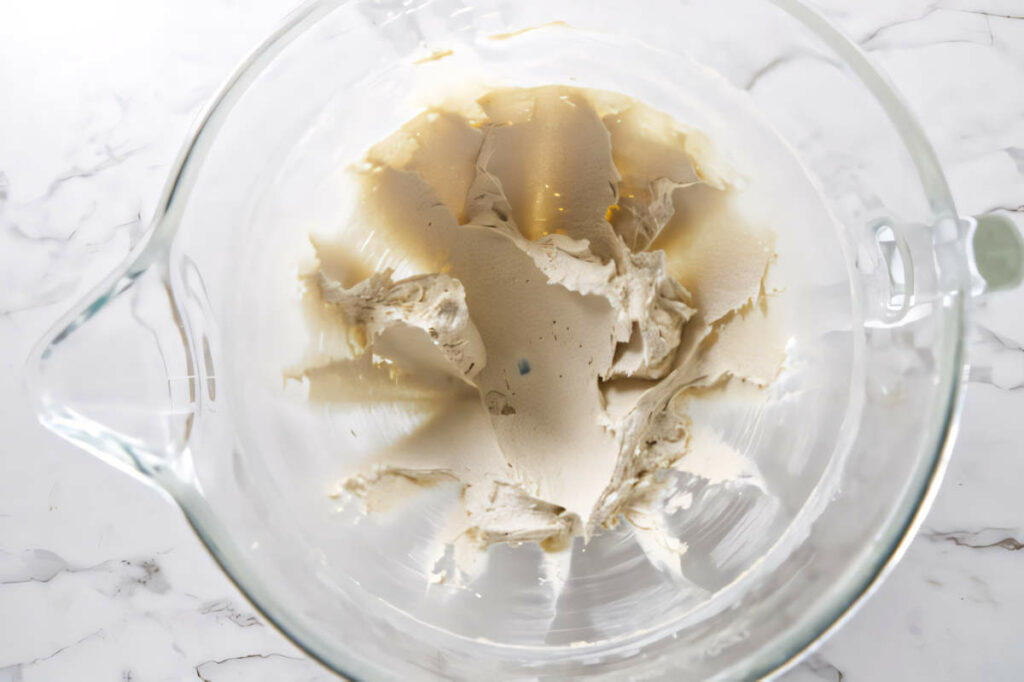
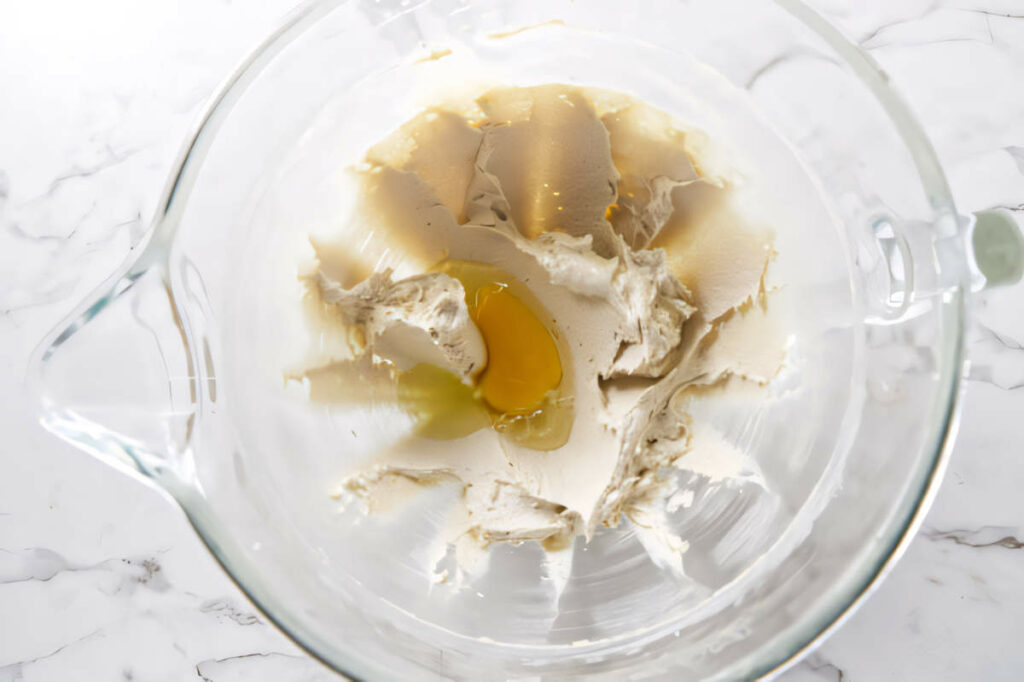
- Put the butter and sugar in a mixing bowl and beat until light and creamy (about 3 to 4 minutes). Add the eggs one at a time beating well between additions. Add the vanilla. Stop the mixer and scrape down the sides then beat until well combined.
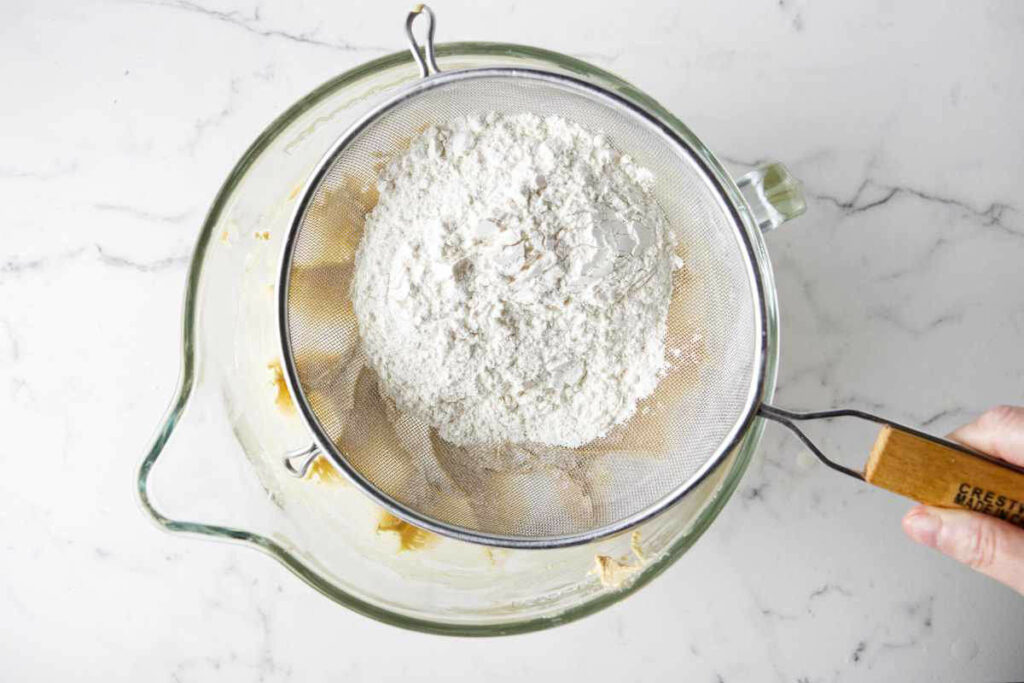
- Sift the flour, salt, and baking powder over the butter mixture and stir it in well or use the mixer on low speed.
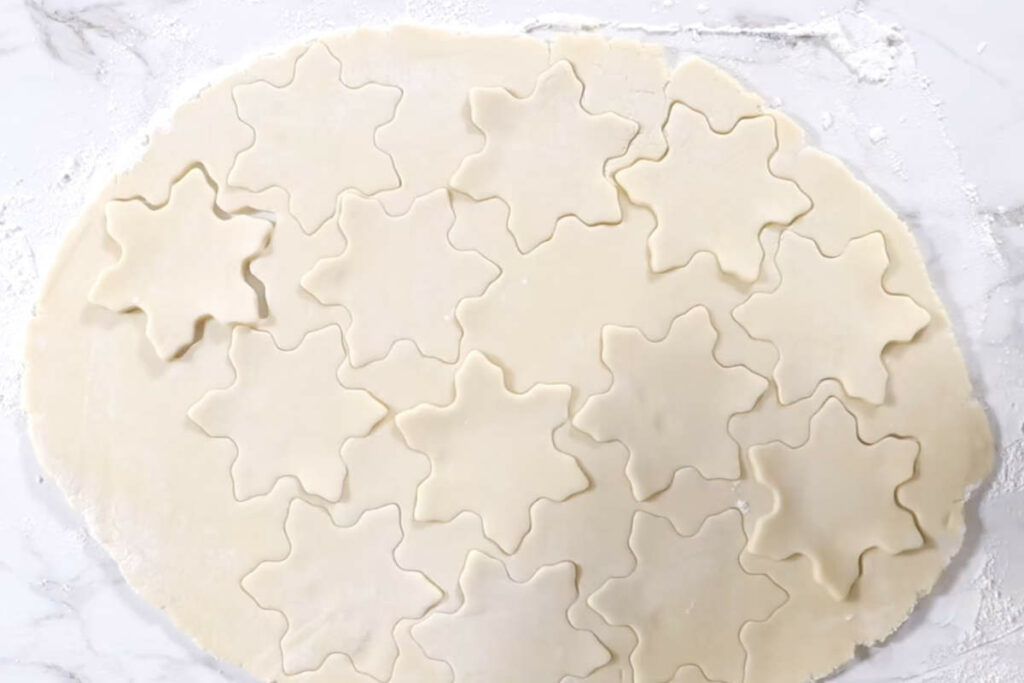
- Sprinkle some flour on the counter and roll the dough to ¼ inch thickness. Make sure the dough stays well floured so it doesn’t stick to the counter or rolling pin.
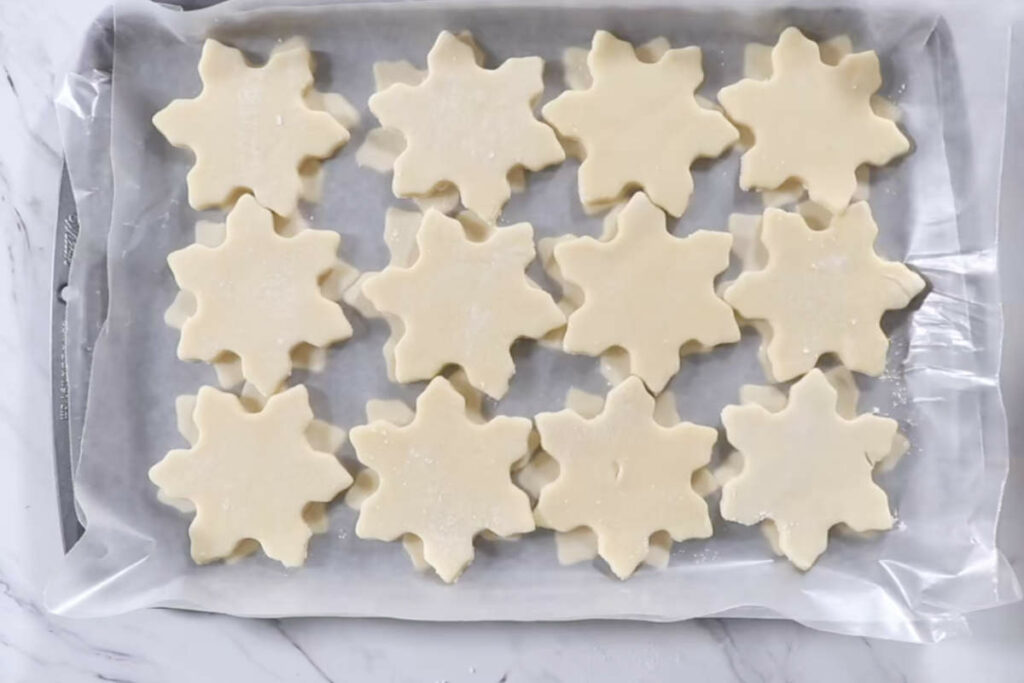
- Use cookie cutters to cut into your desired shapes then transfer the cookies to a tray and stick them in the freezer to chill for 30 to 45 minutes. Don't skip this step.
- While the cookies are chilling, pre-heat the oven to 350°F and line a couple of baking sheets with parchment paper or spray them with cooking spray.
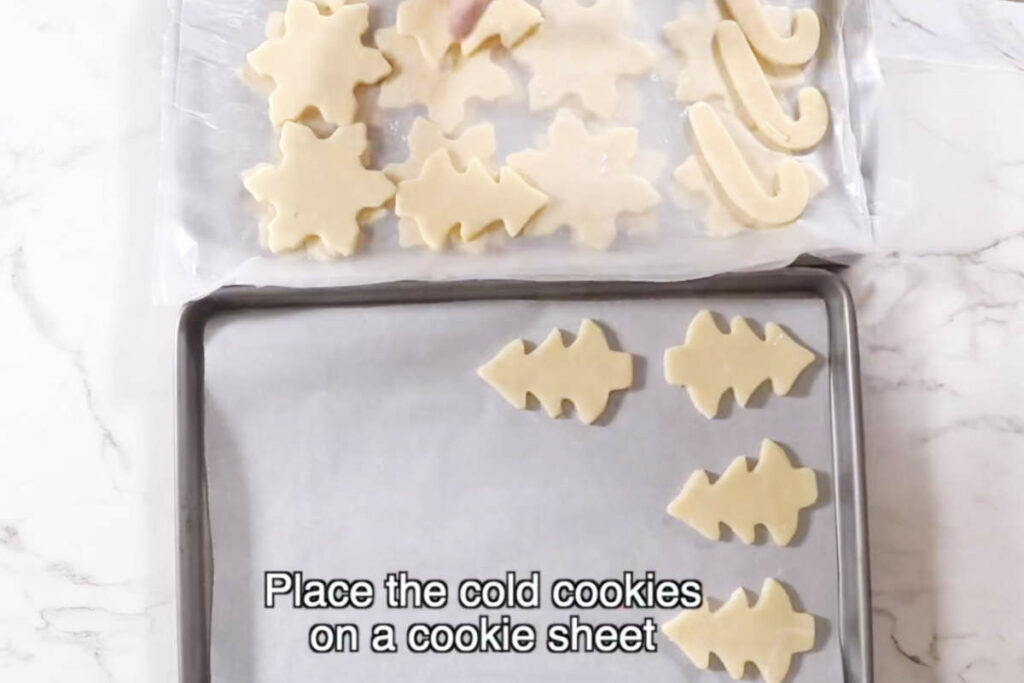
- Remove the COLD cookie shapes from the freezer and transfer them to a baking sheet.
- Bake for 9-11 minutes until the edges are a light golden brown.
- Let the cookies cool on the baking sheets for 10 minutes before transferring them to a cooling rack.
For the Icing
- Place the powdered sugar, vanilla extract, optional corn syrup along with 2 tablespoons of water or milk in a bowl then stir until well combined.
- Check the consistency of the icing and drizzle in more water if it is too thick. Only add ¼ to ½ teaspoon of water at a time (a little goes a long way).
- The icing should be fairly thick but you should be able to slowly drizzle it off of a spoon. When it falls back into the bowl, it should fall in a ribbon-like pattern and take a couple of seconds before blending back into the rest of the icing.
- Pipe or spread the icing onto the cookies and let it dry completely before storing them.
Video
Notes
- Most recipes will have you chill the dough before you roll it out. By the time you roll it out and cut the shapes, the dough warms up to room temperature. If you chill the dough after you cut the shapes, the cookies will hold their shape better.
- If your house is warm, you may need to chill the dough briefly before rolling it out.
- After you roll out the cookie dough and cut your shapes, place them in the freezer for 30 minutes or the fridge for 2 to 3 hours. You can stack them on top of each other if you keep wax paper between them so they don’t stick together.
- Wait for your sugar cookies to cool completely before icing them.
- If you add too much water to the icing, just add a bit more powdered sugar to thicken it again.
- Corn syrup gives the icing a slick shiny coat and keeps it from getting rock hard but it will firm up enough to stack the cookies on top of each other once the icing is dry.
- If you are not using the icing right away, lay some plastic wrap directly on top of the icing so the air doesn’t dry it out. It will store like that for 24 to 48 hours.
- Add a few drops of food coloring if desired. If you use a lot of liquid food coloring you may need to stir in a bit more powdered sugar to thicken it up again. (Gel food coloring will not thin the icing out).
Nutrition
Nutrition information is automatically calculated, so should only be used as an approximation.
 Like this recipe? Rate & comment below!


Absolutely going to make these! Where did you get your adorable cookie cutters? Thank you!
I got a set of cookie cutters on Amazon. This set is similar to the one I have.
Dahn, the cookies are THE BEST ever. I used the almond and vanilla extracts and they are delectable. Finally, after all these years a sugar cookie that actually tastes really, really wonderful. And the icing is fantastic! My cookies look like they came from the fanciest bakery, and taste even better than any I’ve had from fancy bakeries. Thank you again so much for your advice on using almond.
Wow, what a compliment! I would love to see your cookies if you haven’t eaten them all up yet 😉
Hi! Do you think I could halve the recipe and still have it turn out well
Thanks!
Yes, the recipe works if you cut it in half. Use 12 tablespoons of butter, 3/4 cup sugar, 1 egg, 2 teaspoons vanilla, 2-1/2 cups flour, 3/4 teaspoon salt.
The colours, the shape and the festive glaze are simply making me happy :-)) I am so READY for the holidays :-))
Thanks Angie, I am ready for the holidays too 🙂
Hi Dahn – These recipes sound perfect. I am partial to almond flavored cookies and wondered if I could flavors both the cookies and the icing with almond extract. If so, could you please recommend the proper amount, and whether or not I should also use vanilla? Thank you so much. Laura
I would put 1 teaspoon of almond extract into the cookie dough and 3/4 teaspoon in the icing. I would also recommend still using the vanilla extract but cut the vanilla in half. It gives a nice flavor that actually compliments the almond extract. Thanks for your question Laura, happy baking
Thank you, Dahn! I am looking forward to making these and I will let you know how they turn out.
Thanks for the comment Laura, I hope you enjoy them