This post may contain affiliate links. Please read our disclosure policy. As an Amazon Associate, I earn from qualifying purchases.

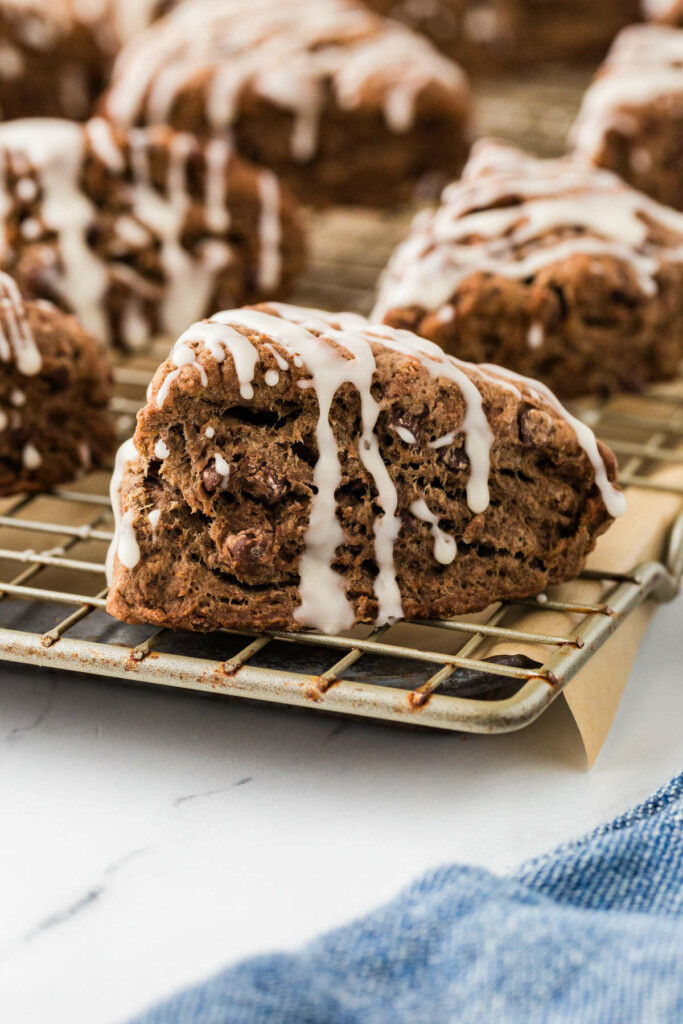
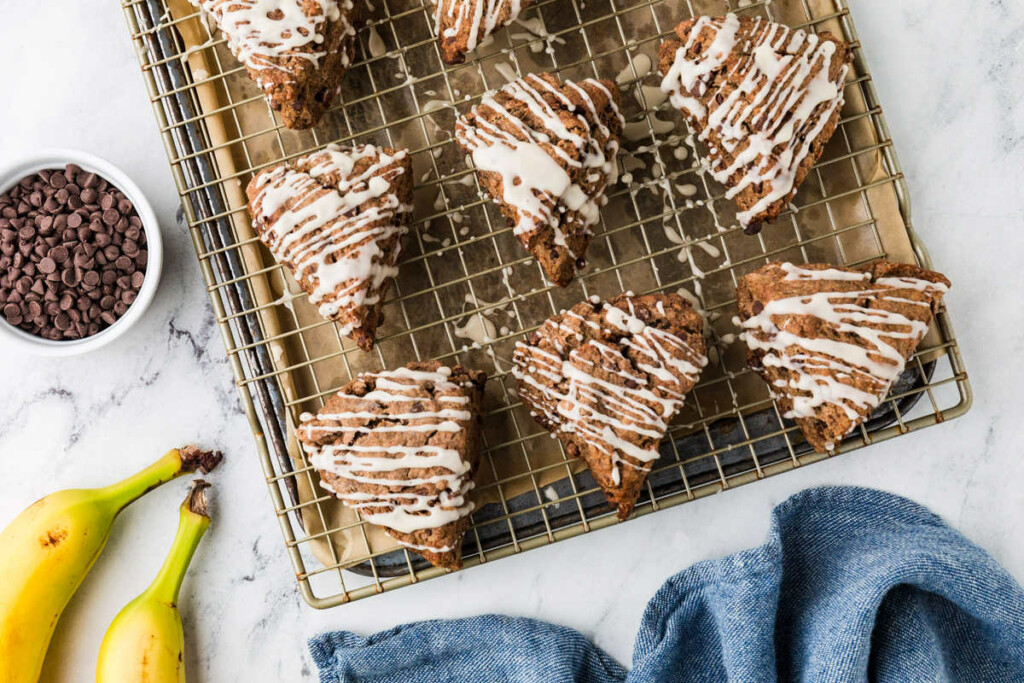
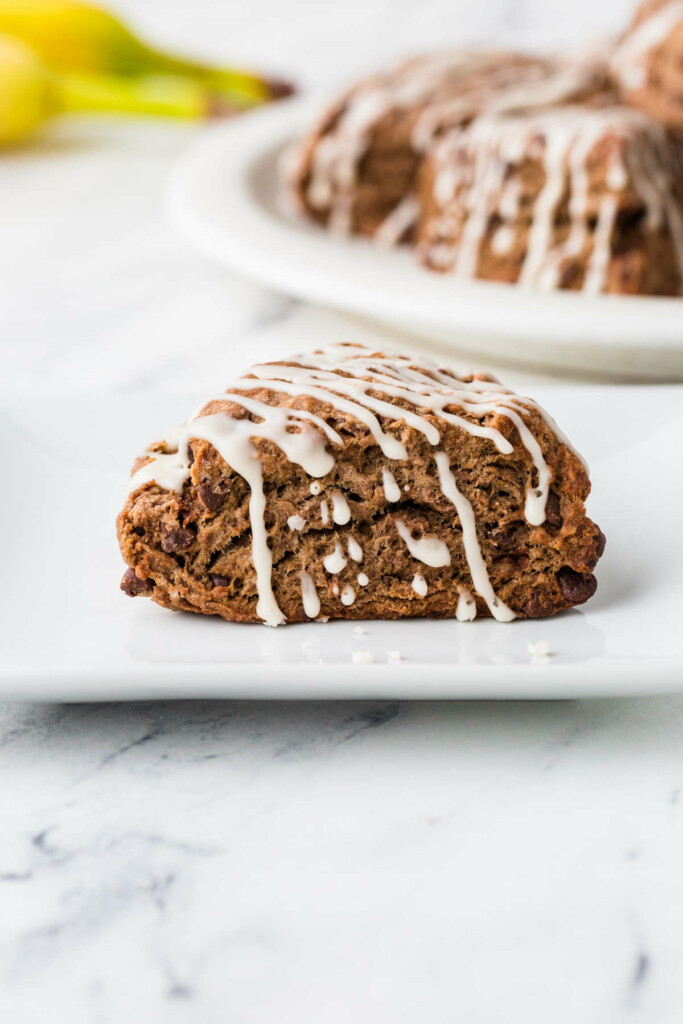
These chocolate banana scones are what happens when an overripe banana meets a chocolate craving and turns it into something actually worth baking. With cocoa in the dough, mini chocolate chips throughout, and a tender, layered crumb from a simple technique, they’re everything a scone should be: rich, flaky, and just sweet enough.
Here is Why This Chocolate Banana Scone Recipe Works
No starter, no stress:This one skips the sourdough but keeps all the flavor, so you don’t need a jar of bubbling mystery in your fridge to pull it off.
Banana + chocolate = always a good idea: Cocoa in the dough and melty mini chips throughout make these extra chocolatey without going overboard.
That cut-and-stack trick? Game changer: It’s a sneaky way to get layers and a tender crumb without overmixing the dough.
Freezer-friendly: Bake now, snack later. These scones hold up well in the freezer and reheat like a dream.
If you’ve got extra bananas to use up, you might want to make my chocolate chip banana bread. And if you want more scones, try my lemon poppy seed scones.
Recipe Tips
Keep the butter cold: Cold butter = flaky layers. If it starts to soften while mixing, pop the dough in the fridge for 10–15 minutes before shaping.
Don’t overmix: The dough should look a little rough, dry, and shaggy before you start the cut-and-stack step. It’ll all come together without getting tough.
Measure the mashed banana: Bananas aren’t exactly consistent in size. Use a scale if you can to avoid adding too much moisture.
Use a light touch when shaping: Press the dough together gently, no need to knead or overwork it.
Freeze before baking (optional but helpful): A quick chill helps the scones hold their shape and prevents too much spreading in the oven.
Use parchment or a silicone mat: Less sticking, easier cleanup, and better browning on the bottom.
Use a pastry cutter or your fingertips: You want visible bits of butter in the dough; they create steam pockets and help with that tender texture.
About the buttermilk: The acidity helps with rise and tenderness. If you’re out, you can use a DIY version (milk + vinegar or lemon juice), but the real stuff gives the best results.
Storing Leftovers
- Room temperature: Store leftover scones in an airtight container at room temp for up to 2 days.
- Fridge: For slightly longer storage (up to 4 days), place them in a sealed container in the fridge. Just know they’ll firm up a bit. Reheating helps bring back the softer texture.
- Freezer: Once the scones are completely cool, wrap them individually in plastic wrap or parchment, then place them in a freezer bag or airtight container. They’ll keep well for up to 2 months.
- To reheat: Warm a scone in a toaster oven or regular oven at 300°F for about 8–10 minutes, or pop one in the microwave for 20–30 seconds.


Flaky Banana Chocolate Scones
These chocolate banana scones are rich, tender, and loaded with mini chocolate chips in every bite. They come together easily with everyday ingredients and are a great way to use up that overripe banana sitting on the counter. Simple, satisfying, and freezer-friendly, what’s not to love?
Pin this now to find it later!
Pin It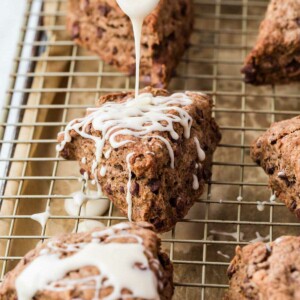
Chocolate Banana Scones
If you make this recipe, please leave a star rating and comment.
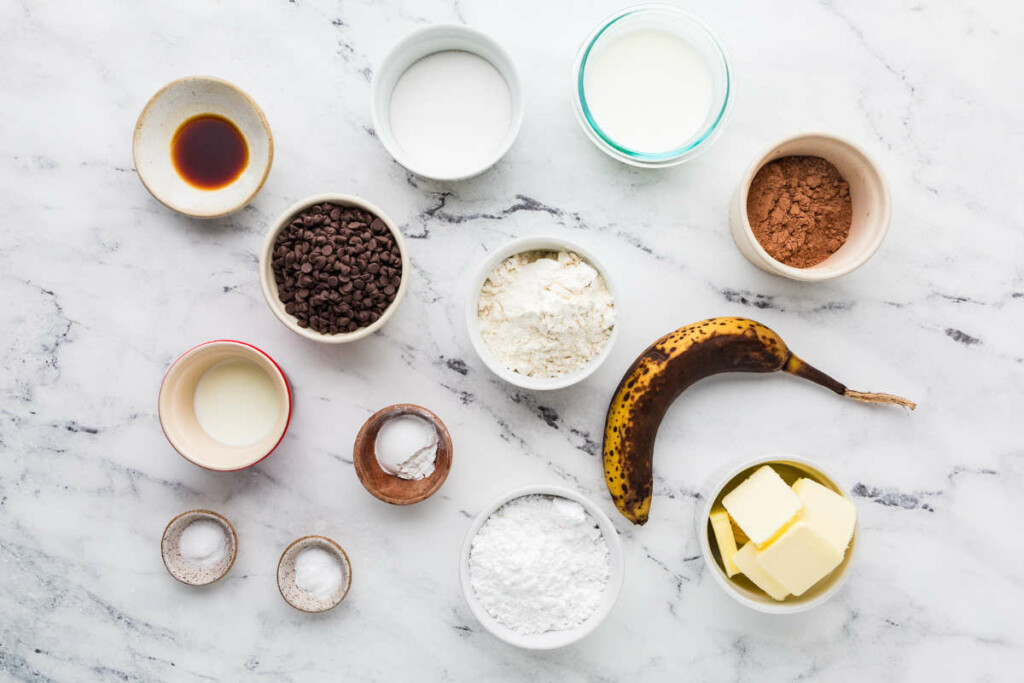
Ingredients
For the Scones:
- 2¾ cups all-purpose flour, 330 grams
- ⅓ cup unsweetened cocoa powder, 28 grams
- 1 tablespoon baking powder
- ½ teaspoon baking soda
- ¾ teaspoon salt
- ⅓ cup granulated sugar, 67 grams
- 8 tablespoons butter, cold; cut into pats, 113 grams
- 1 cup mini chocolate chips, 170 grams
- 1 banana, very ripe and mashed, 113 grams
- 2 teaspoons vanilla extract
- ½ cup buttermilk, 120 grams
For the Glaze:
- ¾ cup powdered sugar, 85 grams
- 1½ to 2 tablespoons milk
- ½ teaspoon vanilla extract
- ⅛ teaspoon salt
Instructions
- Preheat the oven to 425°F and line a baking sheet with parchment paper or a silicone mat.
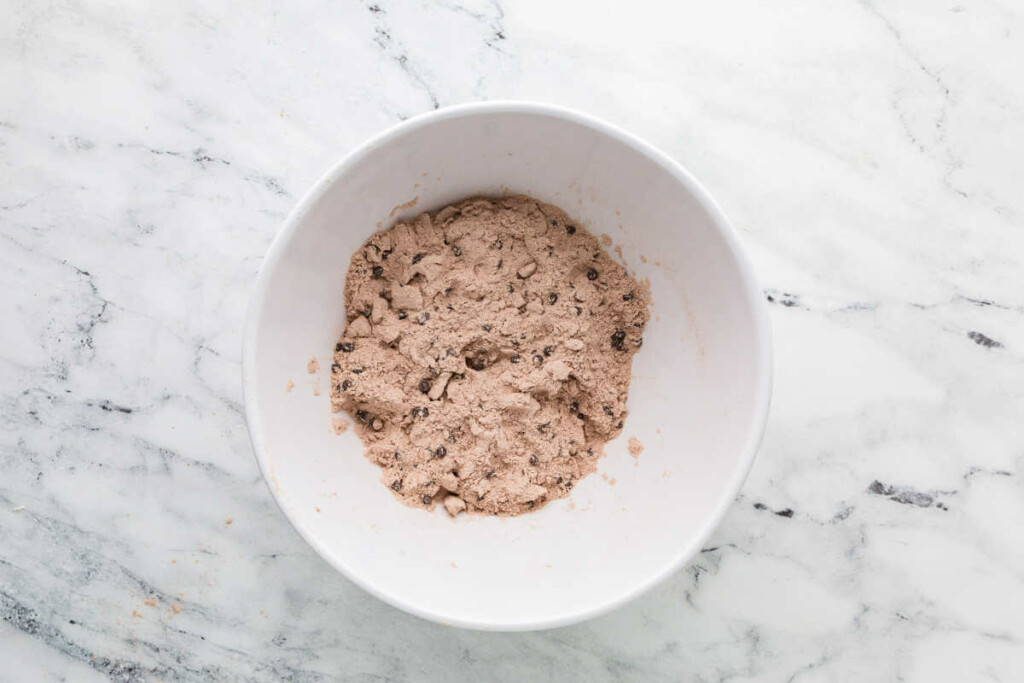
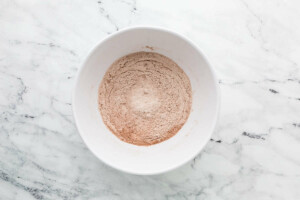
- In a large bowl, whisk together the flour, cocoa powder, baking powder, baking soda, salt, and sugar.
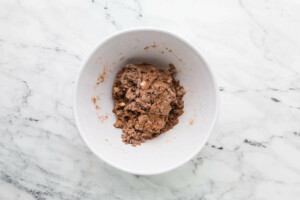
- Add the cold butter and use a pastry cutter or your hands to work it in until the mixture is crumbly, with some larger chunks still visible. Stir in the mini chocolate chips.

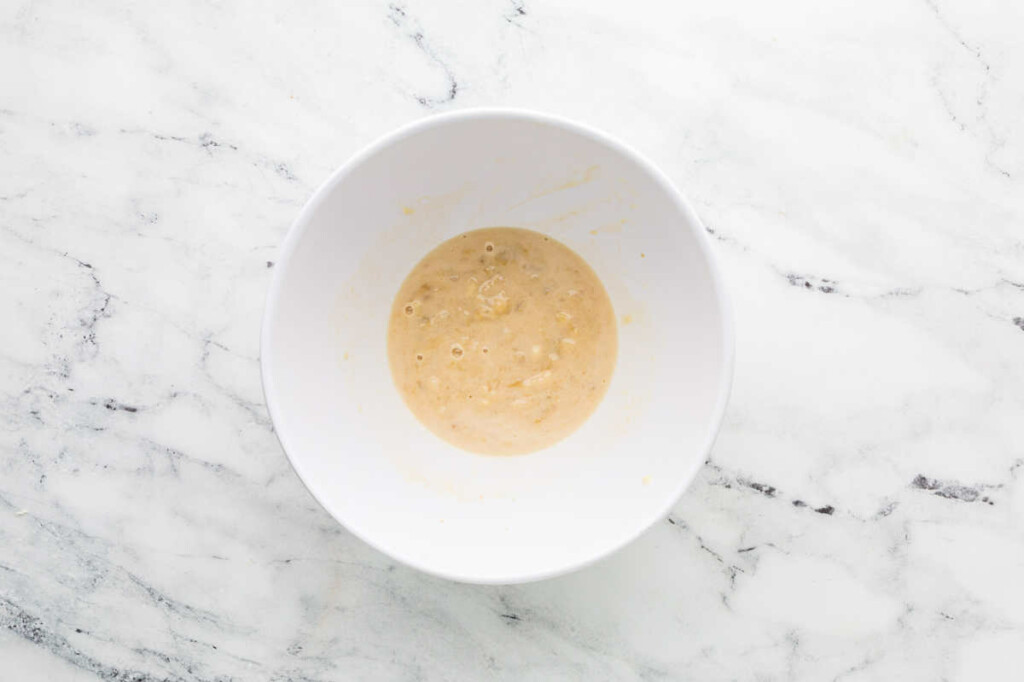
- In a separate bowl, mash the banana, then mix in the vanilla and buttermilk until well combined.

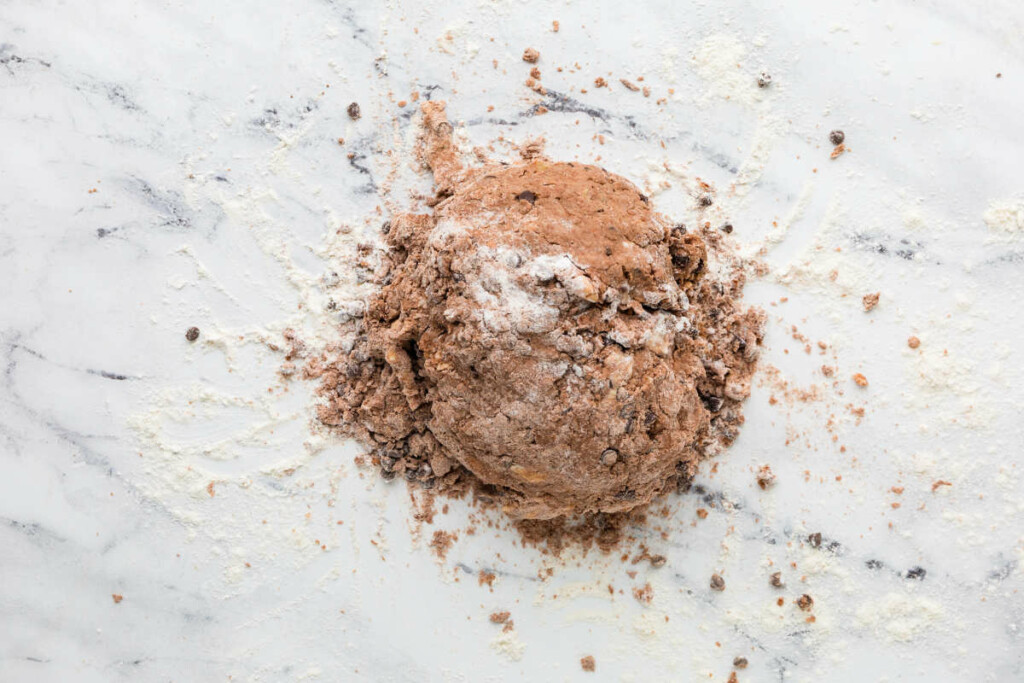
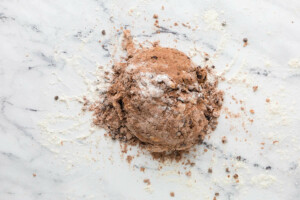
- Add the wet ingredients to the flour mixture and stir until most of the dough comes together. It’s normal to see some dry crumbs at this stage. If the dough feels exceptionally dry, you can sprinkle in a tablespoon or two of milk to help it along, but the next step will help incorporate the dry bits without overworking the dough.
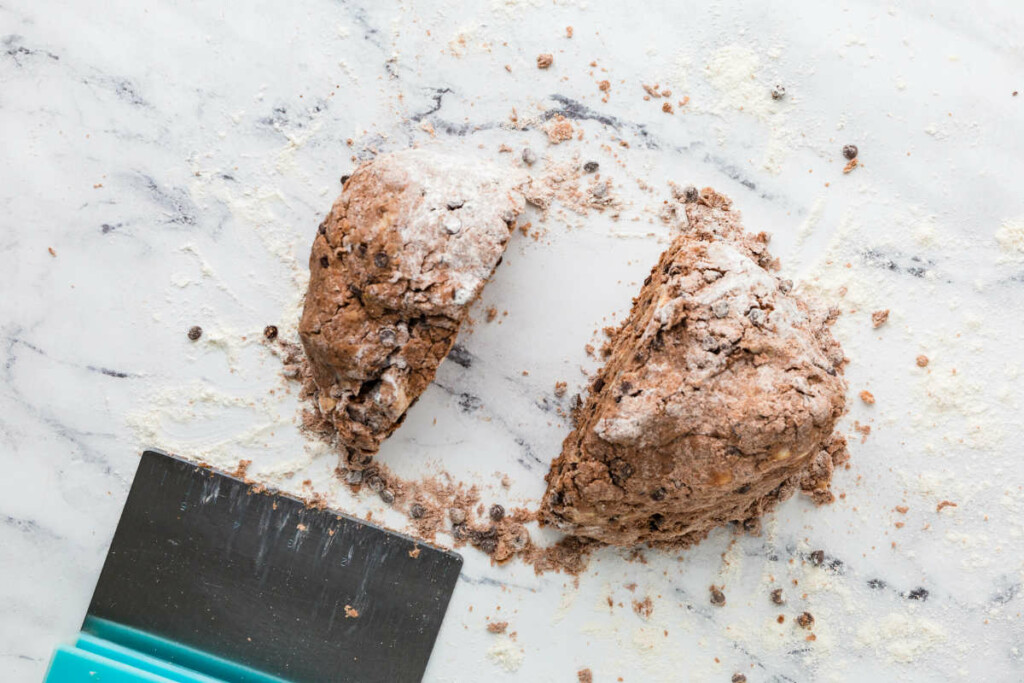
- Tip the dough onto a floured counter and gather it into a rough mound. Scrape up any loose crumbs and pile them on top. Use a bench scraper or knife to cut the mound in half, then stack the halves and press down gently. Repeat this cut-and-stack process three to four more times, or until the dough comes together and the crumbs are folded in.
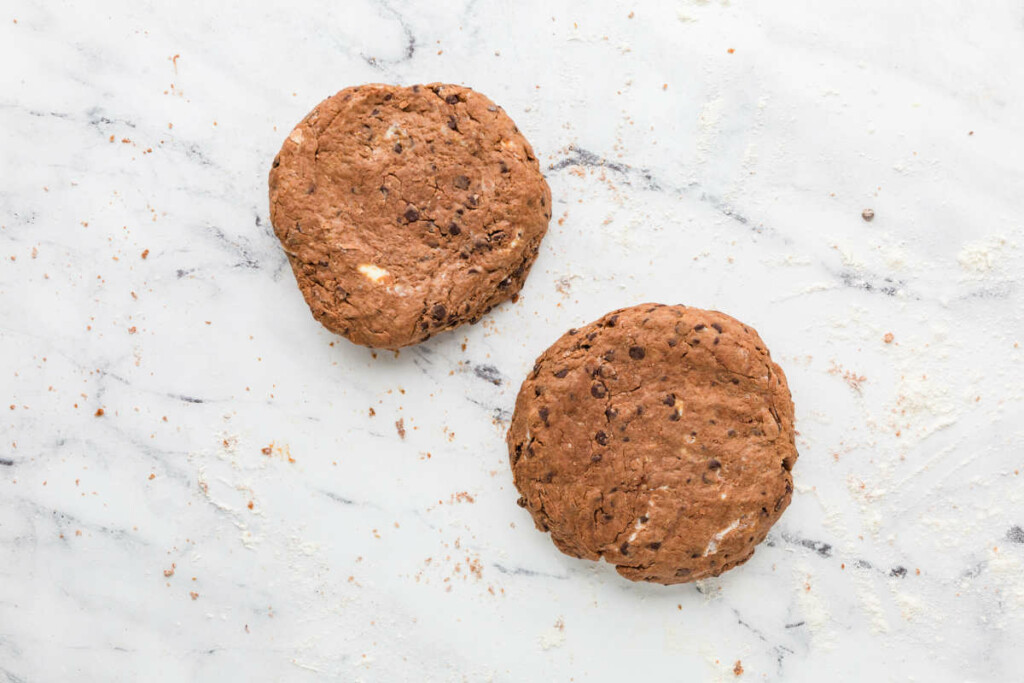
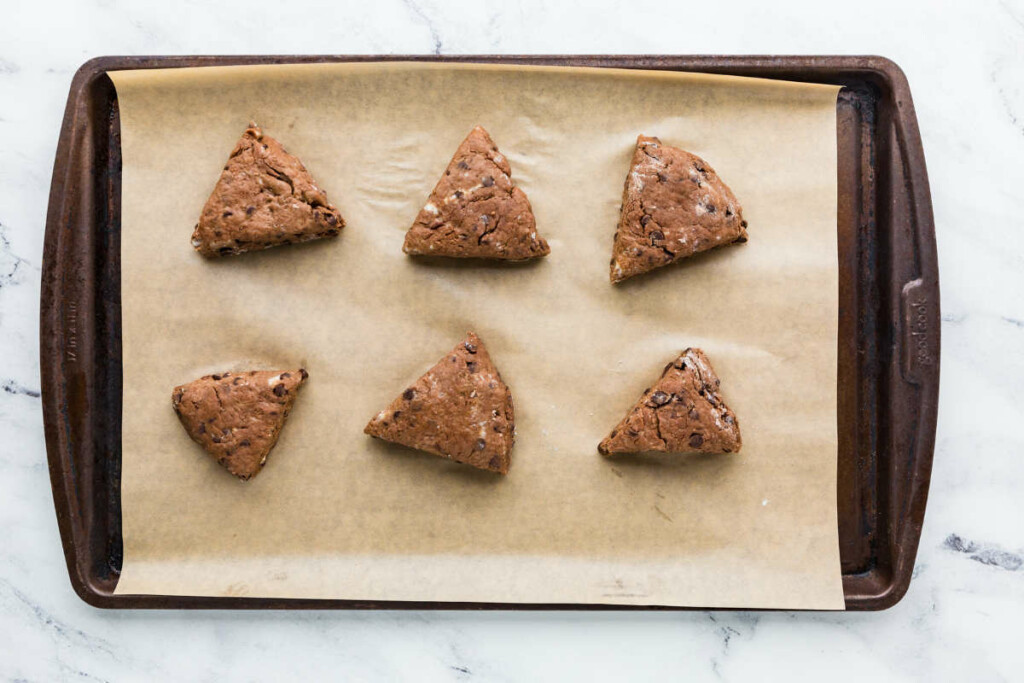
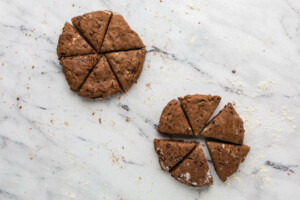
- Divide the dough in half and shape each portion into a 6-inch round. Slice each round into 6 wedges. To minimize spreading in the oven, you can pop the scones in the freezer for 15 to 20 minutes before baking.
- Place the scones on the prepared baking sheet, spacing them about ½ inch apart. Bake for 14 to 16 minutes, or until golden brown.

- Let the scones cool on a wire rack for 15 minutes before adding the glaze.
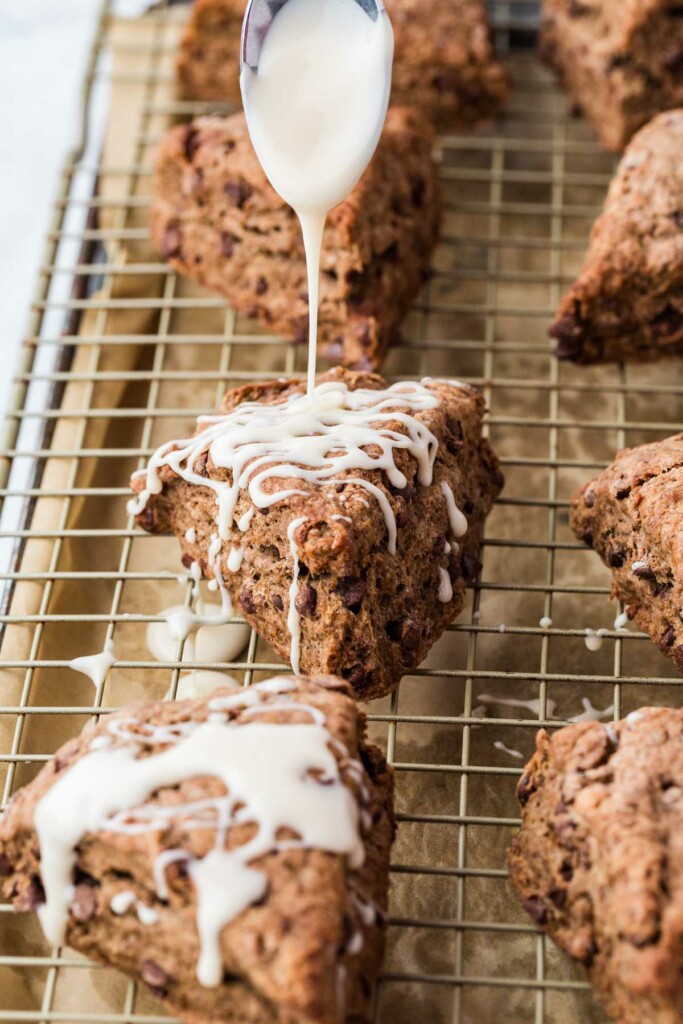
Make the Glaze
- In a small bowl, whisk together the powdered sugar, milk, vanilla, and salt. Add more milk if needed until the glaze is pourable but not runny.
- Drizzle over the cooled scones and let the glaze set for 10–15 minutes before serving.
Notes
Nutrition
Nutrition information is automatically calculated, so should only be used as an approximation.
 Like this recipe? Rate & comment below!