
This post may contain affiliate links. Please read our disclosure policy. As an Amazon Associate, I earn from qualifying purchases.
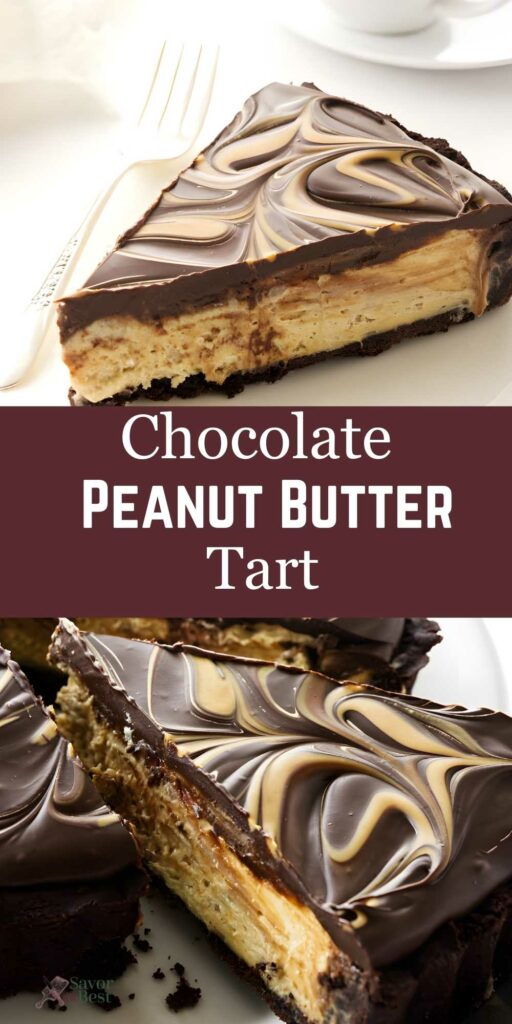
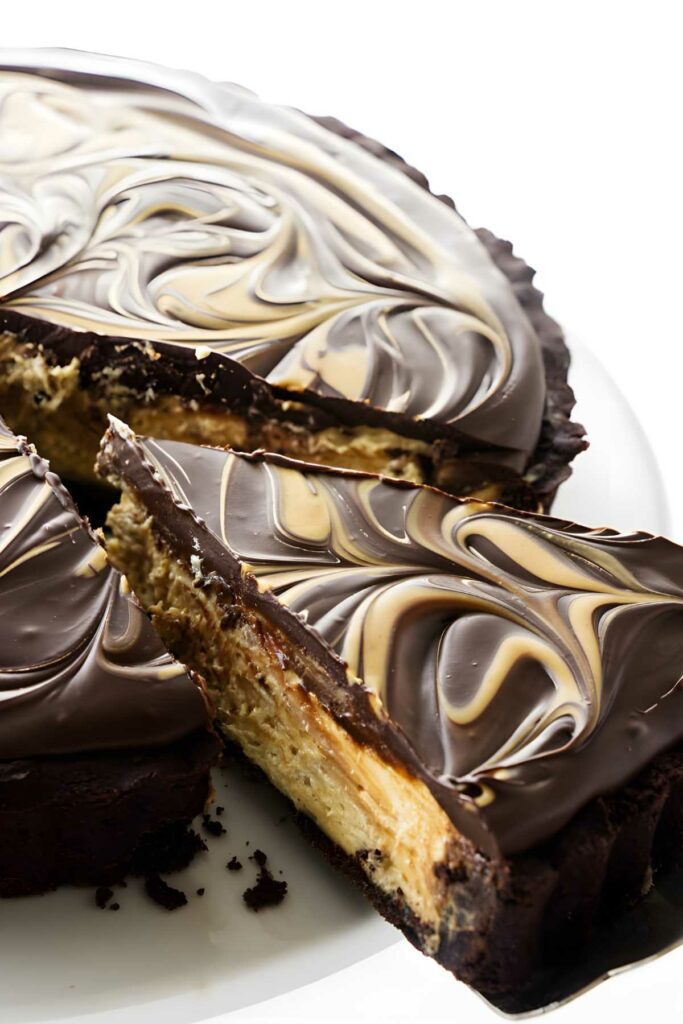
This chocolate peanut butter tart starts with a crisp cocoa shortbread crust, then gets filled with a whipped peanut butter–cream cheese layer and topped with a glossy chocolate ganache. It’s rich without being heavy, and it chills into clean, bakery-style slices.
Think of it as peanut butter pie all grown up: no graham crackers, no Cool Whip, just real ingredients, made the old-school way.

Here’s Why This Chocolate Peanut Butter Tart Recipe Works
Real shortbread crust: Cocoa, espresso powder, and melted butter build a rich chocolate shortbread crust that bakes up crisp. It’s more cookie than cracker.
Fluffy, stable filling: Folding whipped cream into the peanut butter and cream cheese base gives it lift, but it still sets up clean in slices.
Shiny ganache: Corn syrup plus a splash of hot water makes the glaze smooth and glossy, so it pours easily and sets without cracking.
If you want a more traditional crust, you can swap in my classic shortbread pastry crust.
If you’re craving the same chocolate-and-peanut-butter combo in individual servings, try my Chocolate Peanut Butter Cupcakes.
Recipe Tips
Freeze the crust before baking: Helps it hold its shape in the oven and keeps those edges clean.
Use foil and pie weights: They hold the crust in place while it bakes, which helps it stay flat (no bubbles) and crisp.
Soften the cream cheese completely: Let it come fully to room temperature so it blends smooth. Cold cream cheese tends to leave stubborn lumps.
Let the chocolate sit before stirring: Give it the full 5 minutes. That’s how you get a smooth, glossy ganache instead of grainy chocolate.
Move quickly on the swirl: Once the glaze is on, drizzle the warm peanut butter and swirl right away. A few passes looks sharp; too many turns it muddy.
Use a tart pan with a removable bottom: It makes unmolding easy and keeps the crust edges intact.
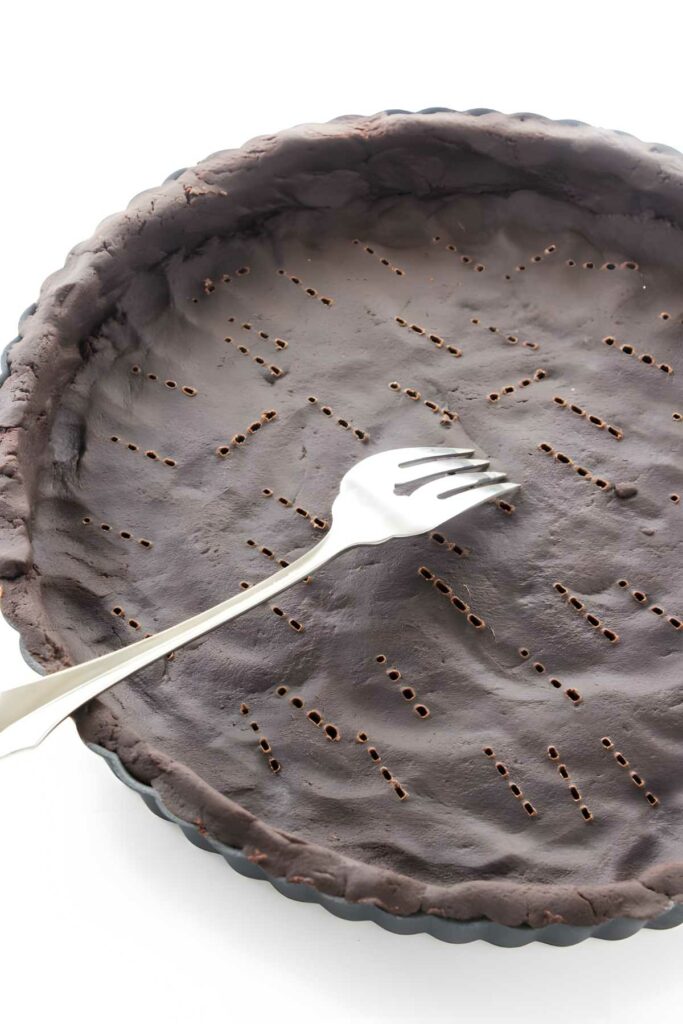
Don’t skip docking the crust: Those fork holes help prevent big air pockets under the shortbread.
Let the crust cool fully: If it’s still warm, the filling can melt slightly and lose its light, creamy texture.
If you’re in the mood for another layered chocolate dessert, try my Chocolate Samoa Dessert Lasagna next.
Peanut Butter and Chocolate Tart
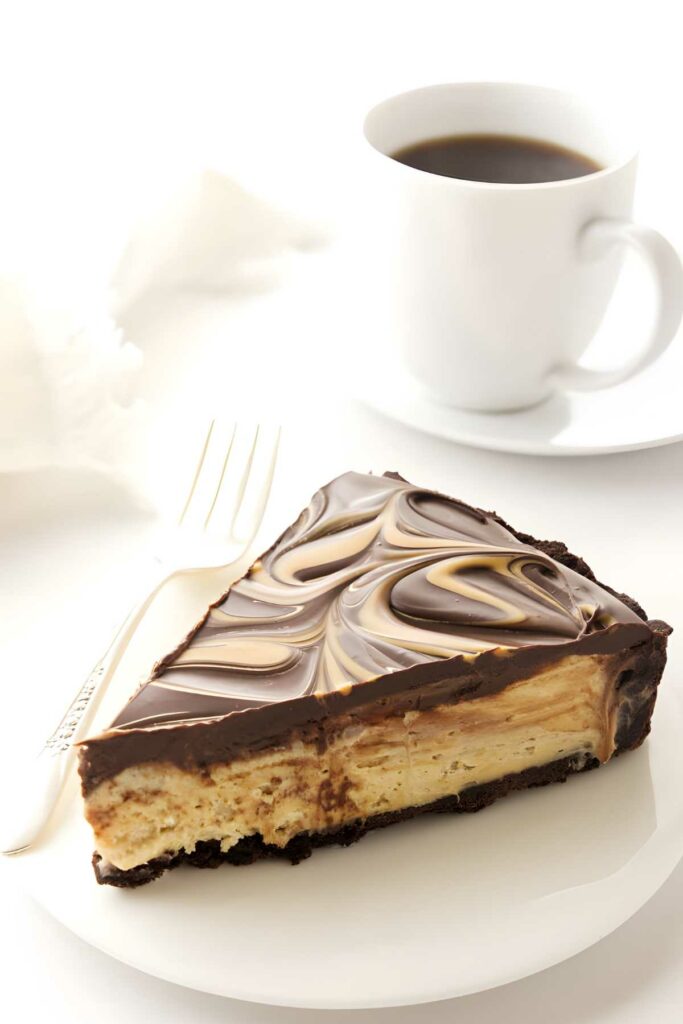
This chocolate peanut butter tart checks all the boxes: a crisp cocoa shortbread crust, a light-but-stable peanut butter filling, and a smooth ganache top. Chill it until it sets and serve it straight from the fridge. It’s the kind of dessert that feels a little fancy without being fussy, and it disappears fast.
If you want another chocolate-and-peanut-butter dessert that feeds a crowd, my Chocolate Peanut Butter Cake is a great one to make.
Pin this now to find it later!
Pin It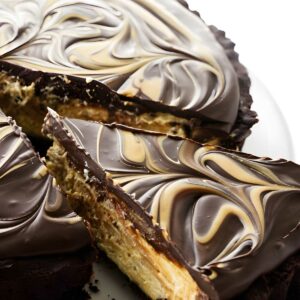
Peanut Butter Tart
If you make this recipe, please leave a star rating and comment.
Ingredients
For the Chocolate Shortbread Crust:
- ½ cup powdered sugar
- 1 teaspoon vanilla extract
- 2 egg yolks, whisked lightly with a fork
- ¼ teaspoon salt
- 1 cup butter, melted and cooled
- 1 ½ cups all-purpose flour
- 1 tablespoon espresso powder
- ½ cup unsweetened cocoa powder
- 1 tablespoon cornstarch
For the Peanut Butter Filling:
- 1 cup heavy cream
- 1 cup granulated sugar, divided
- 2 teaspoon vanilla extract
- 12 ounces cream cheese, softened
- 1 cup creamy peanut butter
For the Swirl Topping:
- ⅔ cup heavy cream
- 10 ounces semi-sweet chocolate, chopped
- 4 tablespoons light corn syrup
- 2 tablespoons water, hot
- 2 tablespoons creamy peanut butter
Instructions
For the Shortbread Crust:
- Preheat the oven to 350°F
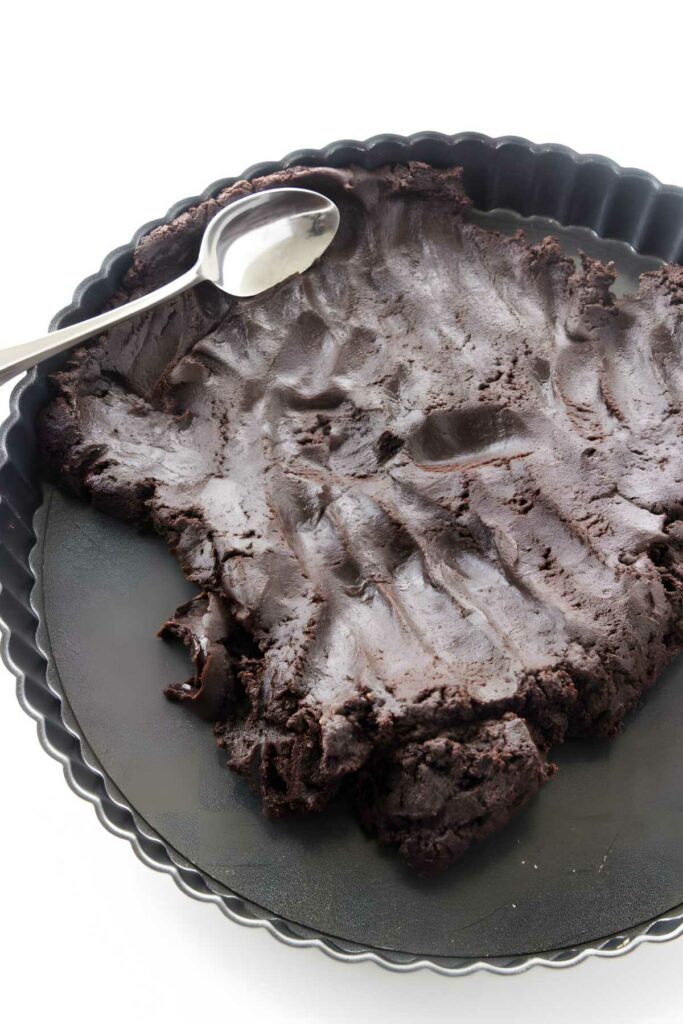
- In a medium-size bowl, mix with a spatula or wooden spoon, the powdered sugar, vanilla, egg yolks and sea salt. Add the butter and mix to a smooth consistency. Add the flour, cocoa and cornstarch and stir until the dough forms a smooth ball.
- Transfer the dough to an 11-inch tart pan with removable bottom. With your fingers and a tablespoon, press the dough evenly across the bottom and up the sides of the pan. I also used the bottom of my metal measuring cup. Prick the crust, bottom and sides, with a fork set the tart pan on a baking tray and transfer to the freezer for 30 minutes.
- Remove the baking sheet with the crust from the freezer, spray a piece of aluminum foil with non-stick spray and press the sprayed side of foil very tightly against the bottom and up the sides of the crust. Add pie weights and transfer to the middle rack of the oven.
- Bake for 15 minutes. Carefully remove foil and pie weights. Continue to bake uncovered for another 15 minutes. Remove from the oven and allow to cool on a wire rack before filling.
For the Peanut Butter Filling:
- In a medium mixing bowl whip the cream, ¼ cup sugar, and the vanilla until firm peaks form; set aside. In a large mixing bowl beat cream cheese and peanut butter till light and fluffy. Add ¾ cup sugar and beat till smooth and creamy. Fold the reserved whipped cream mixture into the peanut butter mixture and spoon it evenly into the cooled crust and smooth the top.
For the Swirl Topping:
- In a small saucepan over medium heat, add the cream and corn syrup then bring to a simmer, stirring to combine. Remove from the heat and add the chocolate, cover and let stand for 5 minutes to soften. Stir the mixture until it is smooth, then stir in the hot water until the glaze is shiny and pourable.
- Pour the glaze on the center of the tart, quickly and carefully pick up the tart and tilt it from side to side allowing the glaze to flow to the edge. Continue tilting until the surface of the tart is completely covered. Do not use a spatula to spread the glaze as it will mar the surface.
- In a small dish, add the peanut butter and zap in the microwave for 5-10 seconds until melted.
- Spoon and drizzle the melted peanut butter on top of the filling and with a knife-tip create swirls on the surface by dragging the knife-tip through and around in the chocolate.
- Refrigerate for 2-4 hours to set. Let it sit 10 minutes at room temperature before cutting.
Notes
Nutrition
Nutrition information is automatically calculated, so should only be used as an approximation.
 Like this recipe? Rate & comment below!


OMG! Yumm! I would love a piece of this right about now…
Ha, ha, Sabrina….I will save you a piece, come on over 🙂
Wow. That tart looks amazing. I don’t often eat dessert at restaurants, but I couldn’t resist that. And definitely couldn’t resist it at home. Thanks!
Oh, John, this is much better than a restaurant dessert. It is so rich though, a small slice is enough 🙂