
This post may contain affiliate links. Please read our disclosure policy. As an Amazon Associate, I earn from qualifying purchases.
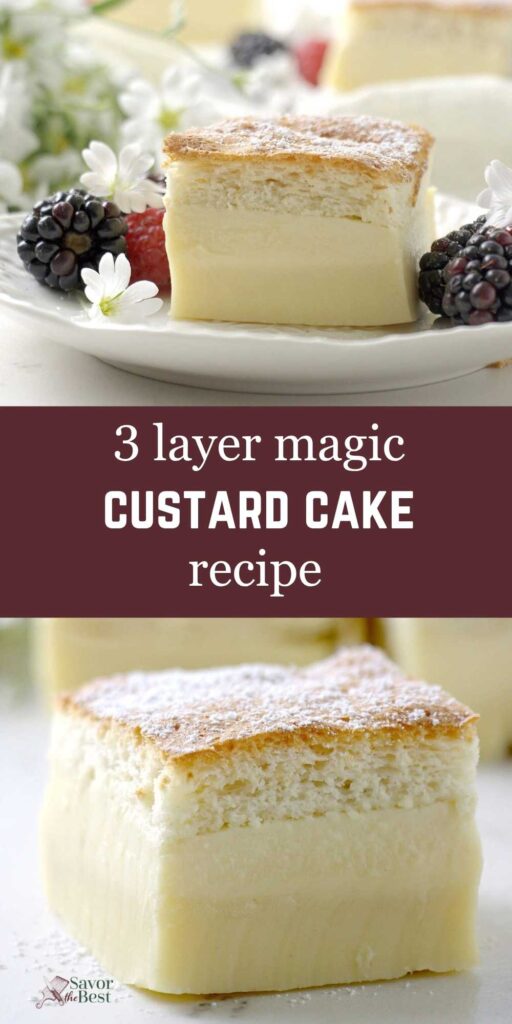
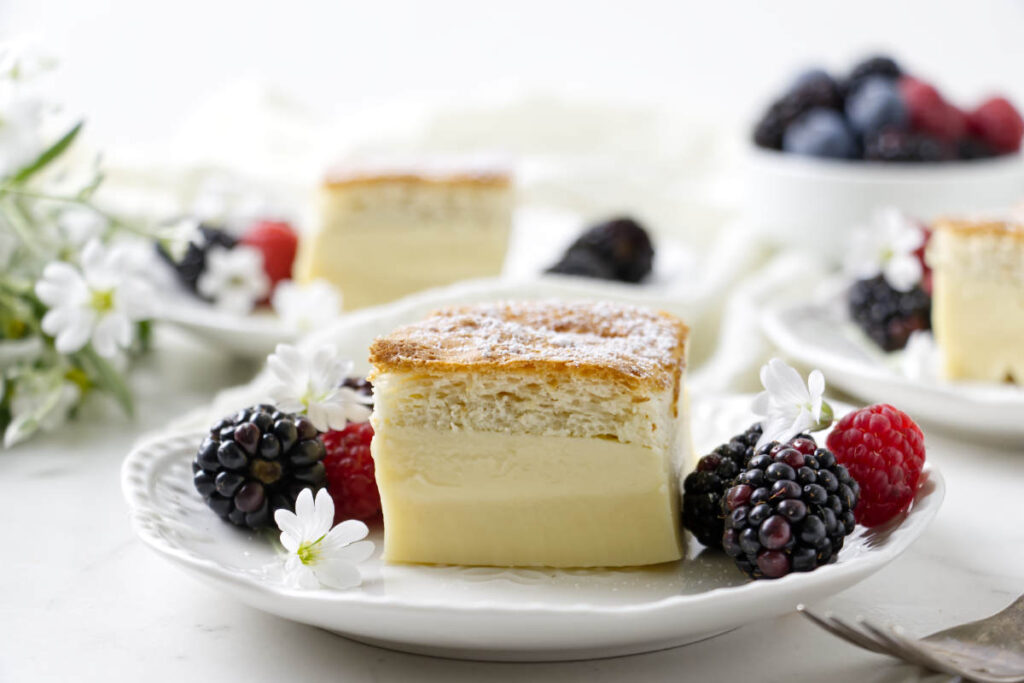
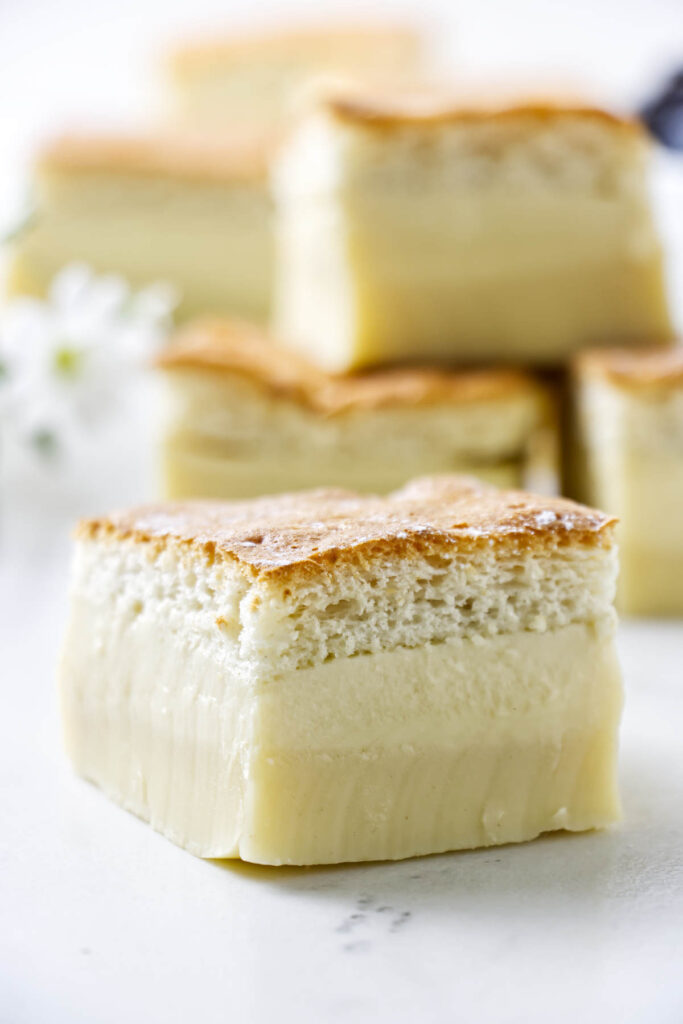
Magic custard cake starts as one thin batter and bakes into three distinct layers: a dense base, a creamy custard center, and a soft sponge-like top. It looks like you did something complicated, but the oven does most of the work.
The trick is in the loose batter and the gently folded egg whites. They help the cake separate as it bakes, giving you a vanilla custard cake with clean layers and a soft, delicate texture after a good chill.
This cake has a custardy texture that reminds me a little of my French Apple Cake, though this one develops distinct layers as it bakes.
Here’s Why This Magic Custard Cake Recipe Works
One batter, three layers: In testing, I found that the thin batter is what lets the cake separate in the oven, creating a dense bottom, custardy middle, and light sponge top without making separate fillings.
Warm milk: Slightly warming the milk and cream helped them blend smoothly with the yolk mixture and kept the batter loose enough to layer properly.
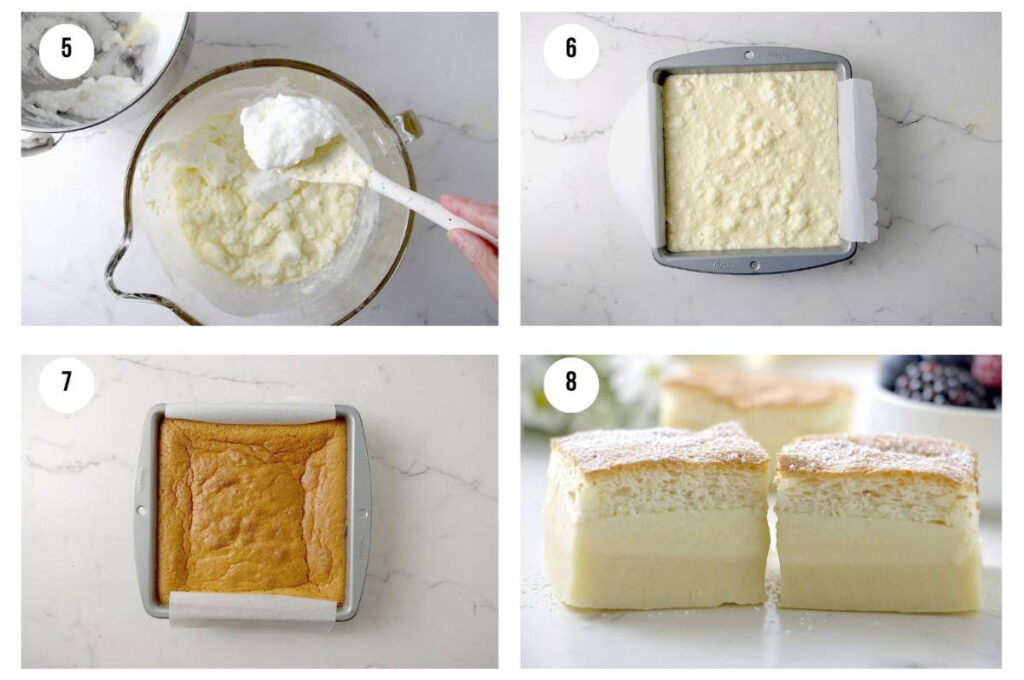
Partially folded egg whites: I had the best results when I left small streaks of egg white in the batter. They help form the airy top layer instead of disappearing into the custard.
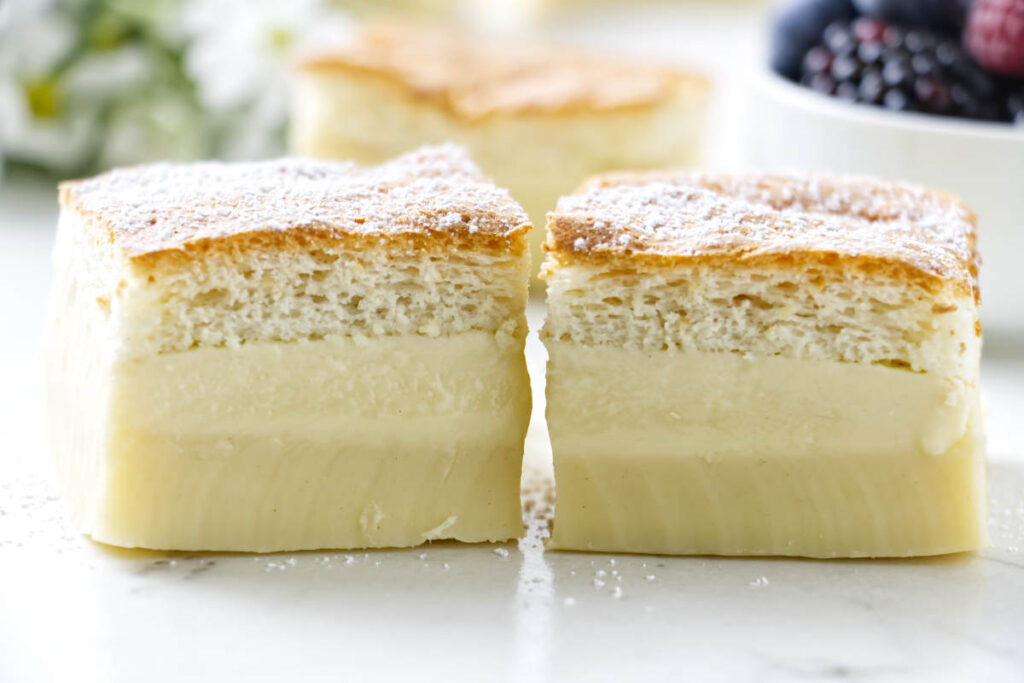
Chilling gives clean slices: This cake really does need time in the refrigerator. The custard layer firms up as it chills, and the slices hold together much better.
If you enjoy creamy desserts with a custard-like texture, my Mango Posset dessert is another simple make-ahead dessert that relies on cream rather than eggs.
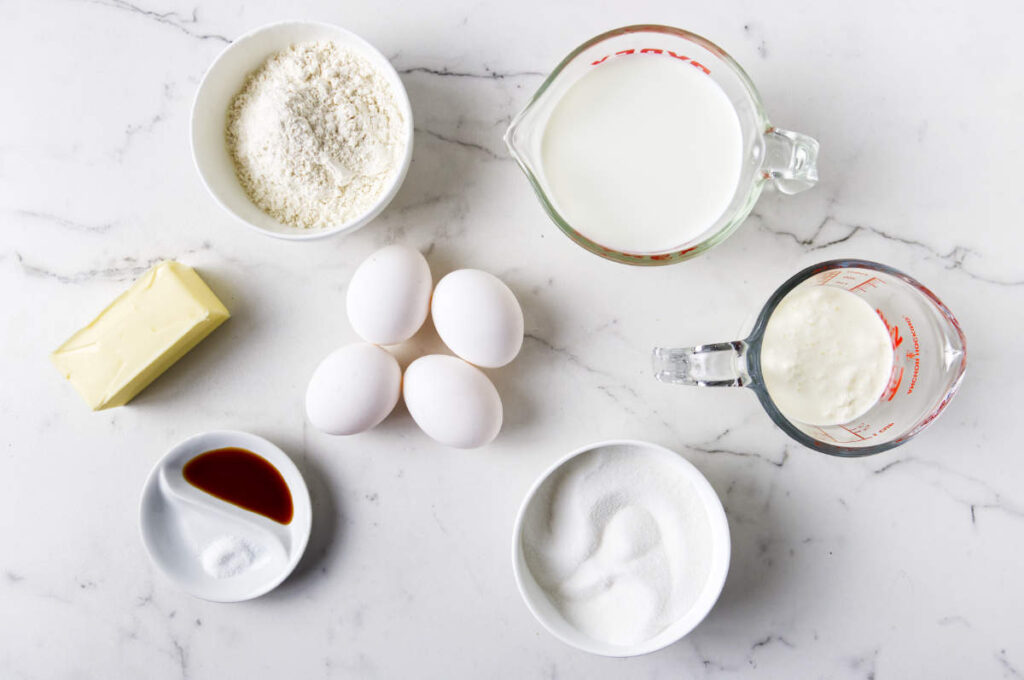
Ingredient Notes
Eggs: Separate the eggs while they are cold, then let them sit briefly while you prep the rest of the ingredients. Make sure no yolk gets into the whites or they will not whip properly.
Granulated sugar: Sugar sweetens the custard and helps the yolks whip up pale and slightly thickened.
Butter: Melt the butter and let it cool slightly before adding it. Hot butter can make the batter greasy or scramble the eggs.
Flour: All-purpose flour gives the cake enough structure to form the bottom layer and soft sponge top.
Whole milk and heavy cream: Warm them slightly so they blend smoothly into the batter. The extra cream gives the custard center a richer texture, similar to the filling in my Lemon Custard Pie.
Vanilla and salt: Vanilla carries the simple custard flavor, while salt keeps the cake from tasting flat.
During testing, I found that whipped egg whites can start to deflate if they sit too long while the rest of the batter is mixed. For the best texture and more defined layers, mix the yolk batter first, then whip the egg whites and fold them in right away.
Recipe Tips
Use a clean bowl for egg whites: Grease, yolk, or residue can keep the whites from whipping properly.
Do not fully fold in the whites: Small lumps and streaks should remain. If the batter looks perfectly smooth, the layers may not separate as well.
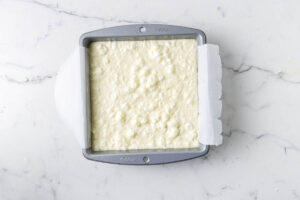
Expect a very thin batter: This is not a normal cake batter. It should look loose and pourable before baking.
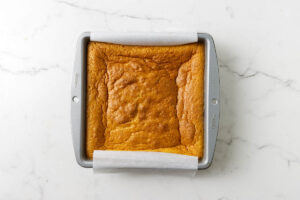
Watch the jiggle: The top should be lightly golden and the center should still wobble slightly when you pull it from the oven.
Chill before slicing: The custard center sets as it cools. Give it at least 2 hours in the refrigerator for cleaner cuts.
Frequently Asked Questions
The most common reasons are overmixing the egg whites and using cold milk. Leave visible streaks of egg white in the batter and keep the batter loose before it goes into the pan.
Yes. The batter should be very thin and pourable. That loose texture is part of what allows the cake to separate into its custard and sponge layers.
It is best chilled first. The custard layer needs time to firm up, and warm slices will be softer and harder to cut cleanly.
Serving Suggestions
- Dust with powdered sugar.
- Serve with a spoonful of Cherry Compote.
- Drizzle with Strawberry Sauce.
- Add a dollop of Homemade Whipped Cream.
Vanilla Magic Custard Cake
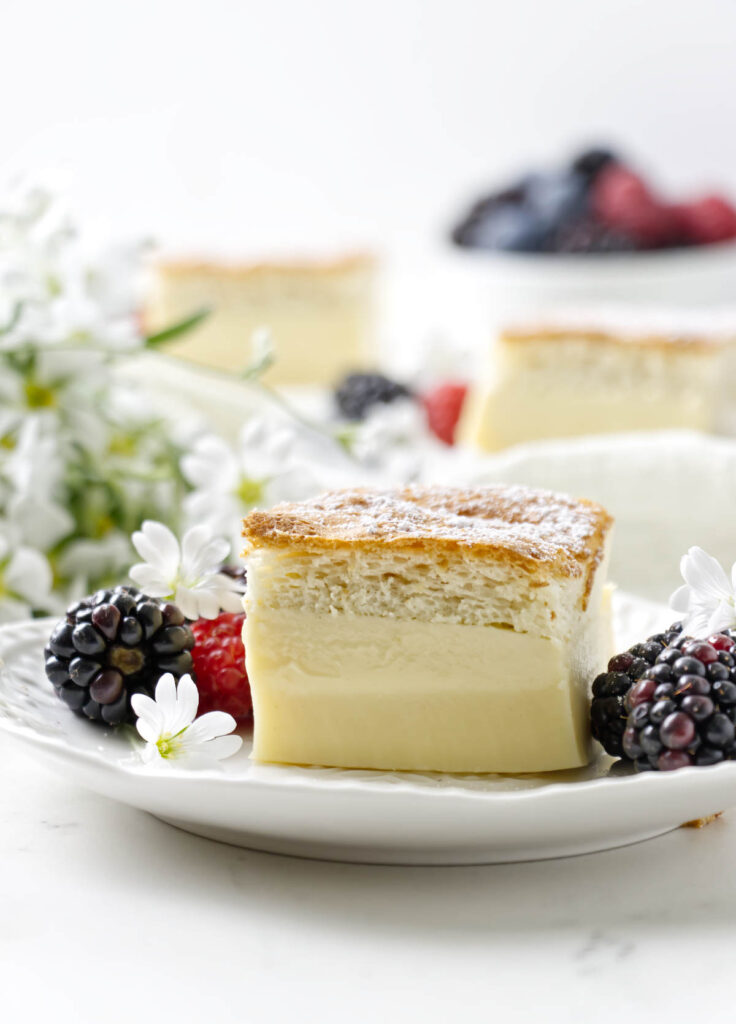
This magic cake is quiet, old-fashioned dessert magic: simple ingredients, a thin batter, and three layers that show up on their own. Give it enough time to chill, then slice it into neat squares and let the layers do the talking.
Pin this now to find it later!
Pin It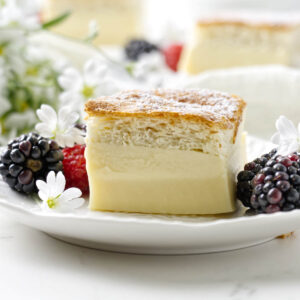
Magic Custard Cake
If you make this recipe, please leave a star rating and comment.
Ingredients
- 4 large eggs, separated
- ¾ cup granulated sugar, 150 grams
- ½ cup butter, melted and slightly cooled, 113 grams
- 1 cup all-purpose flour, 120 grams
- 1 ¾ cups whole milk, slightly warmed, 400 grams
- ¼ cup heavy cream, slightly warmed, 57 grams
- 1 teaspoon vanilla extract
- ¼ teaspoon salt
Instructions
- Preheat the oven to 325°F. Line an 8×8-inch pan with parchment paper.
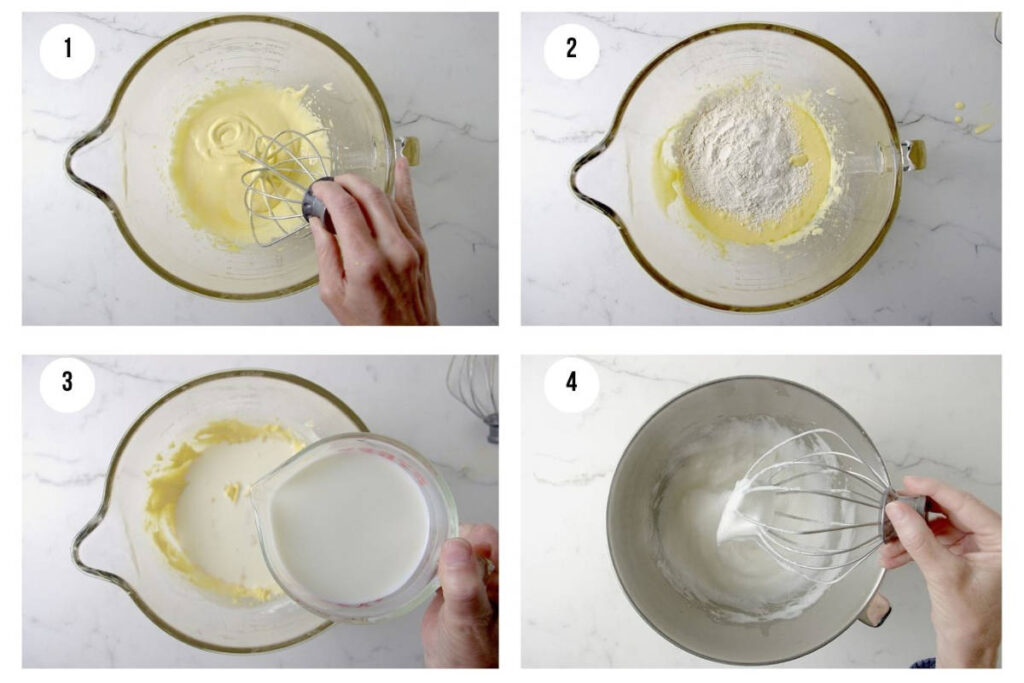
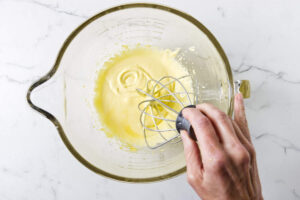
- In a mixing bowl, whisk the egg yolks and sugar until pale and slightly thickened. (Save the egg whites for later).
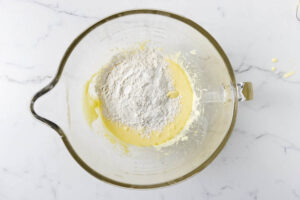
- Stir in the melted butter until smooth. Add the flour and salt, mixing until fully incorporated.
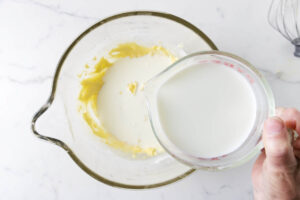
- Gradually add the warmed milk and cream in 2 to 3 additions, mixing well after each addition. Stir in the vanilla. The batter will be very thin.
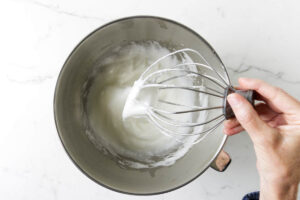
- In a clean, grease-free bowl, beat the egg whites until soft peaks form.
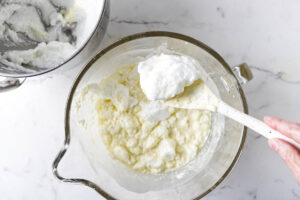
- Gently fold the egg whites into the batter in 2 to 3 additions. Do not fully incorporate them; small lumps and streaks of egg white should remain visible.
- Pour the batter into the prepared pan. Bake for 40 to 45 minutes, until the top is lightly golden and the center still has a slight jiggle.
- Let the cake cool completely in the pan, then refrigerate for at least 2 hours before slicing.
Notes
Nutrition
Nutrition information is automatically calculated, so should only be used as an approximation.
 Like this recipe? Rate & comment below!


Can this be made non-dairy? Perhaps with coconut cream?
Absolutely. Coconut cream works very well as a dairy replacement in this recipe. It does alter the flavor, but it is delicious if you like coconut.
I made a cake sort of like this before, that separated itself into two layers. But not three! I’ve got to try this
It sure is fun, I hope you give it a try.