This post may contain affiliate links. Please read our disclosure policy. As an Amazon Associate, I earn from qualifying purchases.
Homemade almond biscotti, twice-baked Italian cookies, are easy to make and perfect for dunking in your morning coffee. This homemade recipe makes it easy to bake crisp, flavorful Italian cookies that are perfect for gifting or hoarding for yourself.
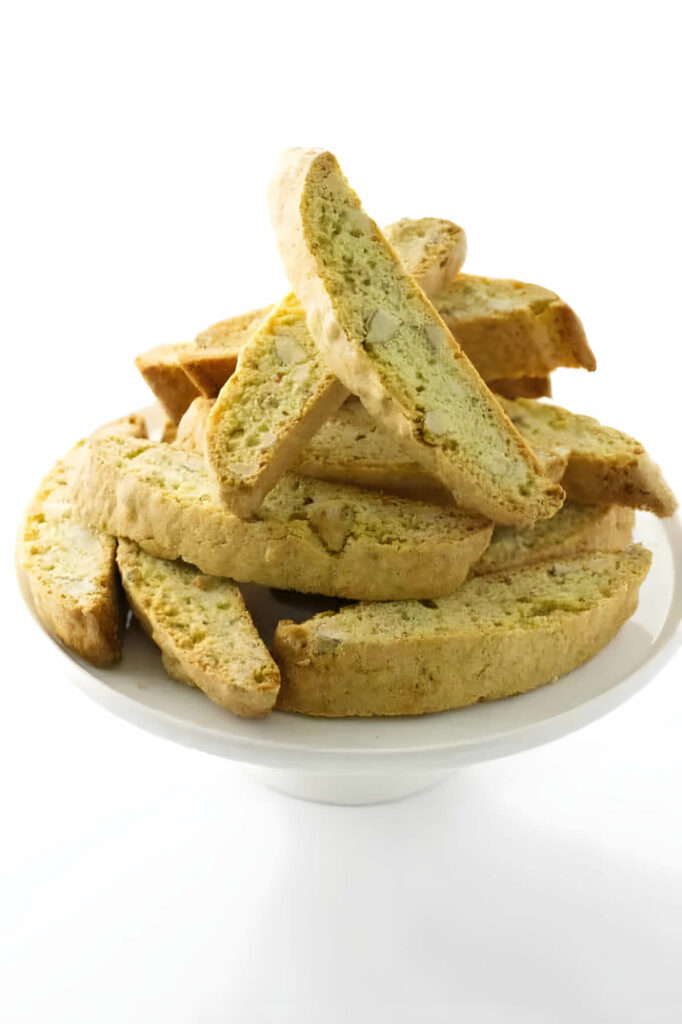
Here is Why This Italian Almond Biscotti Recipe Works
Simple Ingredients, Big Flavor: You probably already have most of these pantry staples on hand, so you can whip up a batch of delicious biscotti without a special trip to the store.
Easy to Customize: Feel free to swap out the almonds for other nuts or add dried fruit for a personalized twist. This recipe is super adaptable!
Twice-Baked for Extra Crunch: The double-baking process is the key to that signature biscotti crispness that’s perfect for dunking.
Perfect for Gifting: These biscotti make a lovely homemade gift, or you can just keep them all for yourself (we won’t judge!).
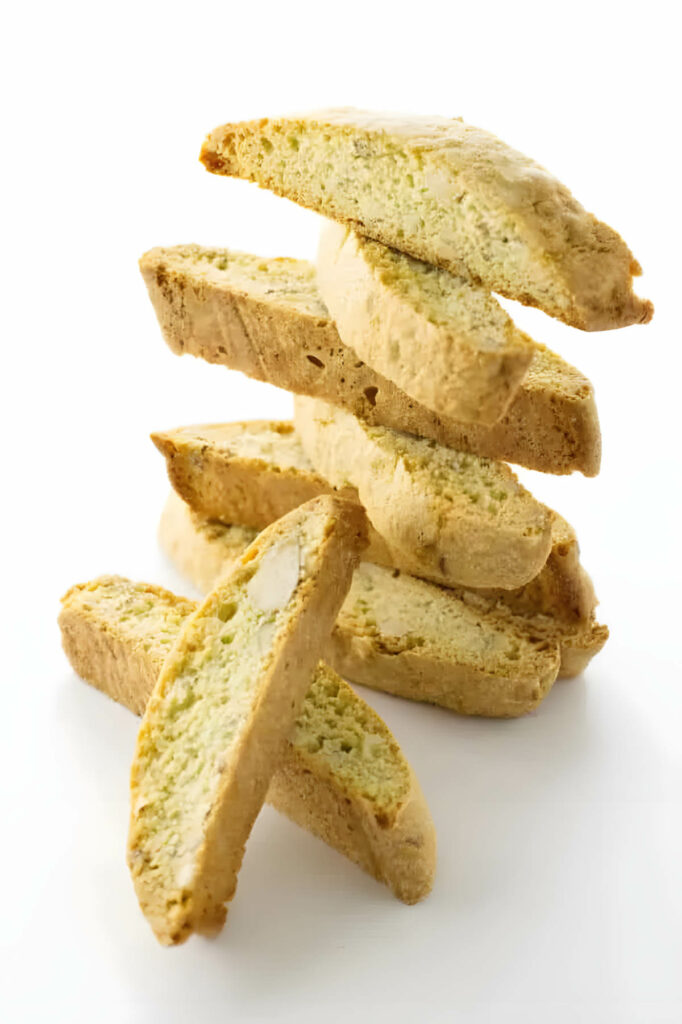
The Ingredients
- Pantry: All-purpose flour, sugar, whole roasted almonds
- Baking: Baking powder, salt, vanilla extract, pure almond extract
- Fridge: Eggs
Variations
Chocolate Chip Biscotti: Stir in ¼ cup of semi-sweet chocolate chips when you add the almonds.
Lemon Almond Biscotti: Add the zest of one lemon to the flour mixture.
Fig and Orange Biscotti: Add ½ cup of dried figs, chopped, to the flour mixture and 1 teaspoon of orange zest.
Tips for Success
- Overmixing can lead to tough biscotti. Mix just until the ingredients are combined.
- If your dough is very sticky, chilling it for 30 minutes to an hour can make it easier to shape into logs.
- Try to make your logs as uniform in size as possible for even baking.
- A serrated knife will help you slice the biscotti cleanly without crumbling.
- Leave some space between the biscotti slices so they can crisp up properly.
- Oven temperatures can vary, so keep an eye on your biscotti and adjust the baking time if necessary. They should be golden brown and firm to the touch.
- Let the Italian biscotti cool completely on a wire rack before storing them in an airtight container to maintain their crispness.
Storage
Biscotti are best stored in an airtight container at room temperature—that’s the secret to keeping them nice and crunchy for up to two weeks. You can technically freeze them, but they might lose a little of their crispness in the process. If they do get a little soft, don’t worry! Just pop them in a 250°F oven for about 5-10 minutes to crisp them right back up.

Perfect Coffee Dunkers
Whether you’re looking for a homemade gift, a perfect accompaniment to your favorite hot beverage, or just a little something to satisfy your sweet tooth, these almond biscotti are the answer.
More Recipes To Try
- Coconut Chocolate Chunk Tahini Cookies:
- Molasses Spice Cookies:
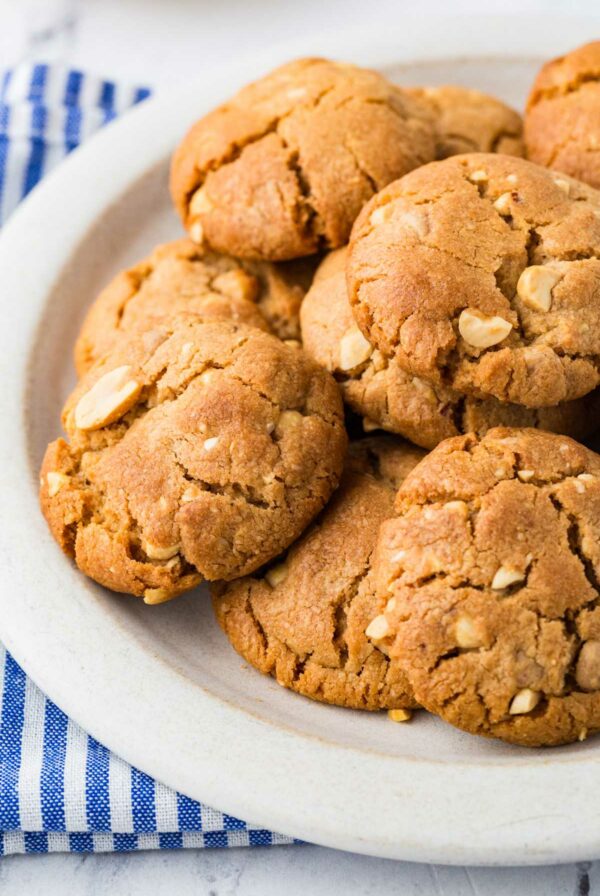
- Gluten Free Peanut Butter Cookies
- Whole Wheat Biscotti
Pin this now to find it later!
Pin It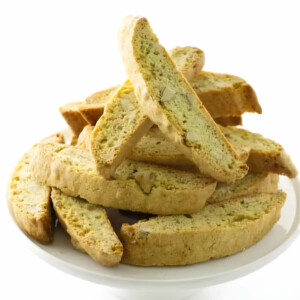
Classic Almond Biscotti
If you make this recipe, please leave a star rating and comment.
Ingredients
- 2 ¼ cups all-purpose flour, 270 grams,plus a bit more for the work surface
- ½ teaspoon baking powder
- ¼ teaspoon salt
- ½ cup almonds, roasted and rough chopped
- 1 cup granulated sugar
- 2 large eggs
- 2 egg yolks
- ½ teaspoon vanilla extract
- 1 teaspoon almond extract
Instructions
- Heat the oven to 350°F and line a 11 x 17-inch rimmed baking sheet with parchment paper.
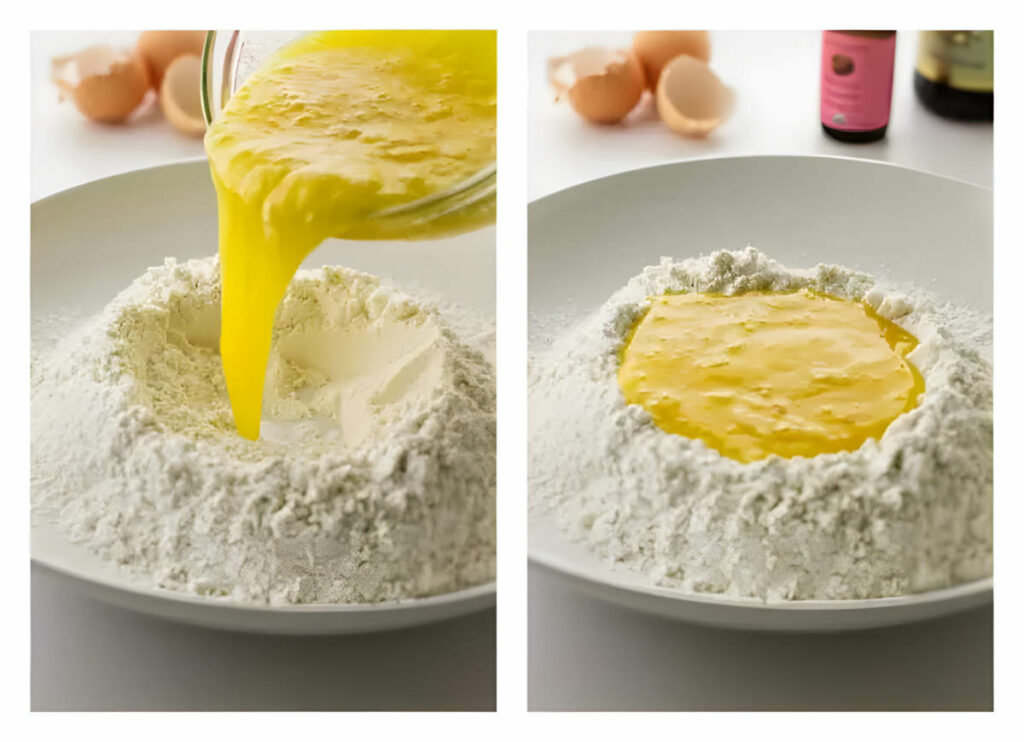
- Sift the flour, baking powder and salt into a shallow bowl and stir in the nuts. Push the mixture into a mound and make a well in the center.
- In a medium bowl, whisk together the sugar, eggs, egg yolks, vanilla and almond extracts.
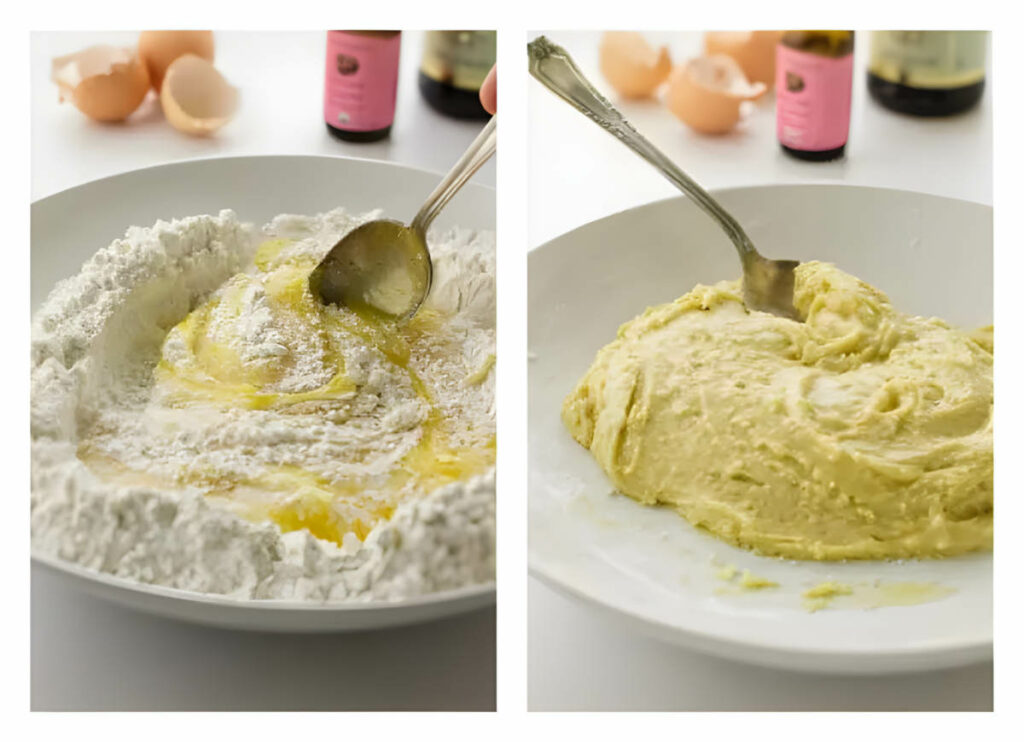
- Add the mixture to the well in the flour mixture. Using a spoon, spatula or a fork, stir the mixture into the flour in a circular motion, gradually incorporating the flour in small amounts in a wider path until the flour is completely mixed and smooth and a sticky dough has formed.
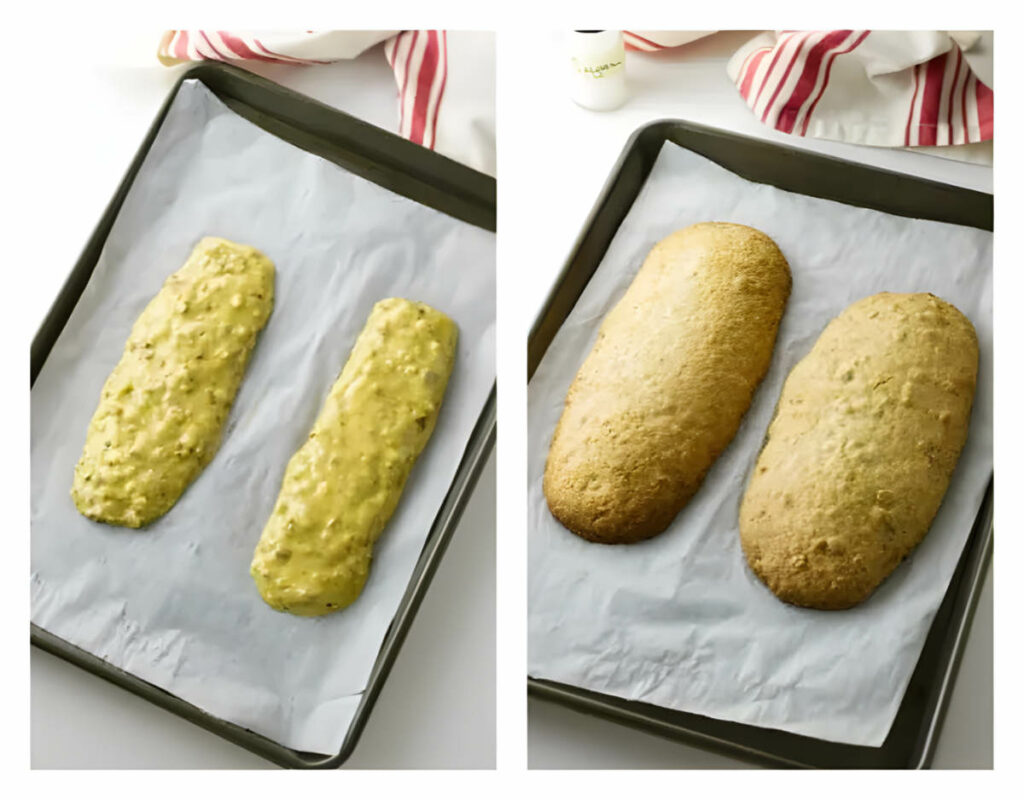
- Tip the dough onto a lightly floured work surface and knead it a couple turns. Pat the dough into a disk. Divide the disk-dough into two sections. Shape each section of dough into a log and place lengthwise on the prepared baking sheet leaving 4-inches between the logs to allow for spreading. Press the tops of the logs lightly to slightly flatten and smooth them.
- Transfer the baking sheet to the oven and bake for about 25 minutes, until light brown. They should be springy to the touch and some cracks on the surface. Remove from the baking sheet from the oven and transfer the logs to a cooling rack. Cool for 5 minutes.
- Reduce the oven temperature to 300°F
- Transfer the logs one at a time to a cutting board and using a sharp knife or a serrated bread knife, cut them diagonally into 3/4-inch thick slices.
- Arrange the slices cut side up on the same parchment-lined baking sheet and bake for 10 minutes.
- Turn the slices over and bake another 10 minutes until they are crisp. Transfer the slices to the wire rack and cool completely. The biscotti will keep for up to 2 weeks in an airtight container at room temperature.
Video
Notes
- The traditional method of making biscotti is to mix it by hand in a bowl, the same as making fresh pasta.
- For convenience, a stand mixer with the paddle attachment can be used instead.
- For smaller, rounder shaped cookies cut the logs crosswise and not diagonally.
- The biscotti dough can be shaped into one large log for longer sized cookies.
- Because dough is soft and sticky, chilling it for an hour will firm it up making it easier to shape into logs. This is an optional step and not necessary.
- Store biscotti in an airtight container to maintain crispness.
- If they get soft, you can restore their crunch by laying the slices in a layer on a baking sheet and place in a 250°F oven for 5 or 10 minutes.
Nutrition
Nutrition information is automatically calculated, so should only be used as an approximation.
 Like this recipe? Rate & comment below!




Biscotti are wonderful! Never made them, though — just always purchased them. Should give these a try — they’re not that difficult to make (for some reason I always thought they were) and I know the flavor payoff is SO worth it! Really nice — thanks.
Thanks John, they really are easy to make
They look authentic and so very yummy. Biscotti is one of my favourites, esp. during the holiday season. I gotta try your recipe soon.
Thanks, Angie….these are so good, be careful as they are addictive. ?