This post may contain affiliate links. Please read our disclosure policy. As an Amazon Associate, I earn from qualifying purchases.
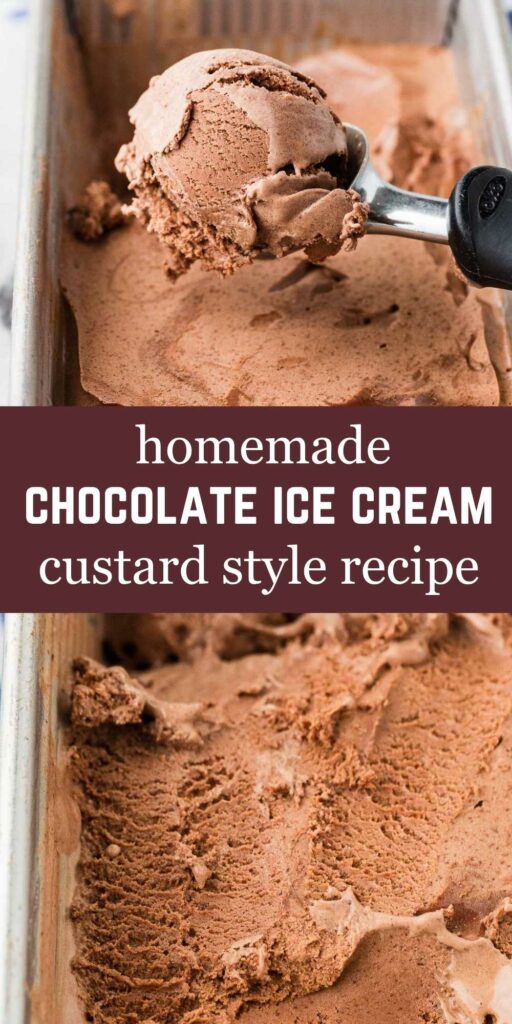
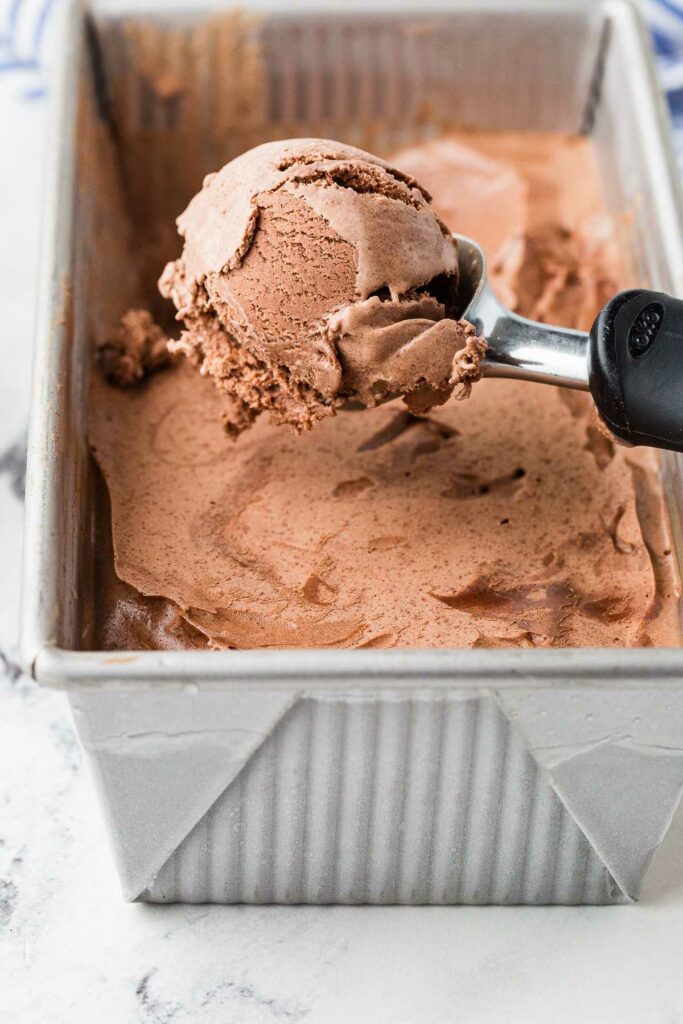
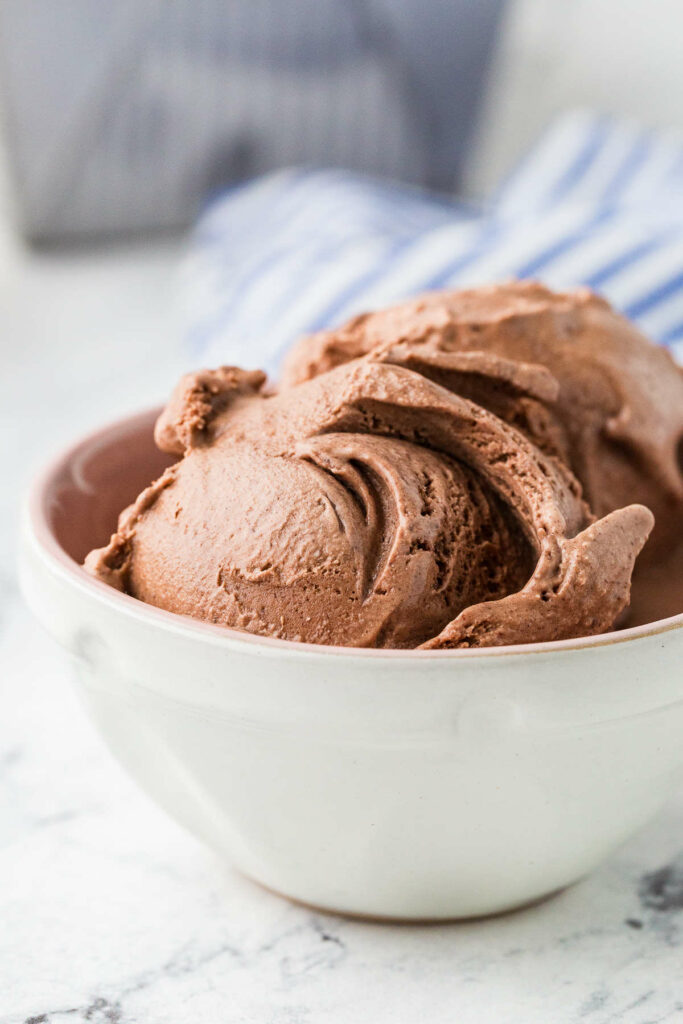
This homemade chocolate ice cream packs bold, fudgey flavor thanks to real cocoa, melted chocolate, and a rich custard made with egg yolks. It churns up silky smooth with no chalky aftertaste, no grainy texture, just dense, creamy decadence.
If you like your chocolate ice cream with extras, check out our chocolate marshmallow ice cream that is loaded with swirls.
Here’s Why This Chocolate Ice Cream Recipe Works
Real-deal chocolate flavor: Cocoa powder plus melted semi-sweet chocolate give it serious depth.
Custard base = creamy texture: The egg yolks in this old fashioned ice cream make it smooth, scoopable, and rich without extra thickeners.
No icy bits: Corn syrup (optional but smart) helps prevent ice crystals so you get that professional mouthfeel.
Balanced sweetness: Not too sweet, not too bitter. This recipe hits the sweet spot for grown-up taste buds. Want something even more edgy? Try our chocolate stout ice cream. It’s a little more complex in flavor.
Recipe Tips
Temper those yolks: Don’t rush this step. Slowly whisk in the hot milk to avoid scrambling the eggs.
Strain the custard: Even if you’re confident, a quick strain keeps the texture silky.
Chill completely: Cold base = better churn. Don’t skip the chill time unless you like icy ice cream.
Choose good chocolate: This isn’t the time for bargain-bin chips. Use a chocolate you’d eat straight. If you want a great custard base without the chocolate, try our our vanilla ice cream.
Watch the heat: Keep it at medium-low when cooking the custard. High heat = curdled eggs or scorched chocolate.
Churn until soft-serve thick: Don’t stop too early. It should look like soft-serve before you transfer it to the freezer.
Homemade Ice Cream Done Right
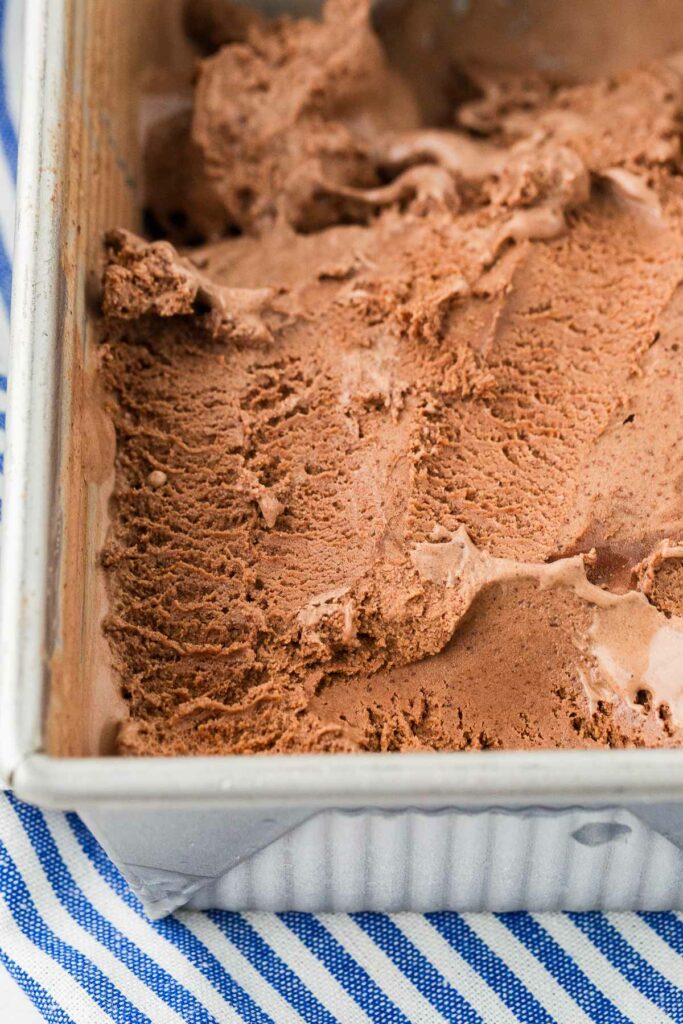
If you’re after deep chocolate flavor and a texture that stays creamy straight from the freezer, this from-scratch ice cream delivers. No weird ingredients, no icy edges. Just solid technique and big chocolate payoff.
Want to switch things up? You can use this same base to make homemade Dippin’ Dots for a fun twist on the classic scoop.
Pin this now to find it later!
Pin It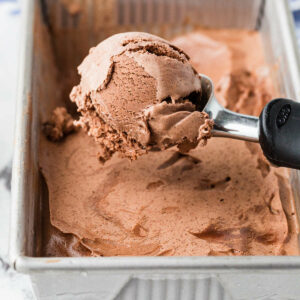
Chocolate Ice Cream (Custard-Style)
If you make this recipe, please leave a star rating and comment.
Equipment
Ingredients
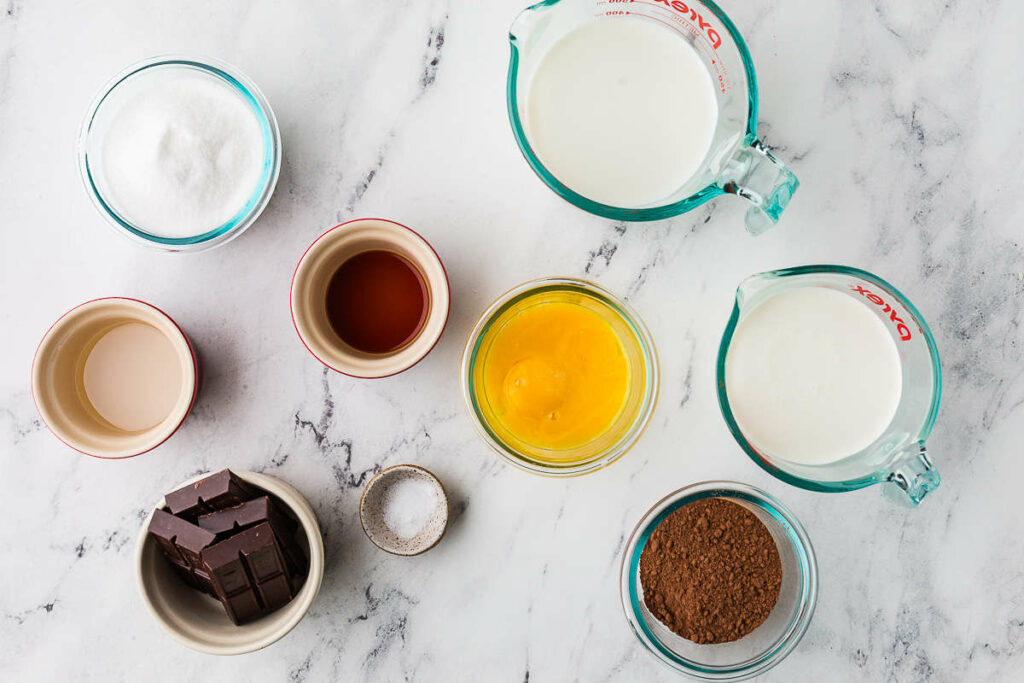
- 1 ½ cups whole milk
- ⅔ cup granulated sugar
- 2 tablespoons light corn syrup, optional
- ⅓ cup unsweetened cocoa powder
- ¼ teaspoon salt
- 4 egg yolks, see notes
- 4 ounces semi-sweet chocolate, finely chopped
- 1 ½ cups heavy cream
- 1 teaspoon vanilla extract
Instructions
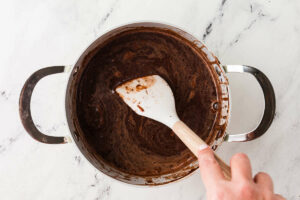
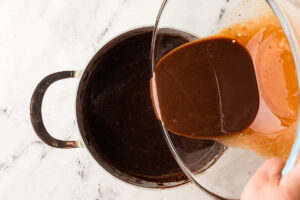
- In a medium saucepan, combine the milk, sugar, corn syrup (if using), cocoa powder, and salt. Whisk well to blend the cocoa powder, then heat over medium heat, stirring frequently, until the mixture is hot and just begins to simmer.Remove the pan from heat and stir in the chopped semi-sweet chocolate until melted and smooth. Set aside for a moment while you prep the yolks.
- In a separate medium bowl, whisk the egg yolks until smooth. Slowly pour about ½ cup of the hot chocolate mixture into the yolks while whisking constantly to temper them.
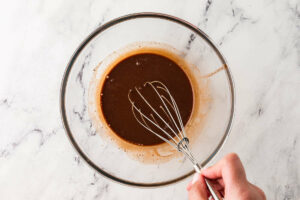
- Pour the tempered egg mixture back into the saucepan with the rest of the chocolate milk. Return to medium-low heat and cook, stirring constantly, for 5 to 8 minutes, until the custard thickens slightly and coats the back of a spoon. Avoid boiling—gentle heat helps prevent curdling.
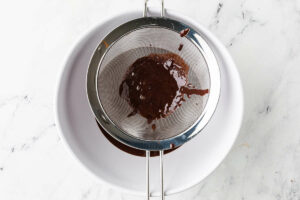
- Pour the custard through a fine-mesh strainer into a clean bowl to remove any bits of cooked egg.
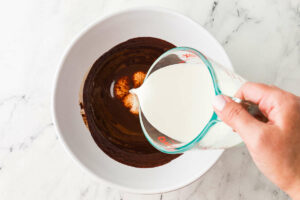
- Stir in the heavy cream and vanilla extract. Cover and refrigerate for at least 4 hours, or until thoroughly chilled. Starting with a cold base helps prevent ice crystals and makes the ice cream smooth and creamy.
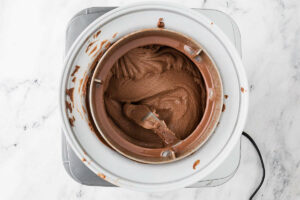
- Pour the chilled custard into your ice cream maker and churn according to the manufacturer’s directions, until it reaches a soft-serve consistency.
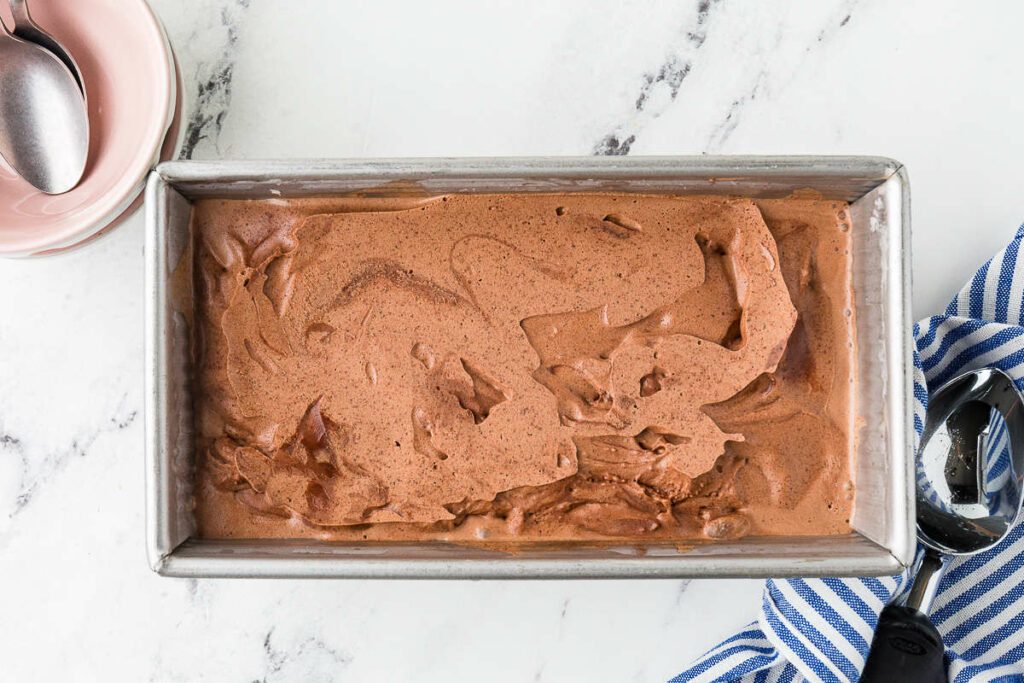
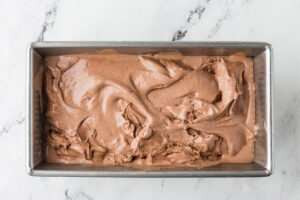
- Transfer the ice cream to a freezer-safe container (a loaf pan works great), press parchment or wax paper directly on the surface, and freeze for at least 4 hours until firm.
Notes
Nutrition
Nutrition information is automatically calculated, so should only be used as an approximation.
 Like this recipe? Rate & comment below!