

This post may contain affiliate links. Please read our disclosure policy. As an Amazon Associate, I earn from qualifying purchases.

Learn how to cook oat groats four different ways. Whether you’re looking for the quickest option, a hands-off approach, or the flexibility to cook them while you sleep, you’ll find a method that fits your schedule. Full instructions for the stovetop, Instant Pot, slow cooker, and rice cooker are below.

What Are Oat Groats?
Oat groats are whole oat kernels with only the outer hull removed. Since they’re the least processed form of oats, they take longer to cook than steel-cut, rolled, or instant oats.
Instead of turning into a bowl of soft oatmeal, oat groats cook more like whole grains such as barley, farro, or wheat berries.
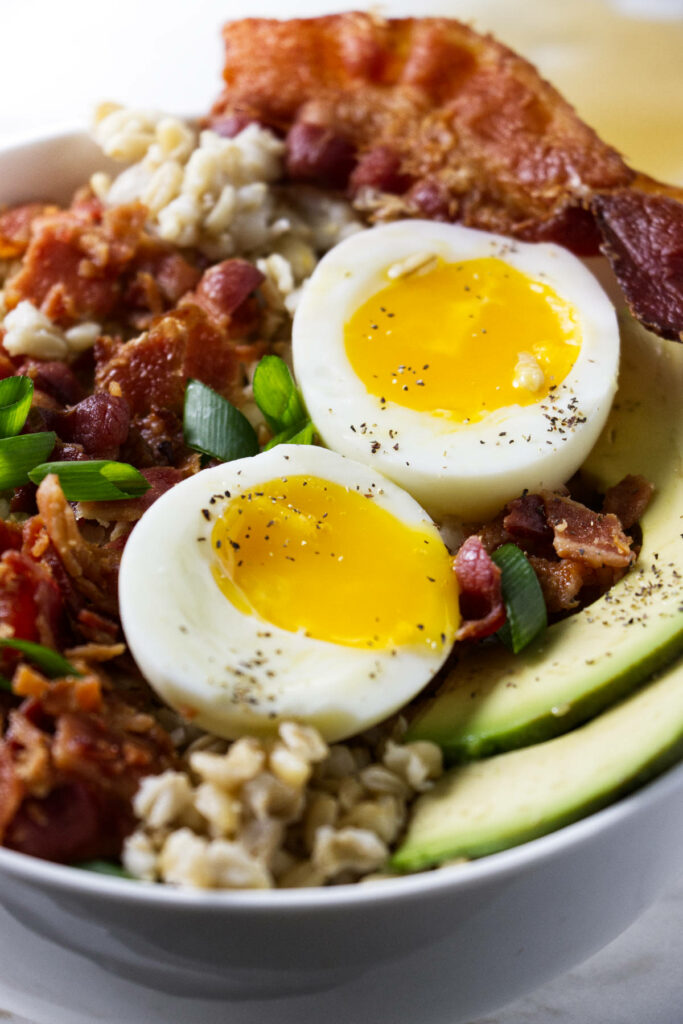
Depending on how long you cook them, they can range from pleasantly chewy to tender while still holding their shape. They’re just as good topped with fruit and cream as they are served with eggs, bacon, vegetables, herbs, or cheese.
Here’s Why These Methods Work
Four methods in one place: The stovetop, Instant Pot, slow cooker, and rice cooker each fit a different schedule, so you can choose the one that works best for the time you have.
The texture is easy to control: More liquid and a longer cook give you softer oat groats. Less liquid and a shorter cook keep them firmer and more separated.
The toppings can go either direction: Their mild flavor works just as well with fruit and cream as it does with eggs, bacon, vegetables, herbs, or cheese.
Cooked groats reheat well: Cooked oat groats reheat well and hold their shape better than rolled oats, making them easy to prepare ahead of time.
More than just breakfast: Oat groats work as a hot breakfast cereal, a grain bowl, a hearty side dish, or anywhere you’d normally serve rice or other whole grains.
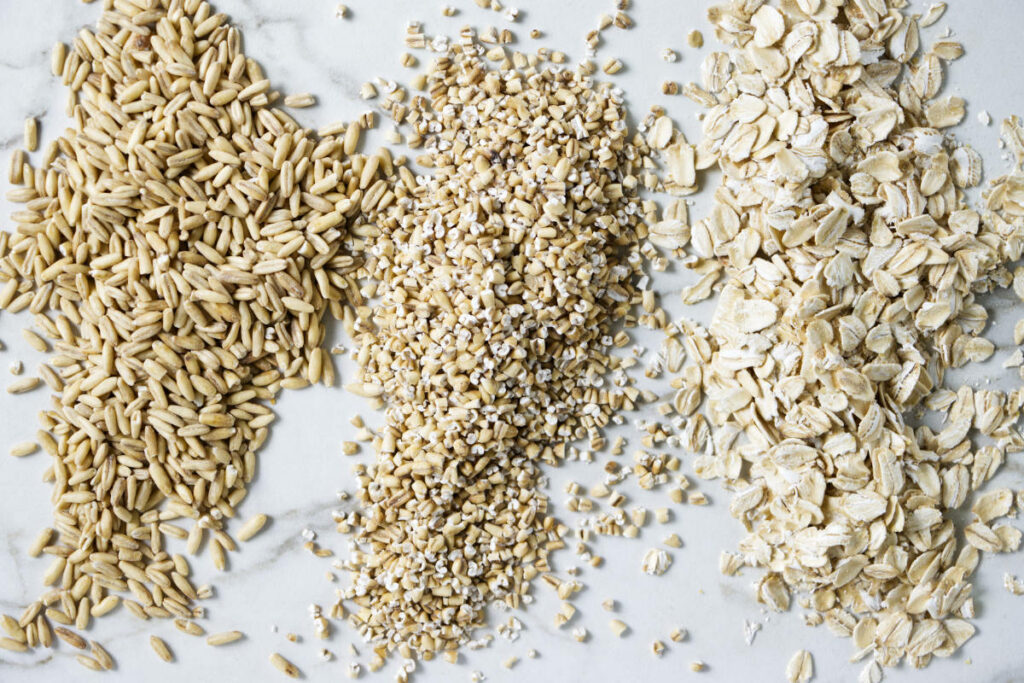
Oat Groats vs Steel-Cut Oats and Rolled Oats
Steel-cut oats are oat groats that have been chopped into smaller pieces. They cook faster because the grain has been cut open, but they still have a chewy texture.
Rolled oats are steamed and flattened, so they cook much faster and become softer. Oat groats stay whole, take longer, and have a firmer bite.
Oat Groat Cooking Methods
The card below gives full instructions for all four methods, but this table is a quick way to compare the timing and texture before you start.
| Method | Best for | Cook time |
|---|---|---|
| Stovetop | Most control | 45 to 70 minutes |
| Instant Pot | Hands-off cooking | 15 to 22 minutes plus pressure time |
| Slow cooker | Overnight or batch cooking | 2 to 6 hours |
| Rice cooker | Simple set-and-cook prep | About 45 minutes |
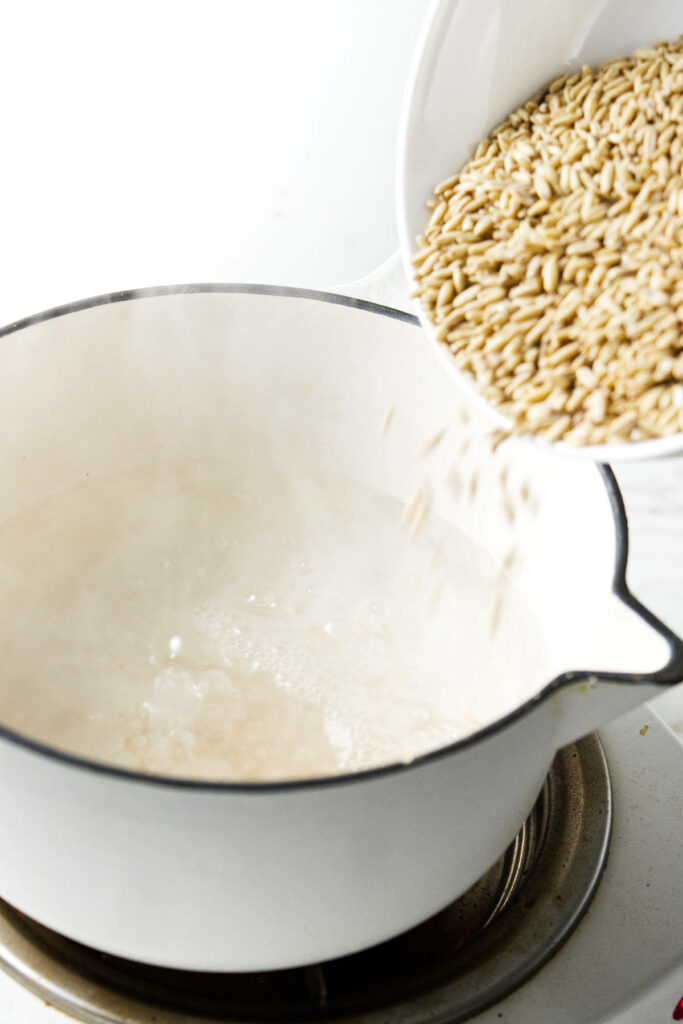
For the stovetop method, start checking the groats around 45 minutes. If they are still firmer than you like, keep simmering and add a splash more water as needed.
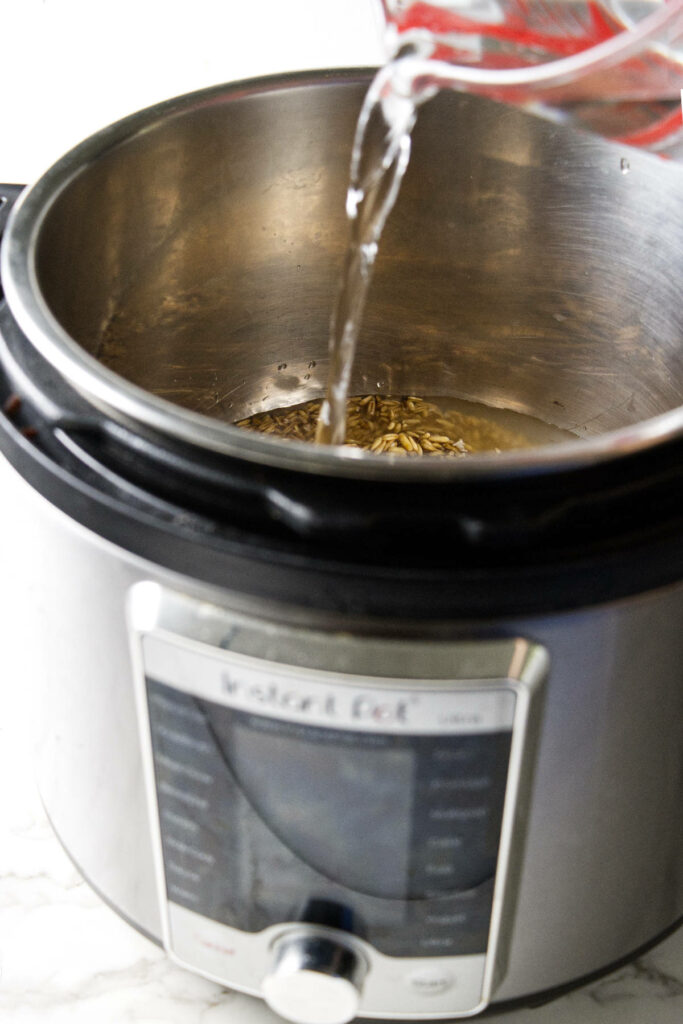
The Instant Pot is useful when you want a more hands-off method. The groats still need time for the pot to come to pressure and release, but you do not have to watch the simmer.
The slow cooker is the easiest option for a soft breakfast bowl. The rice cooker is a nice middle ground if you want cooked groats without using the stove or pressure cooker.
Do You Need to Soak Oat Groats?
You do not have to soak oat groats before cooking them. Soaking can shorten the cooking time a bit, but the groats still need a proper simmer to become tender.
If you do soak them, drain and rinse before cooking, then start checking for doneness earlier than the listed time. The exact timing will depend on how long they soaked and how soft you want them.
Sweet and Savory Topping Ideas
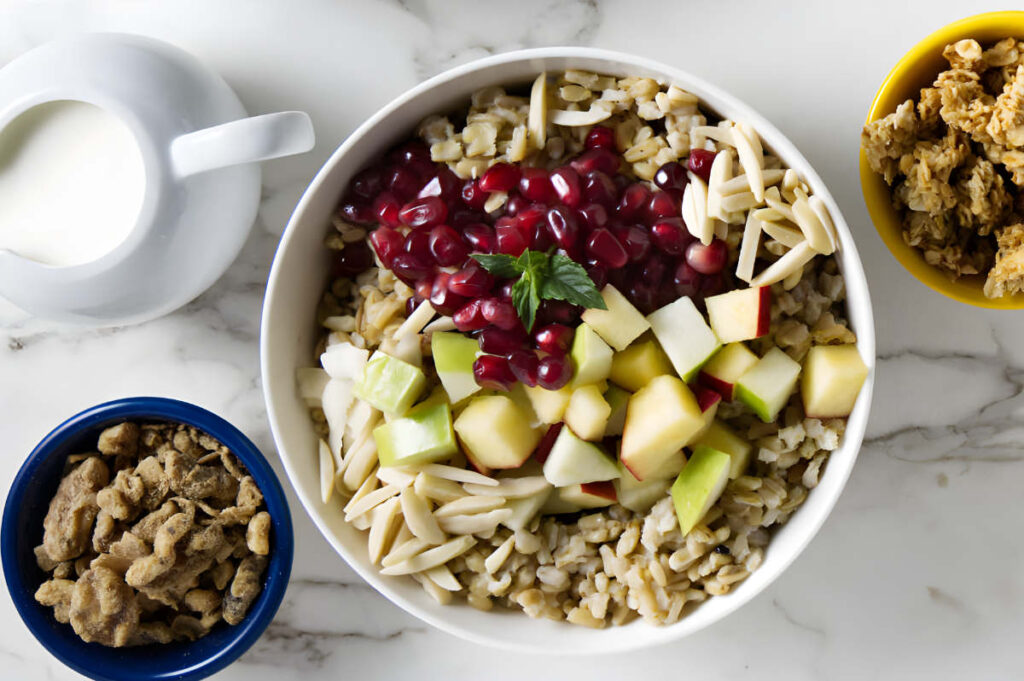
For a sweet bowl, try berries, sliced bananas, maple syrup, toasted nuts, cream, or a spoonful of chunky applesauce or apple curd also works when you want something a little richer and more dessert-like.

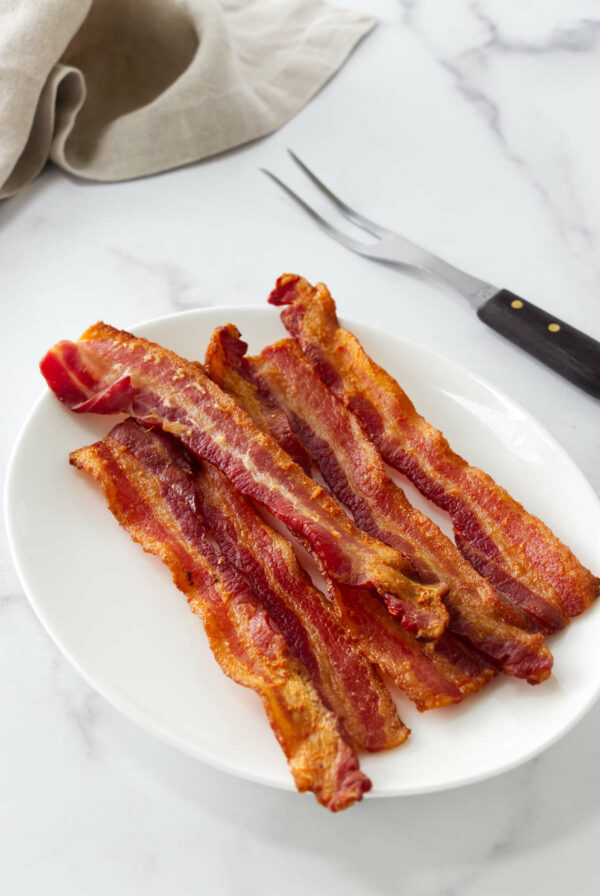
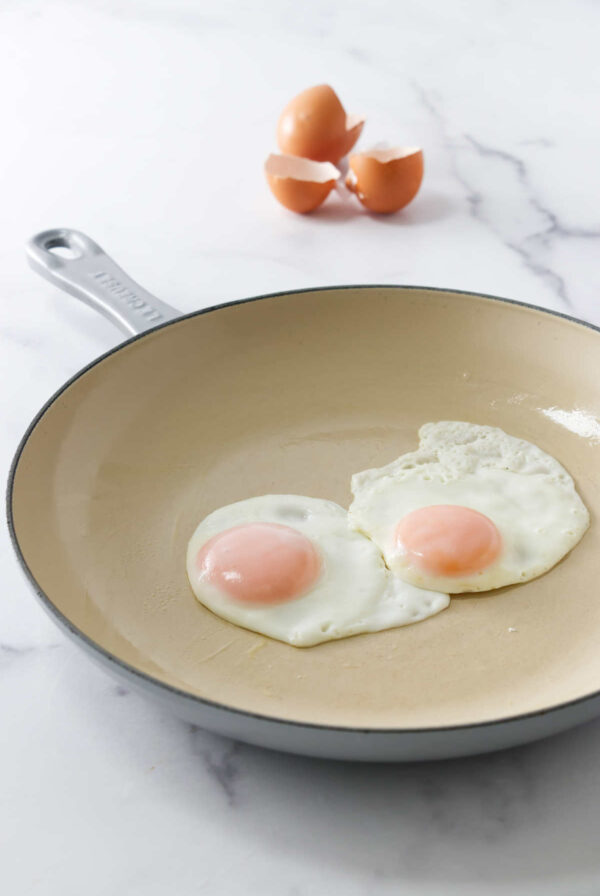
For a savory bowl, top the warm groats with steam fried eggs, avocado, sautéed greens, roasted vegetables, cheese, or oven baked bacon. The texture also works well anywhere you would use a cooked grain, including a grain bowl.
More Oat and Grain Breakfasts
For another warm breakfast bowl, try spelt porridge. If you want something baked instead of simmered, baked oatmeal is a good make-ahead option.
For a breakfast that leans more snackable, apple cranberry granola keeps the oat theme but gives you crunch. And if you are in cookie territory, oatmeal raisin cookies are never a bad direction.
Recipe Tips
Adjust the water as needed: Oat groats vary a little by brand and age, so add more water if the pan gets dry before they are tender.
Salt the cooking water: Even a small amount of salt keeps the groats from tasting flat.
Check the texture, not just the timer: The groats should be tender but still pleasantly chewy.
Do not rush the stovetop method: A gentle simmer gives the groats time to soften without scorching on the bottom.
Reheat with a splash of liquid: Add water, milk, broth, or stock when reheating to loosen the grains.
Frequently Asked Questions
For the stovetop and slow cooker, start with about 3 cups water for every 1 cup oat groats. For the Instant Pot, use about 2 ½ cups water for every 1 cup oat groats.
They have a mild oat flavor, but the texture is much chewier than rolled oatmeal. They feel closer to a cooked grain than a soft porridge.
Yes. Cool them completely, freeze in portions, then thaw overnight in the refrigerator. Reheat with a splash of liquid to loosen the grains.
If they’re still firmer than you’d like, continue cooking them with a little more water and check them every 5 to 10 minutes. They will become more tender as they cook but will still retain their whole-grain texture.

Cooked Oat Groats
Once you know how to cook oat groats, they are easy to keep on hand for simple breakfasts and savory bowls. Choose the method that fits your schedule, cook them to the texture you like, and change the toppings depending on where the meal is headed.
Pin this now to find it later!
Pin It
How to Cook Oat Groats
If you make this recipe, please leave a star rating and comment.
Ingredients
- 3 cups water
- 1 cup whole oat groats, rinsed
- 1 teaspoon salt
Instructions
Stovetop Directions
- Add the water, oat groats, and salt to a medium-sized saucepan. Bring the pot to a boil, then reduce the heat to medium and place the lid on the pot.
- Cook for 45 minutes for a slightly chewy texture or 60 to 70 minutes for a soft, creamy texture.
- If there is any liquid left in the pot, drain it off. See notes for topping ideas.
Instant Pot Directions
- Add 2½ cups water, oat groats, and salt to the Instant Pot. Close the lid and set the valve to seal.
- Cook on high pressure for 15 minutes for a slightly chewy texture or 22 minutes for a softer texture.
- Let the Instant Pot do a natural pressure release for 10 minutes. Taste-test the oats to determine if you like the texture. If you prefer a softer texture, replace the lid and cook for an additional 5 to 10 minutes (make a note of your desired cook time for the next time you make oat groats in the Instant Pot).
- If there is any liquid left, pour it out.
Slow Cooker Directions
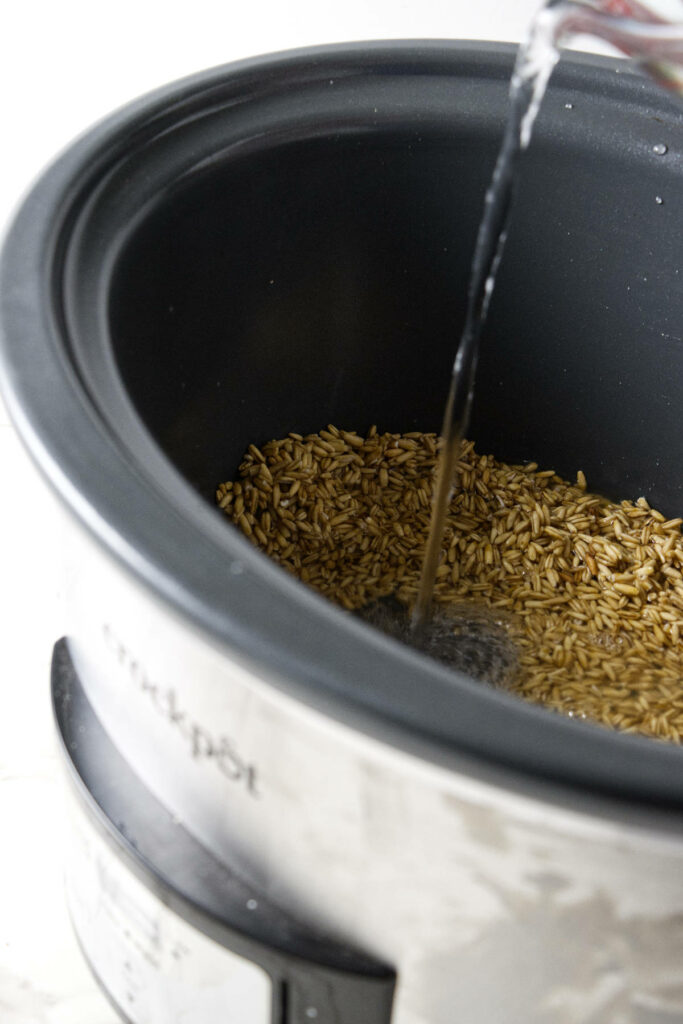
- Place the water, oat groats, and salt in a slow cooker.
- Cover the pot and cook on low for 4 to 6 hours or on high for 2 to 3 hours. Slow cookers vary in temperature and timing. Check the doneness of the oats and adjust the cooking time according to your slow cooker.
Oat Groats in the Rice Cooker
- If you have a smaller rice cooker, some of the liquid may foam up and bubble over as it cooks. Place the rice cooker on a plate or tray to catch any liquid that may bubble over.
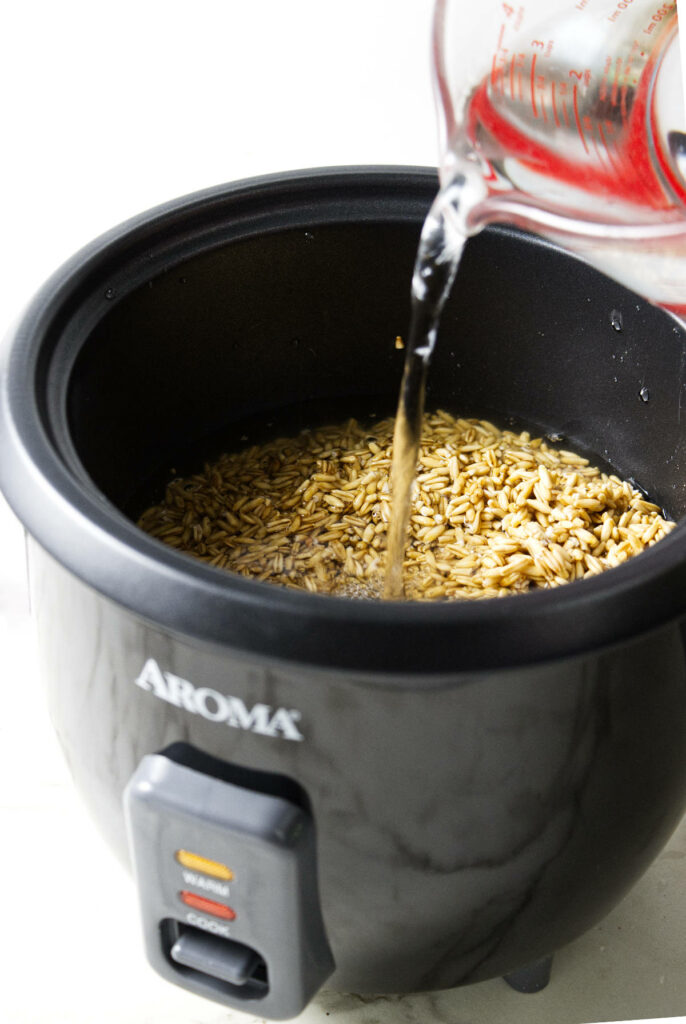
- Add the water, oat groats, and salt to the rice cooker.
- Place the lid on the rice cooker and push the tab down to start the cooking. The tab will pop up when the oat groats are finished cooking. If your rice cooker has a timer, set the timer for 45 minutes.
- Taste-test the oats. If you prefer a softer texture, add 1/2 cup of liquid and push the tab down to cook more.
Notes
Nutrition
Nutrition information is automatically calculated, so should only be used as an approximation.
 Like this recipe? Rate & comment below!











I love how you offered four ways to make the groats, so helpful. I can’t wait to try them savory!
Thank you for the comment, I would love to hear how it turns out.
Hi Gooday Pat,
I was just wondering why my comment is still pending after one week? I did make a mistake in sending a blank comment and I was wondering if that is the reason?
Great site, thank you Pat.
Roger Payne
Hi Roger, we don’t have any pending comments. If you made a mistake with your last comment, it is possible that it ended up in the spam folder. You are welcome to send another comment or question if you didn’t see a reply to your last one.
I have today used Oat Groats in my processor to convert them to “Flour” This is being used in a keto version of a sausage to replace wheat-based Rusk or Breadcrumbs.
Has anyone tried this before? What was the result?
Interesting. I haven’t tried that so I don’t know how it would work. The oat groats are not a very keto friendly substitute though. Have you tried grinding up some pork rinds?
@Dahn Boquist,
Thank you for responding. Funnily enough I am about to go shopping locally for some (English call) Pork Scratchings. I plan on doing a test today on just your suggestion. A little puzzled by your comment “Oats are not a Keto friendly product.” I was under the impression they were quite ideal. What make them not so good??
Many thanks
I’m thrilled to hear you’re going shopping for some pork scratchings—I can’t wait to hear how your test turns out with them!
As for your question about oats and keto, it’s a common misconception. While oats are a nutritious whole grain packed with fiber, they are relatively high in carbohydrates. A keto diet is a low-carb, high-fat regimen, and oats can easily push you past your daily carb limit, making it challenging to stay in ketosis. So, while oats have many health benefits, they aren’t ideal for a strict keto diet. If you’re just looking to cut back on processed foods or adopt a more balanced diet, oats could absolutely be a good fit.
@Roger Payne,
@Roger Payne, Hi OK here is the run down. I ground up 150 grams of pork scratchings to as near a powder as I could. (what out for the odd small piece of hard pork skin and be sure to remove it before use. The smell was acceptable and I felt that when mixed into the meat it would be fine from a taste point of view, which it was. I was making a keto version of the famous Scottish Lorne or square sausage
There are many recipes readily available on the internet or You Tube. Just substitute the ground pork skin for the Rusk or breadcrumb on a one for one basis. So all went well up to the final tasteing. I made the mistake of cutting back on the pork backfat because of the ground-up pork skin. Keep the pork fat at the normal level min 20%. That way they will still remain juicy. Mine were a little dry and whilst just about acceptable. more fat would be better. I also think I overcooked mine just a little which also didn’t help. I will measure the temperature next time. I should know better!! So by incorporating my learning curve I would say you can happily use “Pork Scratchings” as a substitute to create a good Keto Lorne style sausage.
Thanks for the update, Roger!
Thanks so much for submitting to YG – I’m pleased to learn that the Poms that I decorated with I can now use. I was wondering about that for a while now. I’ve learned something new today because of you! My daughter and I purchased YG just a few weeks ago and have many plans – some we have already put into play for instance all the new categories to choose from, making searches easier for the average viewer. I hope you will continue to post on YG and believe you will see a difference traffic from our site soon!
Congratulations on your new venture, thanks for your comments….:)