
This post may contain affiliate links. Please read our disclosure policy. As an Amazon Associate, I earn from qualifying purchases.
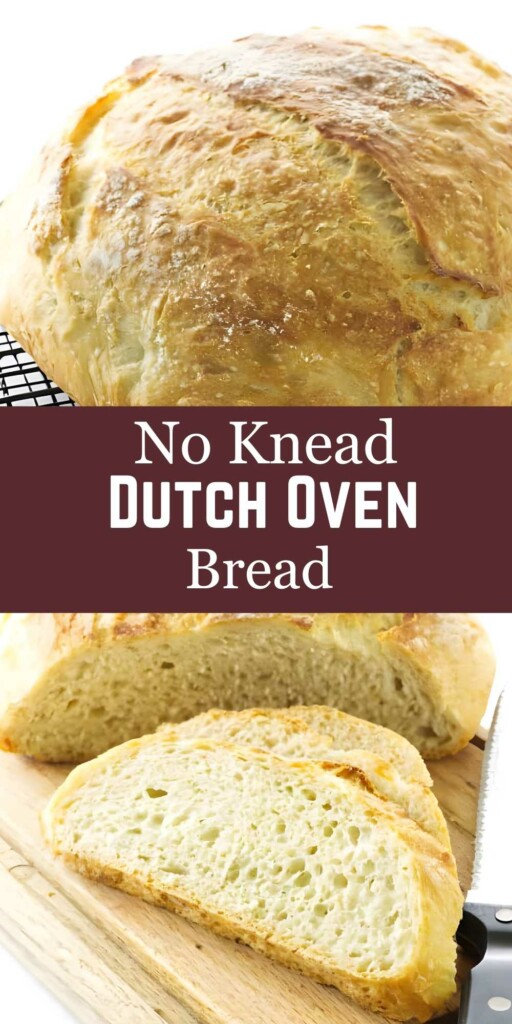
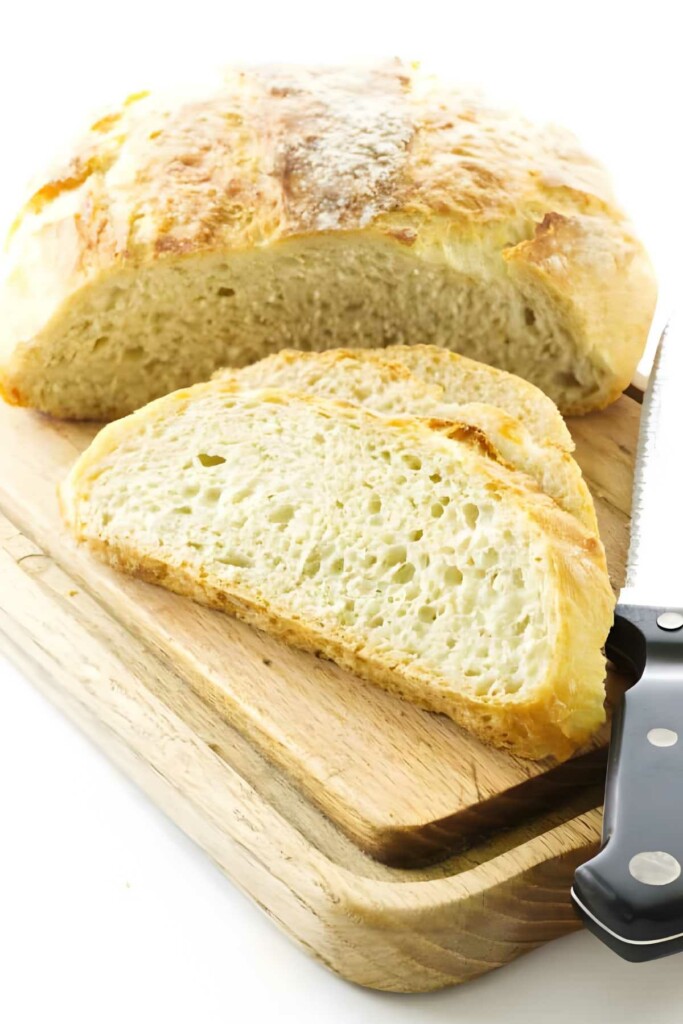
This no knead Dutch oven bread is the crusty, bakery-style loaf that’ll make you feel like a bread wizard with shockingly little effort. No stand mixer, no kneading, just a bowl, a spoon, and a Dutch oven. With a chewy interior and that crackly, golden crust we all chase, this is the real deal.

Want a twist on this easy artisan bread? Try my no knead rosemary bread or my Dutch oven cranberry walnut bread next.
Here is Why This Quick Dutch Bread Recipe Works
This 2 hour artisan bread delivers big bakery energy with barely any hands-on time.
No kneading needed: The long rest time lets the gluten develop naturally, so you can skip the elbow grease.
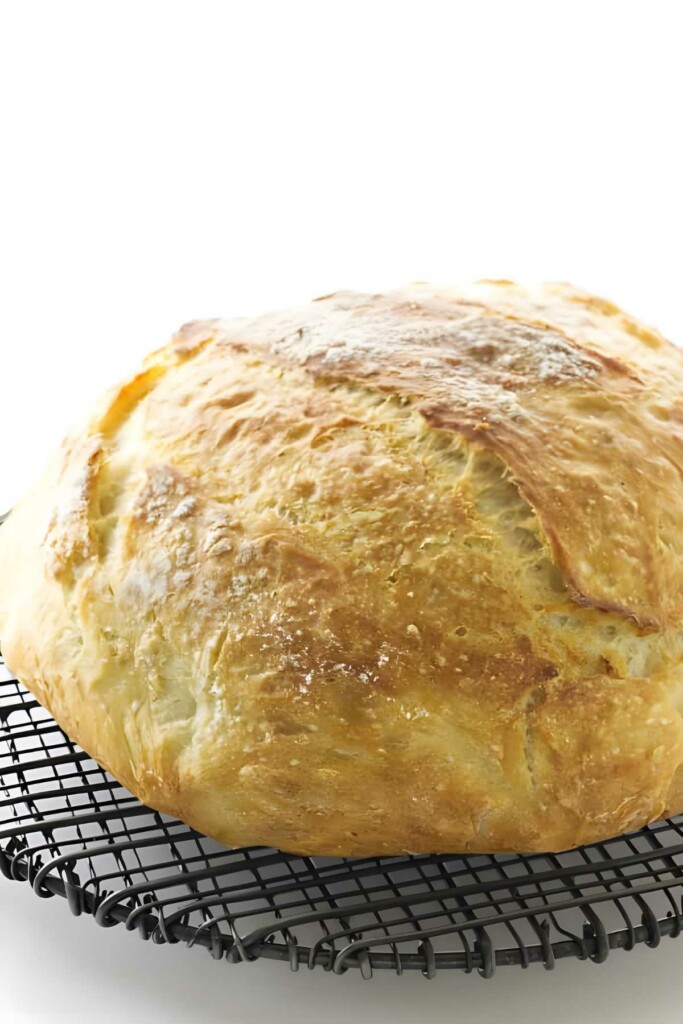
Steam-powered crust: Baking in a Dutch oven traps moisture, giving you that lofty rise and shatteringly crisp crust.
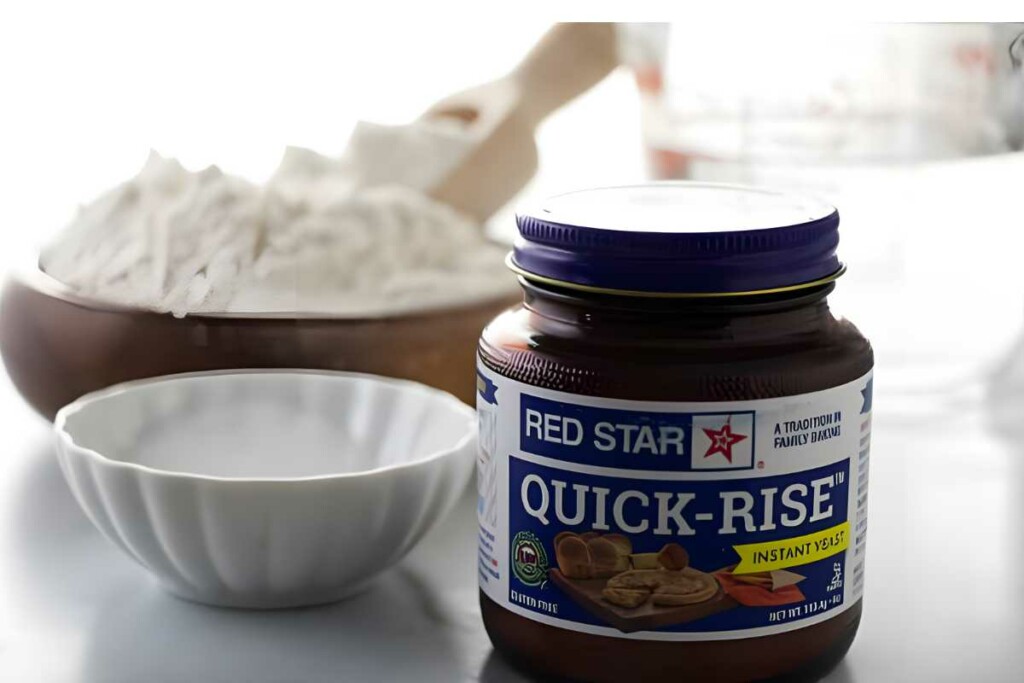
Simple ingredients: Just flour, yeast, salt, and water—but the flavor payoff is huge.
Versatile base recipe: This method works beautifully with variations too, like my no knead rye bread, baked in a Dutch oven for that same crusty perfection.
Recipe Tips
Use the right water temperature: Keep it around 100°F. Too hot and you’ll kill your yeast; too cold and it’ll take longer to rise.
Don’t skip the preheat: That Dutch oven needs to be scorching hot to give the dough a good oven spring.
Score before baking: A quick slash on top helps control where the bread expands as it bakes.
Use bread flour if you can: The higher protein content gives a chewier crumb and taller rise.
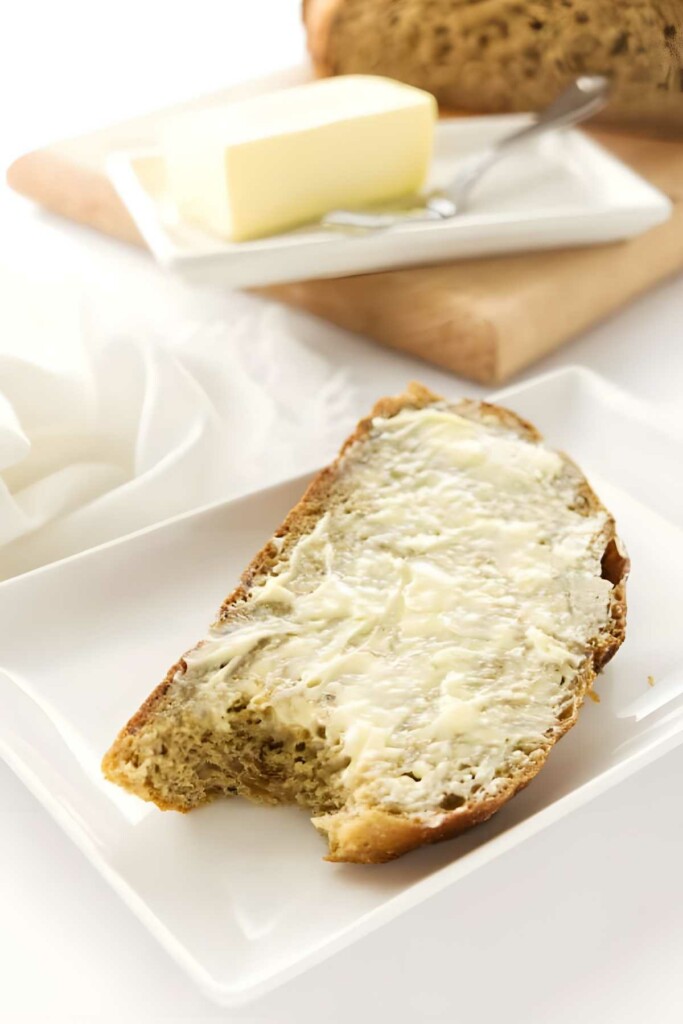
Serve it with garlic butter: This loaf is begging to be dunked in something delicious. Try my garlic butter sauce for the ultimate upgrade.
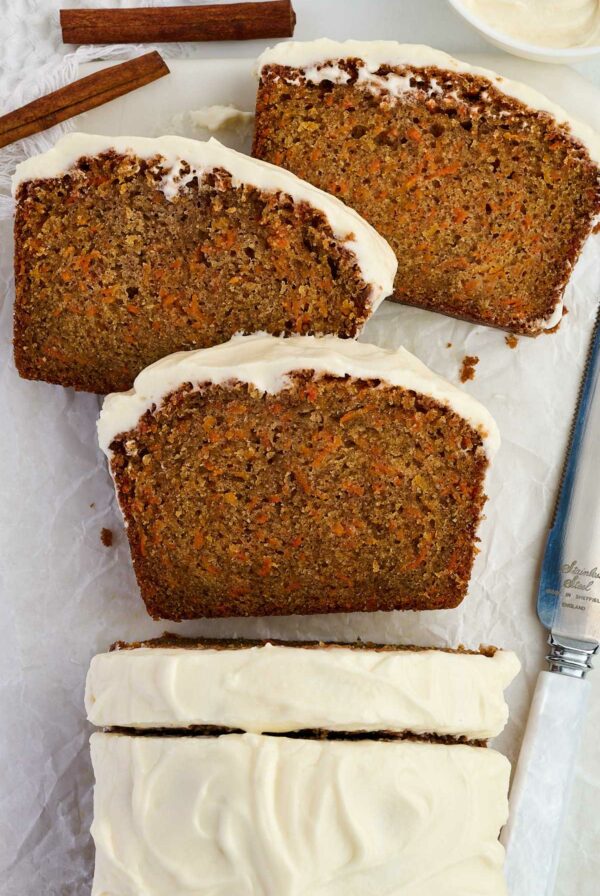
I adapted this recipe to make a sweeter Dutch oven cinnamon raisin bread.
Storing Leftovers
- Refrigerate: Wrap the cooled bread in a clean towel or place in a bread bag and store at room temperature for up to 3 days. Avoid the fridge unless your kitchen is very humid.
- Freeze: Let the loaf cool completely, then wrap it tightly in foil and place in a freezer-safe bag. It keeps well for up to 3 months.
- Reheat: To refresh the crust, reheat the thawed bread in a 350°F oven for about 10 minutes until warm and crisped up again.
Why No Knead Bread Wins
When you need an easy, dependable loaf that delivers on both taste and texture, this no knead Dutch oven bread pulls through every time. It’s got the artisan look without the artisan effort, and frankly, that’s the kind of kitchen win we all need.
Want to branch out? My no knead focaccia brings the same laid-back method with a totally different vibe.
Pin this now to find it later!
Pin It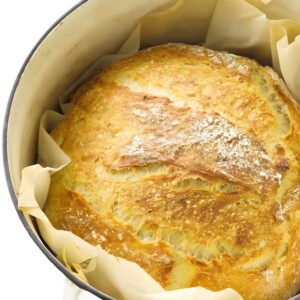
Quick No Knead Dutch Oven Bread
If you make this recipe, please leave a star rating and comment.
Ingredients
- 3 cups all-purpose flour, or bread flour, 360 grams
- 2¼ teaspoons Quick Rise Instant yeast, 1 packet, or RapidRise instant yeast
- 1½ teaspoons salt, 9 grams
- 1½ cups water, warm, up to 100°F; (338 grams)
Instructions
Make the Dough:
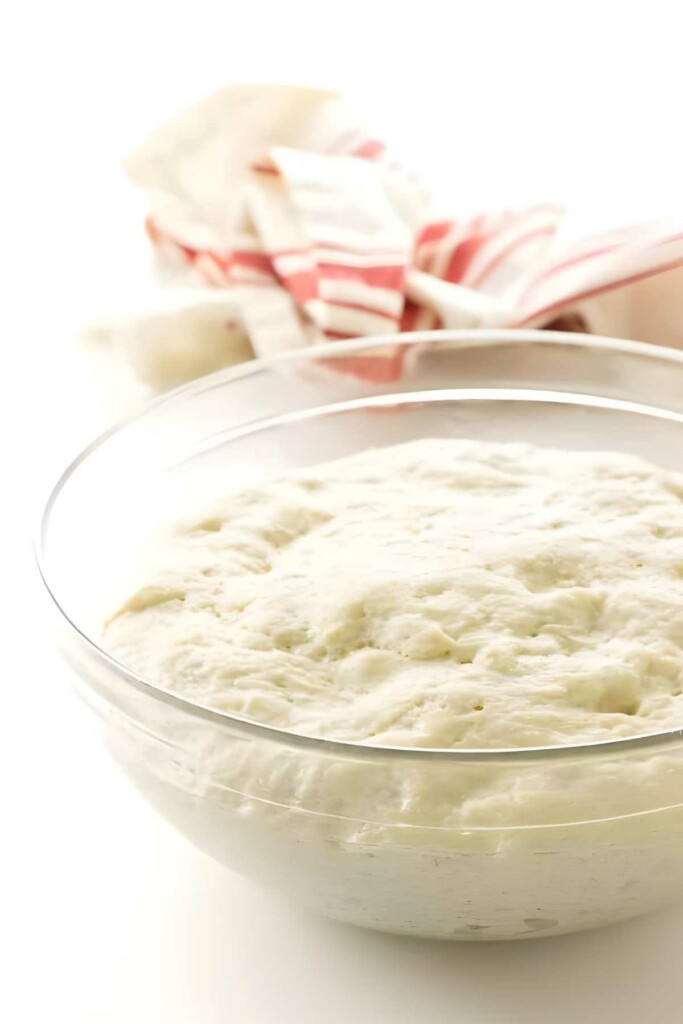
- Fluff up the flour before measuring or weighing; then add the flour, yeast and salt to a mixing bowl and stir to combine. Make a well in the center and pour in the water, stir and mix completely . The dough will be soft and sticky.
- Cover the bowl with an oil-sprayed plastic wrap and let stand in a warm spot at room temperature. Let rise for 1 hour. (I like to set the covered bowl on top of the refrigerator).
- After 40 minutes, place a 4 or 6-quart Dutch oven with lid in the oven and preheat to 450°F.
- Sift a light dusting of flour on a large piece of parchment paper and set aside.
- When the dough has rested for the 1 hour, turn it out onto a lightly flour-dusted work surface. Use a bench scraper to turn and fold the dough 5 or 6 times to shape into a rough ball. Dust lightly with flour.
- Place the dough with the floured side down, in the center of the reserved sheet of parchment paper. Dust the exposed top lightly with flour and cover with a fresh piece of plastic wrap. Let the dough rest on the counter top for 15 minutes.
Bake the Bread:
- Carefully remove the Dutch oven from the oven, remove the lid. Remove the plastic wrap covering from the dough, and using the parchment paper as a sling, lift the dough and set it into the Dutch oven. Spray the top of the bread with some water (see notes) and score it with a sharp blade.
- Replace the lid and transfer to the oven.
- Bake for 30 minutes, then remove the lid from the Dutch one and bake the bread for an additional 15 minutes.
- Transfer the hot Dutch oven to the work area and using the parchment paper, lift the bread out and place on a wire rack. Let cool before slicing.
Video
Notes
Nutrition
Nutrition information is automatically calculated, so should only be used as an approximation.
 Like this recipe? Rate & comment below!
More Artisan Bread Recipes
- Sprouted Wheat Buttermilk Sandwich Bread
- Whole Grain Einkorn Pizza Dough
- Sprouted Rye Bread
- Einkorn English Muffins
- 21 Artisan Bread Recipes
Memories Of By-Gone Days:
I have vivid memories of watching my grandma bake bread when I was a kid. She started early in the morning, and it was a full-day affair. With a crew of farmhands to feed, she didn’t make just one loaf, she made batches. Big ones. The old-fashioned way, with serious kneading.
She’d mix everything into a massive lump of dough, let it rise, punch it down (my favorite part), and knead it all over again. I loved when she let me punch the dough and that warm, yeasty smell whooshed up—pure heaven.
After shaping the dough into loaves and giving them one last rise, she’d finally bake them. The kitchen smelled unreal. I can still picture those four golden loaves cooling on the rack, and if it wasn’t too close to dinner, she’d slice off a heel and slather it with homemade butter just for me.
Bread baking has changed a lot since those days, and I think she would’ve loved this easier, 2-hour version. Honestly, give me a thick slice of this toasted bread with butter and raspberry jam, and you can keep your chocolate cake.


I love this recipe because I can get it made on a Sunday afternoon, without doing the overnight rise. The crustiness makes it easy to slice without squishing down. I no longer buy store bread.
Hi, Julie and thank you for this comment. I, too, love this recipe, I have tried the overnight rise but am too impatient, ha ha. This quick rise is perfect!
Can you substitute einkorn flour for all purpose?
Yes, but add a bit less liquid and give the dough a bit more time to absorb the liquid. Start by reducing the liquid to 275 to 285 grams. Even with less liquid, the dough will be stickier than regular dough but if you keep your hands wet when you work with it, the dough won’t stick to them.
When I measured the flour out 360g was only about 2 cups. Is that okay? or should I add 3 cups anyways?
Hi, Sierra….thanks for this question, we are using the weight measurement of 120 grams per cup, which relates to 320 for 3 cups of flour. We believe weighing the flour gives a more accurate and consistent measurement than the scoop and level way. Be sure to tare your scale before measuring the flour.
I really love this recipe, but the bottom of my bread turns out really thick, I can barely cut the bottom with a knife, I’ve even tried cutting the baking time by 5 minutes with the lid off. Any suggestions?
Adding some insulation will help prevent the bottom crust from getting too hard. You can place the Dutch oven on a sheet pan, or create some extra insulation inside by adding 4 to 6 layers of aluminum foil inside the bottom of the pot. Even adding a couple of sheets of parchment paper will provide some insulation but depending on how heavy your Dutch oven is then you may need a bit more than parchment. Thanks for the question.
@Angel, I put a trivet under my loaves that I cook in the dutch oven when I had that same issue. Allowing even just a quarter of an inch gap from the bottom helps my bottom crust not burn 🙂
Okay, this is easy and good flavored. Just took it out of the oven, let it cool, and we had some. Thank you for the recipe and the story about baking with your Grandma. Your comparison to chocolate cake was a doozy. HaHa.
Thanks for the comment, Dee. I’m so glad you enjoyed the bread.
Is it ok to let the dough rise for a much longer period of time?
Yes, if you use a standard instant yeast (instead of Rapid rise yeast) or if you use either active dry yeast or fresh yeast, you will want to give the bread more time to rise. If all you have on hand is Rapid rise instant yeast, you can place the dough in the fridge to slow the rise down.
Hello! Can’t wait to try this recipe. I was curious if I could add honey, cinnamon, sugar and raisins to make it a sweet bread? If so, what quantities would you recipe me adding?
Thanks so much!
Sure, add up to 1 cup of raisins (I like to soak the raisins in warm water to make them nice and plump then I pat them dry). You can add 2 to 3 tablespoons of honey to the dough and to make it sweeter, you can mix 1 tablespoon of cinnamon with ⅓ cup sugar. After you mix the dough, flatten it out a bit and sprinkle the cinnamon sugar mixture over it then roll it into a ball. that will give you a sweet cinnamon sugar swirl in the bread.
I made this bread years for my a family meal and they loved it! I was wondering if it would be possible to double the recipe to make a larger “loaf” I just don’t know how much longer it would need to bake for.
I’m thrilled to hear the bread was a hit with your family! Doubling the recipe to make a larger loaf can work but I have not tried it. A loaf that size would be more challenging to bake evenly in a standard home oven.
Making two loaves from the doubled recipe will give you more consistent results.
If you’re set on trying a larger loaf for a special occasion, it might be a fun experiment! Just keep in mind that you may need to lower the oven temperature slightly and extend the baking time. Keep a close eye on the loaf as it bakes, and consider using a thermometer to check the internal temperature, which should reach around 190°F to 200°F when it’s done.
I’d love to hear how it turns out if you decide to give it a go.
Should I score the bread before baking?
Yes, it will rise much better if you score it. Thanks for the question, I will add that to the instructions.
Hi there! I only have a 4.3qt dutch oven. Am I able to bake this in the pot or should I do them in two batches? Thanks
Hi, Michelle….Yes your 4.3qt. Dutch oven will work just fine. Thanks for the question and enjoy the bread!