This post may contain affiliate links. Please read our disclosure policy. As an Amazon Associate, I earn from qualifying purchases.
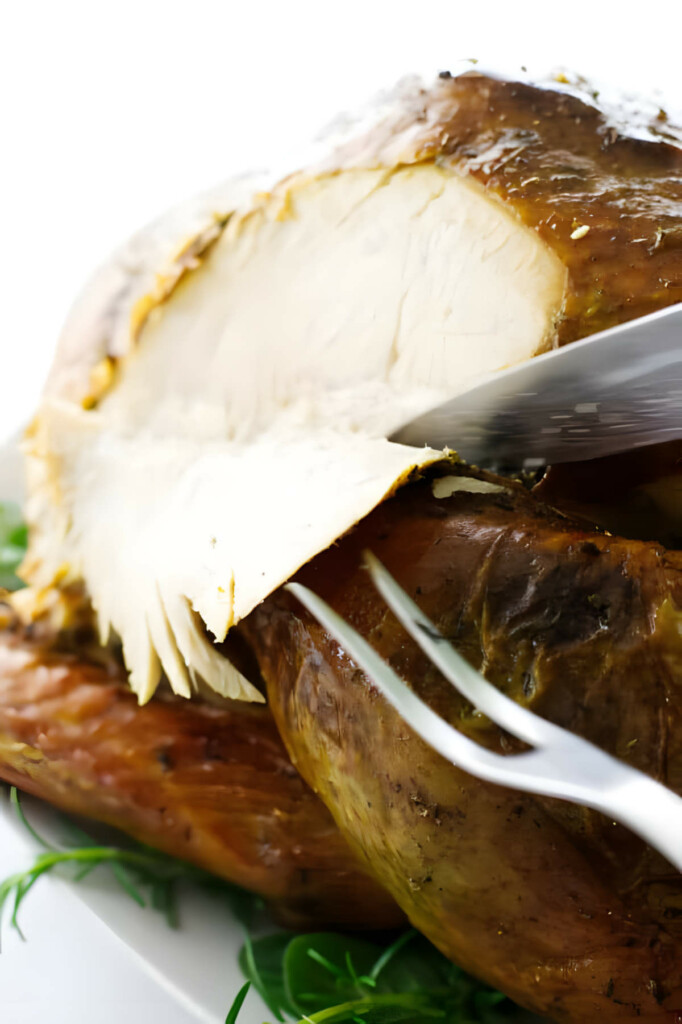
This dry brine turkey recipe delivers juicy meat and crisp skin without the fuss of a wet brine or complicated prep. One common frustration with turkey is dry, bland meat, but this method fixes that with minimal effort.
By seasoning under the skin and giving the bird a chance to air dry before roasting, you’ll get that golden, crisp skin everyone’s after. Plus, no messy buckets of water taking up fridge space.
If you are planning a full turkey dinner menu, don’t miss my old fashioned turkey gravy and ricotta mashed potatoes.
Or, if you’re cooking for a smaller group, try our herb butter turkey breast.
Here is Why This Dry Brine Turkey Recipe Works
Flavor gets right into the meat: Rubbing the salt and herbs directly under the skin means real flavor, not just surface-level seasoning.
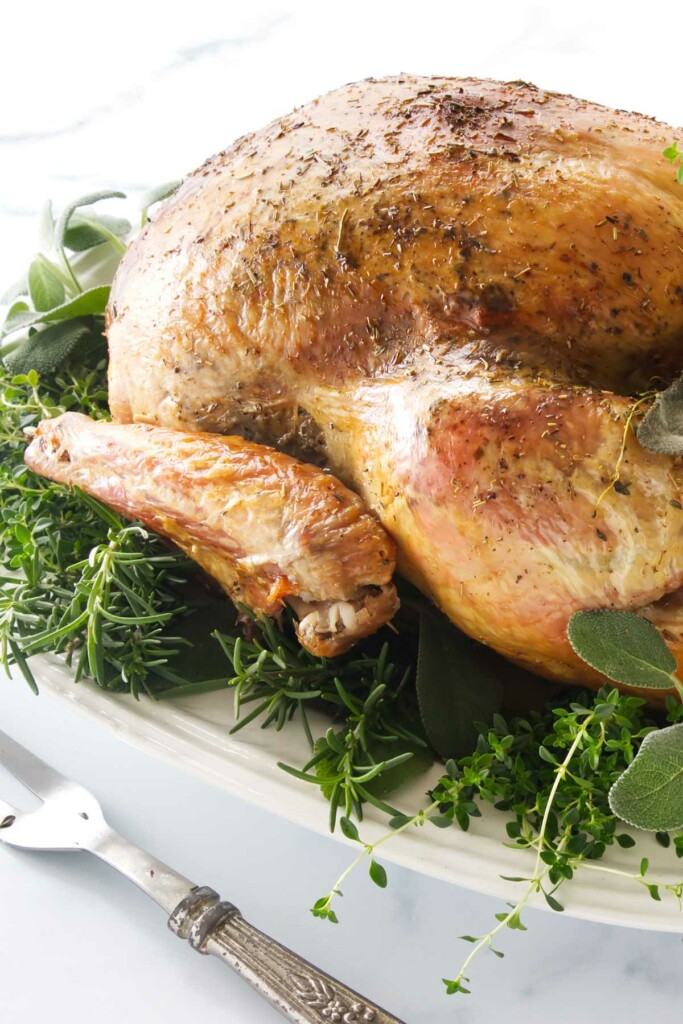
No soggy skin here: Air-drying in the fridge helps the skin crisp beautifully in the oven.
Fewer dishes, no brining mess: A dry brine takes up less space and is easier to manage than a traditional wet brine.
Simple but flexible: Works whether you’re roasting a heritage bird or a regular supermarket turkey (just don’t get the pre-salted ones).
The Ingredients
- Meat: Turkey (12 to 15 pounds)
- Produce: Lemons, onions, garlic, fresh rosemary, fresh thyme, fresh sage
- Pantry: Chicken broth, white wine, olive oil
- Pantry seasonings: Kosher salt, black pepper, dried herb mix or Herbs de Provence
- Condiments: (None specifically, unless you count the oil and wine)
- Optional add-ins: Clarified butter (if you prefer it over oil for brushing)
Recipe Variations
Citrus-Herb Infusion: Add orange wedges along with the lemons in the cavity. You can also add some freshly grated lemon zest to the dry brine.
Garlic Butter Turkey: Swap olive oil for clarified garlic butter when brushing the skin before roasting.
Apple & Sage Stuffed Bird: Tuck a few apple slices into the cavity along with the herbs and onions.
Recipe Tips
Don’t skimp on drying time. That extra 4 to 12 hours uncovered in the fridge helps develop ultra-crisp skin.
Avoid pre-salted birds. Anything labeled kosher or “self-basting” has already been treated with salt. Skip skip pre-salted turkeys or it’ll end up overly salty.
Rub under the skin, not just on top. It takes a few extra minutes, but it’s the difference between bland and bold.
Don’t tent the turkey unless you’re okay with softer skin. If you want that crisp finish, let it rest uncovered.
Use a meat thermometer, don’t guess. The best way to avoid overcooking is to trust a good instant-read thermometer. Pull the turkey at 155°F in the thigh and let it rest, it’ll hit 165°F as it sits.
Start hot, then drop the temp. That initial blast of high heat (425°F) kickstarts browning and helps lock in moisture before you lower it for a steady roast.
Add broth or wine to the pan. This keeps the drippings from burning and gives you a flavorful base if you plan to make gravy.
Storing and Reheating Leftover Turkey
- Refrigerate: Store leftover turkey in an airtight container in the fridge for up to 4 days.
- Freeze: Slice the turkey and freeze portions in freezer-safe bags or containers for up to 3 months.
- Reheat: Arrange slices of turkey in a baking dish with a splash of broth, cover tightly with foil, and warm in a 325°F oven for 20 to 30 minutes, or until heated through. Reheating slices instead of a whole portion helps prevent the meat from drying out.
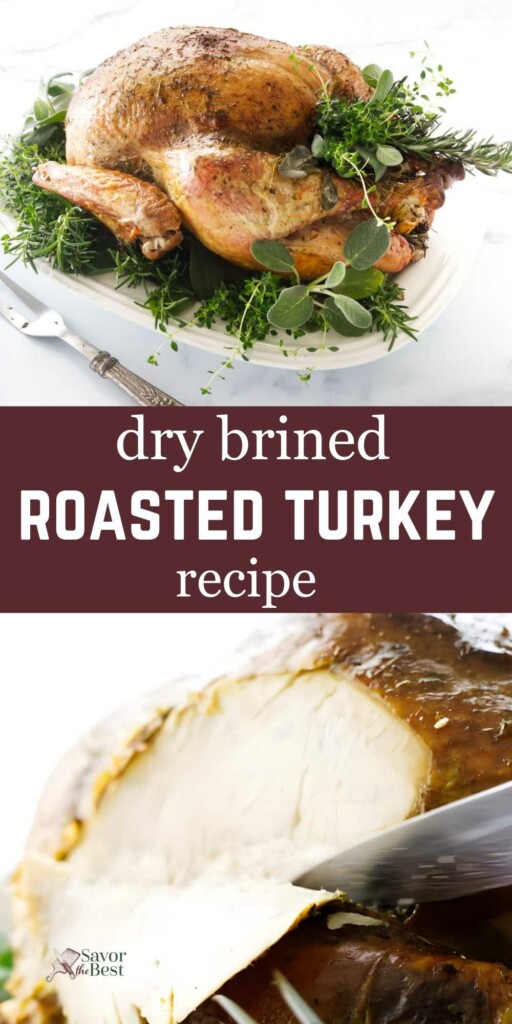
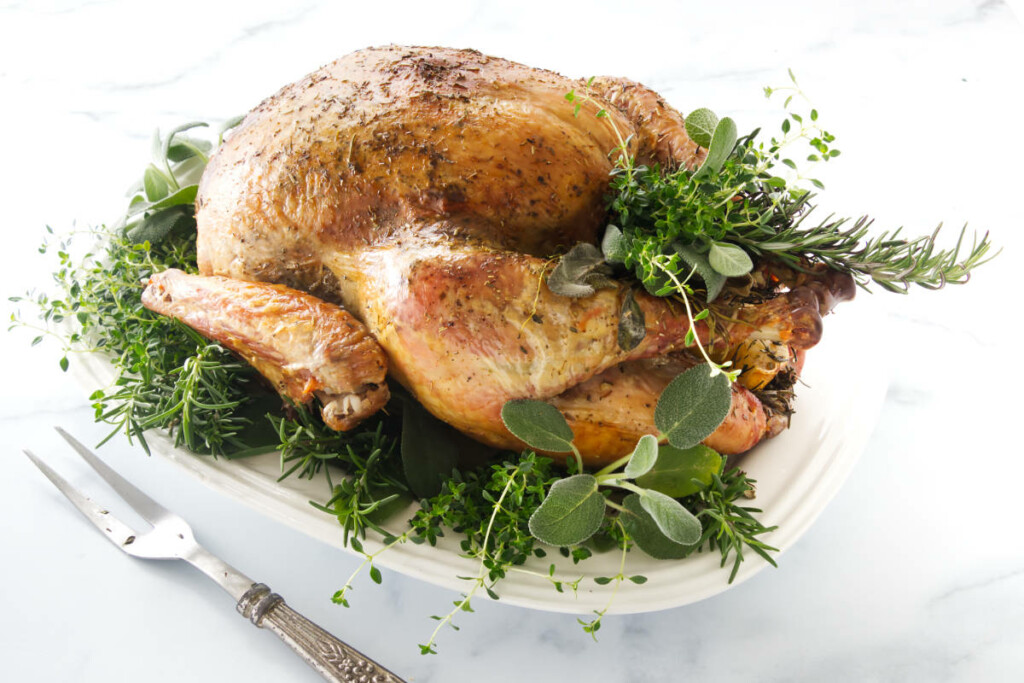
Dry Brined Roast Turkey
This dry brine turkey method is simple, effective, and doesn’t require any specialty equipment or fancy tricks. Just solid technique and a bit of planning ahead. It’s a low-effort, high-reward approach that’ll make you wonder why you ever did it any other way.
Pin this now to find it later!
Pin It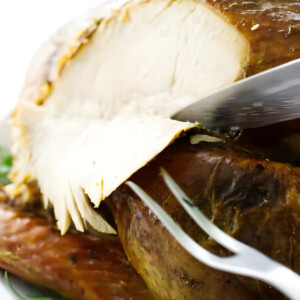
Roasted Dry Brined Turkey
If you make this recipe, please leave a star rating and comment.
Ingredients
- 1 turkey, 12 to 15 pounds
- Kosher salt, 1 tablespoon for every 4 pounds turkey
- ½ teaspoon ground black pepper
- 2 tablespoons Herbes de Provence, reserve 1 tablespoon
- 2 lemons, quartered
- 2 large onions, quartered
- 1 whole garlic head, cut in half
- 3 to 5 sprigs fresh rosemary
- 3 to 4 sprigs fresh sage
- 5 to 6 sprigs Fresh thyme
- 3 tablespoons olive oil
- 1 cup chicken broth
- ½ cup dry white wine
Instructions
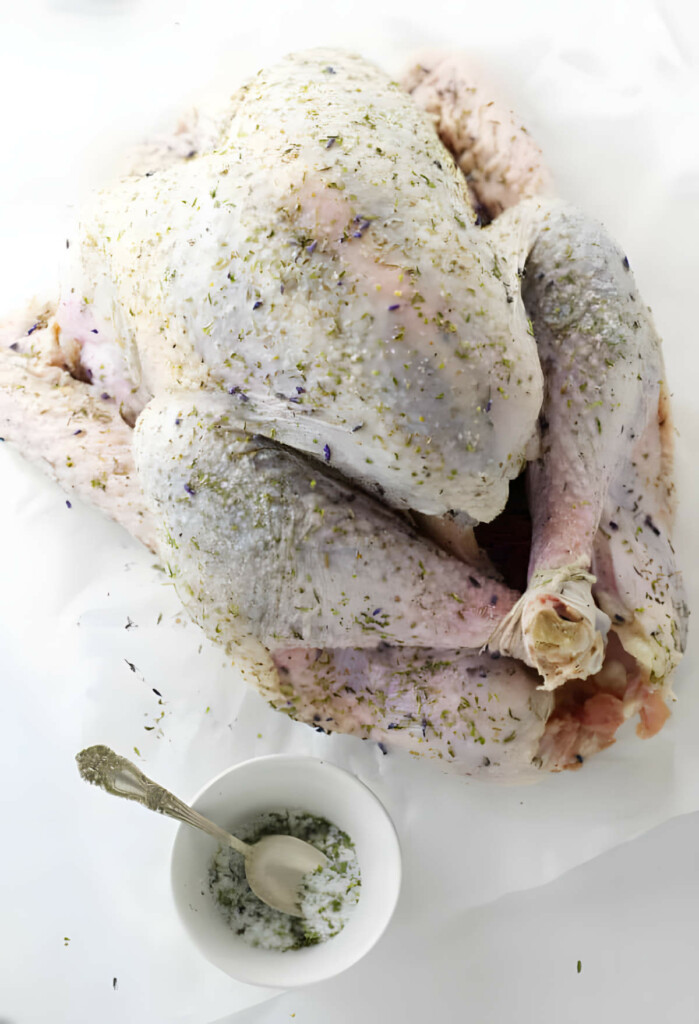
Mix the Seasoning & Prep the Turkey:
- Mix the kosher salt, black pepper, and 1 tablespoon of the dried herb mix in a small bowl. Set the remaining tablespoon of herbs aside for later.
- Remove the turkey from its packaging. Discard the giblets, neck, and any plastic or metal inserts (like a pop-up thermometer). Place the turkey on a cutting board.
- Pat the entire surface of the turkey dry with paper towels.
- Gently separate the skin from the breast and legs by sliding your fingers underneath, being careful not to tear the skin.
- Sprinkle 2 teaspoons of the salt mixture inside the cavity.Rub 2 teaspoons under the skin of the thighs, directly onto the meat.Rub 4 teaspoons under the skin of the breast, directly onto the meat.Sprinkle the remaining salt mixture evenly over the outside of the skin.
Refrigerate and Brine the Turkey:
- Wrap the turkey in plastic wrap or place it in a large plastic bag. Set it on a rimmed baking sheet and refrigerate for 1 to 3 days, turning once per day (or after 12 hours if only brining overnight).
- Unwrap the turkey and pat it dry again with paper towels. Return it to the baking sheet, uncovered, and refrigerate for 4 to 12 hours to help the skin dry and crisp.
Roast the Turkey:
- Let the turkey sit at room temperature for about 1 hour before roasting. It won’t fully come to room temp, but this takes the chill off and helps it roast more evenly.
- About 20 to 30 minutes prior to roasting the turkey, preheat the oven to 425°F.
- Fill the body and neck cavities with lemon wedges, onion quarters, the halved garlic head, and the fresh rosemary, thyme, and sage sprigs.
- Tie the legs together with kitchen twine. Brush the turkey with olive oil and sprinkle the remaining tablespoon of dried herbs over the skin.
- Place a wire rack over a V-rack in a roasting pan (or use a rimmed baking sheet if needed). Set the turkey on the rack, breast-side up.
- Pour the chicken broth and white wine into the bottom of the roasting pan to prevent drippings from burning.
- Roast at 425°F for 30 minutes, then reduce the oven temperature to 325°F. Continue roasting for 2 to 2½ hours, or until an instant-read thermometer inserted in the center of the breast meat reaches 157°F.
- Transfer the turkey to a cutting board and rest for 30 minutes (the temperature will rise to 165°F from carry over heat). Tent loosely with foil if desired, or leave uncovered to keep the skin crisp.
Notes
Nutrition
Nutrition information is automatically calculated, so should only be used as an approximation.
 Like this recipe? Rate & comment below!