This post may contain affiliate links. Please read our disclosure policy. As an Amazon Associate, I earn from qualifying purchases.
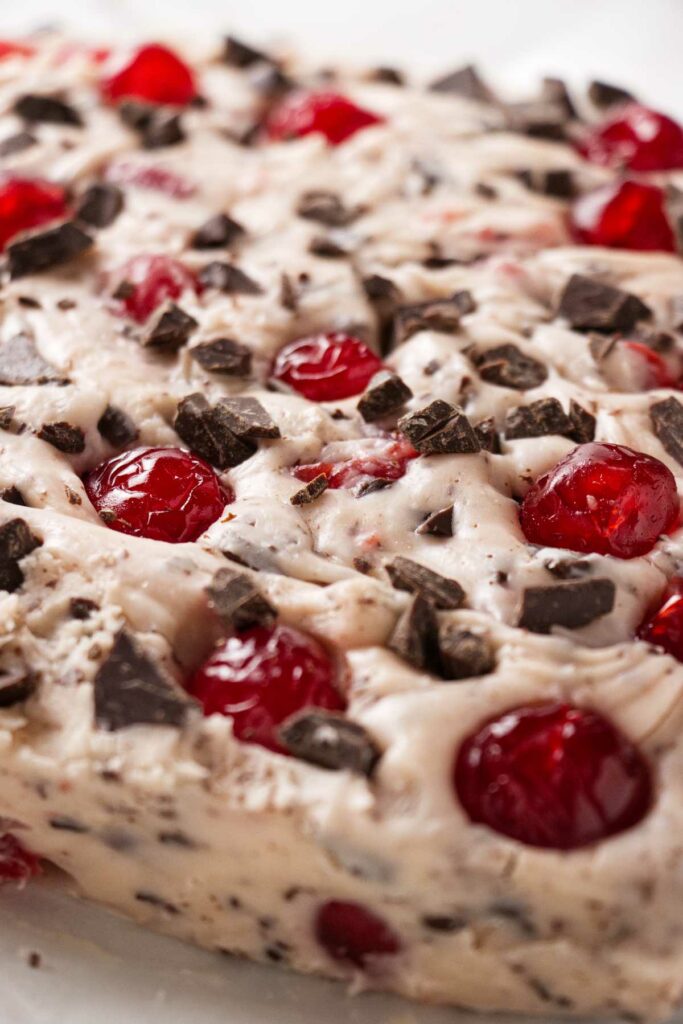
Cherry Garcia Fudge takes everything you love about the classic ice cream flavor and wraps it in a smooth, creamy bite-sized candy. Loaded with rich dark chocolate chunks, and sweet candied cherries, this fudge is perfect for holiday trays, gift boxes, or sneaking straight from the pan, no judgment.
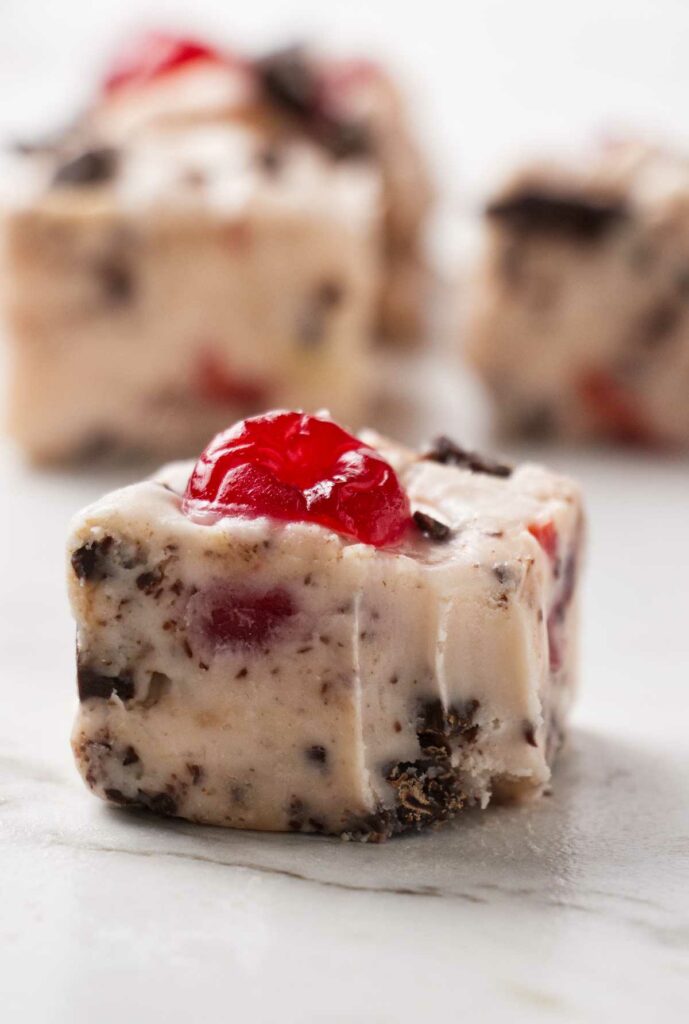
Here is Why This Cherry Garcia Fudge Recipe Works
No Maraschino Mishaps: Candied cherries keep things neat and mess-free, no sticky puddles or sad, soggy fudge here.
Layers of Chocolatey Goodness: White chocolate for creaminess, dark chocolate for rich chunks…. because one kind of chocolate just isn’t enough.
Easy but Impressive: Simple steps, big payoff. It’s fancy enough for the cookie tray, but you won’t need a degree in candy-making to pull it off.
Perfect for Sharing (or Not): Whether it’s holiday gifting, cookie trays, or late-night cravings, this fudge checks all the boxes.
If you like this recipe, I am sure you will love our brown sugar fudge as well.
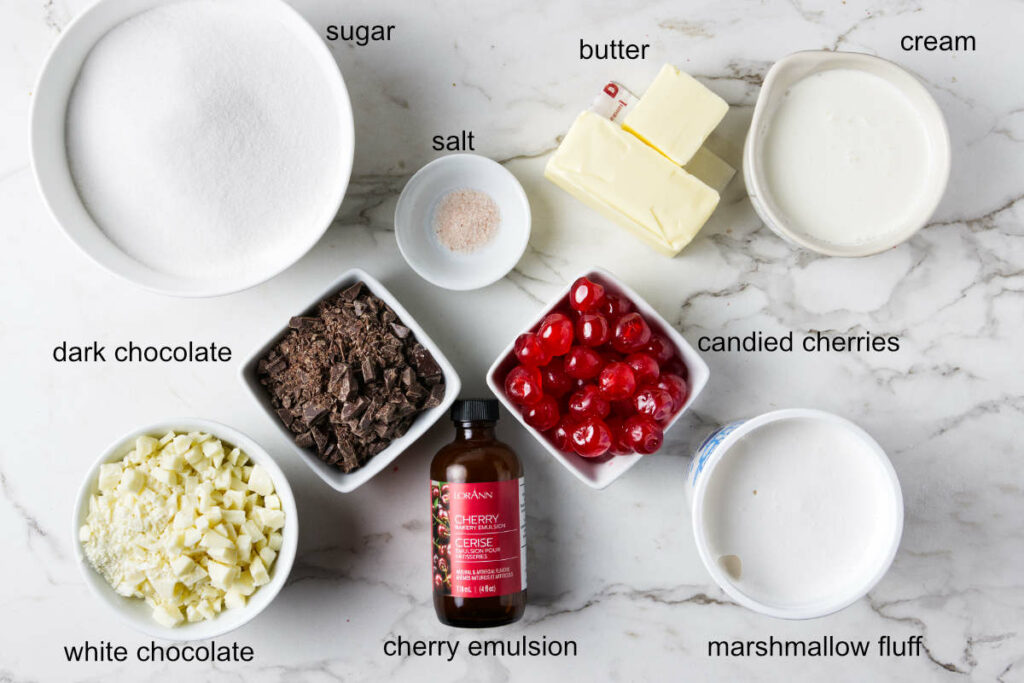
The Ingredients
- Pantry: Granulated sugar, white chocolate or chips, dark or semi-sweet chocolate chunks
- Dairy: Heavy cream, unsalted butter
- Produce: Candied cherries
- Spices and seasonings: Salt
- Other: Marshmallow cream, cherry baking emulsion
Tips for Success
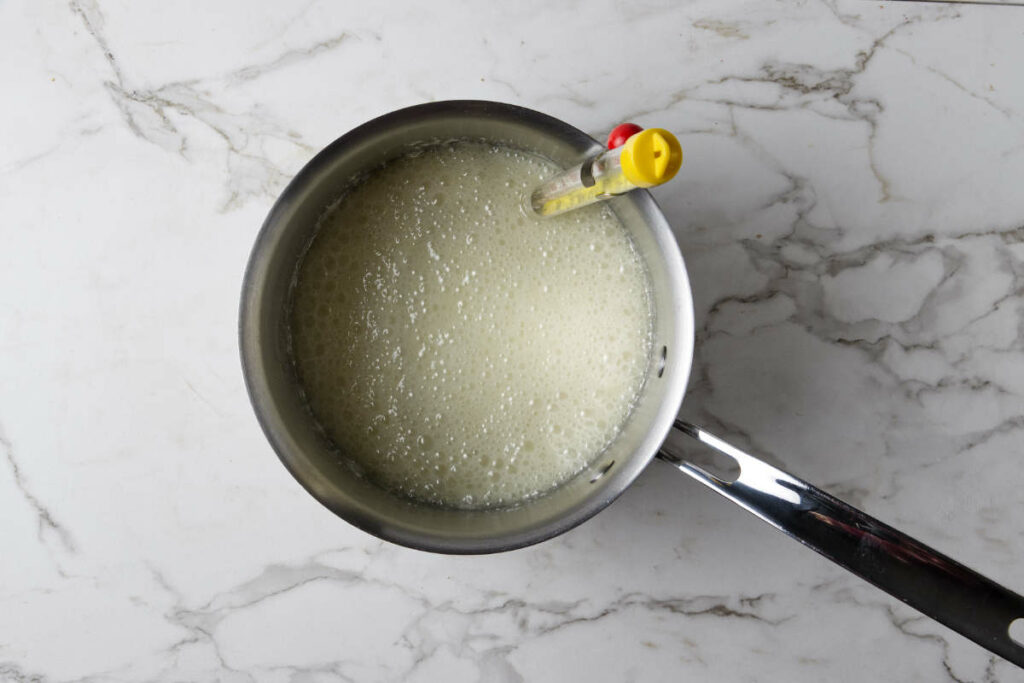
- Use a Candy Thermometer: Precision is key for perfect fudge. The sugar mixture needs to reach at least 234°F to set properly. I listed 235°F in the recipe card to allow a little wiggle room for those with less-than-perfect thermometers.
- The higher the temperature, the firmer your fudge will be. If you prefer a slightly firmer texture, let the sugar mixture reach 236°F to 238°F.
- Chop the Cherries and Chocolate Small. Smaller pieces make slicing easier.
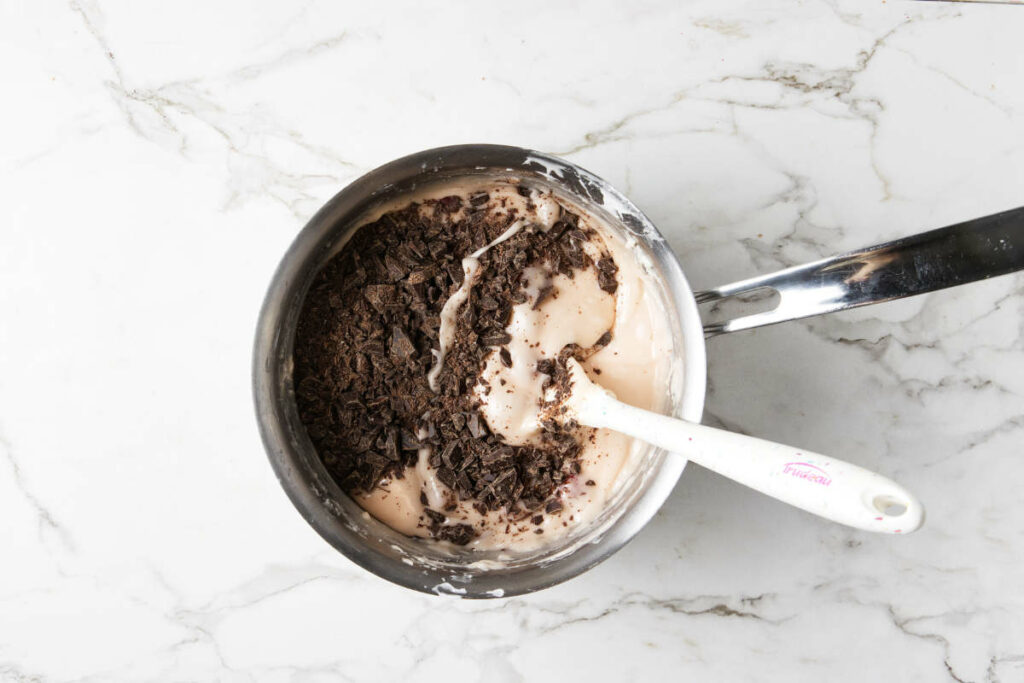
- Stirring in the chocolate chunks too early will melt them, leaving swirls instead of chunks.
- If your candied cherries are syrupy, pat them dry to avoid any sneaky wet spots in your fudge.
Storage
Room Temperature: Store the fudge in an airtight container at room temperature for up to 1 week. Place parchment paper between layers to prevent pieces from sticking together.
Refrigerator: For longer storage, keep the fudge in an airtight container in the refrigerator for up to 2 weeks. This helps maintain its firm texture.
Freezer: If you want to save some for later (or hide it from yourself), fudge freezes beautifully. Wrap individual pieces tightly in plastic wrap, then place them in a freezer-safe container or resealable bag. Freeze for up to 3 months.
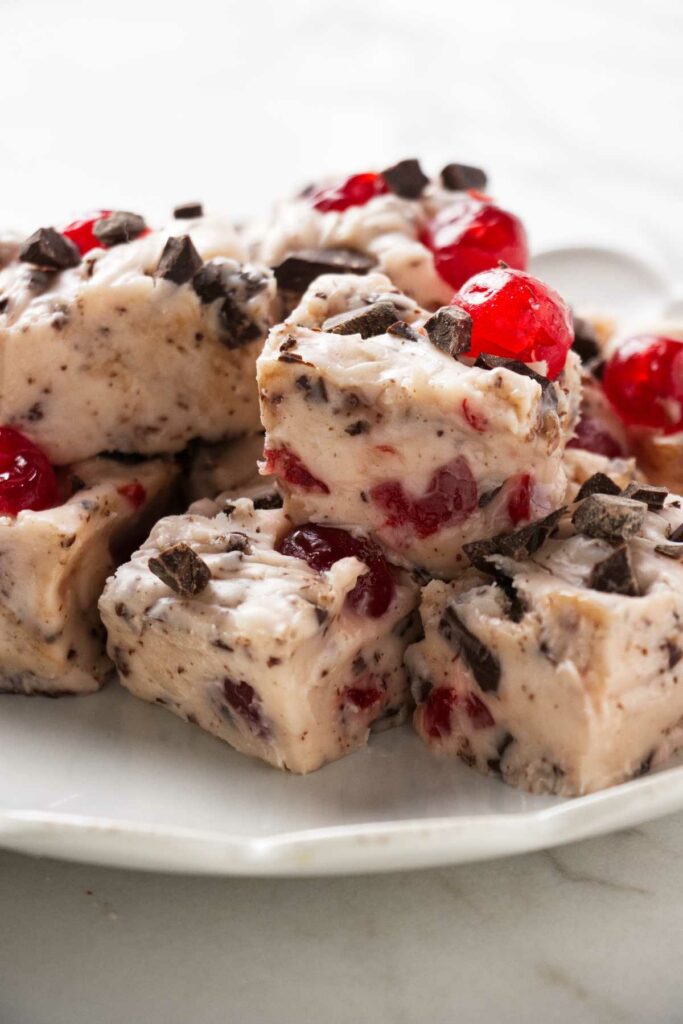
Cherry Fudge with Chocolate Chunks
Cherry Garcia Fudge is the perfect mix of creamy, chocolatey, and cherry-studded goodness. It’s easy to make, fun to share, and almost too good to resist. Just don’t blame me when it disappears in record time!
Pin this now to find it later!
Pin It
Cherry Garcia Fudge
If you make this recipe, please leave a star rating and comment.
Ingredients
- 2 cups granulated sugar
- ¾ cup heavy cream
- ¾ cup unsalted butter, (170 grams)
- ½ teaspoon salt
- 7 ounces marshmallow cream, 2 cups
- 2 cups chopped white chocolate or chips, (12 ounces; 340 grams)
- 1 ¾ teaspoons cherry baking emulsion, or extract
- 1 ½ cups candied cherries, chopped, divided*
- 1 cup dark or semi-sweet chocolate chunks, divided
Instructions
- Line an 8×8-inch pan with parchment paper, leaving some overhang for easy removal. Set aside.
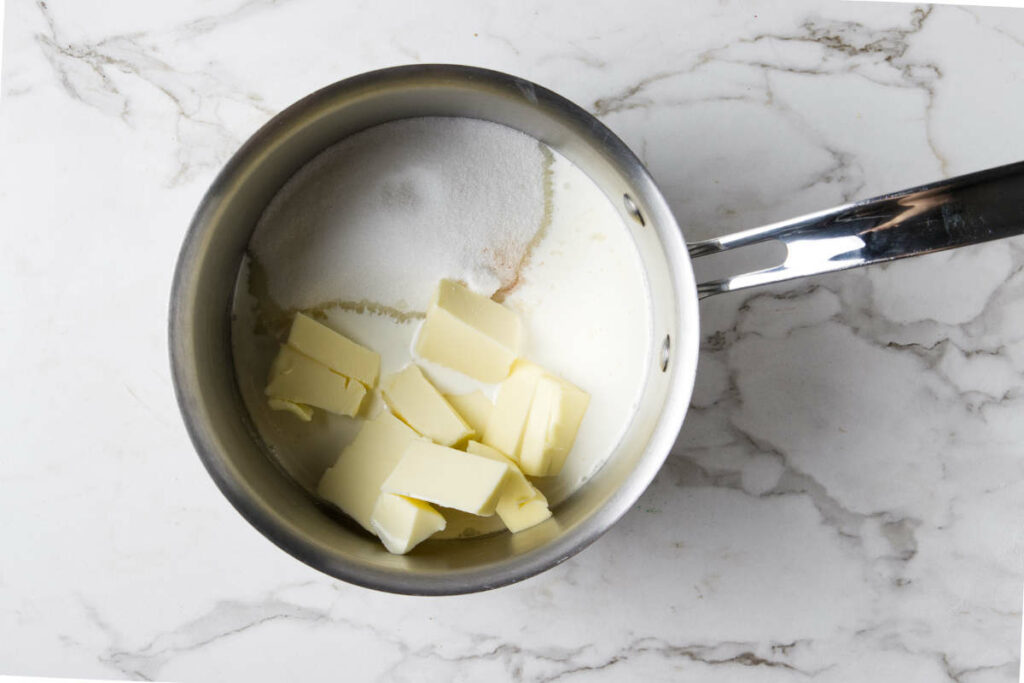
- In a medium saucepan, combine the granulated sugar, heavy cream, butter, and salt. Cook over medium heat, stirring frequently, until the mixture comes to a boil. Attach a candy thermometer to the side of the pan and continue cooking until the mixture reaches 234°F (soft-ball stage). This should take about 10 minutes.
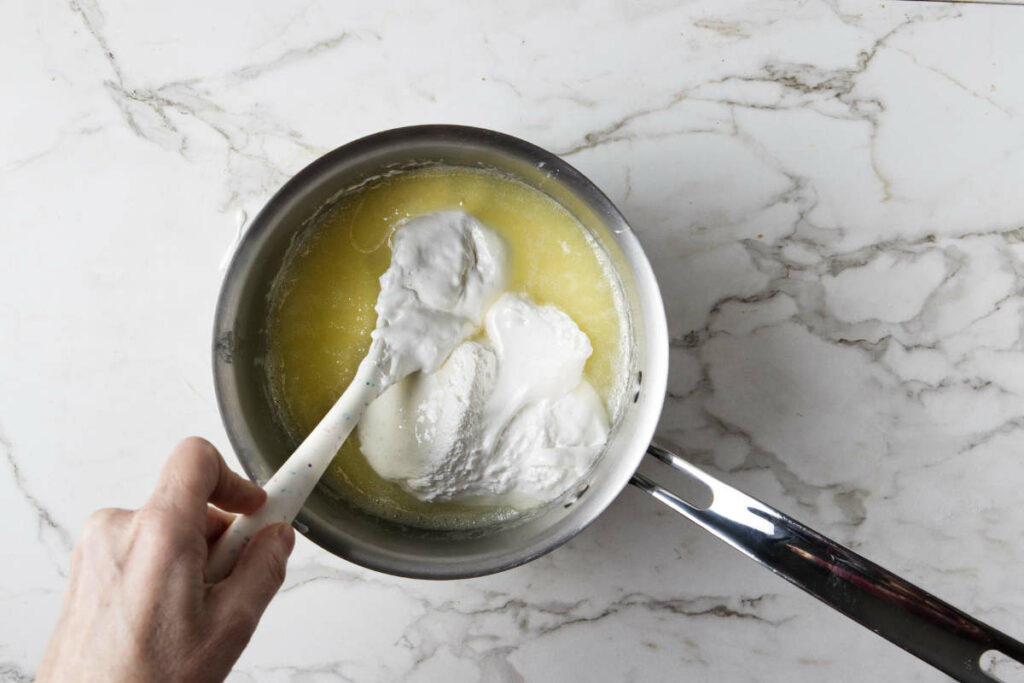
- Once the mixture reaches 235°F to 239°F, remove the pan from the heat. Stir in the marshmallow cream and cherry baking emulsion until fully combined.
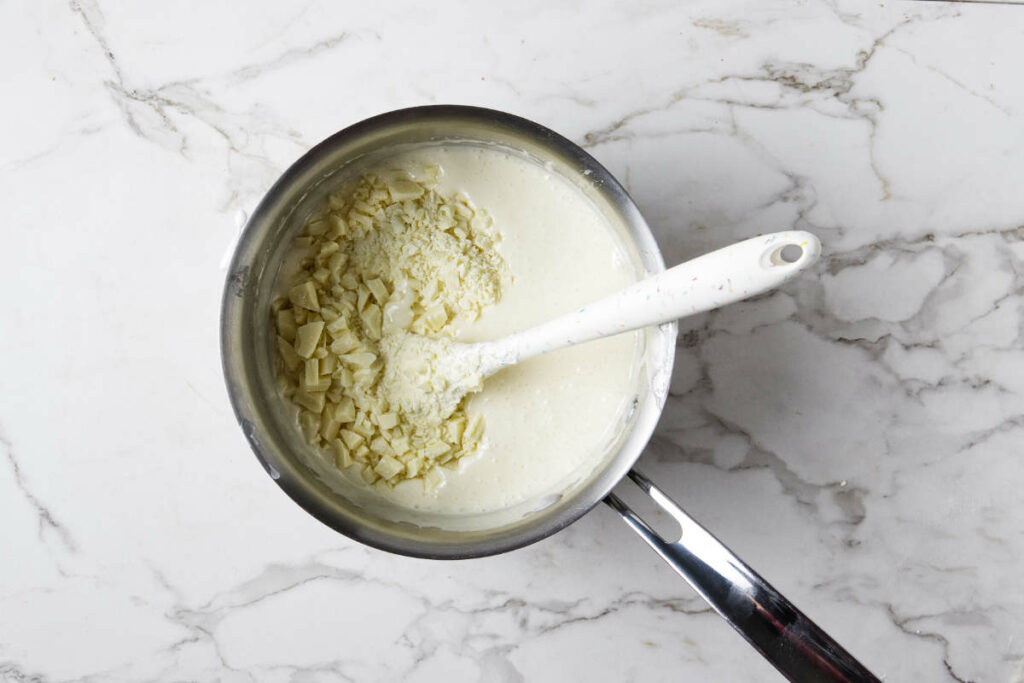
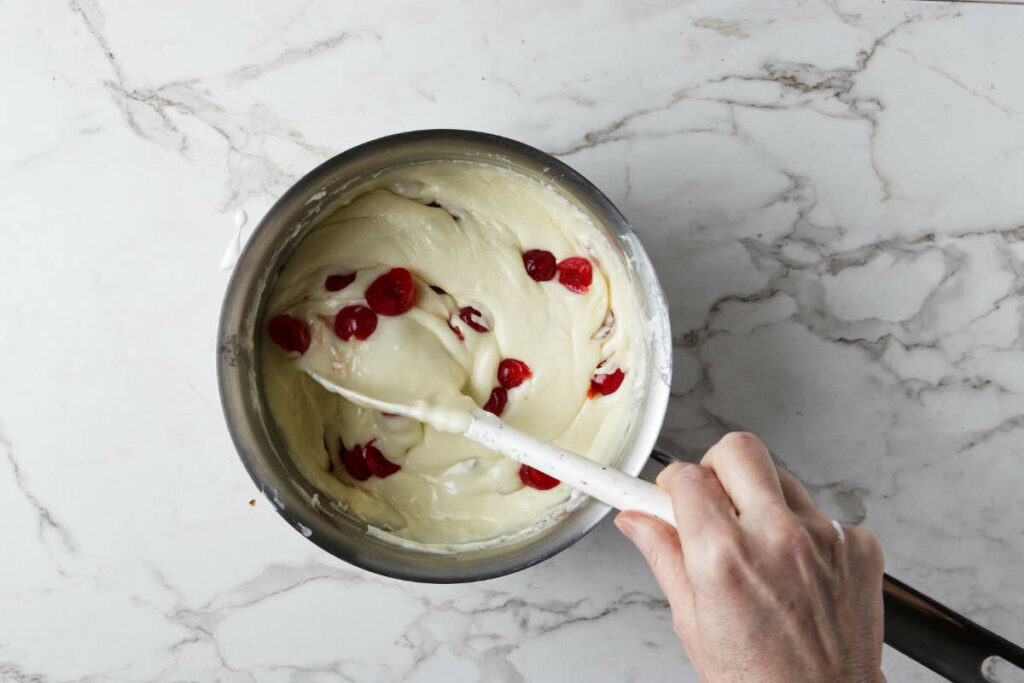
- Let the mixture cool to about 200°F then add the white chocolate chips. Stir until melted and smooth. Fold in 1 cup of the chopped cherries.
- Let the mixture cool to 84°F and fold in ¾ cup of the chocolate chunks. If you fold the dark chocolate in before allowing the fudge to cool to 84°F then it will melt. You will end up with swirls of melted chocolate instead of chunks which is still quite delicious. But don’t let the mixture cool too much or you won’t be able to pour it into the pan.
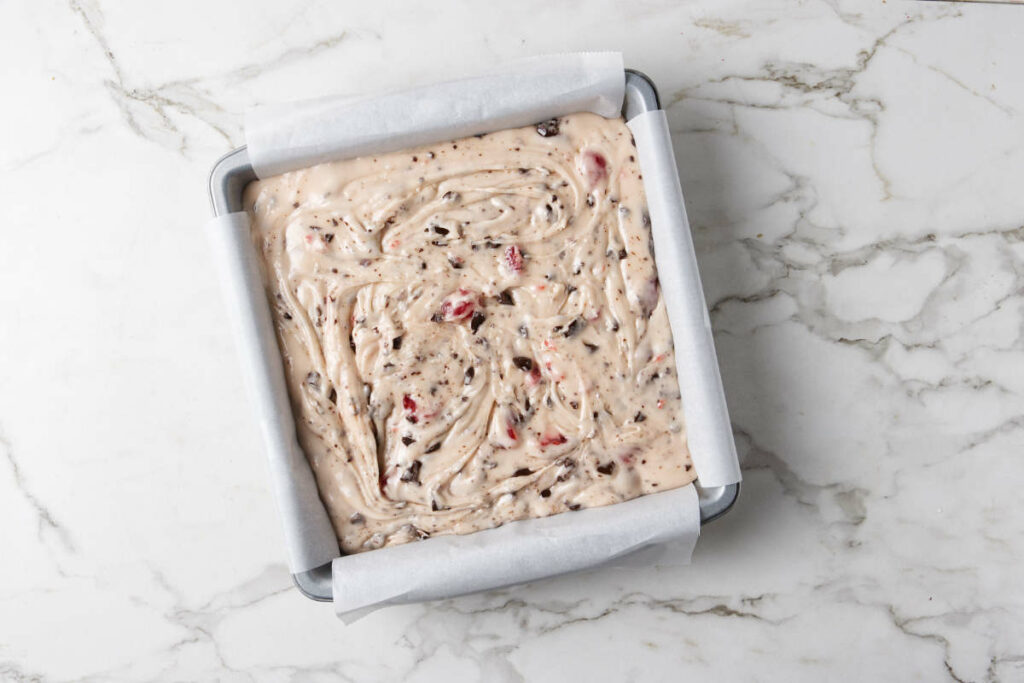
- Pour the fudge mixture into the prepared pan and spread it evenly. Sprinkle the remaining ½ cup of cherries and ¼ cup of chocolate chunks over the top, pressing them lightly into the surface to ensure they adhere.
- Allow the fudge to cool at room temperature until firm, or refrigerate for faster setting.
- Once the fudge is fully set, lift it out of the pan using the parchment overhang. Cut into squares and serve. Store leftovers in an airtight container at room temperature or in the refrigerator.
Notes
- The smaller you chop the cherries and dark chocolate, the easier it will be to slice the fudge.
- I don’t recommend using jarred Maraschino cherries. Even when we drained them and patted them dry, they still had a tendency to leave wet pockets in the fudge after the fudge sat for a day or two.
- I had the best luck using glacé cherries (aka candied cherries) which you can usually find in the baking aisle near the dried fruit. Sometimes I find them in the produce area, which seems a little out of place to me but they often get grouped with the raisins and nuts.
- If your candied cherries are coated in syrup, make sure to dry them thoroughly before using. Any leftover moisture can seep into the fudge, creating unwanted gooey pockets or wet spots.
- Use a candy thermometer to keep things on track. Aim for 235°F for the perfect set…… this gives a little cushion in case your thermometer isn’t spot-on. Want firmer fudge? Let it hit 236°F to 238°F, but don’t push it too far or it may get crumbly.
- Wait until the mixture cools slightly before adding the dark chocolate. Add it too early, and you’ll get swirls instead of chunks, not a disaster, but not quite the goal.
Nutrition
Nutrition information is automatically calculated, so should only be used as an approximation.
 Like this recipe? Rate & comment below!



I’m, what in the world is “cherry baking emulsion”?
It’s similar to an extract, but instead of being alcohol-based like most extracts, emulsions are typically water-based, which makes their flavor more stable. If you can’t get cherry emulsion or cherry extract, you can use a very small amount (about 1/8 of a teaspoon) of almond extract and two teaspoons of maraschino cherry juice. It won’t perfectly replicate the cherry flavor but it works in a pinch. Optionally, you can add a couple of teaspoons of powdered cherry drink mix or gelatin.