
This post may contain affiliate links. Please read our disclosure policy. As an Amazon Associate, I earn from qualifying purchases.
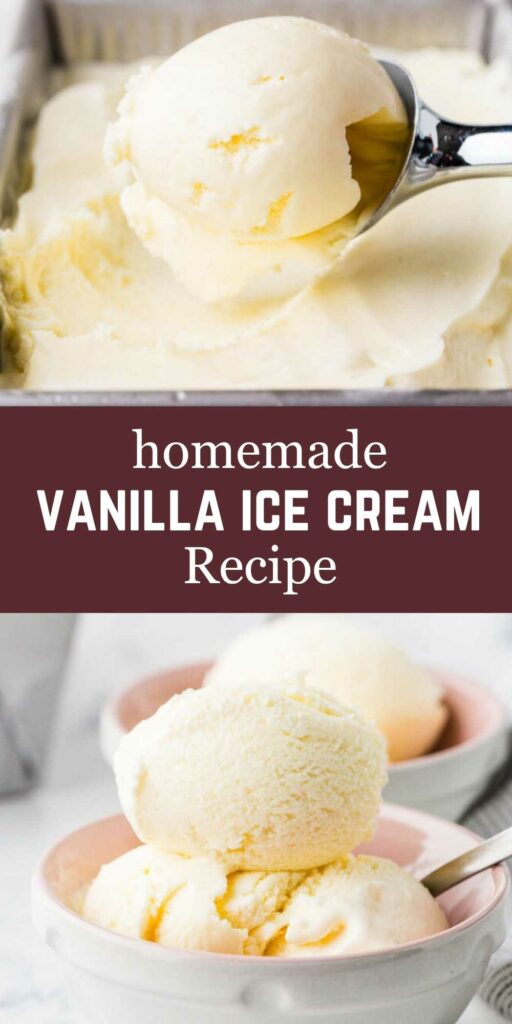
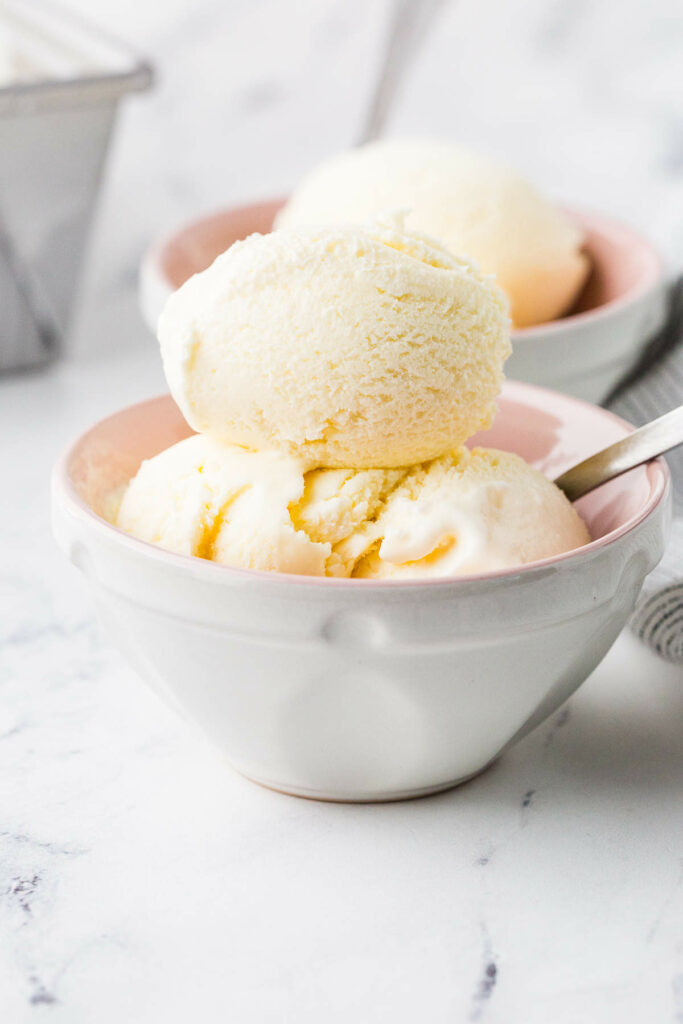
Homemade vanilla ice cream doesn’t need a dozen ingredients or a pastry degree. This custard-style ice cream recipe churns up thick, smooth, and deeply vanilla.
Real yolks, real flavor, real scoopability. If you want a quicker version, try our no-churn vanilla lavender ice cream for a floral twist without the machine.
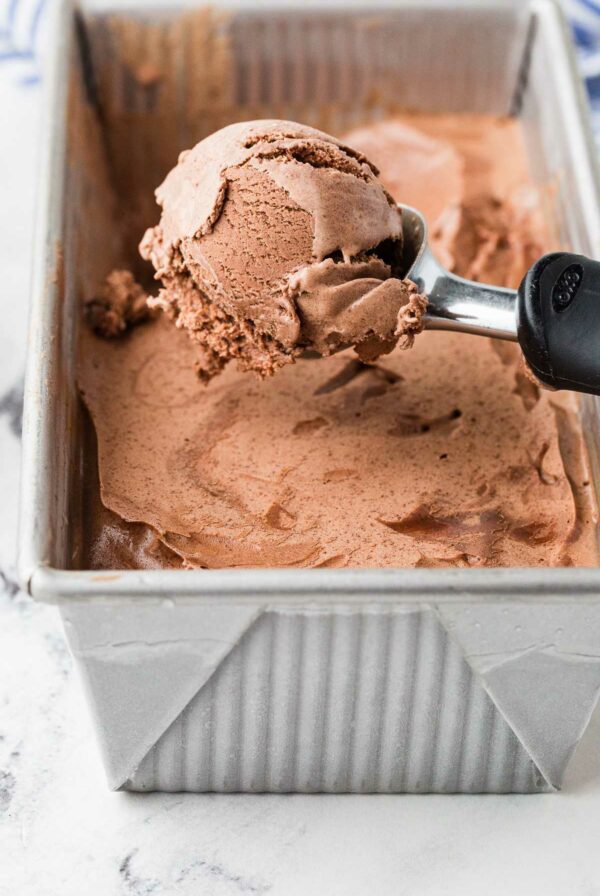
This is our go-to base recipe, but we’ve got a decadent chocolate ice cream too.
Here’s Why This Vanilla Ice Cream Recipe Works
Real custard base: Egg yolks bring richness, body, and that unmistakable homemade texture you can’t fake with shortcuts.
Smooth as silk: A touch of corn syrup (or honey) cuts down on ice crystals and keeps the texture creamy straight from the freezer.
Deep vanilla flavor: You’ve got options; vanilla extract, paste, or even a whole bean if you’re feeling fancy.
Churned for body: Spinning the custard adds air and structure for that classic, scoopable texture you won’t get from a no-churn.
Want to feel a little extra? Spoon a scoop of this vanilla ice cream over Crêpes Suzette. The contrast of hot orange sauce and cold ice cream is ridiculously good.
Recipe Tips
Temper the yolks slowly: Don’t rush it. Add the hot milk mixture gradually so you don’t scramble the eggs.
Watch the heat: Keep it below a boil and stir constantly to prevent curdling. A gentle 180°F is the sweet spot.
Strain it: Always strain the custard to catch any cooked egg bits. It’s worth the extra step.
Chill completely: Give the base at least 4 hours in the fridge before churning. Cold base = smooth ice cream.
Cover tightly before freezing: Press parchment or wax paper against the surface to keep ice crystals away.
Use paste or a vanilla bean for premium flavor: Vanilla bean paste or a whole vanilla bean gives deeper, more complex flavor (and those signature flecks).
Want to geek out on freezing techniques? Try our DIY Dippin Dots ice cream for a liquid nitrogen project that’s all crunch and chill.
Rich and Creamy Ice Cream
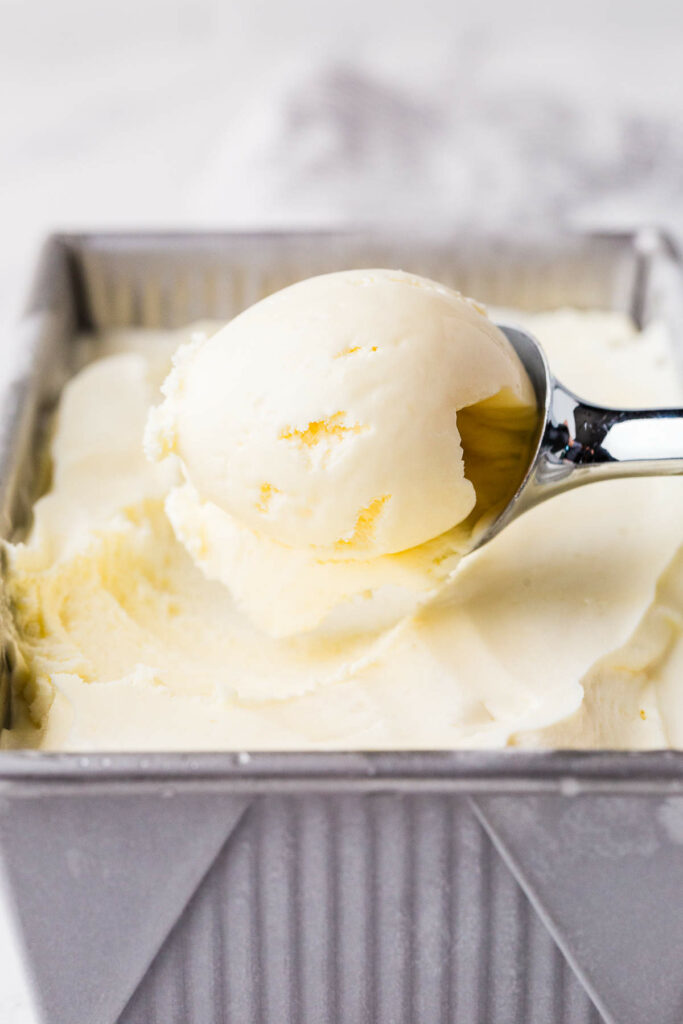
If you’re looking for a homemade vanilla ice cream that’s silky, rich, and actually tastes like vanilla, this is it. No weird stabilizers, just solid technique and a custard base that delivers real flavor and scoopable richness.
Clean, classic, and worth every chilled minute. Want a frozen dessert that’s a bit on teh wild side? Our Cookie Monster ice cream is loud, blue, and full of cookie chunks.
Pin this now to find it later!
Pin It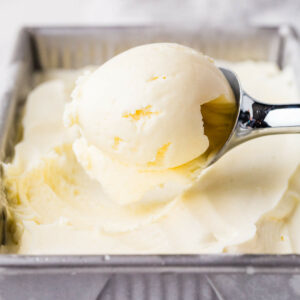
Custard Style Vanilla Ice Cream
If you make this recipe, please leave a star rating and comment.
Ingredients
- 1 ½ cups whole milk
- ⅔ cup granulated sugar
- 2 tablespoons light corn syrup, or honey
- ¼ teaspoon salt
- 4 egg yolks
- 1 ½ cups heavy cream
- 2 teaspoons vanilla extract, or vanilla bean paste, or a whole vanilla bean
Instructions
- Pour the milk, sugar, corn syrup (or honey), and salt into a medium saucepan. Cook over medium heat, stirring frequently, until the mixture is hot and just beginning to simmer, don’t let it boil. This dissolves the sugar and warms the base for the eggs. If you're using a whole vanilla bean, see the notes.

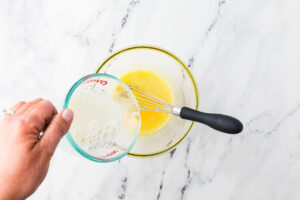
- In a separate medium bowl, whisk the egg yolks until smooth. While whisking constantly, slowly pour about ½ cup of the hot milk mixture into the yolks to temper them. This step prevents scrambling the eggs when they hit the heat.
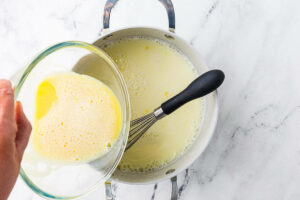
- Slowly pour the tempered egg mixture back into the saucepan, whisking constantly. Reduce the heat to medium-low and cook, stirring continuously with a rubber spatula or wooden spoon, for about 5 to 8 minutes. The custard is ready when it thickens enough to coat the back of a spoon (about 180°F if you’re using a thermometer). Avoid boiling. Keep the heat moderate and stir constantly to prevent curdling.
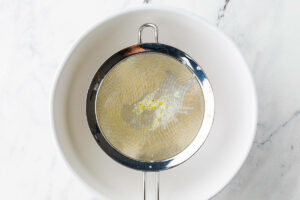
- Pour the custard through a fine-mesh strainer into a clean bowl to catch any bits of cooked egg.
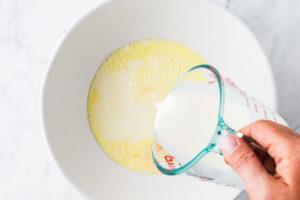
- Stir in the heavy cream and vanilla extract or vanilla bean paste. Cover and refrigerate for at least 4 hours until thoroughly chilled. Chilling the base helps prevent ice crystals and gives you a smoother ice cream.
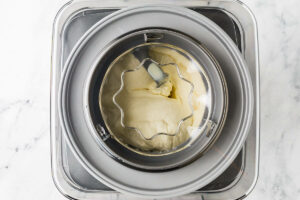
- Pour the cold mixture into your ice cream maker and churn according to the manufacturer’s instructions. It should reach the texture of soft-serve.
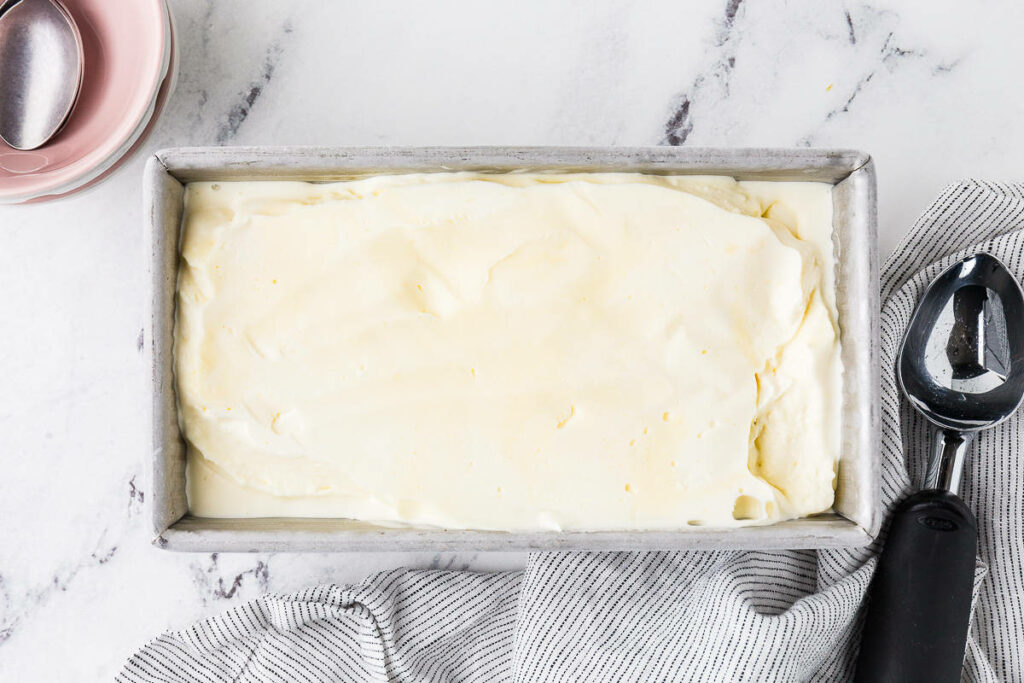
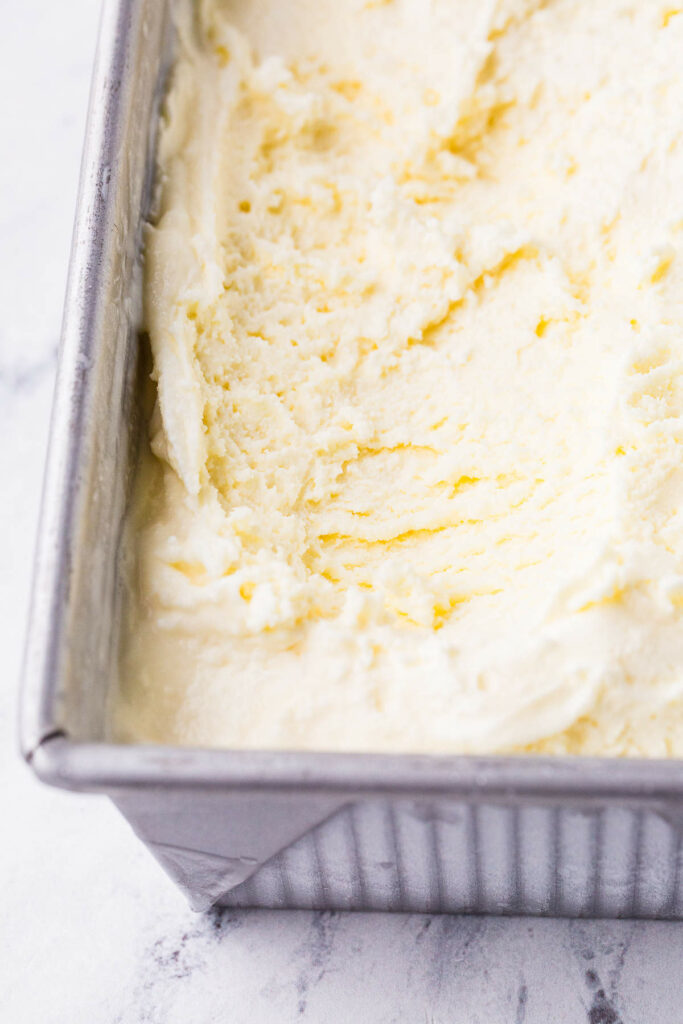
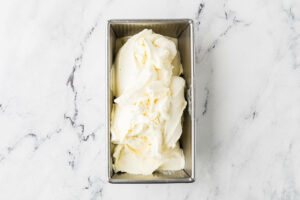
- Transfer the churned ice cream to a freezer-safe container (a loaf pan works great) and press a piece of parchment or wax paper directly against the surface. Freeze for at least 4 hours to firm up.
Notes
Nutrition
Nutrition information is automatically calculated, so should only be used as an approximation.
 Like this recipe? Rate & comment below!


This has to be the best written recipe I have seen anywhere. Thank you so much. I like how you explain at the end how things are very forgiving add this or add that. So much easier. By the way, this is my first time trying to make ice cream.
Thank you so much, Gregory! I’m glad the recipe felt approachable and flexible for you. Thanks for the comment.