This post may contain affiliate links. Please read our disclosure policy. As an Amazon Associate, I earn from qualifying purchases.
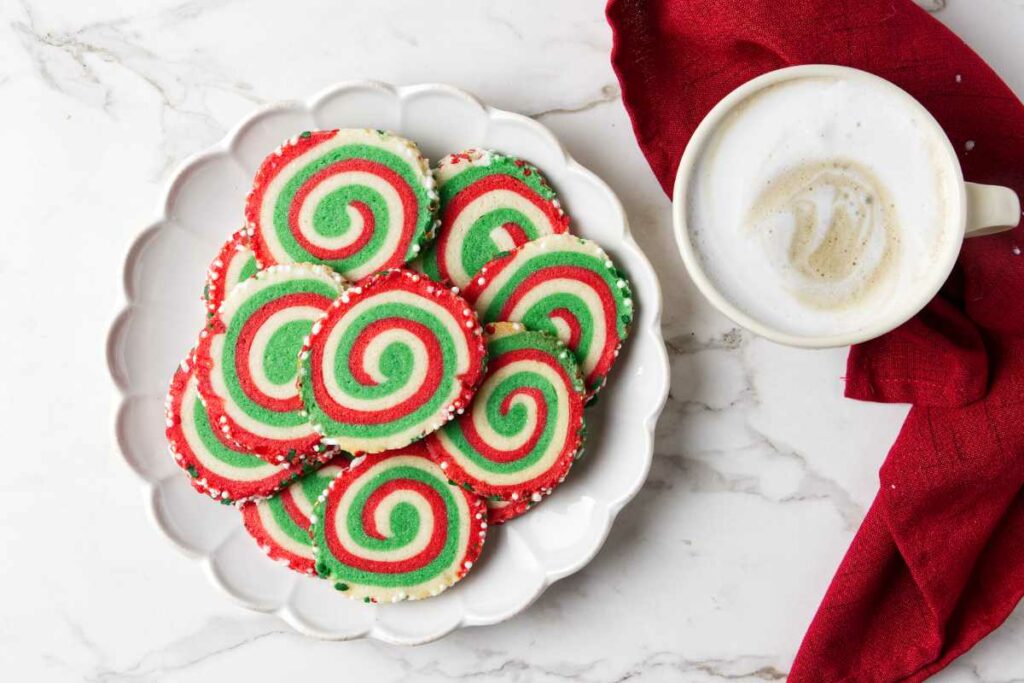
Christmas pinwheel cookies are here to steal the show with their bold red, green, and white swirls. Buttery, festive, and topped with sparkling sugar, they’re the kind of cookie that makes your holiday platter look like you actually planned ahead.
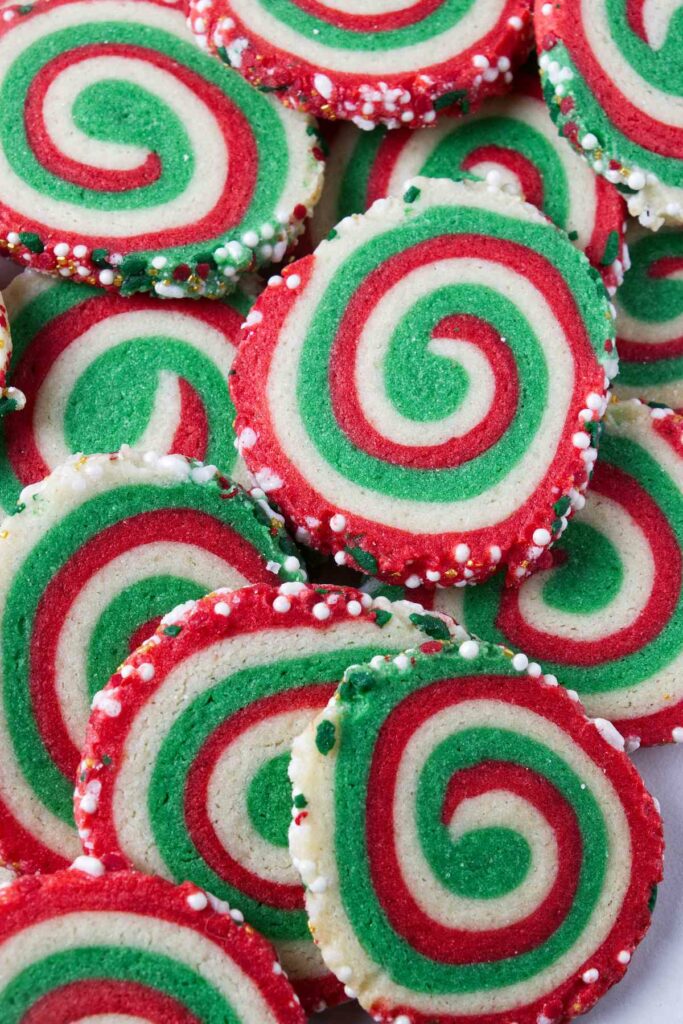
I adapted my cutout sugar cookie recipe for these Christmas swirl cookies. The buttery dough is all dressed up in vibrant swirls, perfect for the holidays. It’s a fun twist on a classic recipe that’s been a favorite in my kitchen for years.
Here is Why This Pinwheel Cookie Recipe Works
Eye-Catching Design: These cookies aren’t just delicious, they’re a showstopper with bold red, green, and white swirls. Perfect for adding some holiday flair to your dessert table.
Make-Ahead Friendly: The dough can be prepped, rolled, and chilled ahead of time, so when the holiday chaos hits, all you need to do is slice and bake.
Customizable Colors: Not feeling the Christmas theme? Swap the colors to match any occasion or skip the food coloring for classic sugar cookies.
No Special Tools Required: No cookie cutters, molds, or piping bags. Just roll, slice, and bake.
The Ingredients
- Pantry: All-purpose flour, granulated sugar, baking powder, sparkling sugar or sprinkles.
- Spices and Seasonings: Salt.
- Refrigerated Items: Butter, eggs.
- Other: Red gel food coloring, green gel food coloring.
Christmas Pinwheel Variations
Peppermint Twist Pinwheels: Replace the vanilla extract with 1 teaspoon of peppermint extract and roll the dough in crushed candy canes. .
Chocolate Dipped Pinwheels: After baking, dip half of each cookie in melted chocolate and sprinkle with crushed nuts, candy, or festive sprinkles.
Citrus Swirl Pinwheels: Add 1 teaspoon of orange zest and ½ teaspoon of orange oil into the doug.
If you like this recipe, try our soft sugar cookies.
Tips for Success
- If the dough gets too soft or sticky while rolling or layering, pop it in the fridge for 10-15 minutes to firm up.
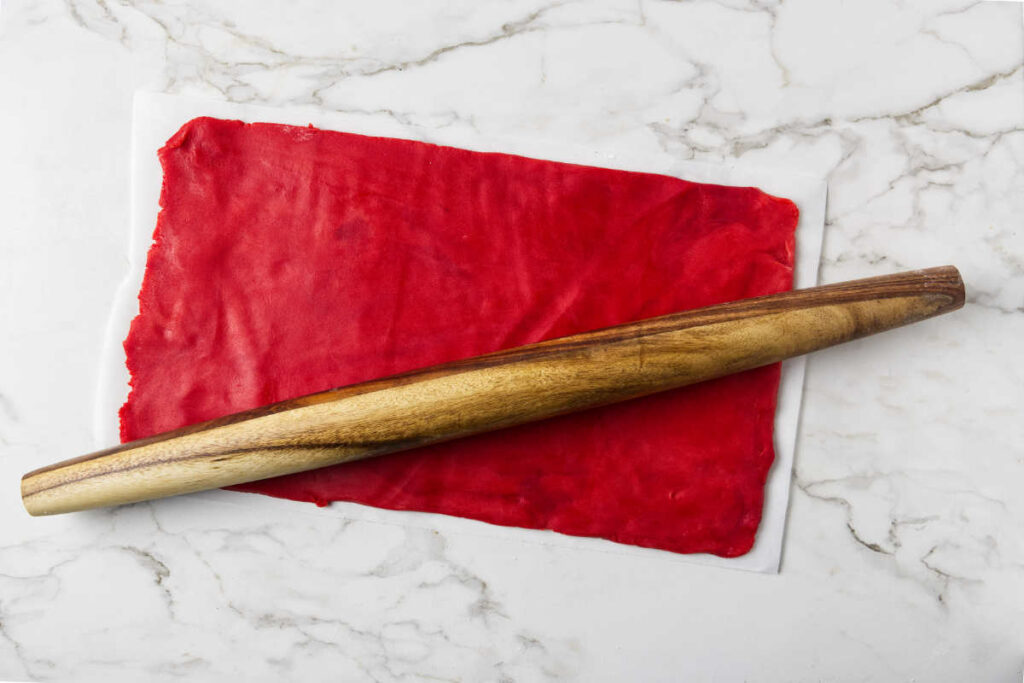
- Rolling the dough between sheets of wax or parchment paper makes it easier to handle and prevents sticking.
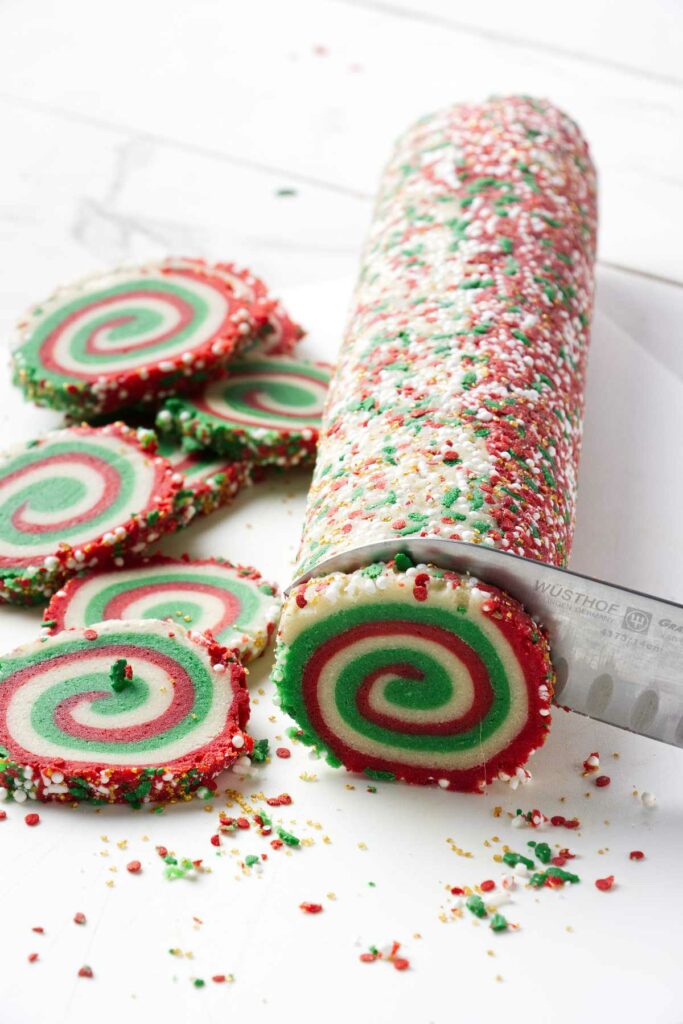
- Use a sharp knife and clean the blade between slices to keep the swirls looking neat and defined.
- When rolling the layered dough into a log, move at a steady pace to prevent it from softening too much. If needed, refrigerate again before rolling.
- Use Gel Food Coloring: It provides vibrant color without softening the dough, unlike liquid food coloring, which can make it too soft if overused.
Storage
At Room Temperature: Store baked cookies in an airtight container at room temperature for up to 5 days.
In the Freezer: To freeze, layer the baked cookies between sheets of parchment paper in an airtight container or freezer bag. They’ll stay fresh for up to 3 months.
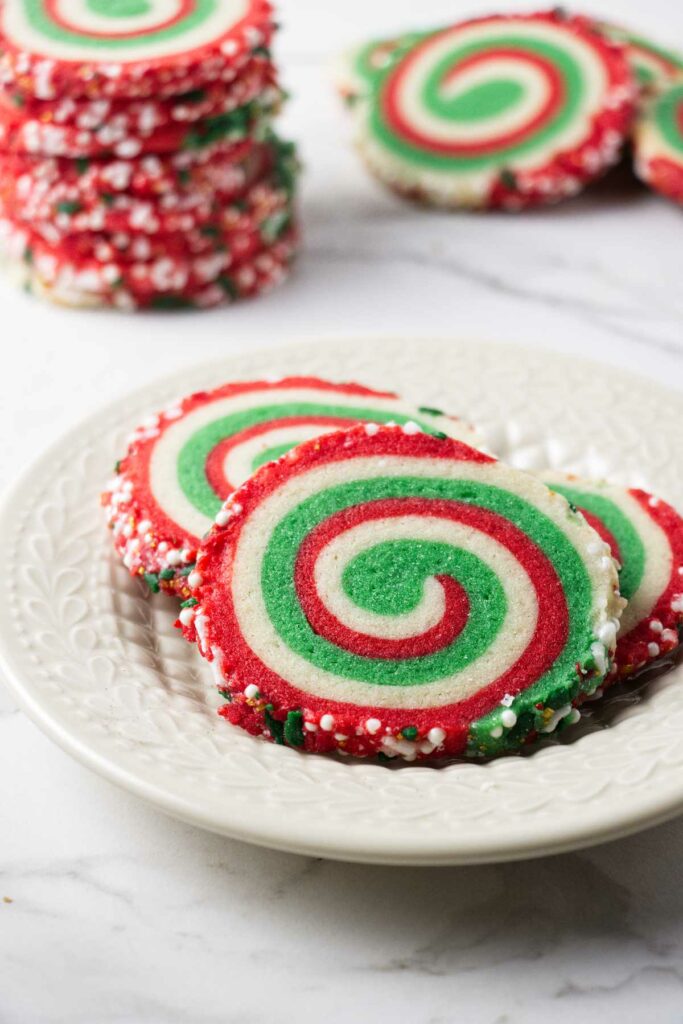
Red and Green Swirl Cookies
Christmas pinwheel cookies are the easiest way to make your holiday cookie platter look like you put in way more effort than you did. They’re buttery, festive, and impressive enough to make everyone ask for the recipe.
Pin this now to find it later!
Pin It
Christmas Swirl Pinwheel Cookies
If you make this recipe, please leave a star rating and comment.
Ingredients
- 1½ cups butter, softened, 340 grams
- 1⅔ cups granulated sugar, 333 grams
- 2 large eggs
- 4 teaspoons vanilla extract
- 5 cups all-purpose flour, 625 grams
- 1½ teaspoons salt
- 1 teaspoon baking powder
- Red gel food coloring
- Green gel food coloring
- ⅓ cup sparkling sugar , or sprinkles; optional, for rolling
Instructions
Prepare the Dough:
- In a large mixing bowl, beat the butter and sugar until light and creamy (about 3-4 minutes).
- Add the eggs one at a time, beating well after each addition. Mix in the vanilla extract.
- Sift the flour, salt, and baking powder over the butter mixture and stir until combined.
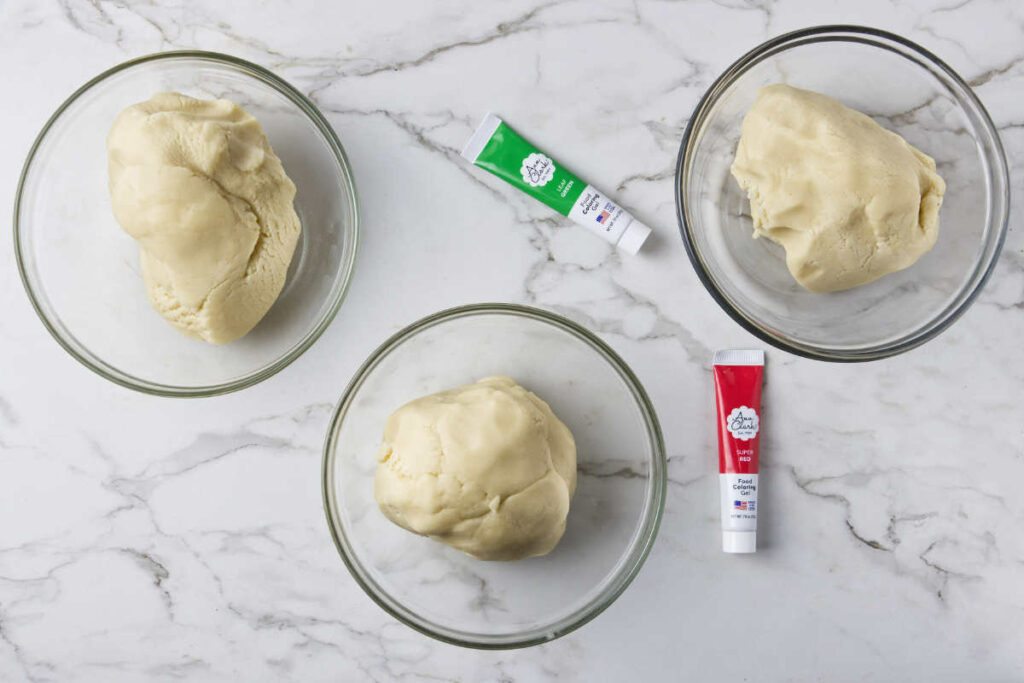
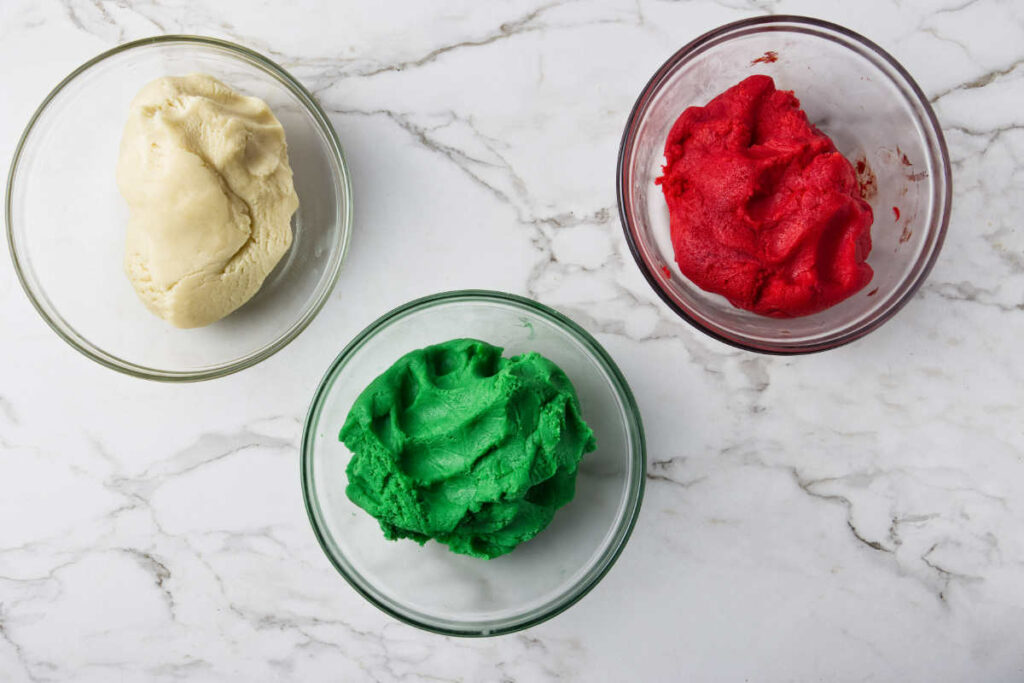
- Divide the dough into three equal portions. You will add color to two of them and leave one portion uncolored.
- Knead the red gel food coloring into one portion until evenly colored. Repeat with the green gel food coloring for another portion.
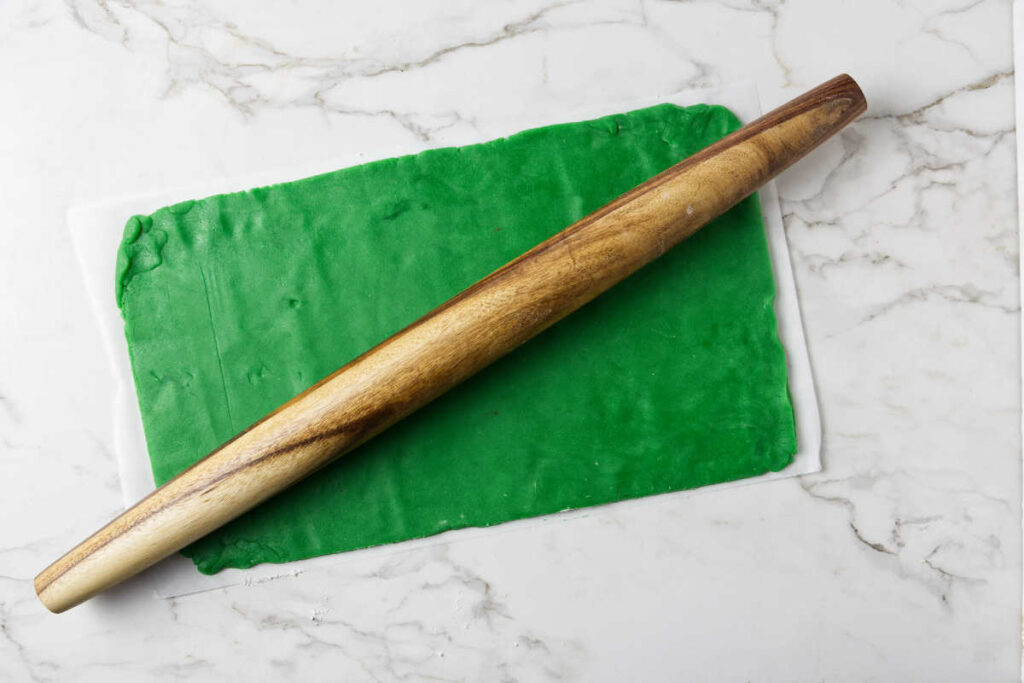
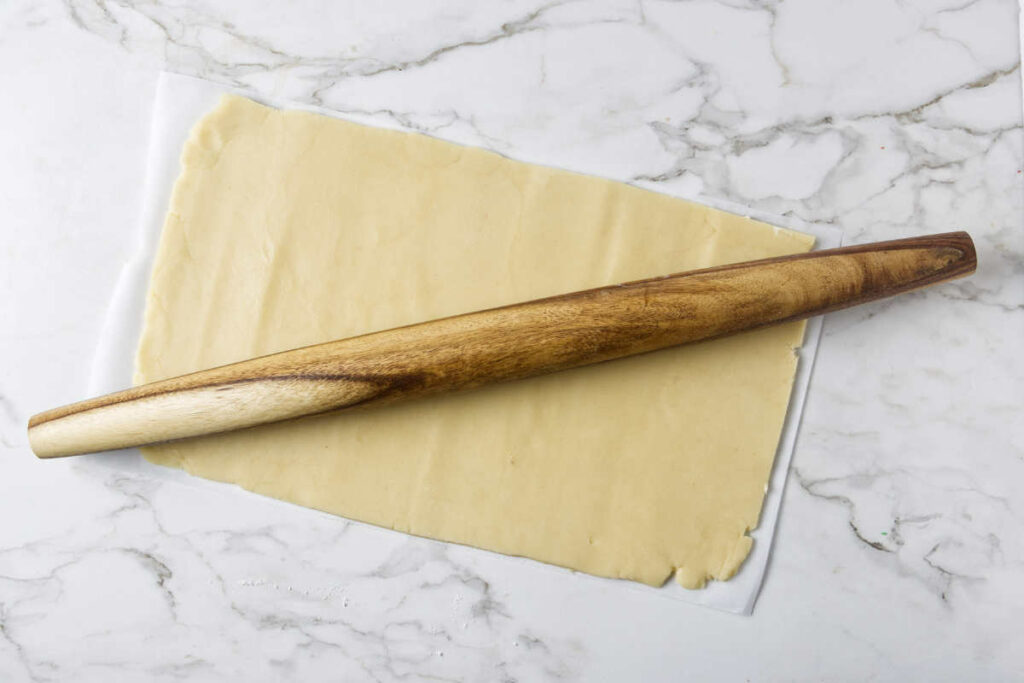
- Roll each portion of dough into a 14 x 8-inch rectangle on a lightly floured surface. I roll them out between sheets of waxed paper for easy handling.
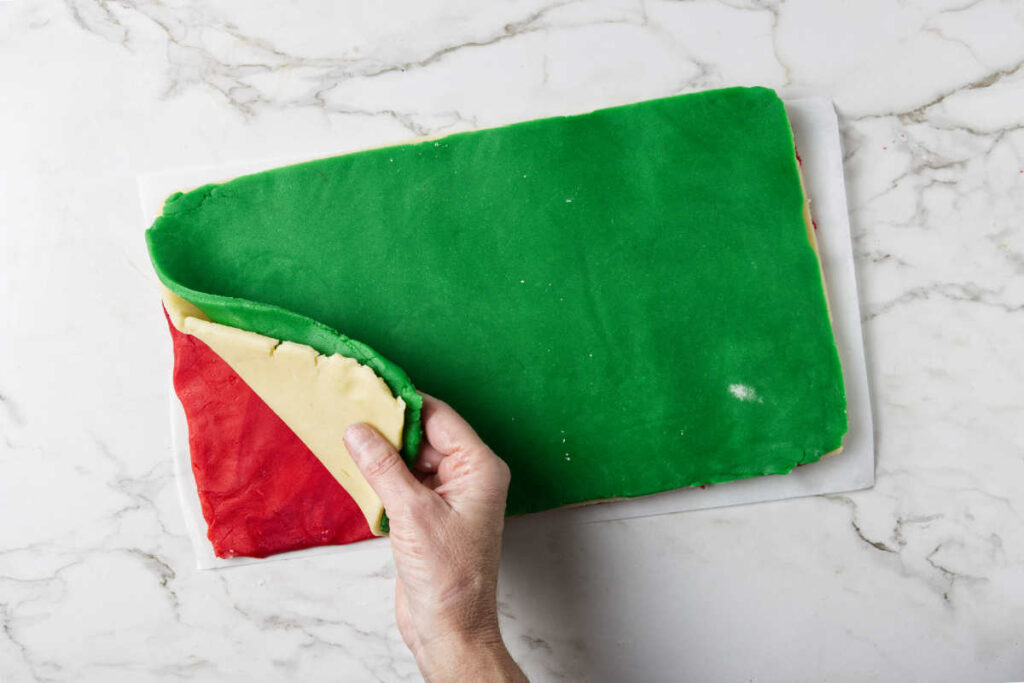
- Layer the rectangles on top of each other. Gently press the layers together to eliminate air pockets. If the sheets of dough are too soft to move and stack easily, chill them in the refrigerator for about 10 minutes to firm up.
Form the Log:
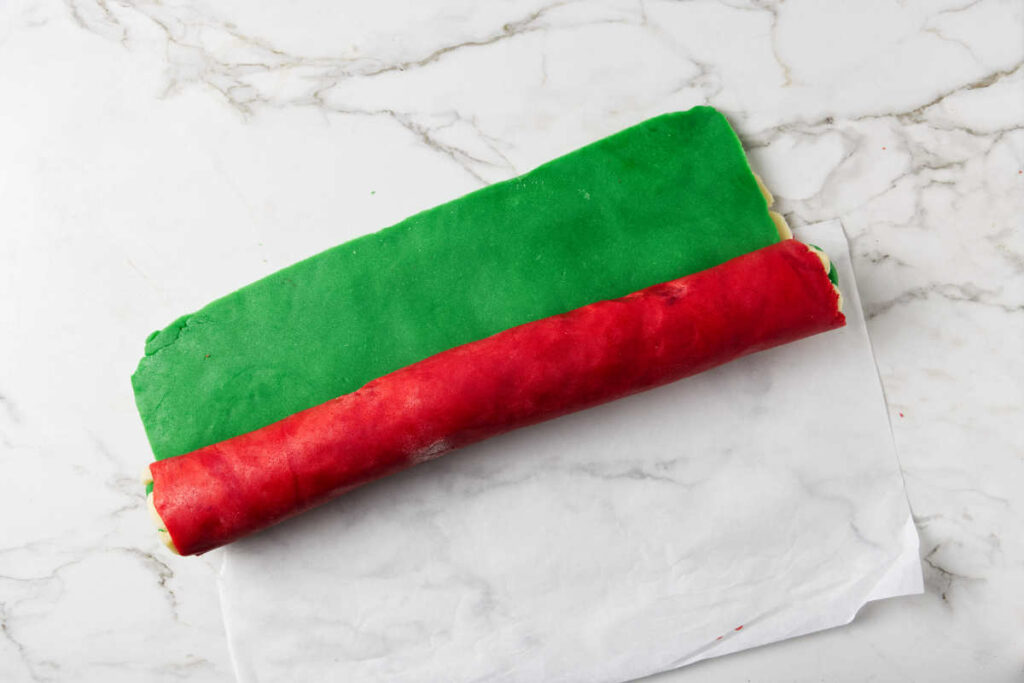
- Starting with one of the long edges, tightly roll the stacked dough into a log, similar to a jelly roll. Use parchment paper or waxed to guide the dough as you roll.
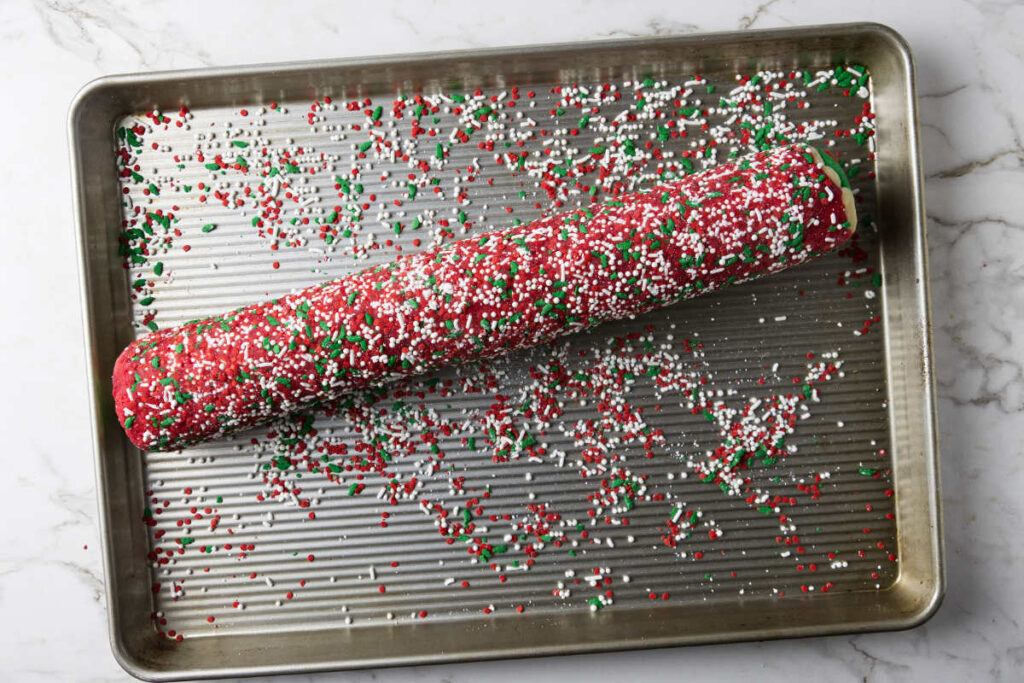
- Roll the outside of the log in sparkling sugar, pressing gently to help the sugar stick.
- Wrap the log tightly in plastic wrap and chill in the freezer for 30-45 minutes, or until firm.
Slice and Bake:
- Preheat your oven to 350°F. Line baking sheets with parchment paper or a silicone baking sheet.
- Remove the chilled dough from the freezer and slice into ¼-inch thick rounds using a sharp knife.
- Arrange the slices on the prepared baking sheets, leaving about 1 inch between each cookie.
- Bake for 9-11 minutes, or until the edges are just barely golden.
- Let the cookies cool on the baking sheets for 5 minutes before transferring to a wire rack to cool completely.
Notes
- Make sure to chill the dough log before slicing to keep the swirls neat and prevent spreading while baking.
- Use gel food coloring for vibrant colors without making the dough too soft. Liquid coloring can alter the dough’s texture.
- The dough log can be frozen for up to 3 months. Slice and bake straight from the freezer, adding an extra minute or two to the baking time.
- If the dough feels too soft to stack and roll, refrigerate it for 10-15 minutes before layering.
Nutrition
Nutrition information is automatically calculated, so should only be used as an approximation.
 Like this recipe? Rate & comment below!
