This post may contain affiliate links. Please read our disclosure policy. As an Amazon Associate, I earn from qualifying purchases.
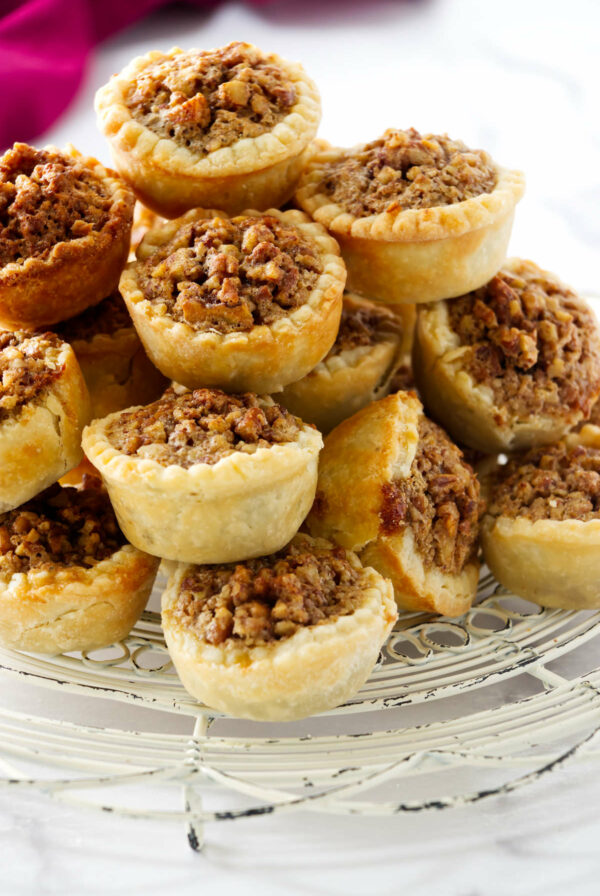
When a standard pie won’t cut it, this slab pie crust steps in. Designed for a 13×18-inch sheet pan, it’s scaled to feed a crowd and structured to stay crisp from corner to corner.
Unlike round pie crusts that bubble, shrink, or go soggy under heavy fillings, this one holds firm and has a sturdy rectangle shape. You get golden edges, a flaky base, and clean slices that don’t fall apart on the plate.
This slab pie crust is a scaled-up version of our all-butter pie crust, adapted to fit a half sheet pan without losing its tender, flaky texture.
Here’s Why This Slab Pie Crust Recipe Works
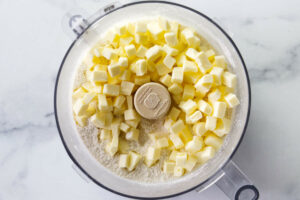
Cold butter, flaky layers: Chunks of cold butter pulse into the flour, creating pockets that melt into flaky layers as the crust bakes.
Food processor = fast and foolproof: No pastry cutter or elbow grease needed. Just a few quick pulses and the dough is ready to chill.
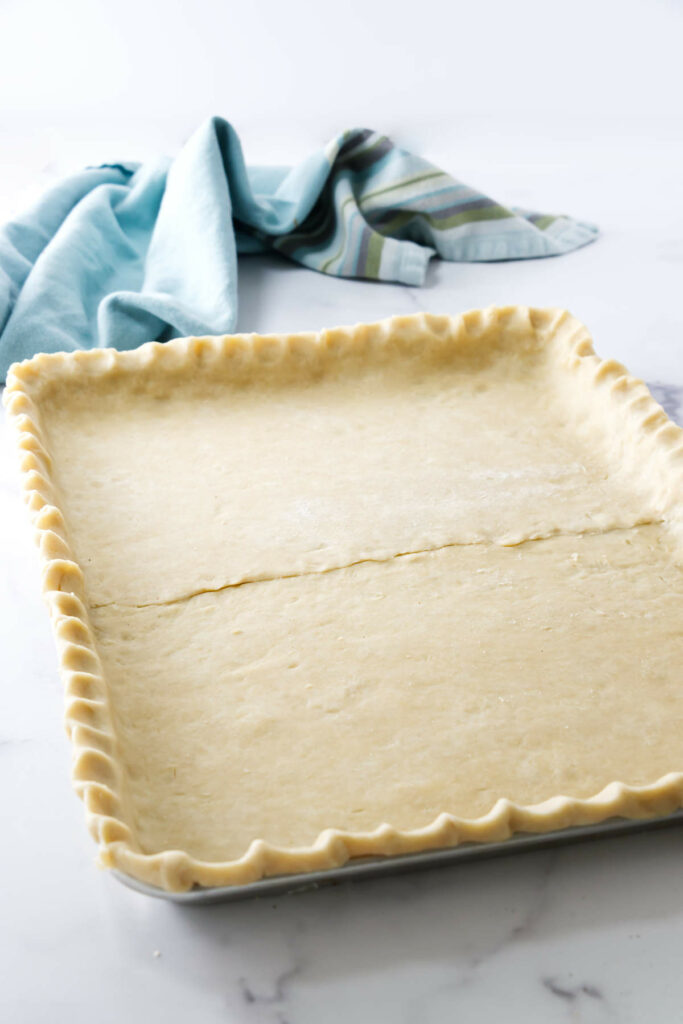
Overlapping dough solves the pan problem: A ½-inch overlap where the two dough portions meet ensures a seamless fit in a standard 13×18-inch pan.
Make-ahead friendly: The dough rests well in the fridge, so you can prep it ahead and bake when you’re ready.
For a different spin on pie pastry, our sourdough pie crust adds a tangy depth of flavor that sets it apart.
Recipe Tips
Chill before rolling: Cold dough is easier to handle and holds its shape better in the oven.
Use enough water (but not too much): Start with the smaller amount of water. Add more only if the dough still crumbles when you squeeze it. Too much water is worse than too little. It can turn buttery layers into a tough, chewy crust.
Don’t skip the overlap: Pressing the two dough sheets together with a little water keeps them from separating in the oven.
Tuck and crimp: Folding the edges under helps prevent the crust from shrinking. Crimping around the pan gives it a clean, finished look.
For a crisp bottom: Preheat your oven fully and use the lower rack if pre-baking. Direct heat helps brown the underside.
Let it rest after rolling: If the dough warms up while you’re rolling or shaping, pop the whole sheet pan in the fridge for 30 minutes before baking. Chilled dough bakes up flakier and holds its crimped edges better.
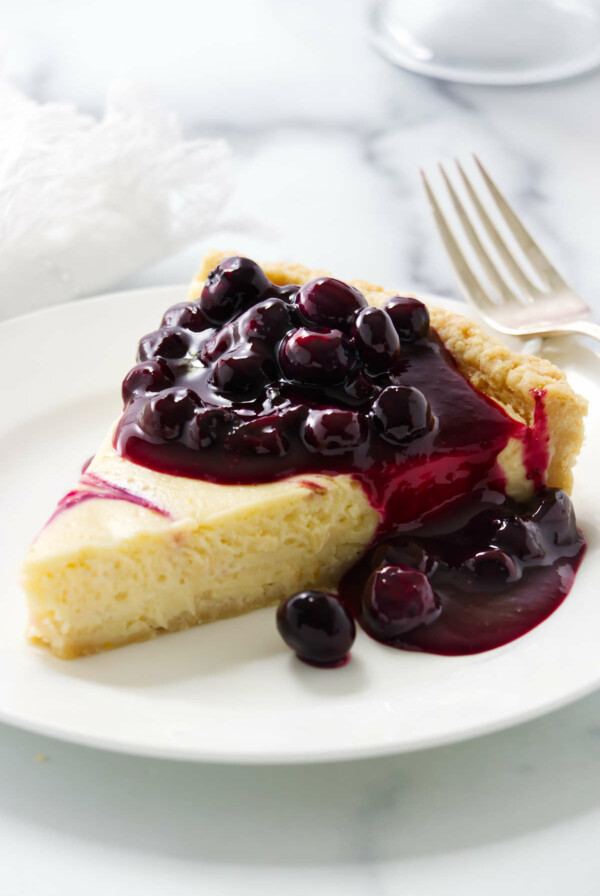
This buttery slab pie crust is the perfect base for our old fashioned blackberry pie filling with juicy, just-sweet-enough, and packed with fresh berries. It is also great with my crockpot apple pie filling.
FAQ’s
Nope. You can cut the butter in by hand using a pastry cutter or your fingertips. Just work quickly to keep the butter cold.
Yes. This all-butter crust works just as well for savory fillings. Just skip the coarse sugar on top and blind bake if needed.
Yes, but it will change the flavor and texture. Using half butter and half shortening gives a slightly more tender crust with less browning. All-shortening crusts are easier to work with and more neutral in flavor, but you’ll miss the rich, buttery taste.

Sheet Pan Pie Crust
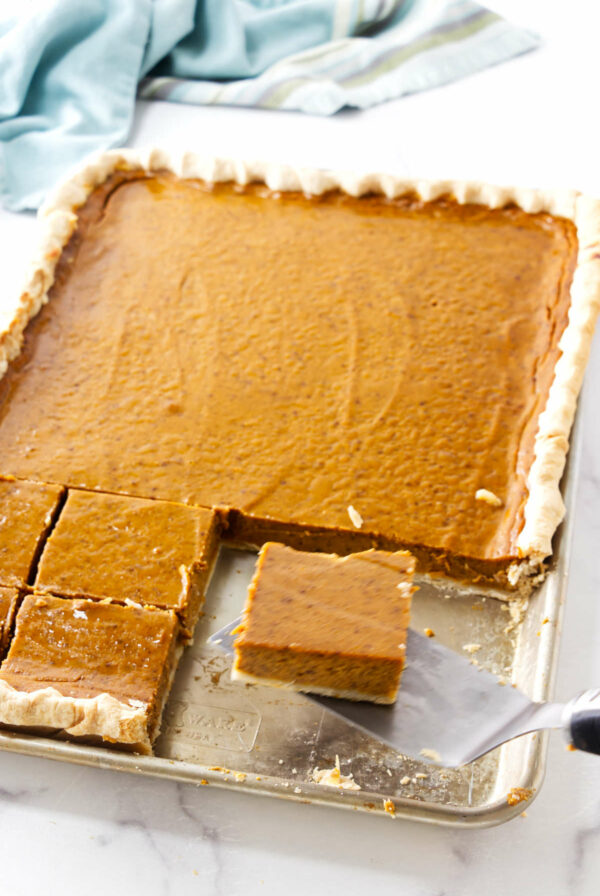
This made-from-scratch slab pie crust is built for large batches and big occasions. It fits a half sheet pan, holds its shape under hefty fillings, and bakes into a tender, all-butter pastry with crisp edges and a flaky bite. No pie plates needed, just bring a full batch of filling, like in our slab pumpkin pie recipe.
Pin this now to find it later!
Pin It
Slab Pie Crust
If you make this recipe, please leave a star rating and comment.
Ingredients
- 5 cups all-purpose flour, 600 grams
- 1¾ teaspoon salt
- 1½ cups butter, cold and cut into bits, 3 sticks
- 8-12 tablespoons ice water
Instructions
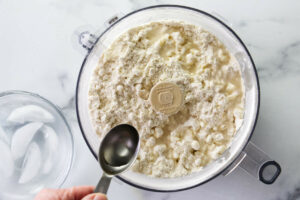
- Add the flour and salt to the bowl of a food processor and pulse for 15 seconds to combine. Add the butter bits and pulse until the mixture resembles coarse sand.
- Sprinkle 4–5 tablespoons of ice water over the mixture and pulse a few times. Add the remaining water, a tablespoon at a time, pulsing after each addition, just until the dough looks crumbly but holds together when squeezed.
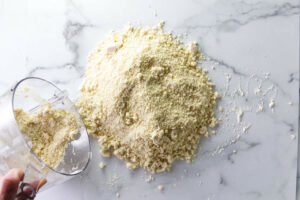
- Turn the crumbly dough out onto a floured surface, it will still look loose and shaggy, and that’s okay. Gently gather and press it into a rough mound without kneading.
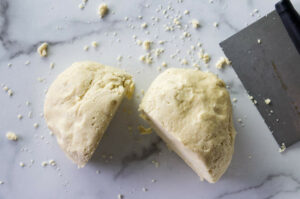
- Divide in half, shape each portion into a 5×6-inch rectangle, and wrap tightly in plastic. Chill for at least 30 minutes.
- When ready to roll the dough, coat a 13×18-inch rimmed baking sheet with butter or spray with non-stick oil spray and set close by. Remove both wrapped portions from the refrigerator and allow to sit at room temperature for 15 minutes to soften a bit.
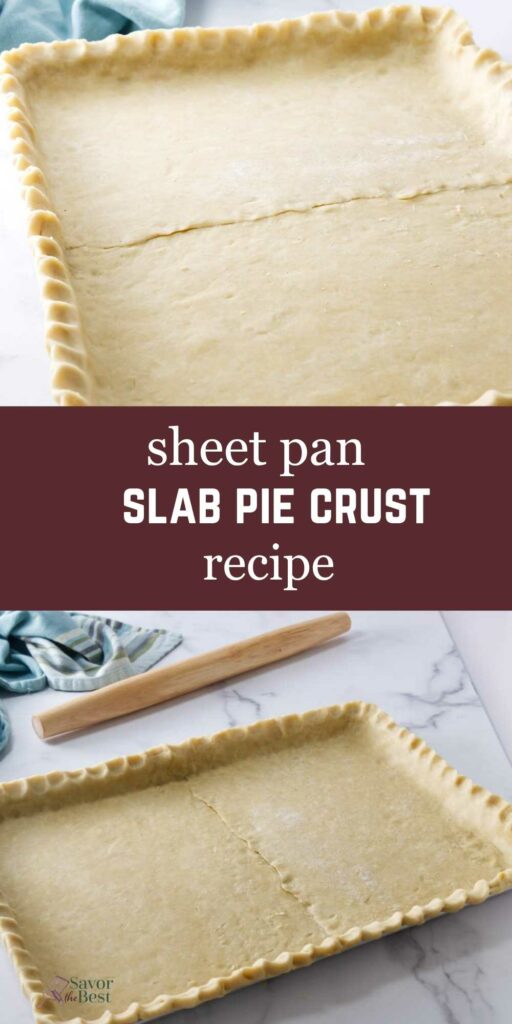
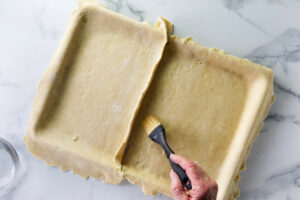
- On a floured work surface, roll one portion of dough into a 16×11-inch rectangle. Gently roll the dough over your rolling pin and unroll it into the prepared pan so it covers one half of the pan. Ease the dough into the corners, letting it overhang by about 2 inches along the 16-inch side and the upper edge. This overhang will allow for crimping later.
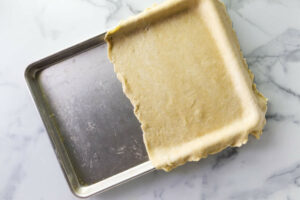
- Repeat with the remaining portion of dough, placing it over the uncovered section of the pan so it overlaps the first piece by about ½ inch. Brush the overlap lightly with water and press to seal.
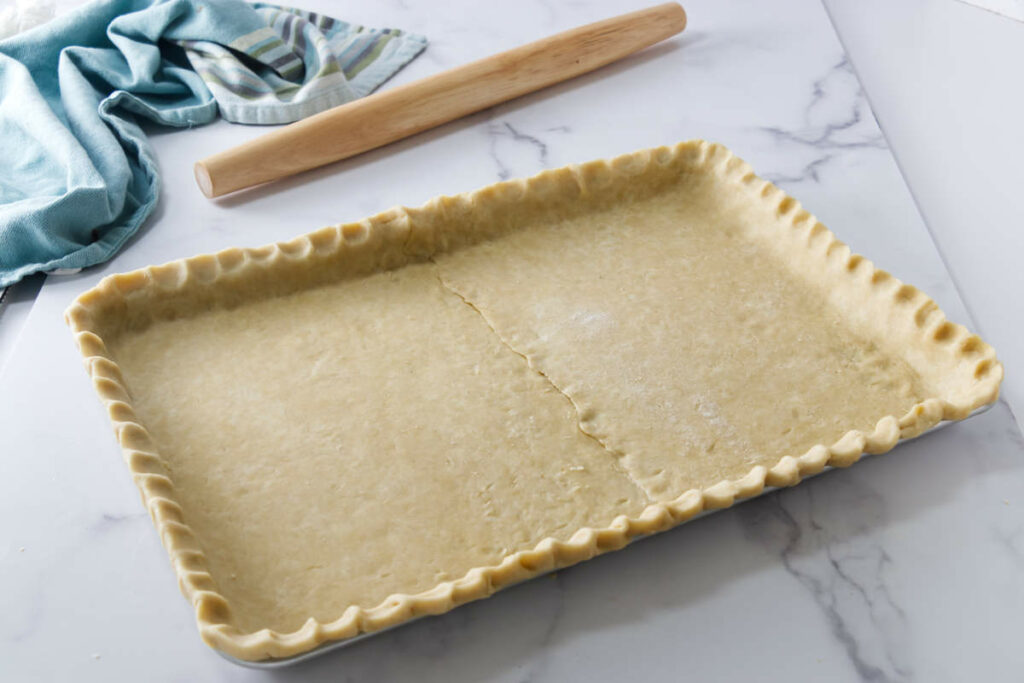
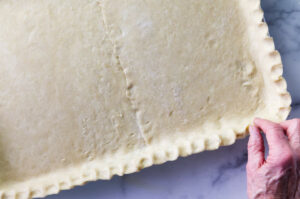
- Trim the overhang to 1-inch beyond the edge of the sheet pan. Tuck the overhanging dough under itself with the folded edge resting on the pan. Crimp the dough nicely around the edge of the sheet pan, cover loosely with plastic and refrigerate until firm, about 30 minutes.
- If using the pastry crust for a baked pie like our Pumpkin Slab Pie the crust is ready to be filled with the pumpkin mixture. See the notes if you want to pre-bake the crust.
Notes
Pre-Baking a Slab Pie Crust
Line the crust with parchment paper and fill with pie weights, dried beans, or uncooked rice to prevent puffing. For a partially baked crust: Bake at 400°F for 15 minutes, then remove from the oven. Carefully lift out the parchment and weights, and let the crust cool on a rack. For a fully baked crust: Bake at 400°F for 15 minutes with the weights, then remove them and bake for another 15–20 minutes, or until the crust is golden brown. Optional shortcut: You can leave the weights in for the entire baking time, but the crust won’t brown as deeply. Cool completely before adding any filling.Nutrition
Nutrition information is automatically calculated, so should only be used as an approximation.
 Like this recipe? Rate & comment below!