
We have been getting quite a few emails asking us for tips on getting started with a food blog so we thought it would be helpful to create a page with resources and instructions on starting a blog. You don’t have to be technically savvy to start a blog, we aren’t but we were able to get it done without gaining any gray hairs. These are the steps we took to get started. If you follow these steps you could be writing on your new blog within 20 minutes.
Some of the links below are affiliate links and we will earn a commission if you purchase through those links. We have listed products that we believe are helpful and are from companies we trust.
1: Choose a domain name
A name needs to be easy to remember, something you can build your brand around and grow into as your blog grows. It also has to be available. Before we settled on savorthebest.com, we had a list of about 40 names to choose from. We knew we wanted a “.com” name and didn’t want to settle for an extension like “.org” or “.net” simply because the majority of all websites end in “.com” and a “.com” name is easier to remember.
We probably went through the first 25 names on our list before we found savorthebest.com was available. That’s pretty good, I had expected to deplete our list and have to brainstorm more ideas so we were pleased with our results and it was actually a pretty fun process.
If you have some ideas for your domain name head over to Bluehost and click the green “get started now” button.
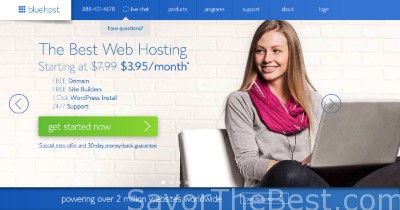
Don’t worry, you wont be committing to anything by clicking the button.
The next page you get will look like this.
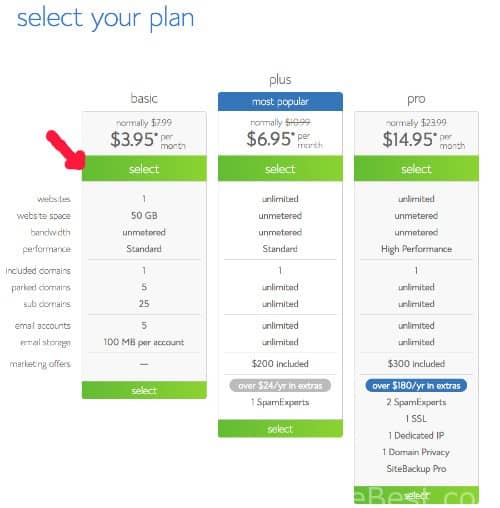
Select a plan. We started with the basic plan knowing that we could upgrade at any time if we needed to. Don’t worry, your not committing to anything if you click this button.
After selecting a plan you will be directed to this page.
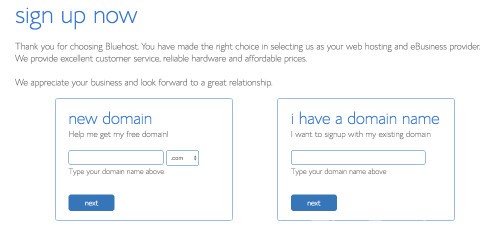
Type in your domain name under the “new domain” box and click “next”. If the name you chose is not available, just keep repeating the process until you find a name that is available.
Choosing your domain name is the hardest part. Seriously, you will feel like everyone has already used your ideas but once you find a name, lock it in before it gets taken by someone else. If you choose to host with Bluehost, they will give you your domain name for free.
Step 2: Set up Hosting for your Blog
Now that you have a domain name, you will need to set up your hosting provider.
We chose Bluehost to get us started. Bluehost has the most affordable prices we could find and cost was a big factor for us. We didn’t know if or when we would make money so we wanted to keep our expenses as low as possible while we took the plunge into blogging.
Bluehost is very easy to set up with a step by step process to guide you through. If you have any questions they are available 24/7 through web chatting or by phone.
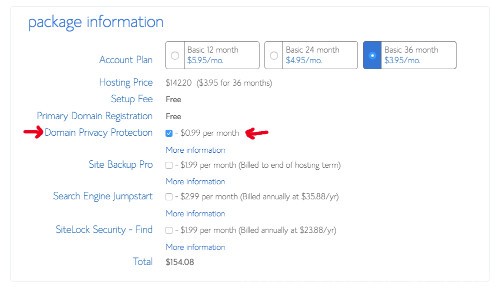
In order to get the discount, you will need to pay for the year upfront. Don’t let this hinder you. If your plans change, you decide to quit blogging or if you decide to go with another host provider before the year is up, Bluehost will refund the months that you do not host with them.
When you sign up you will see some add-ons in the package selections. The only add-on we started with was the Domain Privacy Protection. Choosing this will keep your personal address and phone number private. This privacy protection is worth the additional $12 per year. All the other add-ons are not essential to getting you started and can be added on later if you decide you need or want them.
You will then be directed to fill out your billing information to register with Bluehost and create a password.
Step 3: Install WordPress
After you complete the registration process with Bluehost you will need to install WordPress. WordPress is a software that will help you manage and create your blog. It has all the tools you need to create a fully functional website.
First you need to log in to your control panel.
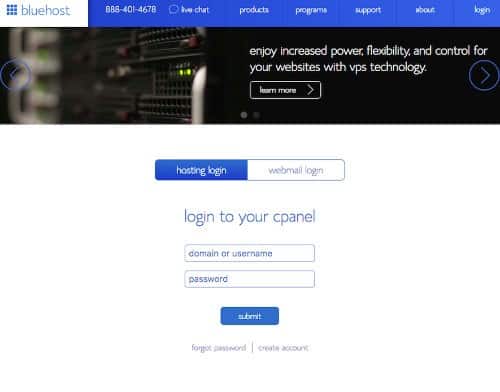
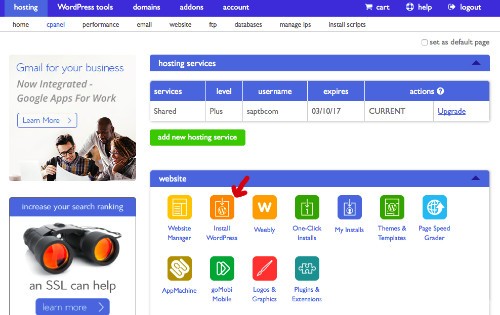
Then under website, click “install WordPress”
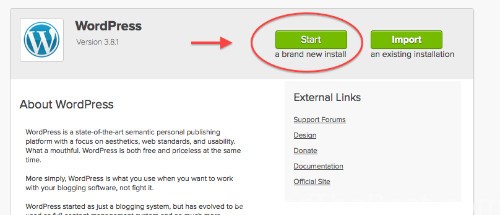
Then click the start button for a brand new install
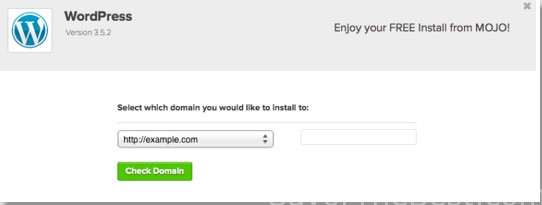
Select your domain name and click the ‘check domain’ button
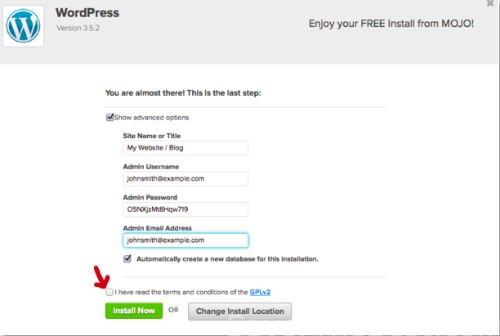
Check the terms and conditions box then the ‘install now’ tab
Once your WordPress installation is complete click on the “View Credentials” button. You will want to write down your Admin URL, Username and password. You will need to use these credentials to log in for the first time. After you have logged in you will be able to change your username and password to suit you.

Now you will want to log into your WordPress site. In the web browser, type in your domain name with “/wp-admin” added to the end. For example it should look like this: www.yourdomain.com/wp-admin
That will direct you to the login for wordpress
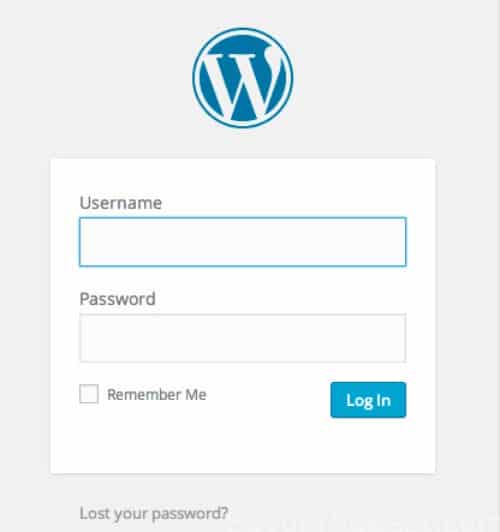
Type in your username and password that you wrote down in the last step. And that’s it! You have an official web site. Now you want to design your blog and give it the look you want.
Step 4: Install a WordPress theme
The theme is basically a layout or template of your site. It helps you create the style and design of your blog. There are plenty of free themes available and that is what we started with but we very quickly decided we wanted more features, support and functionality than what a free theme will offer. We chose the Foodie Pro Theme for its clean, minimalist design. The Foodie Pro Theme is built on a Genesis framework so we were confident that it would offer a high level of security and search engine optimization. We also like that it is mobile responsive, retina ready and HTML5 configured. I can’t say enough about the importance of these features. Google favors sites that are optimized for mobile platforms and your users will too. You will also want to keep up with the times and have a site that accommodates devices that have sharp, high resolution screens.
If you decide to go with a premium theme check out the StudioPress themes. They are all built on the Genesis framework giving you a solid foundation built by reputable developers and they offer great customer support.


