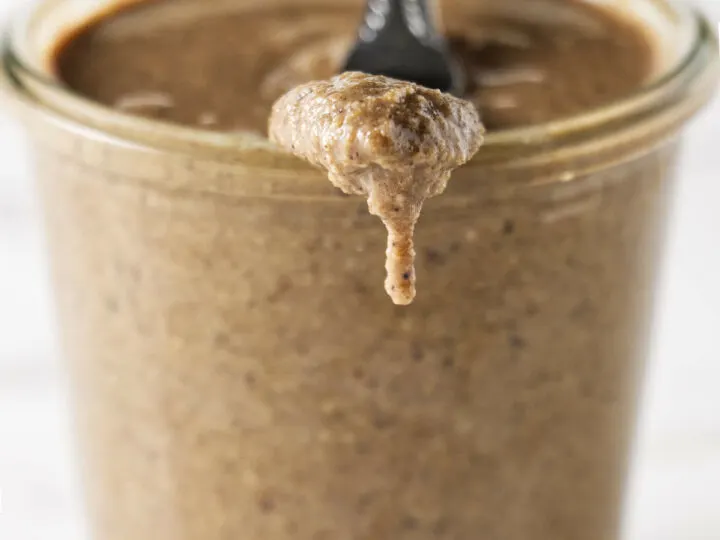
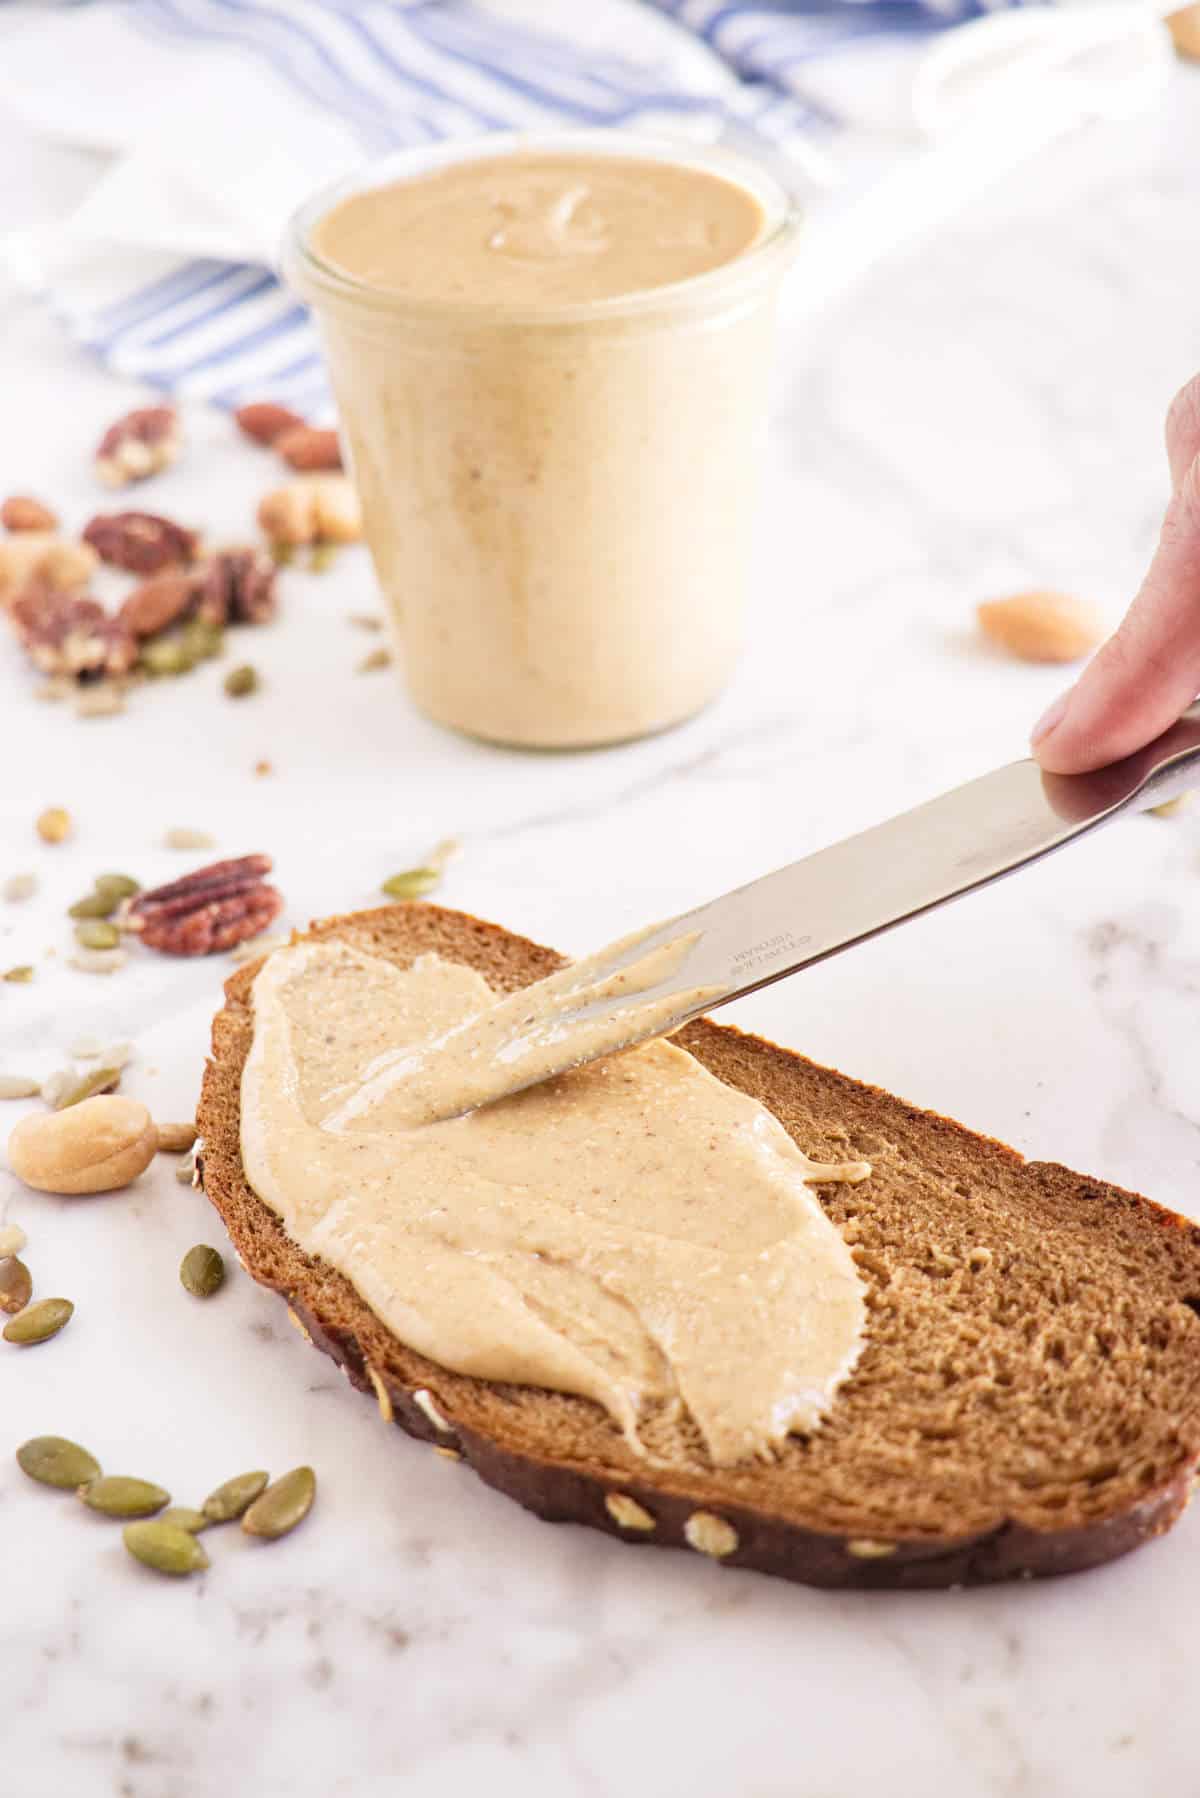
Step aside peanut butter! These nuts and seeds came straight from the squirrel, and they make the best seed and nut butter.

Natural, homemade nut and seed butter is better than anything you can buy in the store. This creamy spread will have the squirrels envious.
How long can you keep homemade nut and seed butter?
You can store fresh seed and nut butter at room temperature for about three to four weeks. This stuff is fresh and natural. It doesn’t have any preservatives to lengthen the shelf life. If you want it to last longer than a few weeks then you should refrigerate the seed and nut butter.
Do you really have to refrigerate nut butter?
Nuts and seeds have natural oils in them that can get rancid fairly quickly.
When the oils begin to go bad, the nut butter will get darker and smell rancid. It won’t hurt you if you eat it but you will lose all the benefits of the fresh, healthy monounsaturated fats. Besides that, it won’t taste good. Rancid oil spoils the taste of any food. When you spend time and money making fresh, healthy nut butter, you want to keep it that way and enjoy the whole batch.

Can you freeze nut butter?
You can also freeze seed and nut butter for up to 6 months. Freezing and defrosting the nut butter will not affect the taste, texture or consistency.
How do you make nut and seed butter?
All you need to make healthy, fresh seed and nut butter is a handful of nuts and seeds, some salt, and a food processor. You want a quality food processor. Not all food processors are worth their keep and some of them just won’t stand up to the workload that is necessary for certain tasks.
Processing nuts and seeds into a smooth and creamy butter demands a fair amount of time and energy from your food processor. Not all food processors will do the job well.
There are a couple of ways to make creamy nut butter.
That doesn’t mean you can’t make this recipe if you don’t have a strong food processor. For that matter, you don’t even need a food processor. There are a couple of things you could do to make things work.
First, you could use a high powered blender. It isn’t quite as convenient to use a blender but it will work. You will have to stop the blender more frequently and scrape down the sides.
The biggest disadvantage to using a blender is getting the thick nut butter out of the blender. The narrow pitcher of a blender makes it a bit aggravating to scoop the nut butter out. Plus a lot of the nut butter ends up hiding under the blades. With that being said, you can still get a very creamy seed and nut butter by using a blender.

Your second option is to go ahead and use a cheaper grade food processor. Just keep a hand on the base of the food processor so you can detect how warm the motor gets. If you notice the motor warming up too much. Turn the food processor off and let it cool down. It will take you much longer to turn the nuts and seeds into butter this way but you will save your motor from burning out.
Be patient!
No matter what you decide to use, the process will take a while. Halfway through the process, you may think that the nuts and seeds will never turn into butter. Just keep pausing the food processor to break up the clumps and scrape down the sides. It can take 10 to 15 minutes for some food processors and sometimes longer. With enough time, the nuts and seeds smooth out and turn into a creamy thick butter. Be patient and don’t give up!
Add-ins
Another important tidbit to keep in mind is that you really should avoid adding anything to the nuts and seeds until they are completely ground into smooth butter. If you add anything like honey, maple syrup, or molasses, the nut butter will seize and become so thick that it won’t be spreadable.
Instead, if you want to add sweeteners then wait until the seed and nut butter is completely smooth and then stir the sweetener in with a spoon.

Here are some other recipes you might like
- Chocolate peanut butter layer cake
- Chocolate cupcakes with peanut butter frosting
- Peanut butter tart
Connect With Savor the Best:
Please follow us on our social media accounts
Facebook * Instagram * Pinterest * Youtube * Twitter
Did you make this recipe? We would love to hear from you. Drop us a comment below.
Roasted Seed and Nut Butter
Ingredients
- 1 cup cashews
- 1 cup almonds
- 1 cup pecans
- 1/2 cup sunflower seeds
- 1/2 cup pumpkin seeds
- 3/4 teaspoon salt see notes
Instructions
- Pre-heat the oven to 350°F.
- If using raw nuts and seeds, place them in a single layer on a baking sheet. Bake the nuts for 10 to 15 minutes and bake the seeds for 5 to 10 minutes or until fragrant. Stir the nuts and/or seeds every 5 minutes or so to prevent burning. (If you purchase roasted nuts and seeds then you can skip this step).
- Allow the nuts and seeds to cool until you can handle them without burning your hands.
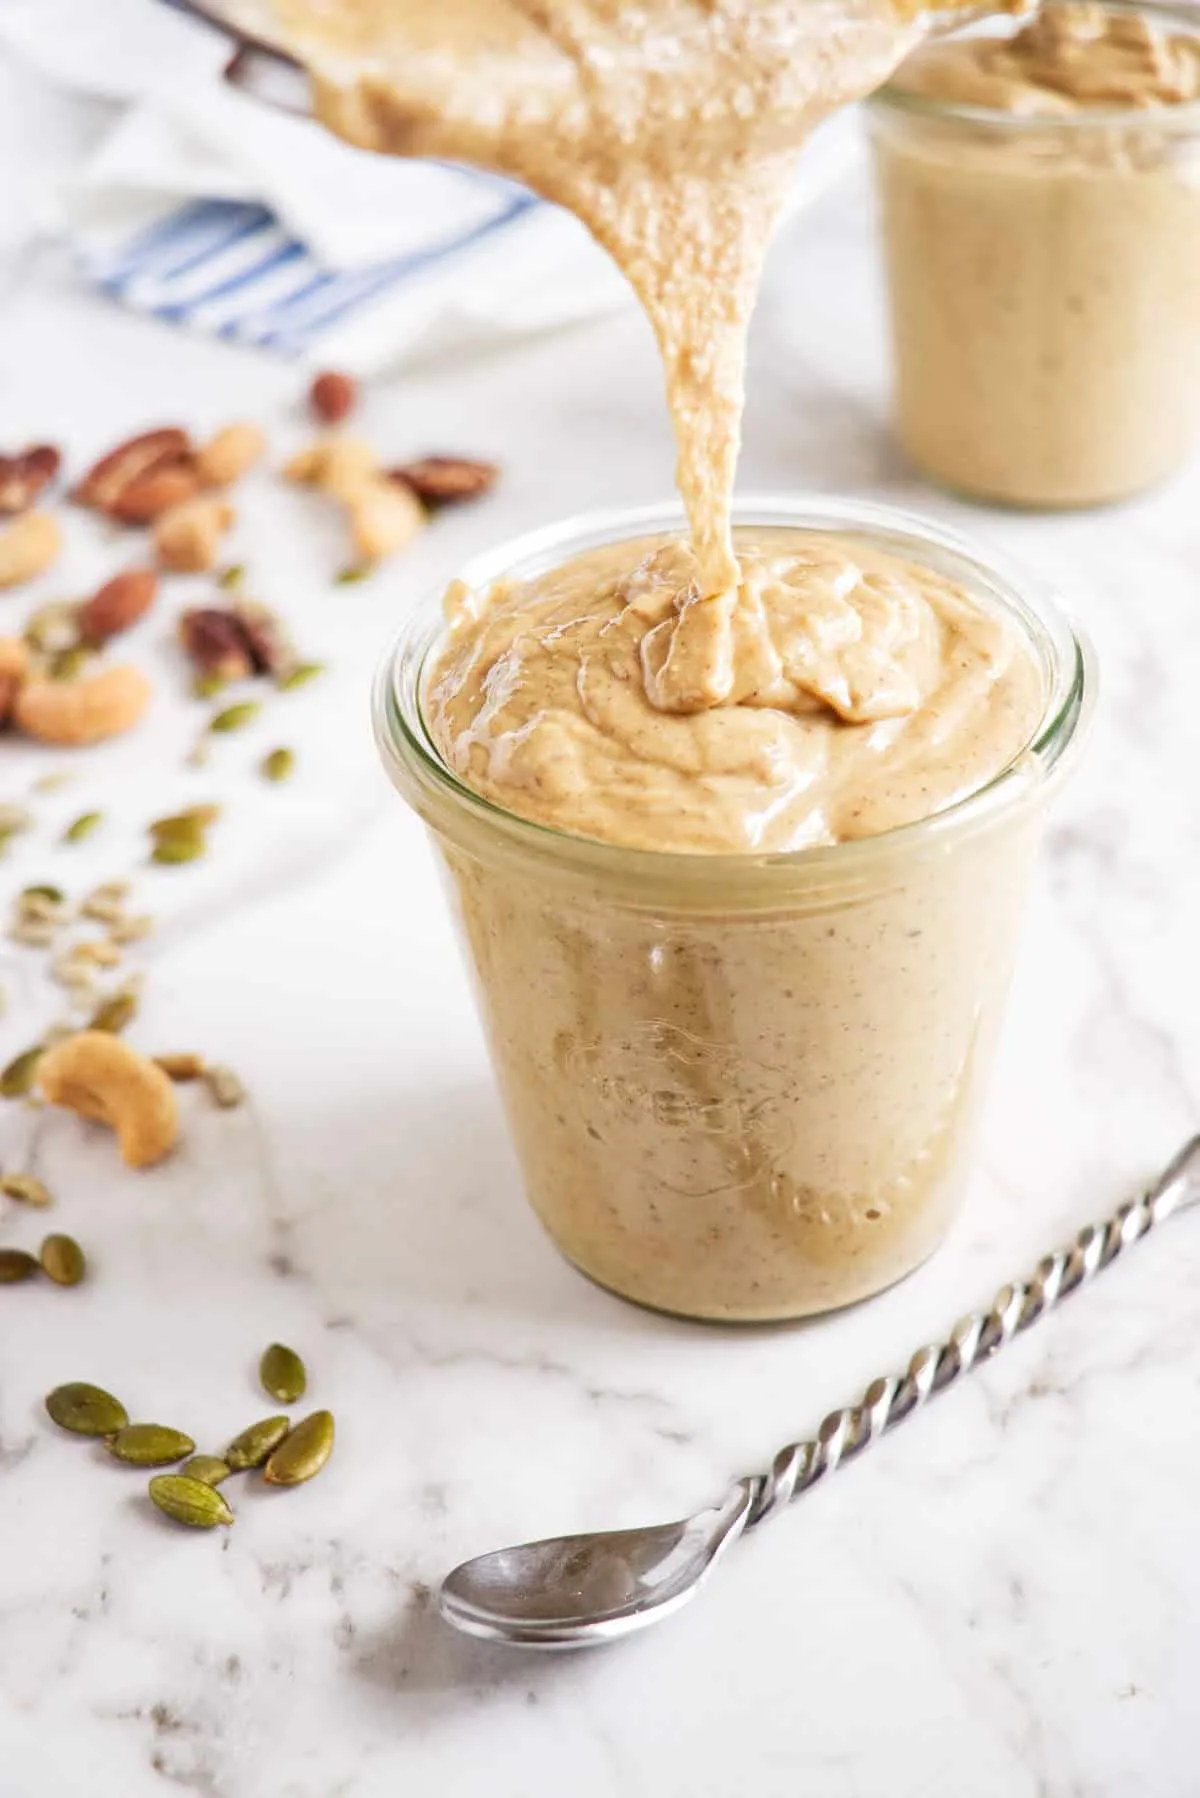
- Transfer all the nuts, the sunflower seeds, and pumpkin seeds to a food processor and process for 10 to 15 minutes. Stop the processor occasionally and scrape the mixture off the sides of the bowl.
- The mixture will start out dry and mealy then get thick and clumpy. Eventually, it will thin out and become smooth and almost runny. At first, it will look like it will not turn into butter but you just need to give it plenty of time to process.
- Once the nut butter reaches a creamy texture (or a chunky texture if you like it chunky) add in the salt. Process for about 30 seconds to mix in all the salt.
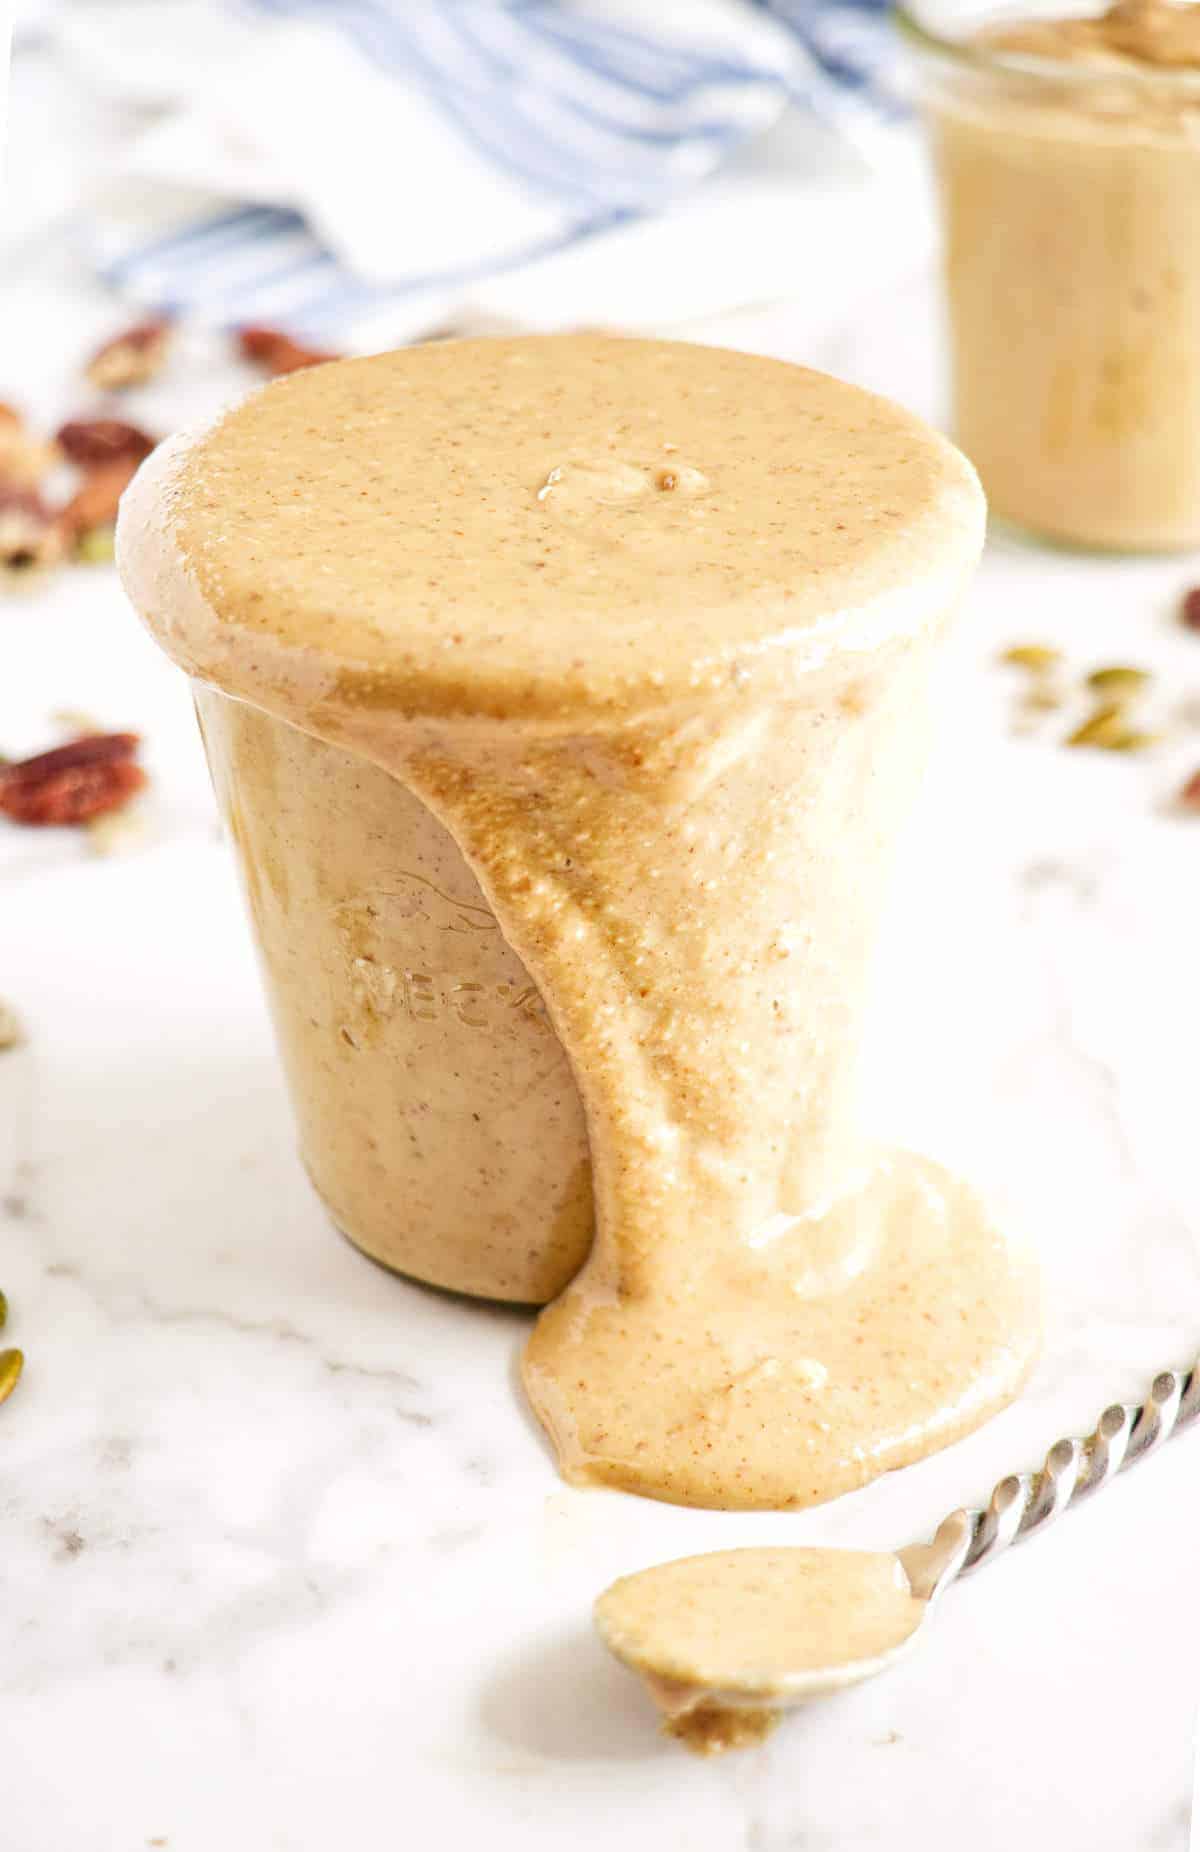
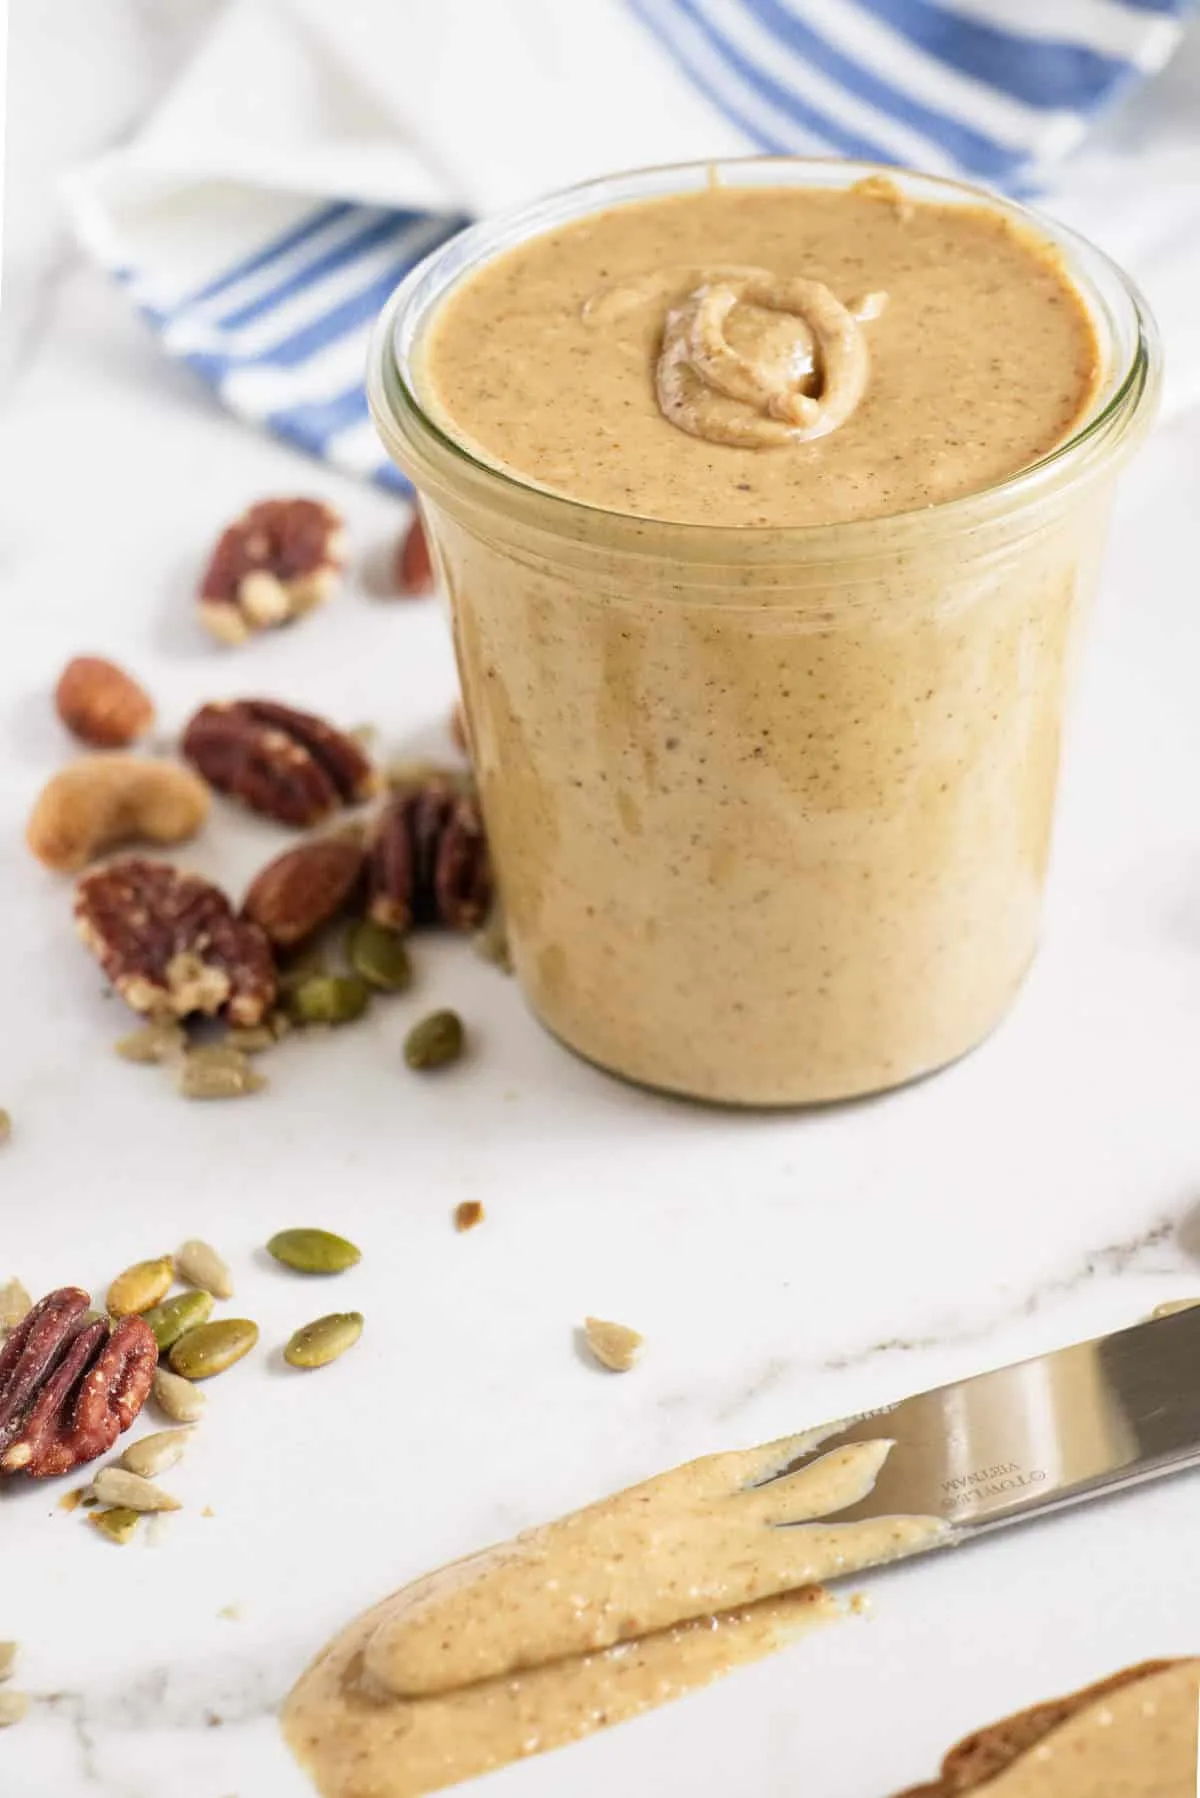
- Transfer the butter to an airtight container. Store at room temperature for 1 month or in the fridge for 4 to 6 months
Notes
- If you are starting with nuts and seeds that have already been salted then reduce or omit the additional salt. Once the seed and nut butter has been processed, taste the butter and add salt if needed.
- Be patient and don’t give up! The process takes some time. Halfway through the process, you may think that the nuts and seeds will never turn into butter. Just keep pausing the food processor to break up the clumps and scrape down the sides. With enough time, the nuts and seeds smooth out and turn into a creamy thick butter.
- Not all food processors are equal. Some food processors might overheat with this recipe. If you feel the motor of your food processor getting warm, turn it off and let it cool down for a few minutes. After the motor is cool then start the processor again.
- If you want to add honey to the butter, wait until the nuts and seeds have already been pureed to your desired texture. Once you add the honey, the liquid in the honey will bind with the oils in the butter and thicken it up considerably. It might even make it un-spreadable if you add a lot of honey or other sweeteners.