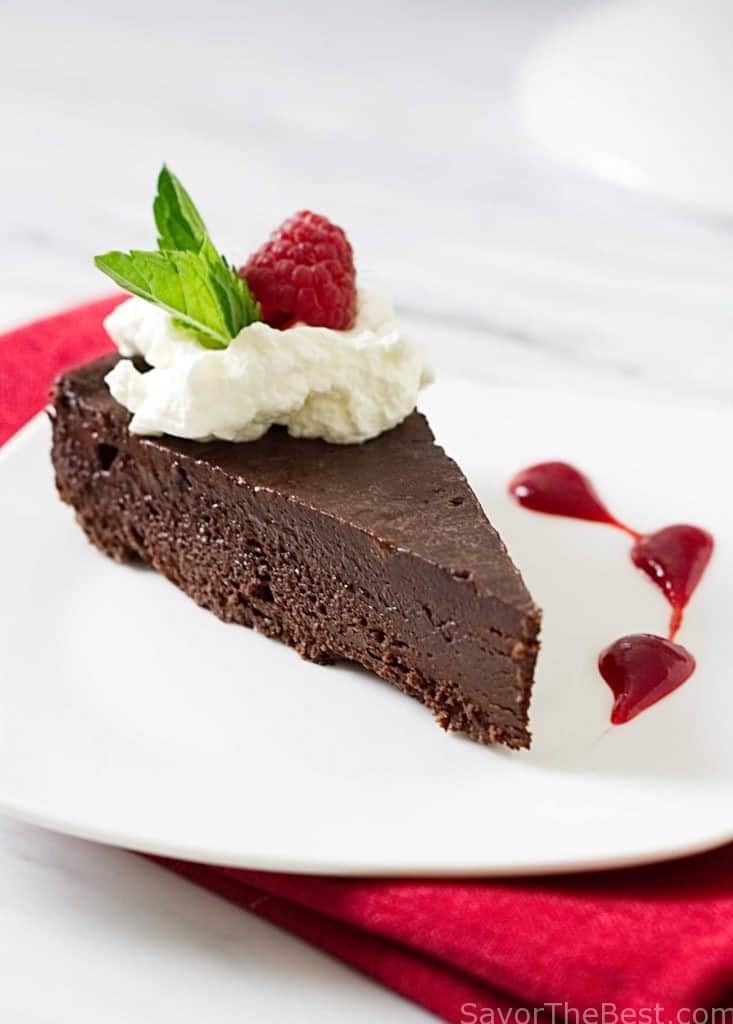
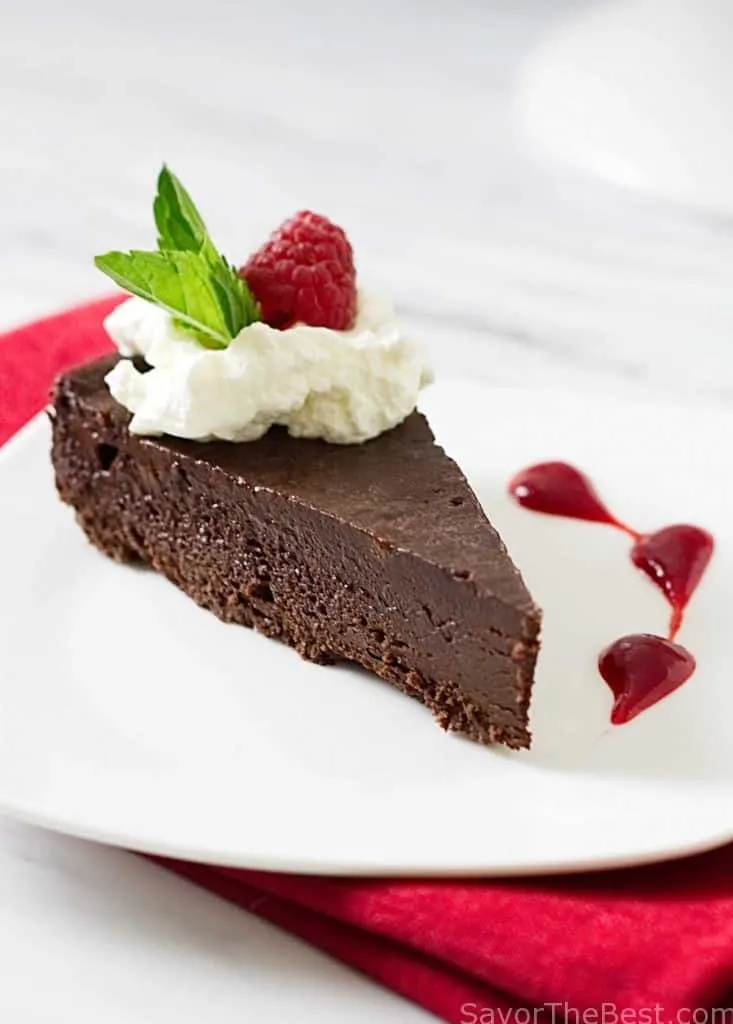
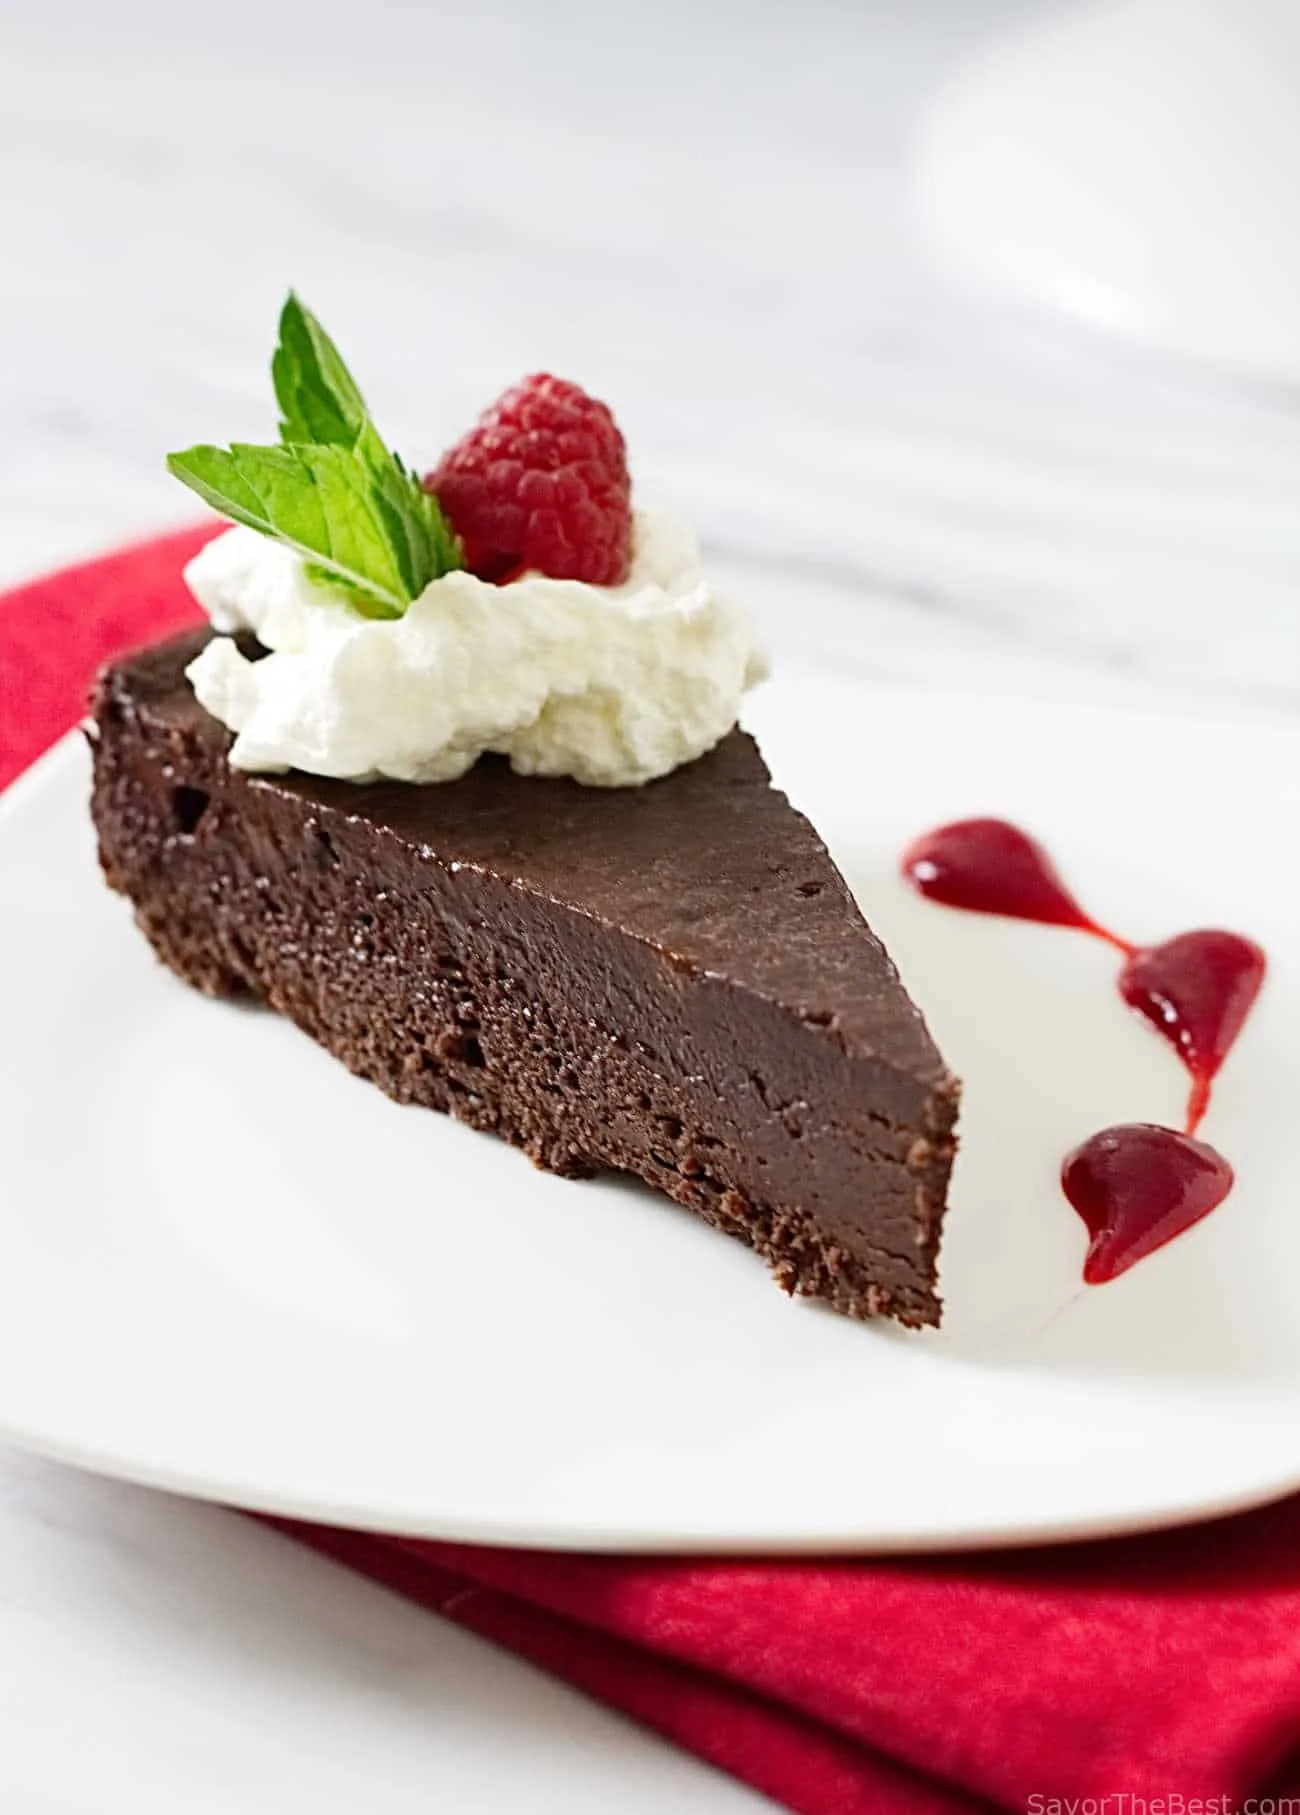
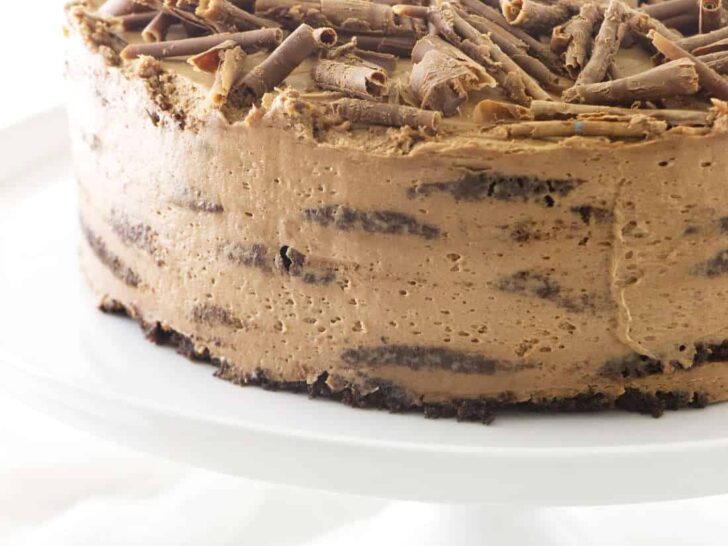
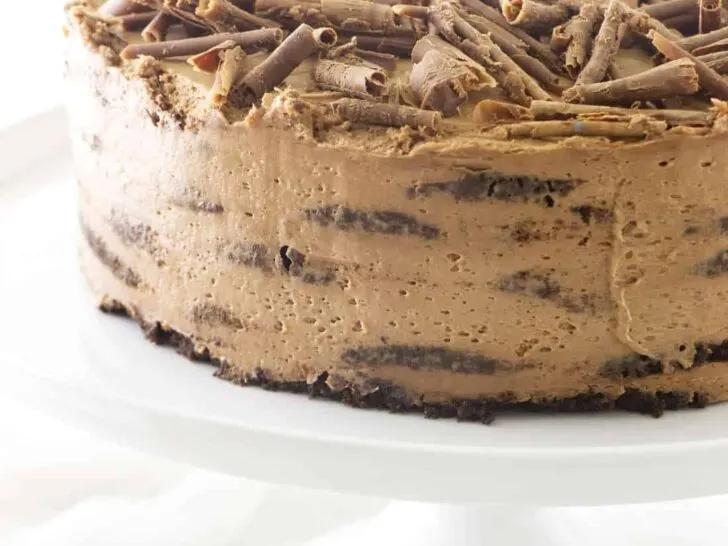
This flourless chocolate cake will be an elegant finish to a fine-dining experience. Rich and velvety smooth with an intense chocolate flavor that is unforgettable! This is truly a chocolate lover’s dream dessert.
Our flourless chocolate cake is made with only three ingredients, yes, only three! It is amazing that a dessert that tastes like heaven includes just three ingredients. This cake is dense, rich and decadent with a flavor reminiscent of the inside of a chocolate truffle.
To create this incredibly easy dessert you will need only chocolate, butter, and eggs, which we are betting you already have on hand.
The cake takes just minutes to mix together and 15 minutes to bake. The most difficult thing about making this cake is waiting a couple of hours for it to firm up after it is baked. You will be rewarded with a confection that is so rich and intensely chocolatey that you really only need a small slice.

How to make a flourless chocolate cake.
This isn’t your ordinary flourless cake. A lot of flourless cakes have some kind of flour replacement like almond flour. This cake literally has no flour, nor even a faux flour substitute. You only need 3 ingredients in this cake.
- Chocolate
- Butter
- Eggs
That’s it! You don’t need anything else to make the most incredible, rich, decadent chocolate cake of your life. If you want to serve it with a super simple raspberry sauce, we included the instructions for that as well. But seriously, this cake tastes marvelous “au natural”!
The best tip I can give you for this cake is about chocolate. Choose the finest quality of chocolate for this dessert even if it means paying a little more money than you normally would. It will be well worth the extra cost. When you only have 3 ingredients in a recipe you need to make sure you’re getting quality ingredients
Melt the chocolate and butter.
Melt the chocolate and butter together. You can either use a microwave or you can place the butter and chocolate in a saucepan and melt them over medium-low heat. Once it melts, set it aside to cool down a bit. You will have time for it to cool while you beat the eggs.
Beat the eggs to ribbon stage.
Place the eggs in a bowl and beat them until they get pale yellow and tripled in volume. At this point, they should be at the ribbon stage. You will know the eggs are at the ribbon stage by watching how the beaten eggs fall off the beaters.
Obviously, you will want to turn off the beaters first. Then when you lift the beaters up, let the egg batter fall back onto the mixture and watch how it falls. When it is at the ribbon stage the eggs will fall into a ribbon-like pattern and hold the shape for a few seconds. It just looks ‘ribbony’ and you will know that the eggs are ready.
Fold the mixtures together.
Once the eggs are thick, pale and tripled in volume, fold half of the egg mixture into the chocolate mixture. The reason you just want to fold half of the eggs into the chocolate is that you want to loosen the chocolate mixture a bit. If you fold all the eggs in at the same time then the eggs will deflate and lose most of their volume.
After you fold the first half of the eggs into the chocolate then you can fold the rest of the egg mixture into the chocolate. Make sure you use a wide spatula and use long, gentle strokes. Start at the back of the bowl and cut up through the center of the batter then turn the bowl a quarter turn and give the batter another fold. Do that several times until the batter is completely incorporated.
Bake the cake.
Now it is time to pour the batter into the springform pan and make a water bath. Place the springform pan into a larger pan then fill the larger pan with hot water and bake it for 15 minutes. That’s it! We promise you that this flourless chocolate cake will impress even the most sophisticated guest.

This cake is an adaptation of the Chocolate Oblivion Torte in the Cake Bible by Rose Levy Beranbaum. We made a small but significant change to the ingredients by using salted butter instead of unsalted butter. That seemingly minor change magnifies the flavor of the chocolate.
If you don’t have salted butter then just add a pinch of salt to the melted chocolate.
We served our flourless chocolate cake with some lightly sweetened whipped cream and a fast and easy raspberry sauce. The combination was absolutely sublime.
Do I need sugar in this recipe?
You do not need to add sugar to this recipe. The bittersweet chocolate will already have sugar added and makes a delightfully decadent, sweet dessert. If you want to use semi-sweet chocolate, that works too.
Bittersweet chocolate will have about 60-70% chocolate and semi-sweet chocolate is a little sweeter with only 40-50% chocolate. I personally like this flourless chocolate cake with a rich, dark 70% chocolate but this recipe works with semi-sweet as w
More Chocolate Choices:
- Chocolate Amaretto Mousse
- Intense Chocolate Cake with Cream Cheese Frosting
- Einkorn Brownies with Cocoa Nibs
Watch our video and see how to make this flourless chocolate cake.

Flourless Chocolate Cake
Ingredients
Flourless Chocolate Cake
- 1 pound bittersweet chocolate chopped (454 grams)
- 1/2 pound salted butter 2 sticks
- 6 large eggs at room temperature
Easy Raspberry Sauce
- 4 cups fresh or frozen raspberries
- 1/4 cup sugar
- 1 tablespoon lemon juice
Instructions
For the Flourless Chocolate Cake
- Preheat the oven to 425°F. Grease an 8 inch springform pan and line the bottom of the pan with parchment paper. Wrap the outside of the pan with heavy duty foil.
- Combine the butter and chocolate in a large bowl. Place the bowl over a pan of hot water and stir occasionally until the chocolate is completely melted. (You can also melt the chocolate and butter in the microwave if you stop the microwave every 15 to 20 seconds to stir).
- Optional step: While the eggs are still in their shells, place them in warm water (about body temperature or slightly warmer) for about 10 minutes. Warm Eggs will beat with a higher volume.
- Crack the eggs into a large mixing bowl and whisk until tripled in volume and soft peaks form. This may take 4 to 5 minutes.
- Using a wide spatula, fold 1/2 the egg mixture into the chocolate mixture until almost all the streaks are gone. Gently fold in the rest of the eggs until no streaks appear and all the chocolate is blended with the eggs.
- Pour the batter into the prepared springform pan and smooth the batter with a spatula.
- Place the pan into a larger pan and pour hot water into the larger pan until the springform pan is sitting in about 1 inch of water. Try not to get any water in the springform pan.
- Bake for 5 minutes then cover loosely with foil and bake for another 10 minutes.
- Remove from the oven, toss the foil, and let the cake cool at room temperature for 40 to 50 minutes. You can leave the cake in the water bath until the water cools down. The cake will look wet and jiggly while it is still warm. After the cake comes to room temperature, cover it with plastic wrap and refrigerate it for 2 to 3 hours until firm.
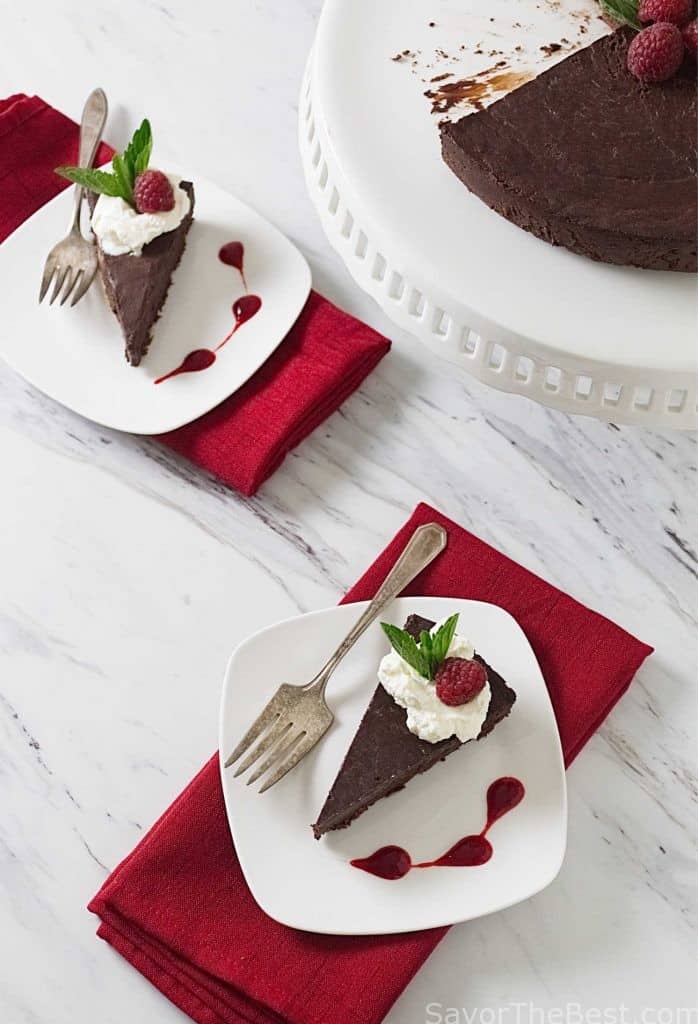
To unmold
- Run a thin spatula or knife around the sides of the pan and release the ring of the springform pan. Place a plate on top of the cake and invert the cake onto the plate.
- Remove the bottom of the pan from the cake. If the bottom does not come off easily, place a hot rag on the bottom of the pan and it will release like a dream.
- Remove the parchment paper then re-invert the cake onto a serving platter.
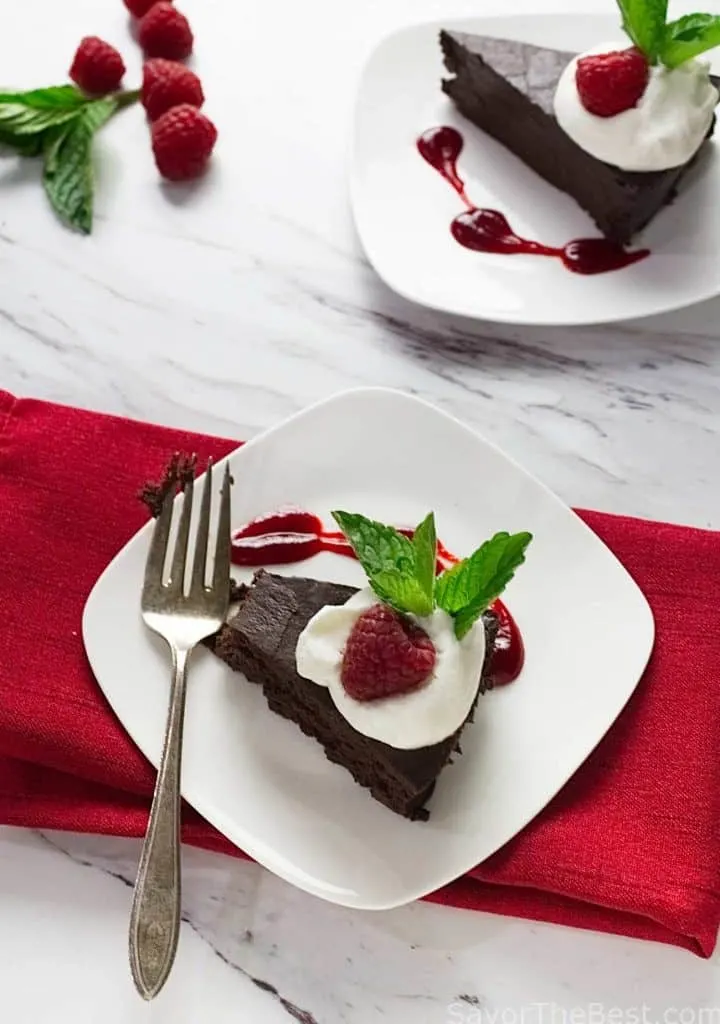
- Serve with whipped cream and raspberry sauce.
Easy Raspberry Sauce
- Place all the ingredients in a saucepan and cook over medium heat, stirring frequently for 10 to 12 minutes. Push everything through a strainer to remove the seeds.
- Store the raspberry sauce in the refrigerator for 10 days or in the freezer for 1 year.
Notes
- When the cake is finished baking, it will appear jiggly and undercooked. This is how you want it to look. The chocolate is still in a melted state at the time it is finished baking so the wet/jiggly appearance is normal. Once the cake cools, it will be perfectly firm, creamy and smooth. Do not bake it longer than the instructions indicate or the texture will become gritty.
- Warm or room temperature eggs will beat at a higher volume than cold eggs. If you place the eggs (while still in their shell) in a bowl of warm water for a few minutes before beating them they will triple in volume with less time beating them.
- Baking the cake in a water bath will create a creamier texture and prevent the edges from over-cooking.
- This is a rich, indulgent chocolate cake and is best when served at room temperature. If you eat it while it is still cold (right out of the fridge) it will have a denser, fudgier texture.


Prudence
Wednesday 13th of April 2022
I want to buy a nordicware springform pan for this but the one available in Amazon is 9 inch and not 8 inch. Can i use the same quantities of ingredients for the 9 inch pan as your 8 inch pan recipe?
Prudence
Monday 25th of April 2022
@Dahn Boquist, thank you so much ?
Dahn Boquist
Wednesday 13th of April 2022
I haven't tried it in a 9-inch pan but it should work. It will be a bit thinner.